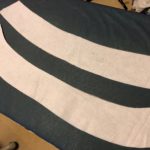
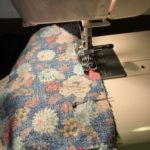
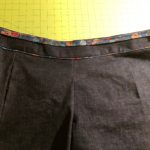
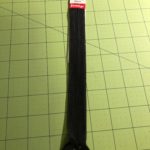
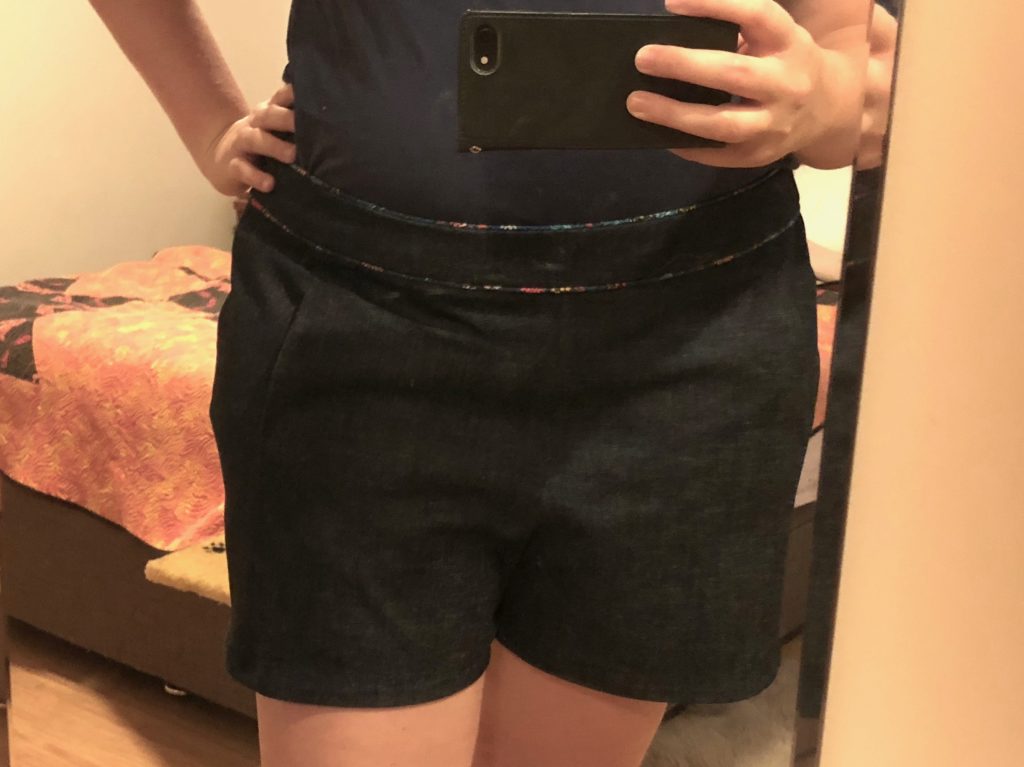
I realised today as I was wearing my fancy handmade Colette Iris denim shorts that I had intended to blog the whole process for you back in February. Whoops! Better late than never.

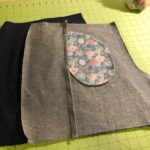
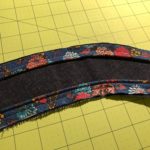
These were my fifth iteration of the shorts, and I’m extremely happy with how they turned out – especially since the 1st and 2nd versions weren’t even wearable! Over the course of refining the previous versions, I ended up adding some room to the butt, lowering the crotch, and then scooping out the front seam a little. I also added custom piping (which I blogged about here) to both edges of the waistband.
Here’s what I used to make these shorts:
-
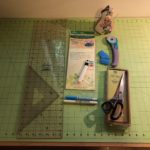
- Sewing supplies
-
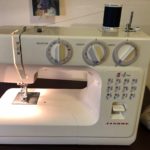
- Sewing machine
-
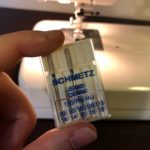
- Denim needles
-
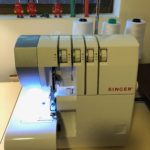
- Overlocker
You don’t actually need all of this stuff. For sewing supplies, all you really need is a good pair of scissors, some pins, a ruler, and something to mark your fabric. I have a fancy cutting mat and rotary cutter, and I sometimes use carbon paper to transfer markings. My sewing machine is an old (nearly 20 years, I think?) Janome that I’ve had serviced once or twice. It doesn’t have all the bells and whistles but it does the job. For this project, I used denim needles which are a bit stronger than normal ones (since denim is thicker to punch through). I also have a very basic Janome overlocker that I bought at Aldi a few years back, but that’s optional too. (You can just zig-zag your seams with your regular machine.) You’ll also need the pattern, of course, cut out in your chosen size. For fabric, I used 100% cotton denim I bought at The Fabric Store as well as some leftover Liberty Clarks Canvas for the pockets and piping. You also need some iron-on interfacing.
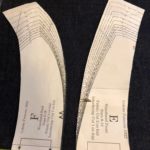
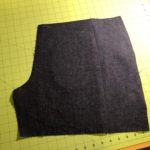
Let’s get started! I began by laying out my front and back pattern pieces on my pre-washed fabric.
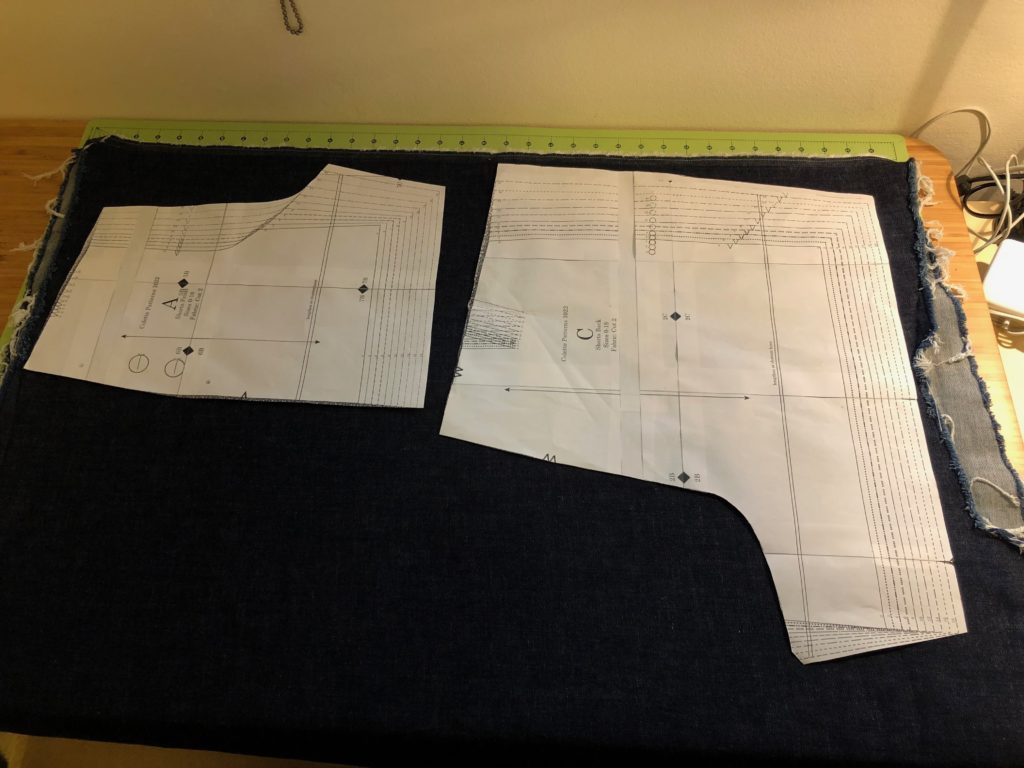
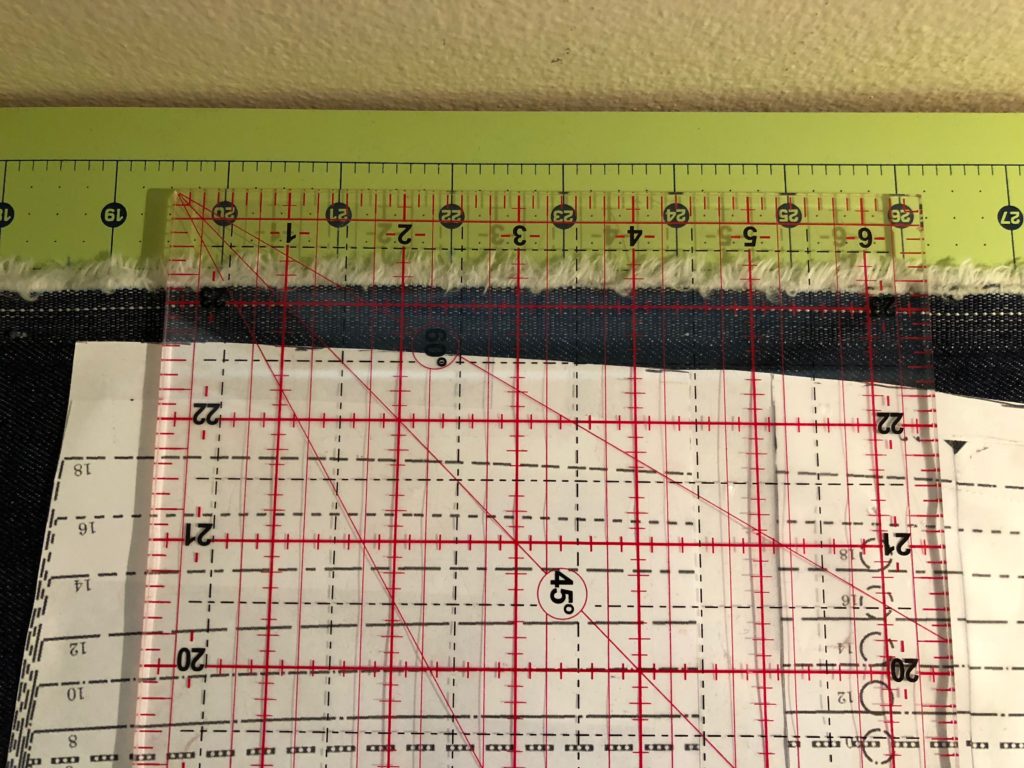
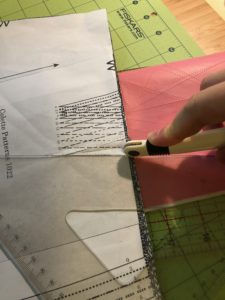
I used my clear ruler to make sure the grain lines on the pattern pieces were parallel to the fabric edge.
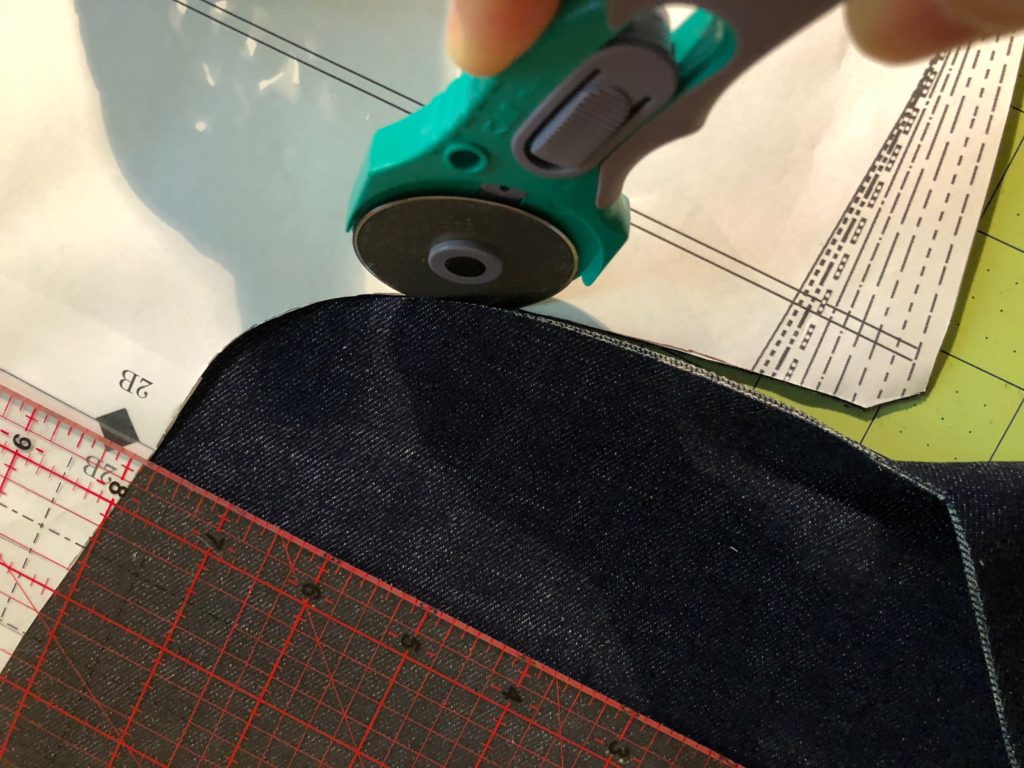
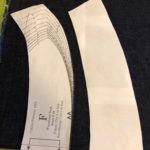
I used my rotary cutter to cut out the pieces, but you can also use scissors if you prefer. (You’ll probably want some sort of pattern weights to keep your pieces from moving around. I don’t have special ones; I just use my rulers and whatever desk supplies are lying around.)
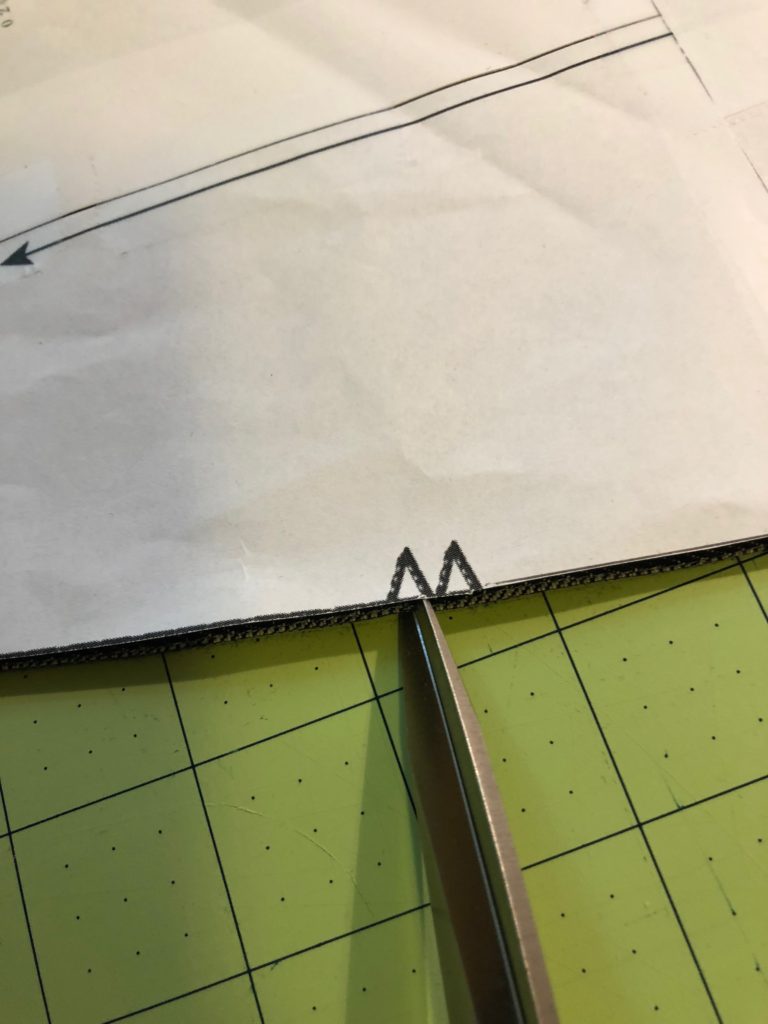
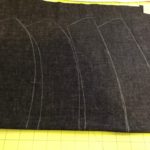
Next I transferred the markings from the pieces. For notches, I just made tiny snips into the edge of the fabric.
For darts, I used my carbon paper and tracing wheel to transfer them. I folded the paper in half (right side out) and slipped it between the layers, which means I could transfer to both pieces at once.
-
- Tracing markings
-
- Marked darts
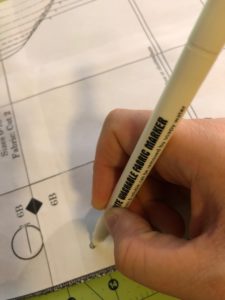
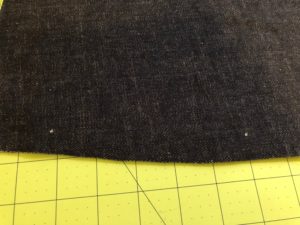
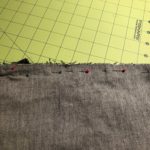
For marked dots (like for pocket placement), I poked a hole in the pattern and then used a special marker for marking on dark fabrics. It leaves a white dot that’s very visible! You can also use chalk for this.
-
- Marking dots with special marker
-
- Marked dots
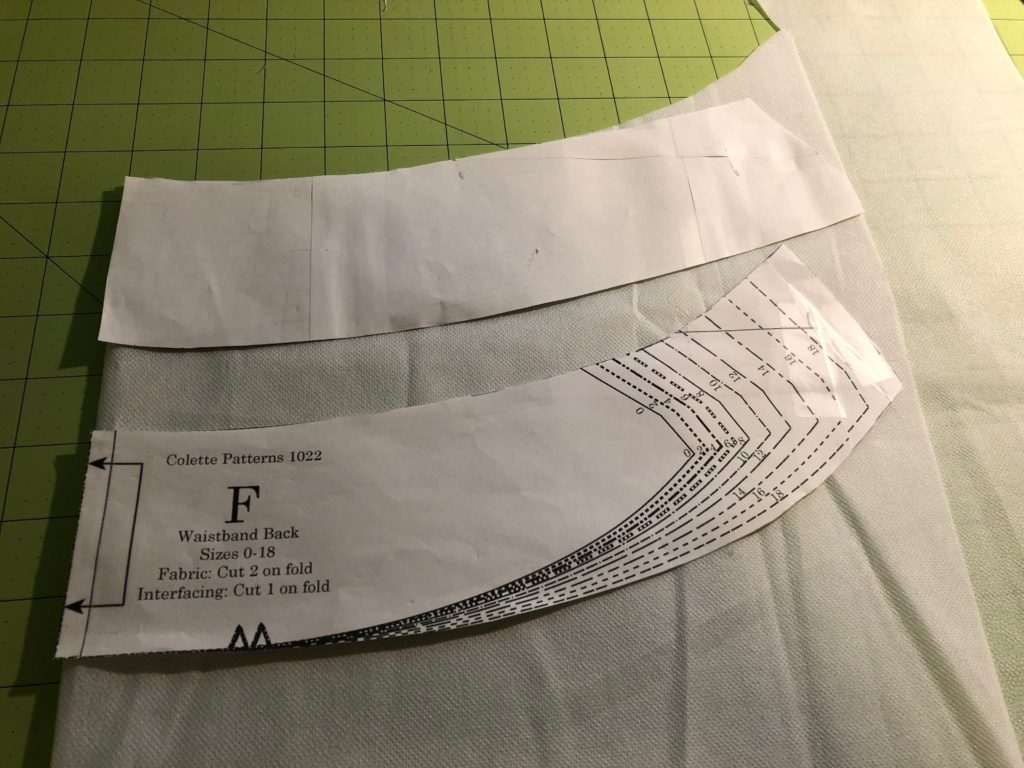
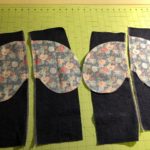
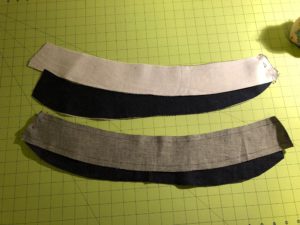
Just to show you a more lo-fi method of cutting out pieces, for the waistband I traced the pieces using chalk and cut them out with scissors. These are cut “on the fold” so each pattern piece is only half the size of the resulting fabric piece. (To maximise fabric usage, I flipped the front waistband pieces over so they nested better and resulted in less waste.)
-
- Waistband pieces
-
- Flipped to maximise space
-

- Tracing with chalk
-
- Traced pieces
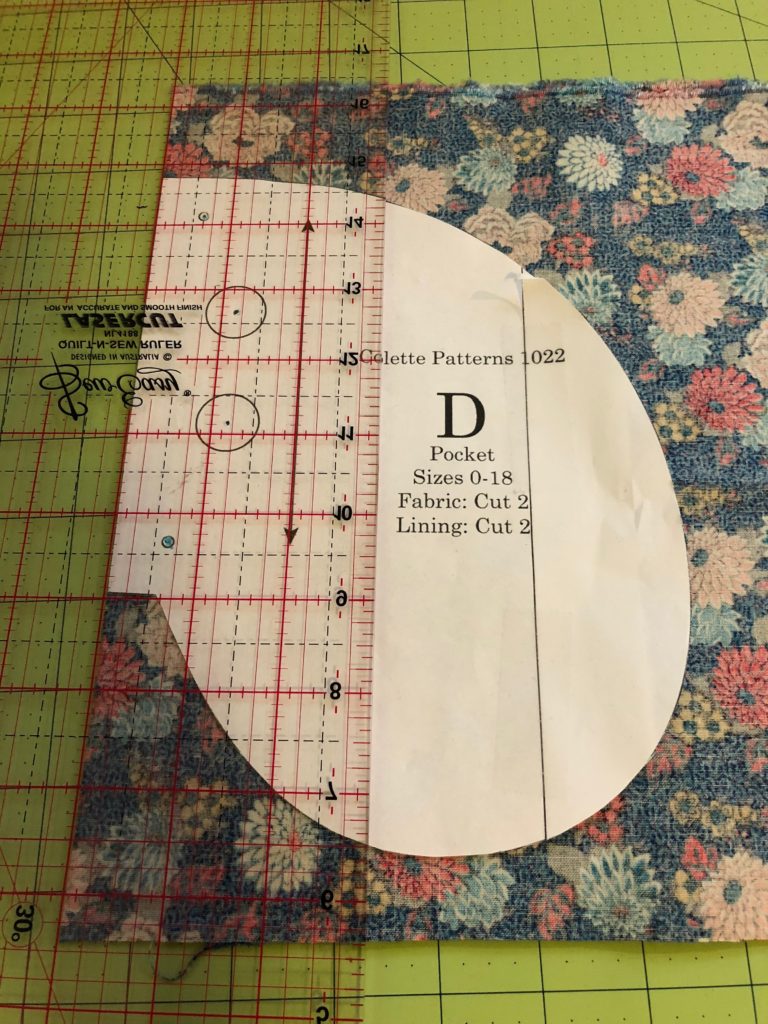
I also cut all of my pockets out of my lining fabric.
The last bit of cutting was to cut the waistband pieces out of iron-on interfacing.
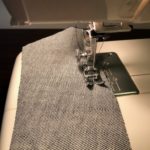
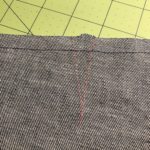
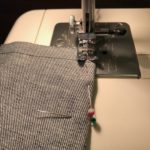
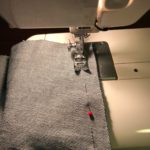
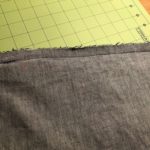
And it was finally time to start sewing! The first task is staystitching, which I hate because it’s boring. I had to sew lines of stitching along the top and bottom edges of all four waistband pieces to stabilise them and keep them from stretching. I also had to staystitch at the waist edge of the shorts pieces.
-
- Staystitching
-
- Staystitched waistbands
-
- Staystitched pieces
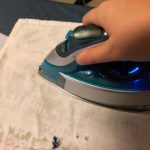
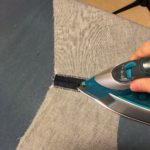
Next I had to iron on the interfacing to two of the waistband pieces. (I used a damp tea towel as a pressing cloth for this.)
-
- Interfacing
-
- Ironing
-

- Waistband pieces
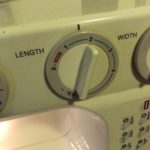
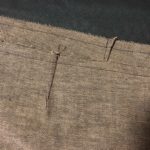
Next it was time to sew the darts! I put a pin at the point of the dart and then folded them to bring the legs together. I sewed from the top to the tip, shortening my stitch length as I got closer to the tip. (I normally sew at 2.5 length; by the time I get to the tip I’m as short as my machine will go.) Then I knotted the tails and trimmed them off. I ironed the darts towards the center.
-
- Marked dart
-
- Pinning dart
-
- Sewing dart
-
- Shortening stitch length
-
- Sewn dart
-
- Ironed darts
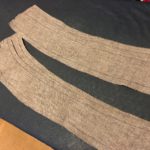
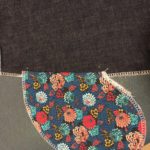
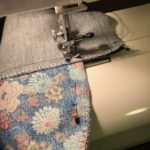
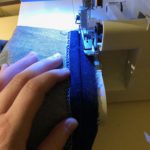
The next task was to finish the edges of the pockets, which I did with my overlocker. (You could also zigzag these with a sewing machine.)
-
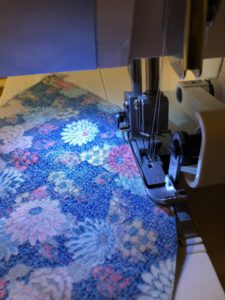
- Finishing edges
-
- Finished!
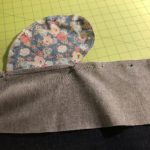
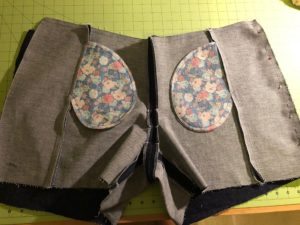
Next, I lined up the pockets with the marked dots on the side of each piece and pinned them in place. I sewed them down (with a smaller seam allowance than normal), then finished this entire edge with my overlocker. Then I ironed the pockets so they flipped away from the piece.
-
- Lining up pockets
-
- Pinning
-
- Sewing
-
- Sewn and overlocked
-
- Ironed
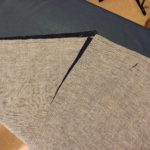
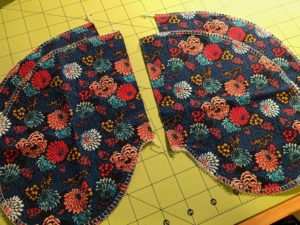
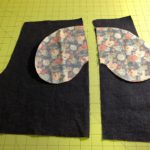
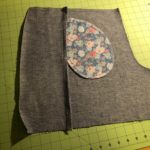
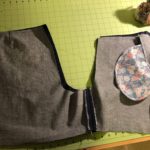
The next job was to sew the front pieces together to finish the pocket openings. I lined up the pieces and pinned them together. I sewed from the waistband down to the leg (with a normal 5/8″ seam allowance), pivoting 90 degrees to sew around the pocket pieces as I went. Then I ironed the seam, pressing the pockets towards the center. You can just see the pocket fabric peeking out!
-

- Lining up pieces
-
- Pinning
-
- Sewing – pivot!
-
- Pivot!
-
- Sewn seam
-
- Ironing
-
- Finished front piece
-
- From the outside
-
- Pocket detail
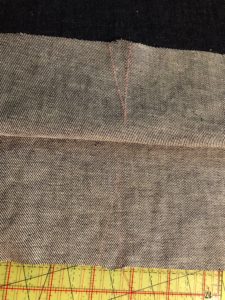
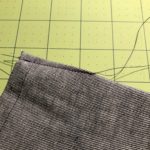
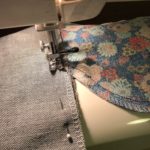
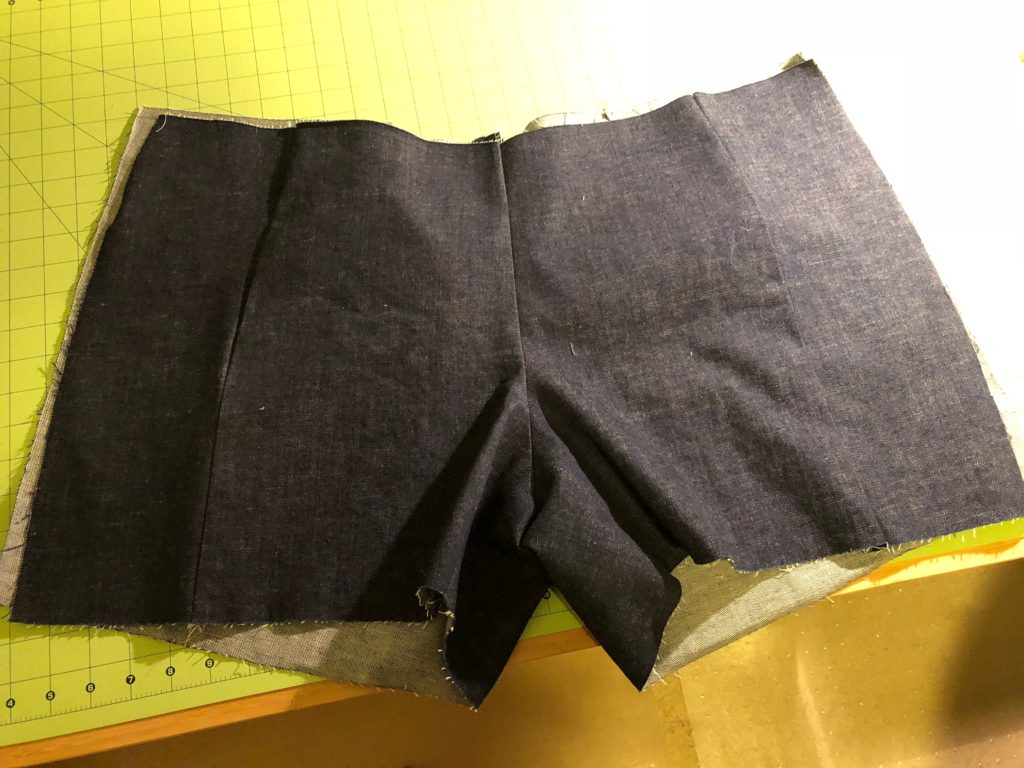
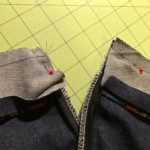
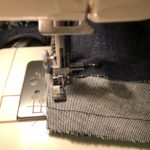
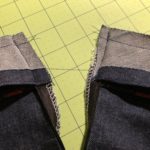
Time to sew the crotch! I joined up each front piece with its corresponding back piece and pinned the short inside leg seam. I sewed the seam, then overlocked each side of the seam allowance separately so I could iron it open.
-
- Pinning seam
-
- Sewing
-

- Finishing seam
-
- Finishing seam
-
- Ironing
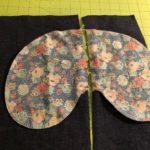
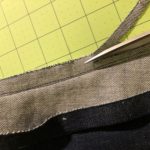
Next, I lined up the two halves of the shorts and pinned the crotch seam from front waist to back waist. After sewing this seam, I cut into the seam allowance along the curved bits to allow it open up. Then I overlocked each side of the seam allowance separately and pressed it open.
-
- Lining up pieces
-
- Sewing crotch
-
- Sewn crotch
-
- Clipping curves
-
- Finished seam
-
- Ironing
It was finally starting to look like a pair of shorts!
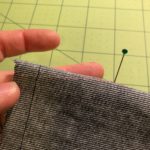
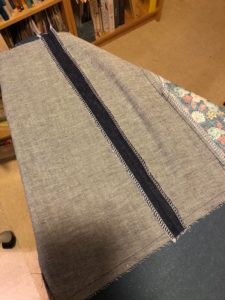
I turned them inside out and pinned the right side seam together. (The left side is left open since it will have the zipper in it.) Then I sewed the seam, overlocked the edges, and pressed it open.
-
- Pinning seam
-
- Finished side seam
Before I could insert the zipper, I had to attach the waistband. I sewed the interfaced bands together at the right side. Because the non-interfaced waistband is on the inside, I had to sew the left side for that one. (Takes you a while to get your brain around the geometry, I know.) I finished the edges and pressed them open.
-
- Pinned waistbands
-
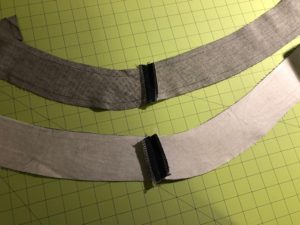
- Finished seams
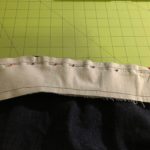
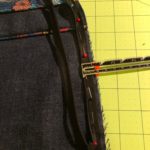
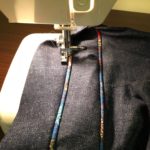
Here’s the point where I deviated from the pattern to add my piping! I pinned it to the top and bottom of the interfaced waistband piece, making sure to place it 5/8″ from the edge so it would just poke out from my eventual seams. I sewed it down using a zipper foot (which only has one prong and allowed me to sew very close up to the edge of the piping).
-
- Pinning the piping
-
- Sewing piping
-
- Attached piping
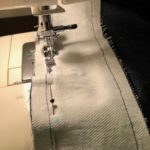
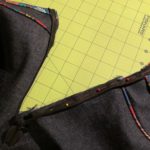
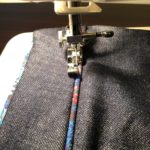
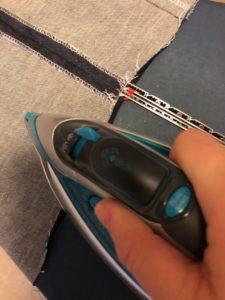
Next, I pinned the interfaced waistband piece to the top of the shorts and sewed it down. Again, I used my zipper foot so I could get close up to the piping (which was sandwiched in between the pieces). Then I ironed the seam towards the waistband.
-
- Pinning seam
-
- Sewing waistband
-
- Pressed waistband
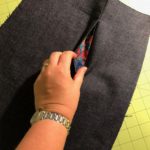
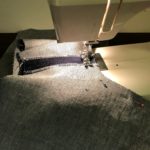
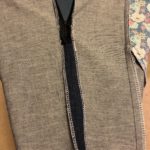
It was time to install the zipper. Rather than walk through all the steps, I’ll just direct you to Colette’s excellent tutorial. I refer to it every time I have to insert one! Pro tip: It helps a lot to have an invisible zipper foot, which has special channels that your zipper teeth travel through. It allows you to get very close to the zipper!
-
- Zipper
-
- Pinning zipper
-
- Invisible zipper foot
-

- Sewing zipper
-
- Sewing other side
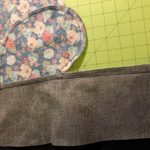
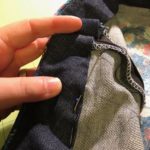
Once the zipper was in, I pinned the remainder of the left side seam. Then I sewed it, making sure to overlap a bit past the point where the zipper ended. This is where I made my one mistake of the project: I should have overlocked these edges before putting in the zipper! I managed to do it after the fact, but it was a little messier than it could have been. Then I pressed the seam open.
-
- Pinned seam
-
- Sewn seam
-
- Finished seam
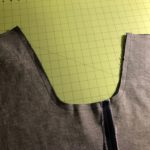
Attaching the waistband facing is really counterintuitive and weird, so you just have to follow the pattern instructions and trust that it will turn out! I started by turning up the bottom edge 5/8″ and pressing it in place. Then I opened the zipper and flipped out the seam allowances. I aligned the waistband facing to these edges and sewed them down as close to the zipper teeth as I could get.
-
- Pressing bottom edge
-
- Pinning at zipper edge
-
- Sewn zipper edge
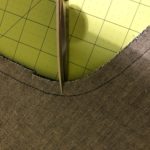
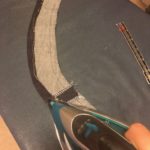
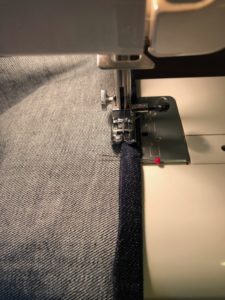
Then Colette has you do something really weird: you turn the zipper away from the opening again. Then I stitched down all along the top of the waistband, sewing slowly over the zipper and using my zipper foot to get as close to the piping as I could. Then I trimmed down the seam allowance at the corner and graded it down all along the seam. Then I flipped the facing away from the seam and understitched it as far as I could (meaning I sewed the seam allowance to the facing along the edge of the piping – it’s supposed to make sure the waistband rolls to the inside).
-

- Flipped, sewn, and clipped
-
- Grading seam allowance
-
- Understitching
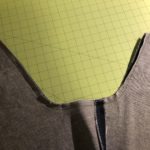
The final waistband steps were to turn out the waistband completely and poke out the corners, give it a good press, then hand baste down the folded facing edge on the inside. Then I edge stitched on the outside of the garment along the piping to make sure the facing was caught and sewn down securely.
-
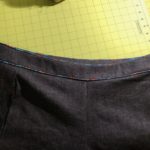
- Pressed waistband
-
- Basting facing
-
- Edgestitching
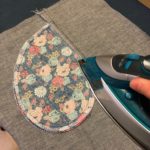
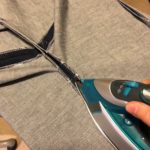
And the final, FINAL step was to hem the legs of the shorts. I folded them up twice and pressed, then sewed down the hem. And they were finished!
-
- Pressing hem
-
- Sewing hem
I hope that gives you an idea of the amount of work that goes into a single garment. I think there’s a perception that sewing your own clothes saves money. It really, really doesn’t. Think of it this way: all up, these took me about 7 hrs over the course of two days. (That includes an hour to make my own bias binding and piping though.) At current Australian minimum wage of $18.29, that means there’s well over $100 worth of my labour in these. The cost of materials would push that even higher.
Now think about how much you might pay for a pair of denim shorts in a shop. I’m guessing it’s a lot less! (And no, it’s not solely due to automation. Sewing clothes is still a largely manual process, as robots can’t yet handle textiles very well.) Someone got paid to make your clothes, and they probably got very little for it and worked in very crappy conditions. No, I haven’t stopped buying clothes in shops yet. But making my own things makes me more appreciative of the work that goes into it, and less willing to shop at the “fast and disposable” fashion places these days.
Plus they look really cute! 🙂
Donna
April 14, 2018 — 11:40 pm
Yay, you! They’re fabulous – and you’ve written an excellent blow-by-blow!