Out in the front garden, the annoying palm at the end was removed and the area cleared.
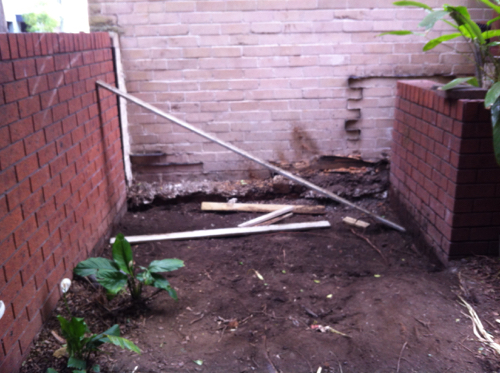
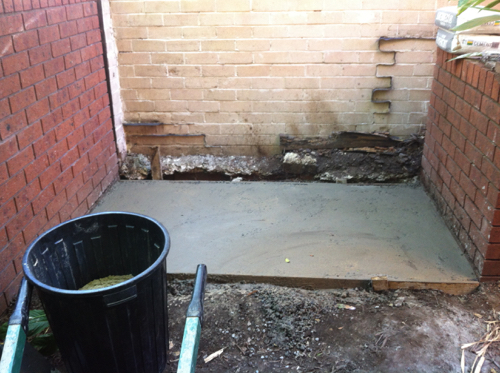
The guys then built a frame so they could pour a concrete slab.
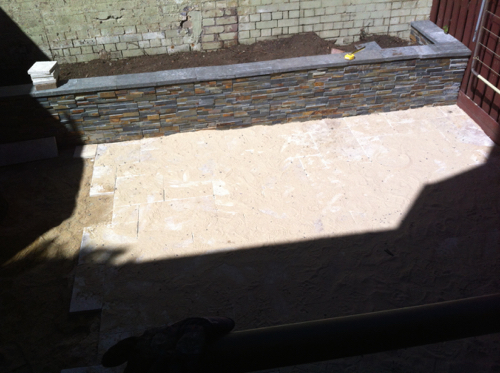
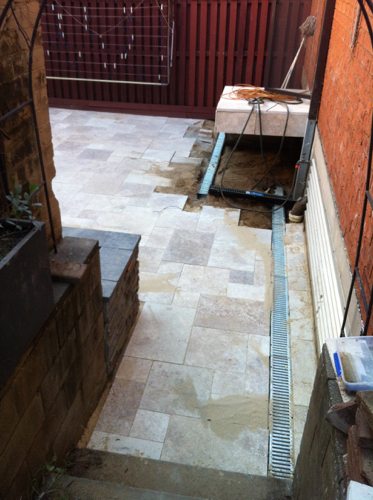
And now back to the fun bit out the back. They started laying down our pavers! We chose travertine pavers to be laid out in a French pattern (meaning multiple sizes).
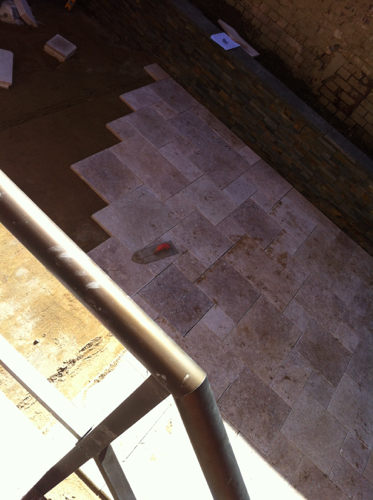
They also installed a drain so if we got a lot of rain it wouldn’t wash down into the car park or under the fence into our neighbour’s.
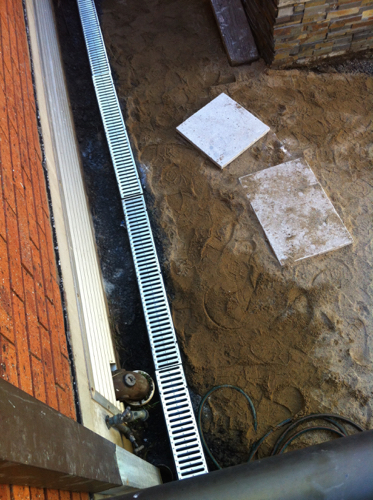
Sand was dumped on top of the pavers and pushed around to fill all the little gaps. You can also see here that the “caps” on the wall are being put on as well.
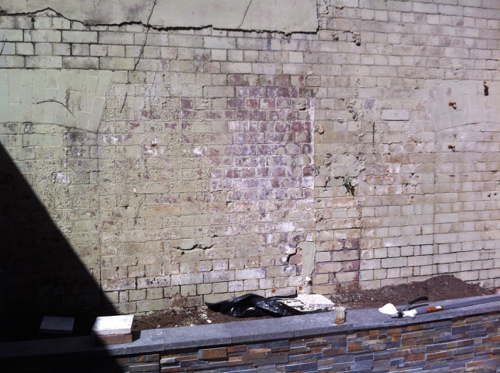
We toyed with the idea of getting the old walls sandblasted, but we decided we liked the way they looked. We settled on instead giving them a good wash and scrape to remove the worst of the flaking paint.
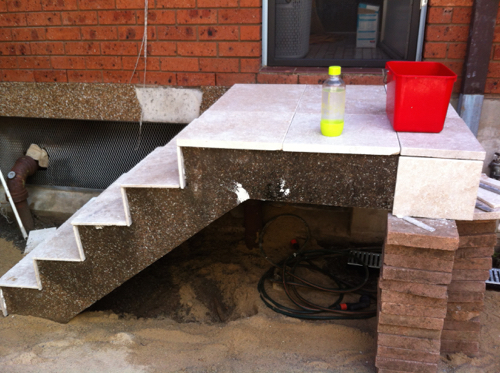
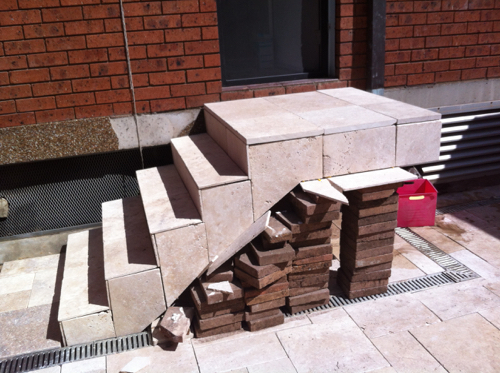
Rather than try to remove the old pebblecrete, the decision was made to simply apply the travertine right over the top of it. (We got thinner pieces of it for this.) Here it is going on the treads and top. We also had them remove those terrible old aluminum handrails.
Here’s the view down from the side with the paving nearly completed.
And here’s the stairs, basically finished off.
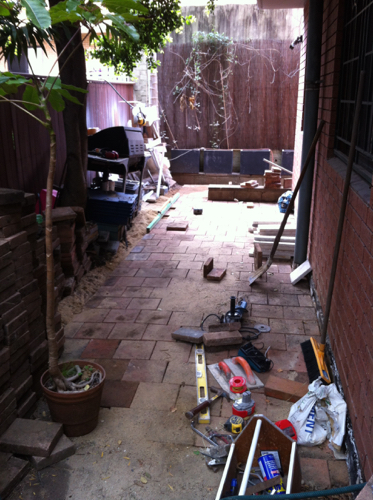
But hey, what happened to all those terracotta pavers we pulled up from the back, you might ask? We put them to good use! Since they matched the ones we already had on the side of the house, we had the landscapers use them to fill the bare area along the side of the house.
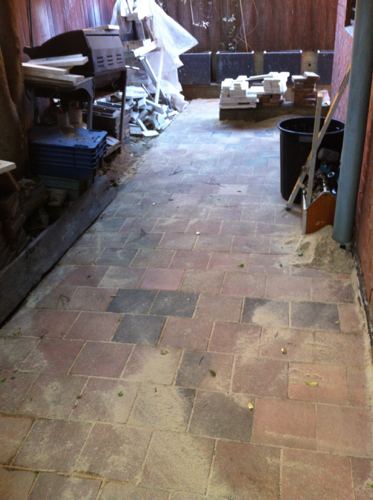
Again, sand was used to fill in all the gaps.
Pages: <- previous / next ->