UPDATE 18/02/2025: I’ve got an even better solution to the physical mute button here!
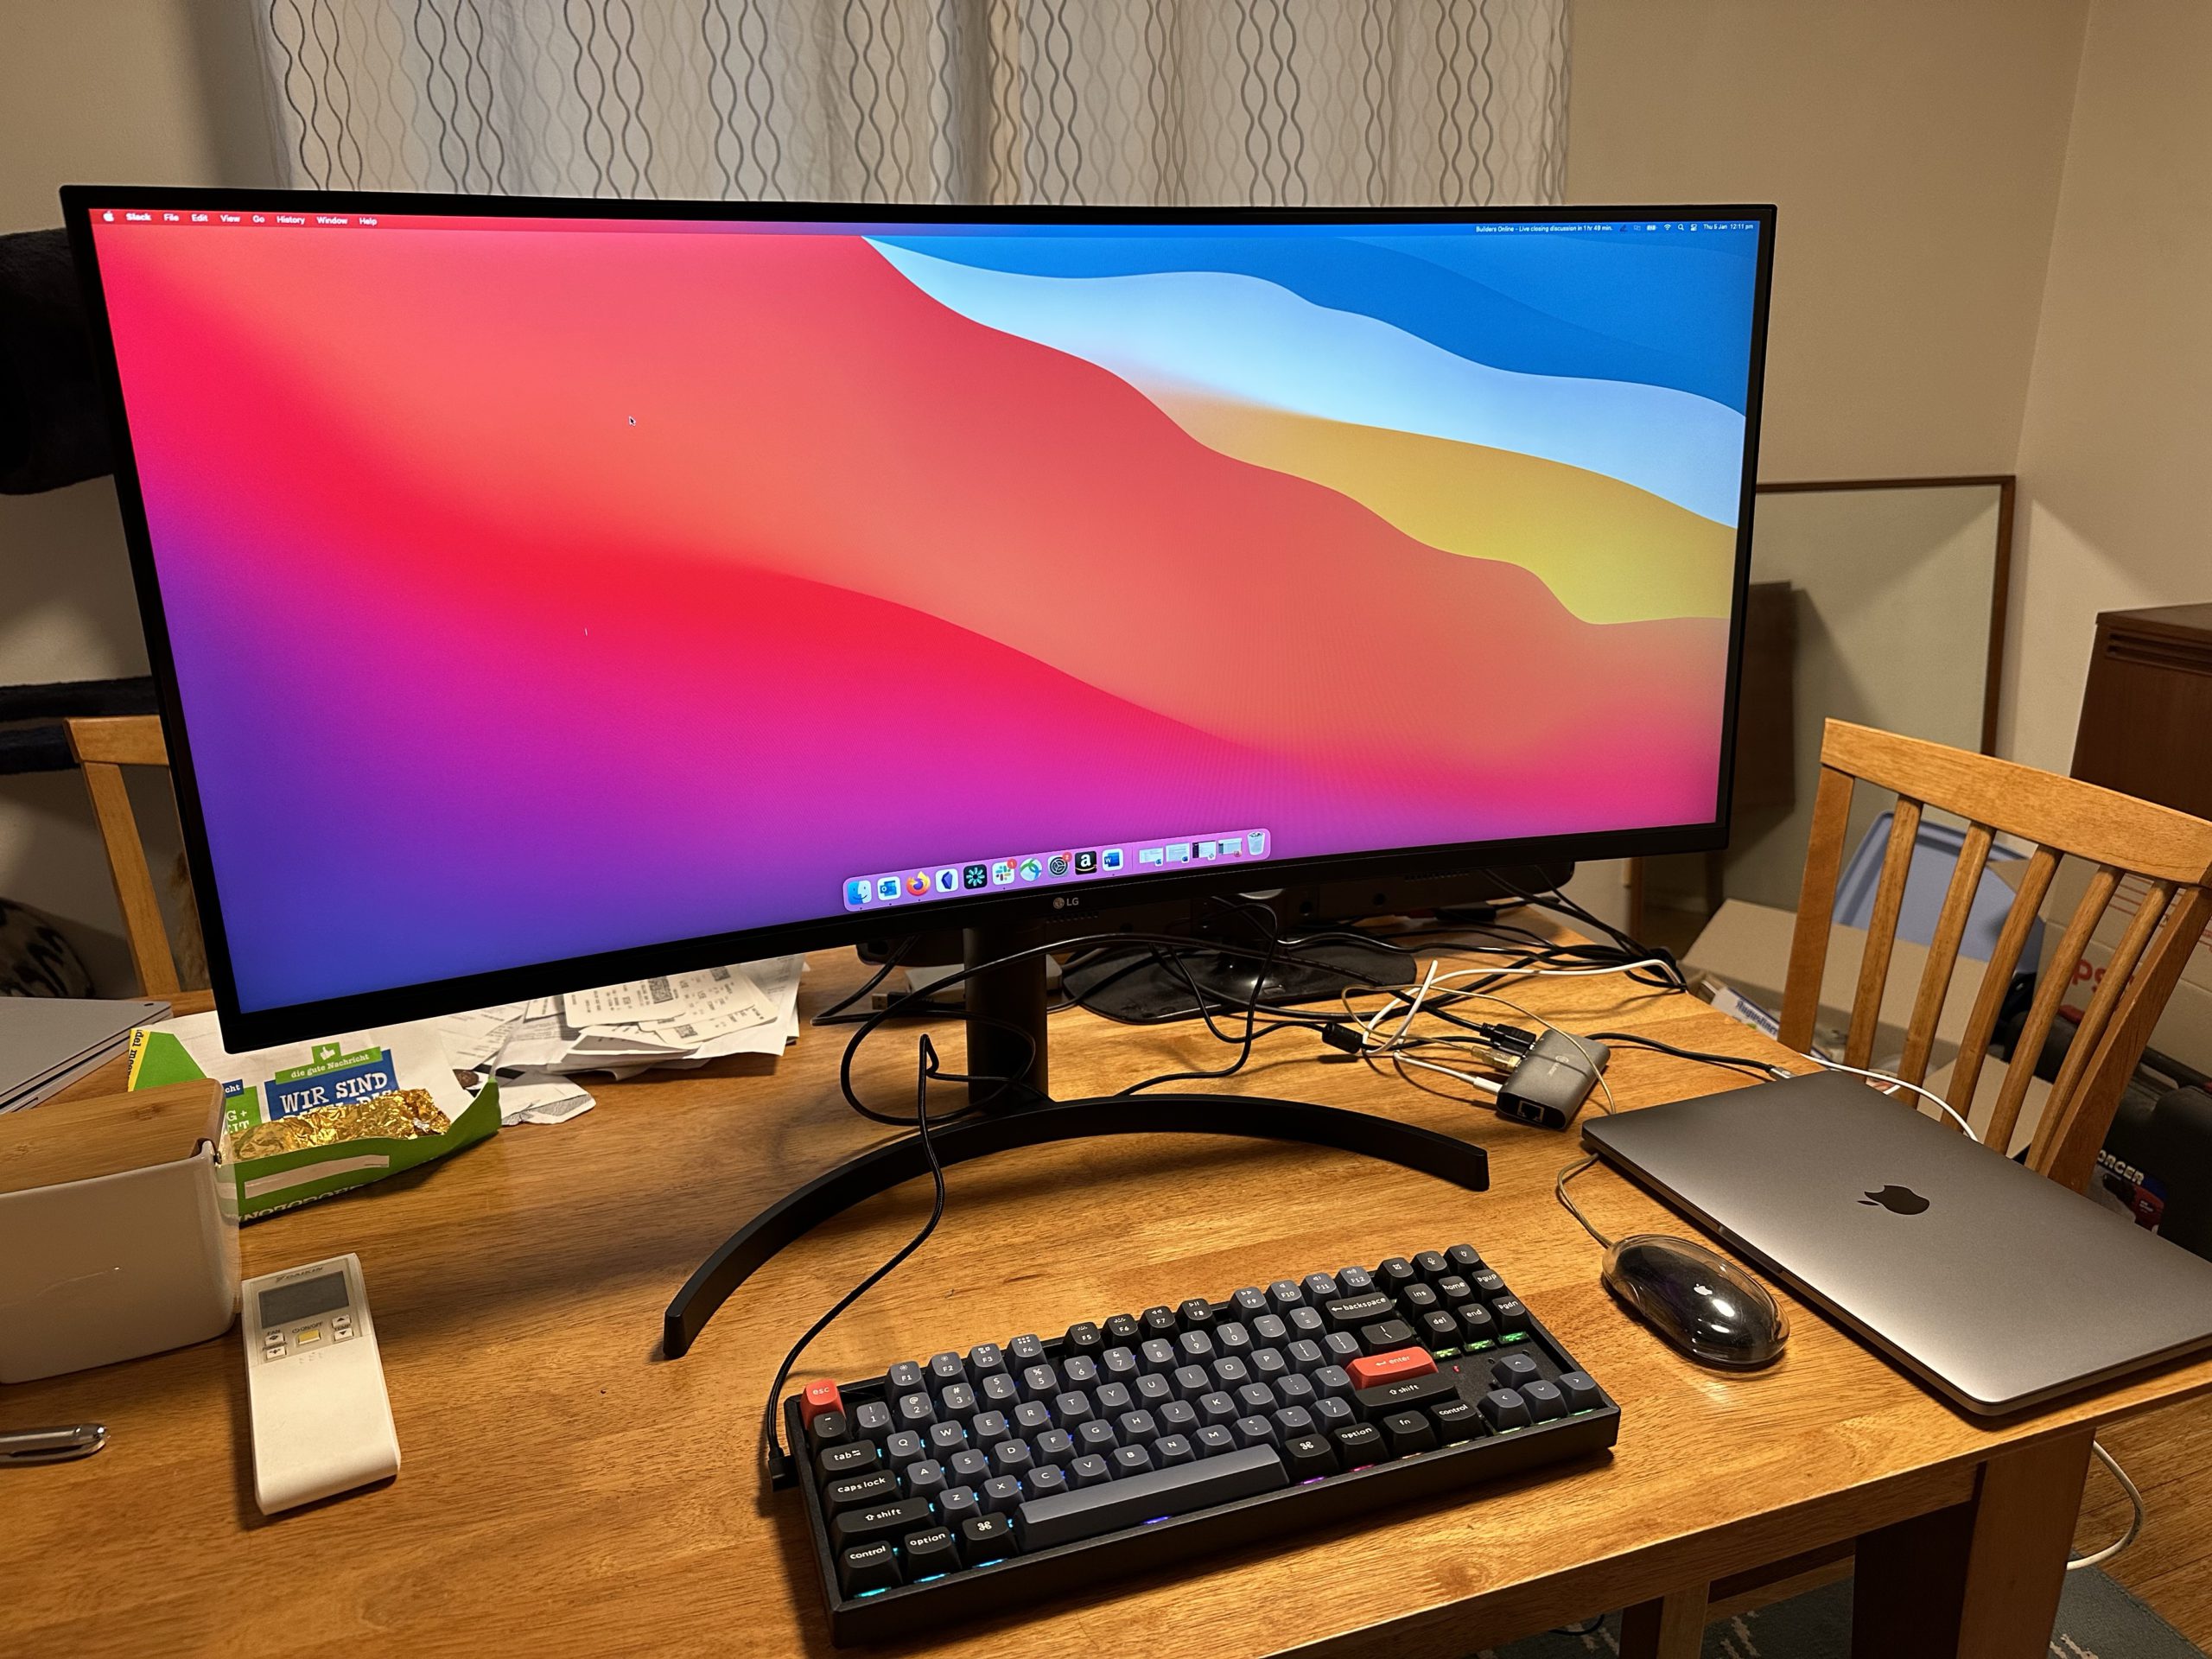
My home office in Sydney is still empty, but I’ve set up a workspace at the dining room table in the meantime. One of the Christmas presents I bought myself is a mechanical-switch keyboard. I’ve been wanting one for ages, and then I read this CNN Underscored rating guide that covered a lot of the best. I decided I didn’t need a full-sized keyboard as I’ve got my duckyPad I can use for a numpad. Based on the guide – and what’s available in Australia, and what I wanted to spend – I ended up getting a Keychron K8 Pro with aluminum frame, RGB backlight, and blue Gateron switches. (MSY has it for $179 AUD and had it ready for pickup in 3 days. The guy there was like, “I didn’t even realise we sold Keychron stuff!”) It’s pretty sweet.
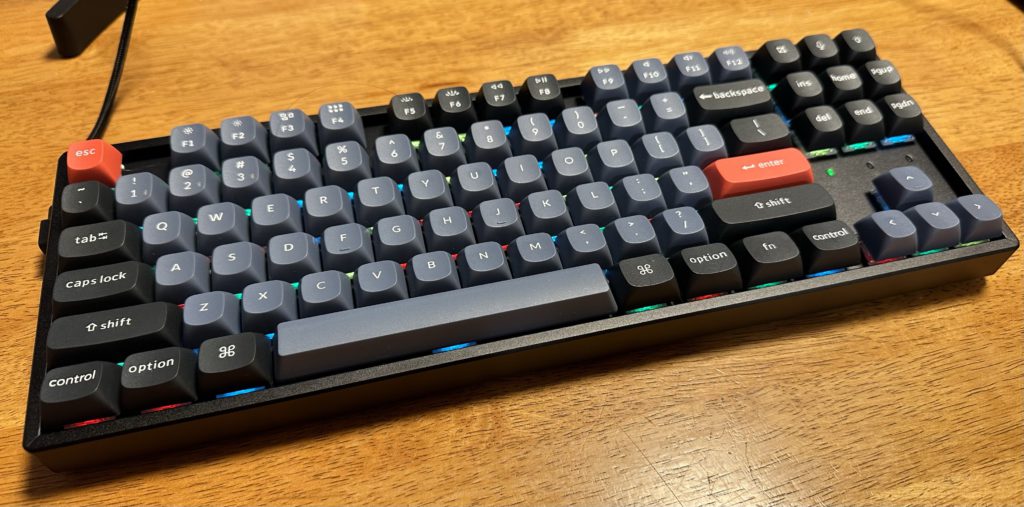
The first thing I noticed when I picked up the box was that it was heavy. This thing is seriously sturdy, which is great because I have been known to pound on keyboards. The K8 Pro can be used either wirelessly with Bluetooth or plugged in via USB. (I expect I will mainly use it plugged in, but it’s nice to have the option.) It comes with the Mac keys installed already, but they provide the corresponding Windows keys along with the tools to swap if you need to. I haven’t gone down the custom keycaps route yet, but believe me, I am tempted. (Why are so many of them white though? I remember back when I had a Mac keyboard with white keys it was a constant struggle to keep them from looking grimy.)
I plugged in and started typing. And friends, the blue Gateron switches in this thing are gloriously clicky. I’m probably giving Rodd a migraine, but I love it. Everything feels very solid, including the space bar. Then I noticed there are a couple special keys in the upper-right corner…
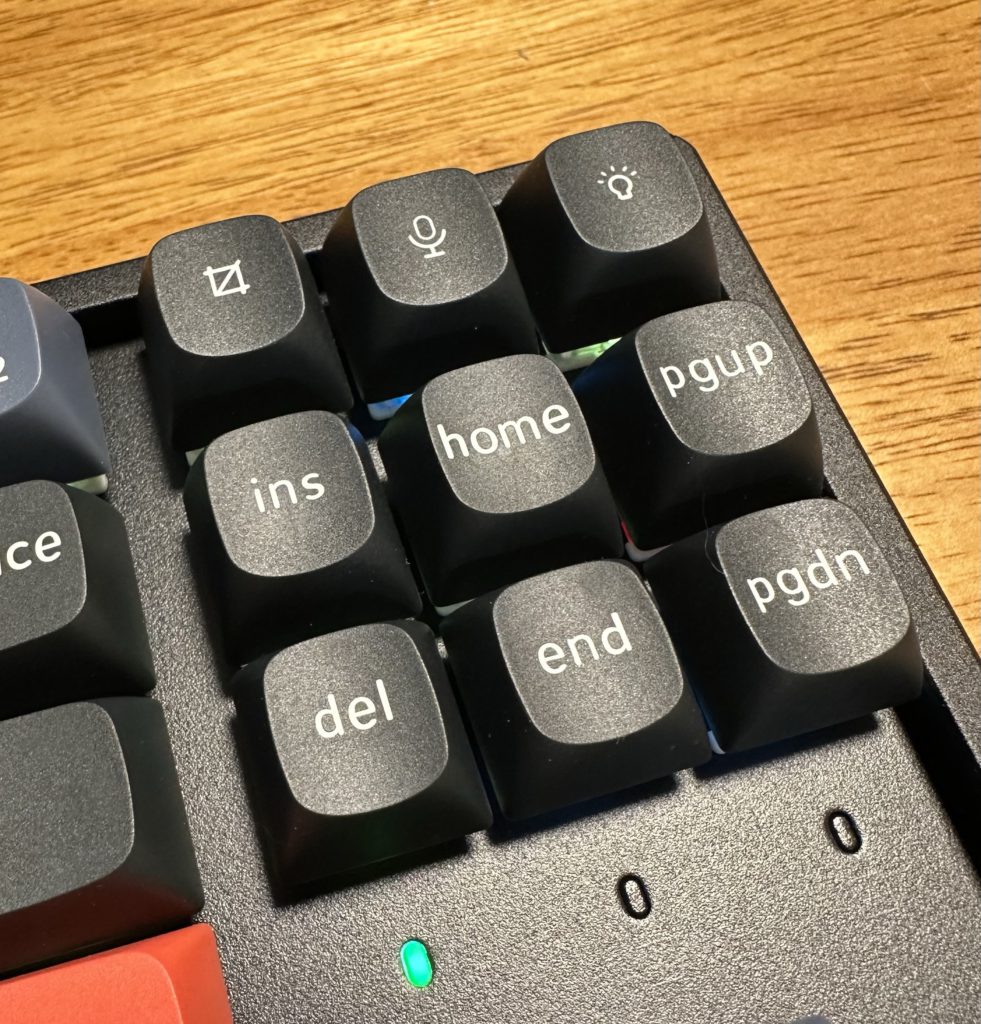
With the default Mac layout, the little “crop” icon invokes a partial screenshot (i.e. the same thing you get by hitting Shift-Command-4). I’d long since built up the muscle memory for the shortcut, but since I usually move my right hand for it anyway, I reckon I could switch to the button.
The middle button has a microphone on it, and I got excited thinking it was a physical mute-microphone button. Instead though it invokes Siri or Spotlight search (i.e. Command-Space), which is disappointing. I never really use Siri, and it’s much faster to just use the shortcut for Spotlight. Park that for a second.
The third button has a lightbulb on it, and it controls the RGB lighting effects on the keyboard. When you click it, it cycles through the different options. If you hold down the Fn key while you click it, it turns them off/on. Okay, useful.
Back to that microphone button. One of the best things about a keyboard like this is that it’s completely customisable. I decided to remap that key to become a mute microphone toggle. Of course, Apple still doesn’t have an OS-wide shortcut to mute the microphone, which means you have to get creative. Previously I used Mutify to create a shortcut for the duckyPad, but I decided to see if I could do it without installing anything new on my machine. It took me lots of trial and error, but I’ve finally got it working! Here’s how I did it.
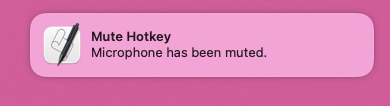
The first thing you need to do is set up a Quick Action using Automator. This extremely thorough article will walk you through every step of the process, including how to test that the integration is working. I decided on Shift-Command-0 for my shortcut, as I don’t use any of the apps that use that one. I tested it out, and I could see that it was working! But there was one problem. There’s no feedback when you invoke it, so it’s hard to remember whether you’ve engaged it or not. (Mutify had a little menubar icon that would turn red.) Then I realised I could use system notifications for that purpose…
Here’s the AppleScript I ended up using in Automator:
on getMicrophoneVolume()
     input volume of (get volume settings)
end getMicrophoneVolume
on disableMicrophone()
     set volume input volume 0
     display notification "Microphone has been muted." with title "Mute Hotkey"
end disableMicrophone
on enableMicrophone()
     set volume input volume 100
     display notification "Microphone has been unmuted." with title "Mute Hotkey"
end enableMicrophone

if getMicrophoneVolume() is greater than 0 then
     disableMicrophone()
else
     enableMicrophone()
end if
Then go to your Notifications & Settings pane in System Preferences and check that Script Editor is set to Allow Notifications.
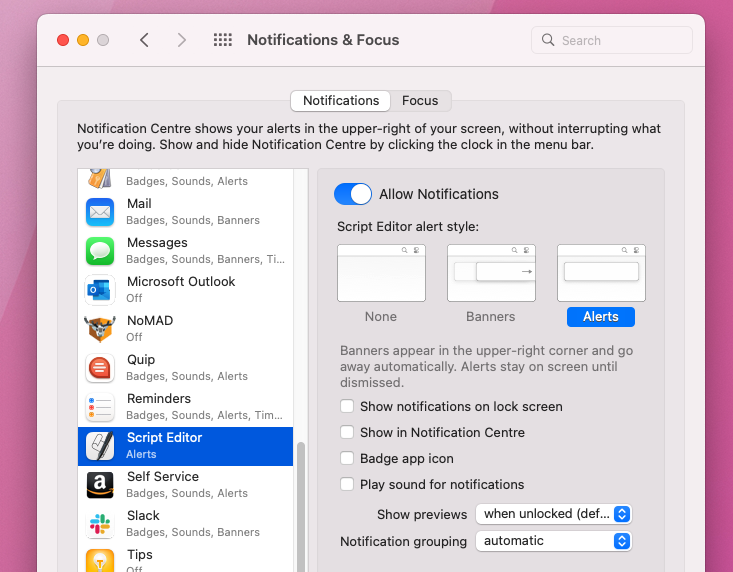
If you leave the style set to Banners, they will show briefly and then disappear. I decided it was more useful to change them to Alerts, which will remain on the screen until dismissed. That way I can tell at a glance whether my microphone is “hot” or not. The notifications end up stacking up in a little pile, and you can dismiss them all at once when you want to clean them up. (I might play with the wording a little bit to make it even more obvious what the current state is.)

So now you’ve got a system-wide shortcut that will turn your microphone input off and on. If you’ve got a configurable keyboard, you can then map that shortcut to a single key press. For the Keychron K8 Pro, there are a couple ways to do that but the easiest way is to use VIA, an open source keyboard configurator. I had to go to caniusevia.com in a browser (important note – has to be Chrome due to the extensions required) and click the “Start Now” button. (You need to be plugged in for this, not using Bluetooth.)

You’ll then click the Authorize Device button, and an alert will appear asking you to confirm which device you want to connect to.
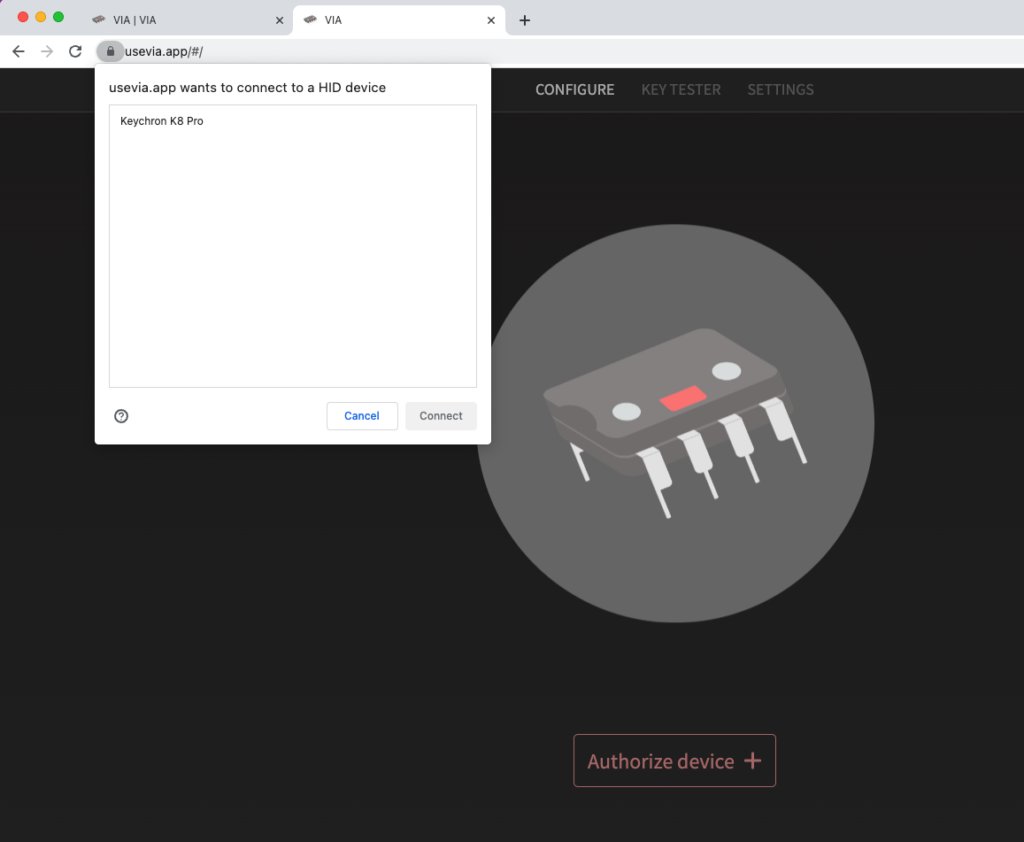
This is where I came unstuck the first few times, because I’d do that and then… nothing would happen. Then I realised I needed to RTFM. Keychron’s key mappings haven’t been approved by VIA yet, so you have to add them manually. This isn’t as scary as it sounds. I went back to the Keychron K8 Pro product page and scrolled down to “Get the keymap working on VIA.” Then I clicked the button to “Download K8 Pro ANSI RGB keymap JSON file” and unzipped the download.
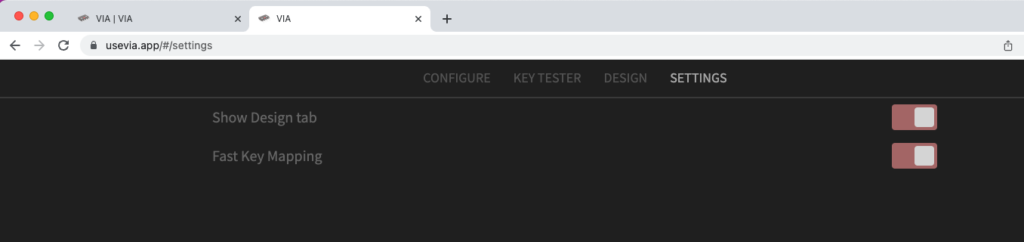
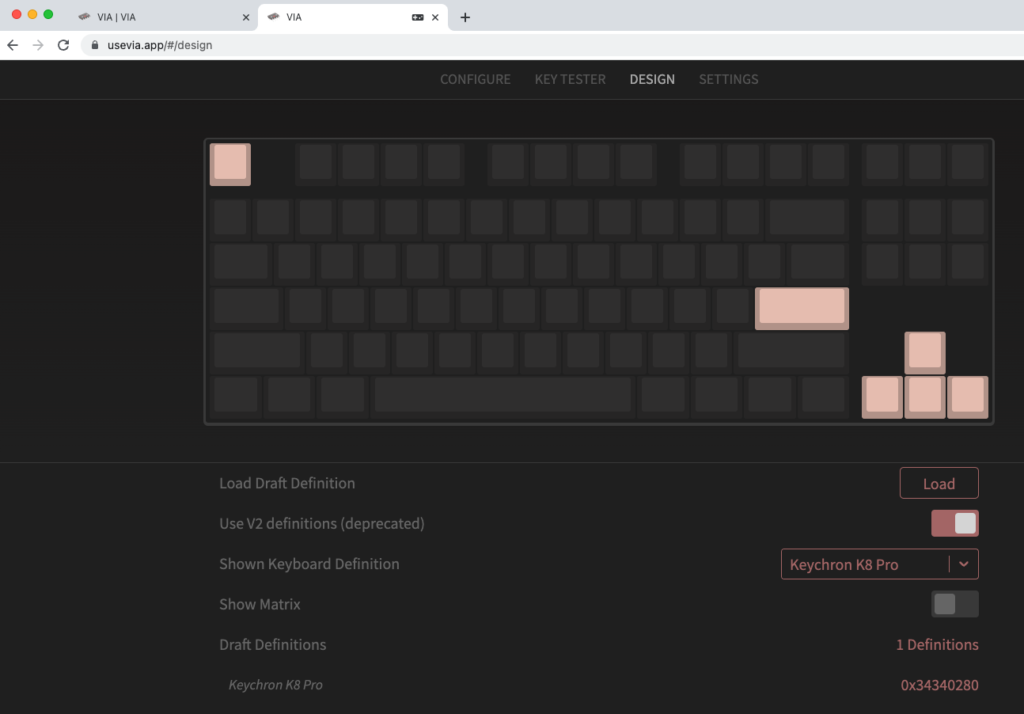
Keychron’s instructions are written for the desktop version of the VIA app, but as far as I can tell it works exactly the same in the browser. So head back to Chrome, click on Settings, and tick the option to “Show Design tab.”
Then click on the Design tab, and you’ll see a place to upload that JSON you just downloaded. You’ll also want to make sure the “Use V2 definitions (deprecated)” option is ticked.
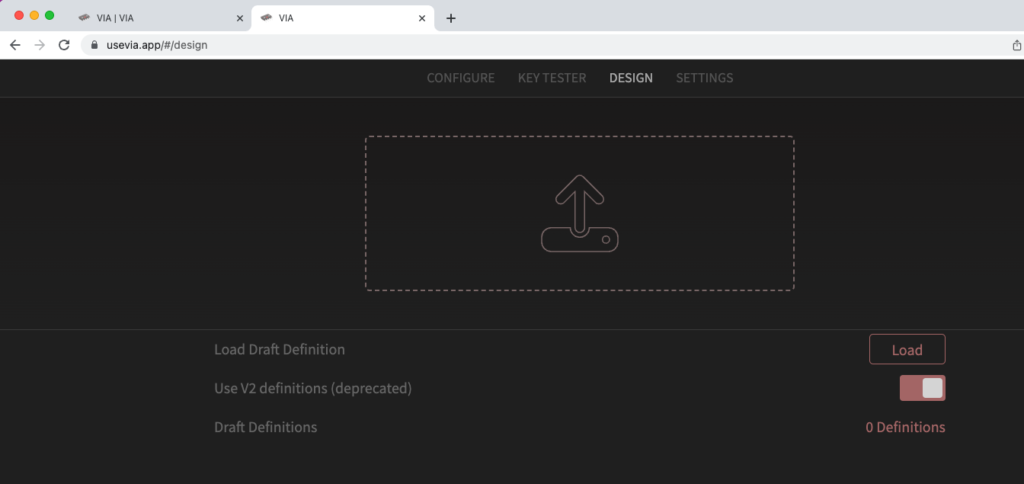
If it worked, the screen will update to show a keyboard.
Now switch over to the Configure tab and you should see your actual keyboard layout. The “Layers” refer to different configurations, and the Mac configuration is Layer 0 by default. (You may need to switch to Layer 1 for Windows.) Click on the Macros link in the upper-left.
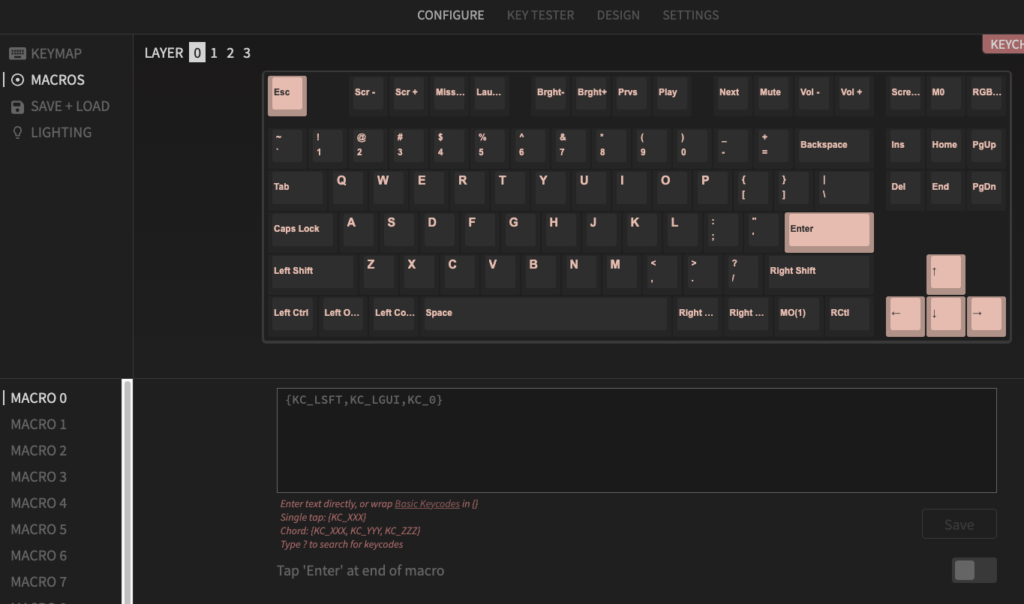
Macros allow you to type multiple key presses at the same time, so that’s where we’re going to save our shortcut. I put mine in Macro 0, but you may want to use another number if you’ve already got some in there. For each key, you’ll enter the appropriate alias from the documentation. Here’s what mine ended up being for Shift-Command-0.
{KC_LSFT,KC_LGUI,KC_0}
Note that the keys are separated with commas, and I’ve wrapped the whole thing in curly braces. Make sure you click the Save button once your shortcut is in there. Now click back on Keymap in the upper left.
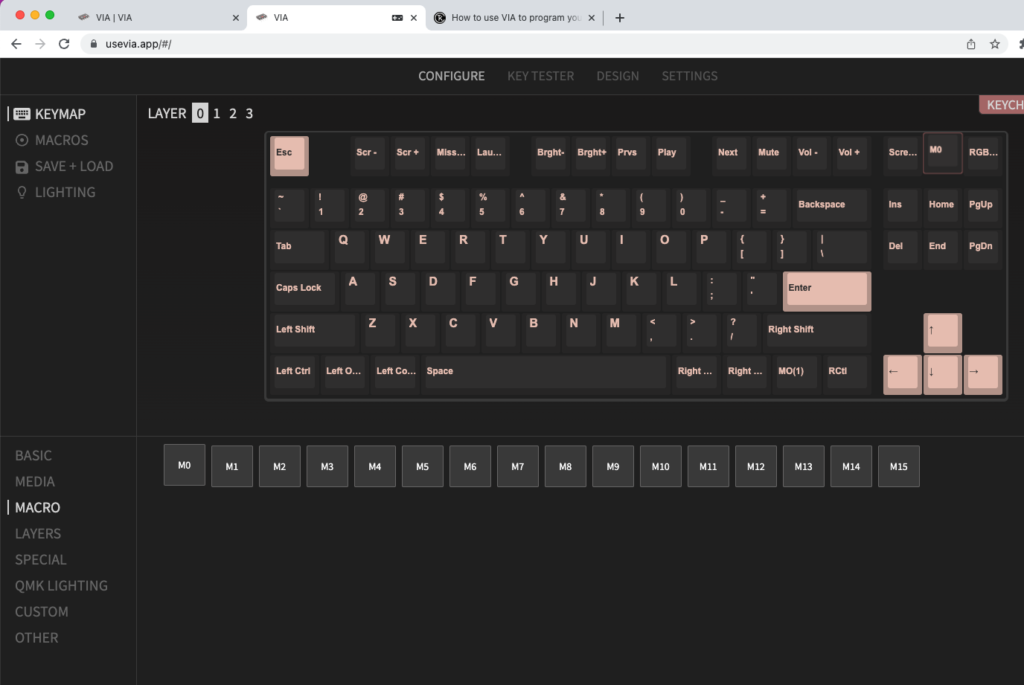
This is where you’ll actually map your new Macro to the appropriate keypress. (Protip: take a screenshot before you do anything else. You’ll see why in a minute.) In the upper part of the screen, click with your mouse on the key that you’d like to remap. It will start blinking slowly. (You can see mine in the upper-right.) Then on the bottom part of the screen, click the Macro option and then select whichever one corresponds to the Macro you created in the previous step. I chose M0, which is why the keymap changed from “Siri” to “M0” on that key.
And that’s it. It’s active pretty much instantly, so you should be able to try it out right away. You can also use the Key Tester tab; when you click the key on your keyboard, it will light up what you’ve mapped it to. Now here’s the warning: once you click an option on the bottom part of the screen to map a key, the selected blinking key will move to the next one on the upper keyboard. It’s really easy to not notice this, and to click another option on the bottom part (like if you accidentally hit the wrong one). This means you might be merrily going along and remapping heaps of keys without noticing. (I’ve done it a couple times already.) So just be careful! That’s why I suggested a screenshot, so you can repair any damage if you accidentally remap a key and can’t remember what it was before.
The really awesome thing about keyboards like this is that the configuration is saved on the keyboard. It’s not tied to the particular laptop, like if you configured it with an app. You can plug it into other computers and it will still work. Really cool, huh? There are lots of other configuration options in there, including changing the lighting and invoking specific OS features. I’ve really only scratched the surface.
So yay! I’ve got a very clicky keyboard and a physical button to mute the microphone across all apps, along with a visual reminder of the current state. If you have any suggestions or want to share how you’ve modded your Keychron, please get in touch.