@JulieKalitis It’s funny; I griped about it quite a bit while watching it, but now I’m in a FB discussion where people are crapping on it and suddenly I’m a defender. Not everything needs to be High Literature! Gahhhh. 😂
Guess what? I’m finally at the waist ribbing for Lanatus! Join me as I cast off the body and begin the sleeves. https://t.co/SGy8OKVXiF https://t.co/REYJ9kK2sB

@lemon_lime Did you know that the guy who plays Anthony, the oldest brother, is gay in real life? He plays a very convincing lusty hetero rake! That scene when he and Siena catch eyes across the boxing match… 😳 *fans self*
Happy New Year, Aussie friends! Thinking of all of you… ❤️🎆
@lemon_lime Well, and people of colour! I don’t think it has any pretense towards historical accuracy. It’s an alternate universe that’s much more inclusive, and if the price for that is period-inaccurate lack of bonnets, I will allow it. 😃
@darthted I’d 100% call the cops on them. What assholes.
@lemon_lime Lol. I recognised that the music wasn’t period, but I didn’t actually identify any songs until the rainy sexy times in the garden and I yelled out THAT’S TAYLOR SWIFT!!! 😂
RT @EW: Author Julia Quinn talks to EW about witnessing her romance novels come to the screen in Shondaland and Netflix’s adaptation ‘Bridg…
@polleyg Keen to read both, frankly! Hope neither is too much of a setback. 😂
I can think of a LOT of things to say for the tech industry, but they all fall into the category of Career Limiting Moves so I won’t. 😂 https://t.co/xb0dTcia88
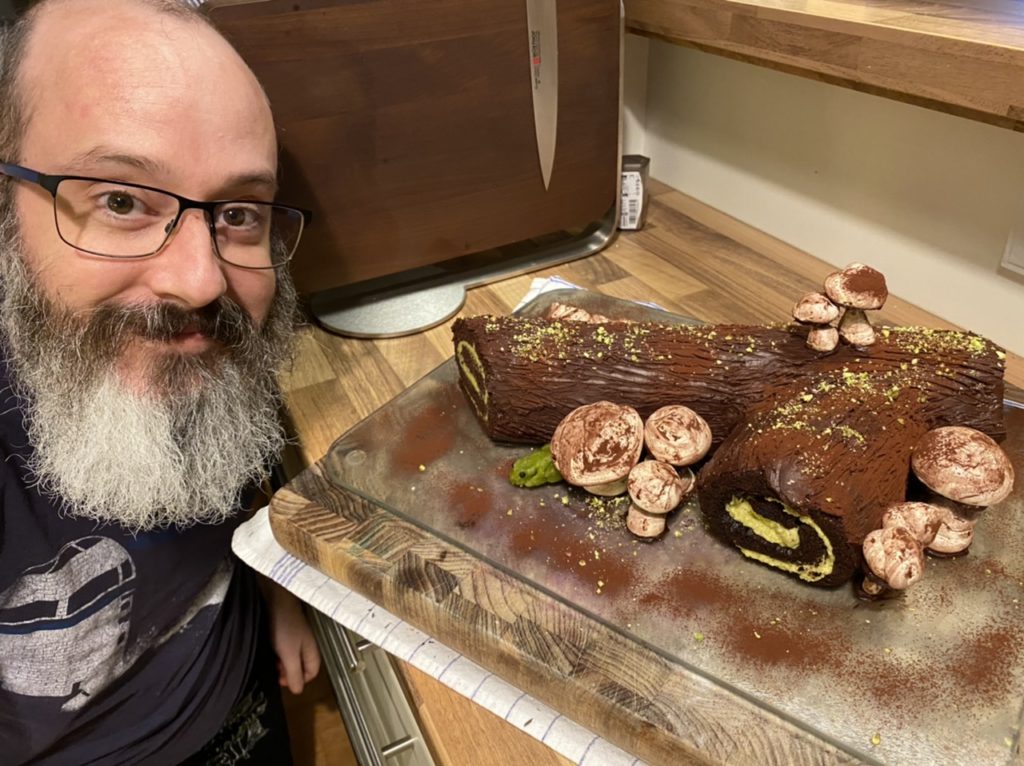
Homemade pan pizza from the Snook, specially made for NYE. ❤️🍕 @ Munich, Germany https://t.co/i2P8kctSxe
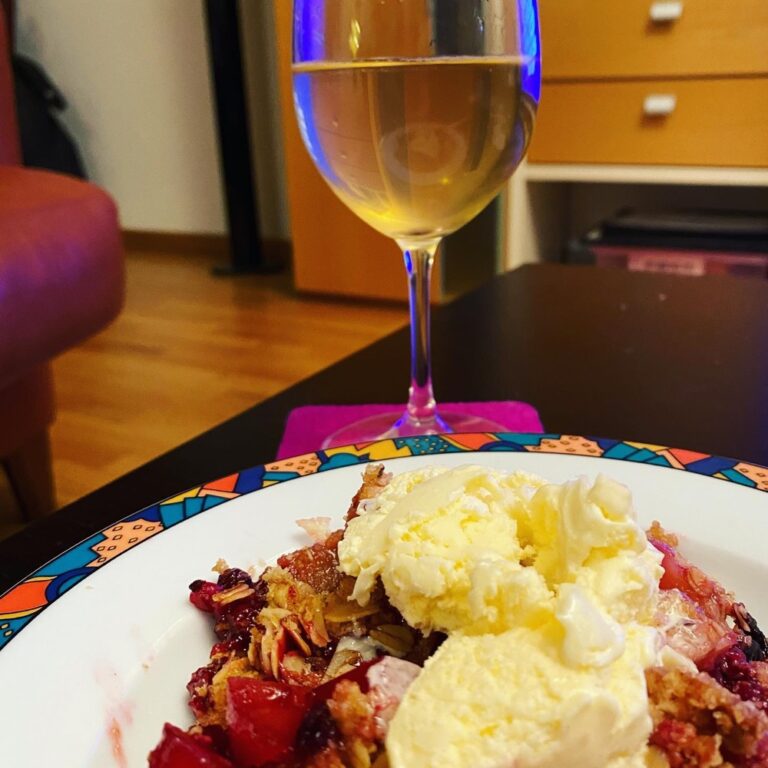
I took care of dessert. Apple and berry crisp with vanilla ice cream, served with a glass of bubbly. Happy NYE! 🥂 @ Munich, Germany https://t.co/o1DsjMct4S
@Vel12171 Still going! But none on this pizza. 😂
The new @bootiemashup is always the highlight of New Year’s! (Whoever came up with “Bohemian WAPsody” deserves an award.) 😂 https://t.co/IFR9AlZgL5
RT @RespectfulMemes: https://t.co/JBqFH9AtaU