Tag: record albums

More fun with vinyl!

Record Album GuestbookMore Fun With Vinyl: Record Album Guestbook
It all started with another of Amy‘s suggestions; namely, that we should have a Guestbook at our reception. The ones in the shop all seemed so boring and traditional though. Then I had a flash of inspiration: I’d cut up an Elvis record and use it as the covers! The result you see before you. It took the Snook and I about an hour or so, and it was a convenient excuse to finally buy a power drill. There was also the side benefit of making some bitchin’ vinyl cuffs out of the excess. Read on for our tutorial…
Inside
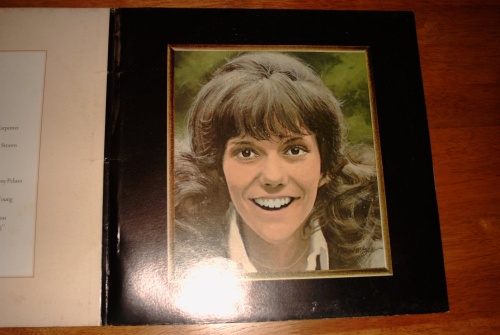
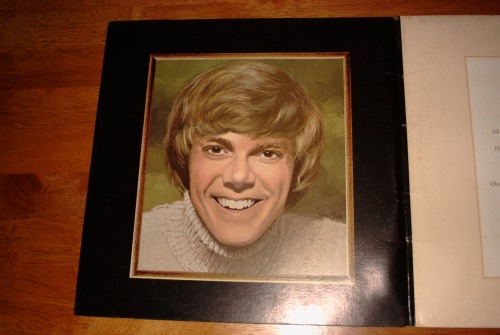
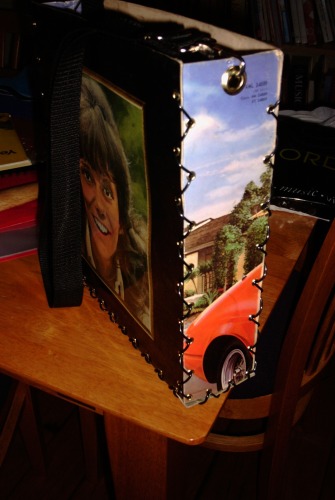
Here’s a view of the inside. The book itself is a basic “scrapbook” that I found at Dymock’s Stationery Store. It had thick, squarish cardboard covers. I wasn’t crazy about the color of the paper, but it met the main requirement: It had a nice big spiral binding that didn’t join completely, meaning it was really easy to pop the existing covers out. It was also just big enough to encompass a record label, which I figured would look cool.
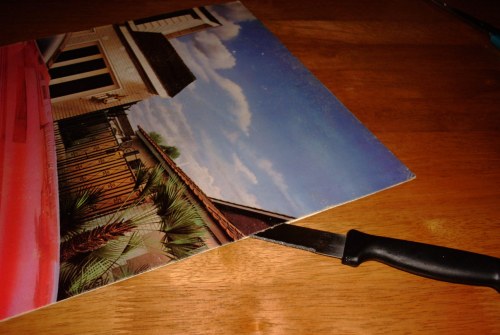
ScoringStep 1: Scoring
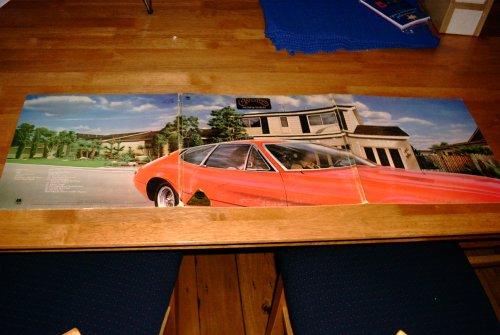
Here you can see the basic tools we used: a metal ruler, a Stanley knife, and a piece of cardboard to protect the table. We’ve removed the original covers from the scrapbook and the Snook is positioning one of them on the album. The record was “Elvis in the 70’s” and came from Glebe Markets. (We paid $6 for it and it looked pretty crap, so I hope the vinyl purists won’t be up in arms.)

ScoringThe Snook is using the Stanley knife to lightly score the outline of the cover onto the album. In addition to taking the photo, I squealed and squirmed the whole time as I imagined him slicing his fingers off.

ScoringFinally we get to the hard-core scoring. We first tested a bit of the record (well within the excess) to figure out how many times and how deep we needed to go. A dozen passes with the Stanley knife seemed to do the trick nicely. Here’s the Snook using the metal straightedge to stay on the lines.

SnappingStep 2: Snapping
Finally it’s time to break the record. The Snook lines it up with the edge of the table and uses the straightedge to hold it stiff. (I also held down on the rest of the record to keep it from moving.) Then with his right hand…

Snap!Snap! It comes right off. As he finished each cover, I ran the cut edges over a piece of sandpaper to smooth them. (They’re a bit sharp from all the scoring.)
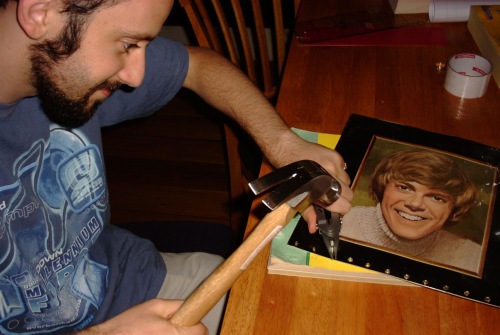
DrillingStep 3: Drilling
Once we had the new covers, we again lined them up with the originals and used the Stanley knife to poke guideholes for drilling. Then the Snook experimented with some scrap vinyl to find the drill bit that best approximated the original holes. Here he is drilling the holes in the actual cover. (Note our professional use of the Yellow Pages to keep from destroying our table. We need a crafting shed.)

DrillingHere’s a close-up of the drilling. We’d been worried that the record might crack or shatter, but in reality we didn’t have a single problem with it. It only took about two seconds to get through each time, and the only annoyance was cleaning the melted vinyl off the drill bit between each hole.

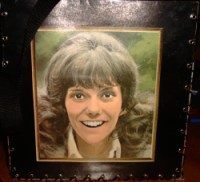
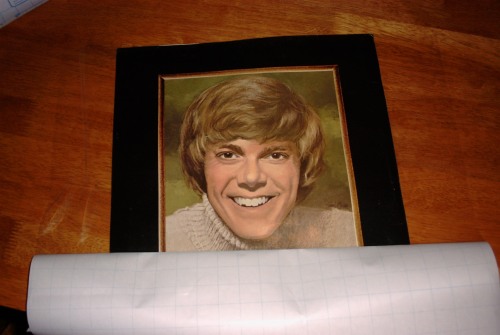
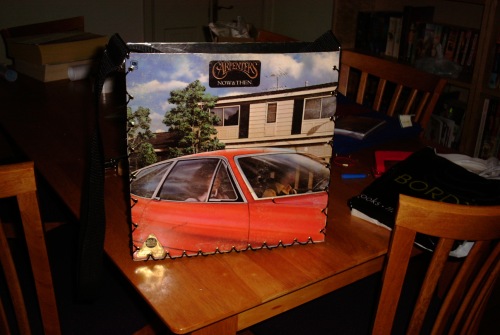
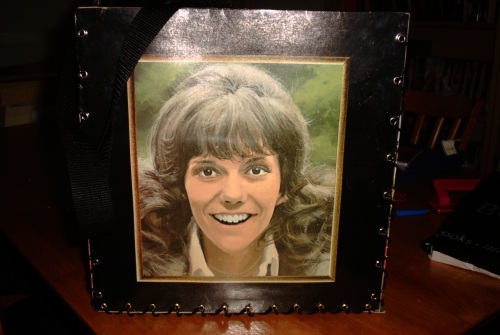
And that’s it! We just popped the new covers on the book and decorated the cover page with a photograph. The whole process was much easier and quicker than I anticipated.

Record CuffsSupplemental Craft: Record Cuffs
Since it seemed a shame to waste the leftover bits of vinyl, I tossed them in the oven on very low heat (like, as low as it would go) and draped them over a bowl to melt. Here’s the view inside the oven after a few minutes.

MoldingAnd here I am molding the flexible piece of vinyl around my wrist. I wore the dish gloves thinking that the vinyl would be really hot, but they were awkward and I took them off pretty soon in favor of just using my hands. They weren’t that hot.

Finished CuffHere’s the finished cuff! Very punk rawk, don’t you think? A few of them needed to go back into the oven for further shaping, and you may need to run the sandpaper over the edges if they’re sharp. I feel like I should send one to Ryan on The O.C.

That’s it! The Guestbook was a huge hit at the party and I can’t wait to have an occasion to do another one.

Record Bowls

Record BowlsRecord bowls!
Well, that’s some progress. Starting from the bottom and going clockwise, that’s Madonna’s “Like a Virgin”, Culture Club’s “Colour by Numbers”, Stryper’s “To Hell With the Devil”, and the Carpenters’ “Now and Then”. I basically followed the Get Crafty instructions, and I really can’t stress how friggin’ easy this is. They recommend an oven temperature of 200F, but my oven wouldn’t even go that low. I just turned it down as low as possible. Put a bowl upside-down on a cookie sheet, whack the record on top, and set it in the oven for about five minutes. Pull it out (use a hotpad or you’ll burn yourself like me!), whip off the flimsy record, and shove it down inside another bowl to mold it. They don’t give off toxic fumes or anything, and they don’t get melty enough that you see fingerprints. (In fact, I think mine are somehow shinier now than they were before.) You’ve only got a few seconds to work with ’em though, so be quick. I went for a couple different shapes here. (It’s not possible to get them perfectly round, so don’t even try.) I think I’m going to glue some marbles to the bottom to act as legs and use a piece of tape to cover up the hole. Voila! Ultra trendy potato chip bowls. I’m so selling these at the Glebe Markets this year.

Carpenters Record Album Purse

Carpenters Album Cover BagI am so going to Hell. The big thing on the Glitter discussion boards lately has been album cover purses. Basically you buy an old record album, cut up the sleeve, and fashion a bag out of it. I’ve been keeping my eyes open for suitable albums ever since. Friday I hit the jackpot. It’s the Carpenters’ “Now and Then” album. Saturday I collected all the other supplies and today I made my bag. Is it morbid to carry a fashion accessory emblazoned with the picture of pop music’s most celebrated anorexic? Yeah, that’s what I thought. Read on to see more pics and read how I did it.Album coverOkay, before you vinyl purists get all up in arms about the wanton destruction of this album, rest assured that it was a bargain basement, scratched-as-hell, one dollar piece of junk. (I plan to turn the record itself into a bowl, but more on that later.) Here’s what the front of the album looked like. As you can see, it was one of the big folded-type ones, not simply a cardboard sleeve. This was nice because it meant I had plenty of cover to work with. A lot of people make small handbag-type things, but I wanted a full-size messenger bag so I planned to use the whole thing.

InsideSo the car image is nice, but it was the inside that sold me. Check out this surreal image of Karen Carpenter. It looks even weirder in real life. She’s all Photoshopped and color blocked. I like it.

InsideAnd of course, on the opposite side we have Richard. Who looks like a vampire. He’s got really pointy eyeteeth!

Cutting the cover apartThe first thing to do is cut all the pieces apart. I discovered that two of the trifold sections (the parts that weren’t the record sleeve) were actually glued along a couple sides. So I had to use a knife to carefully separate them. Once I had all six pieces (the other inside piece was the song list), I planned how I wanted the bag to look. I decided to use the front cover (the car) as the front of the bag, and have the side panels continue the image and sort of “wrap around”. Then for the back, I’d use Scary Karen. Inside, I backed the front with the song list, Karen with Dick, and the side panels with some remaining cardboard. I also used a double thickness for the bottom. (The point of doubling the sides up is just to make sure it’s sturdy enough not to fall apart.)

Laminating DickThe next step is to laminate all the boards. I glued the double-thicknesses together and took them up to my local copy shop, but the woman there said they were too thick to go through her machine. So I went with my backup plan, which involved clear Contact paper (the kind kids use to cover their books). Basically I just wanted to waterproof and protect it. So here’s me carefully laminating Dick. I didn’t care so much about the pieces facing the inside, but I made sure that the outsides were perfect and air bubble-free.

Don't buy these! They suck!Okay, so to fasten all the sides together we need to insert “grommets”, which are little round metal eyelet thingies. I bought this package at my local hardware store. It even comes with a tool. (You push them through the hole from the right side and then bash the end down to keep it from pulling through.) Unfortunately this tool sucks. Don’t buy it. It broke within minutes and even when it worked it did a crappy job. So I went to the craft store and found another package that came with little metal bits that you pound with a hammer. These worked much, much better.

Snook pounding grommetsHere’s the Snook demonstrating the right way to pound some grommets. I spaced them so that they’d be staggered along each edge and therefore the lacing would cross and look cool. At least, that was the idea. I messed it up on the back side, but you can’t really tell. Anyway, punching holes and inserting the grommets is the worst part of the whole job. But if you get good grommets from the start, it’s much easier.

Side viewHere’s a side view so you can see the lacing that holds it together. I used some cheap (like twenty-five cents a meter) vinyl lacing that I found at my craft store. You could also use leather or ribbon or even fishing line. Whatever floats your boat. I went over every edge twice so that the lacing would be criss-crossed. It worked pretty well. Here you can also see that I’ve put one big grommet in the top of each side panel. This is where I hooked my handle, which was just a basic black nylon strap that I pulled off an old bag I had.

Front viewHere’s the completed bag from the front. Neat, huh?

Back viewAnd here’s the back, with Scary Karen grinning at you.

That’s it! As you can see, this made for a really big bag. It’s as wide and tall as a record and the side panels (and thus the depth) are about one-fourth of that. It’s really more like a cereal box than a purse. I like it though. Now it just remains to be seen whether I’ll actually have the nerve to carry the thing… 🙂