A few weeks back I discovered freesewing.org – “an open source platform for made-to-measure sewing patterns.” The founder Joost De Cock loves sewing and programming, and he combined them in this amazing platform that allows you to upload your measurements and then generate a custom sewing pattern PDF exactly to your size. Oh, and everything is free, and he transfers all donations to charity. How could I not fall in love with that? ❤️
Most of the patterns would be considered menswear. That said, I love that Joost makes a point of not enforcing a gender binary anywhere. The Measurement docs, for instance, have an option for breasts or no breasts. Boobs make a difference to the shape of a garment, but your gender identity doesn’t. It’s a nice touch.
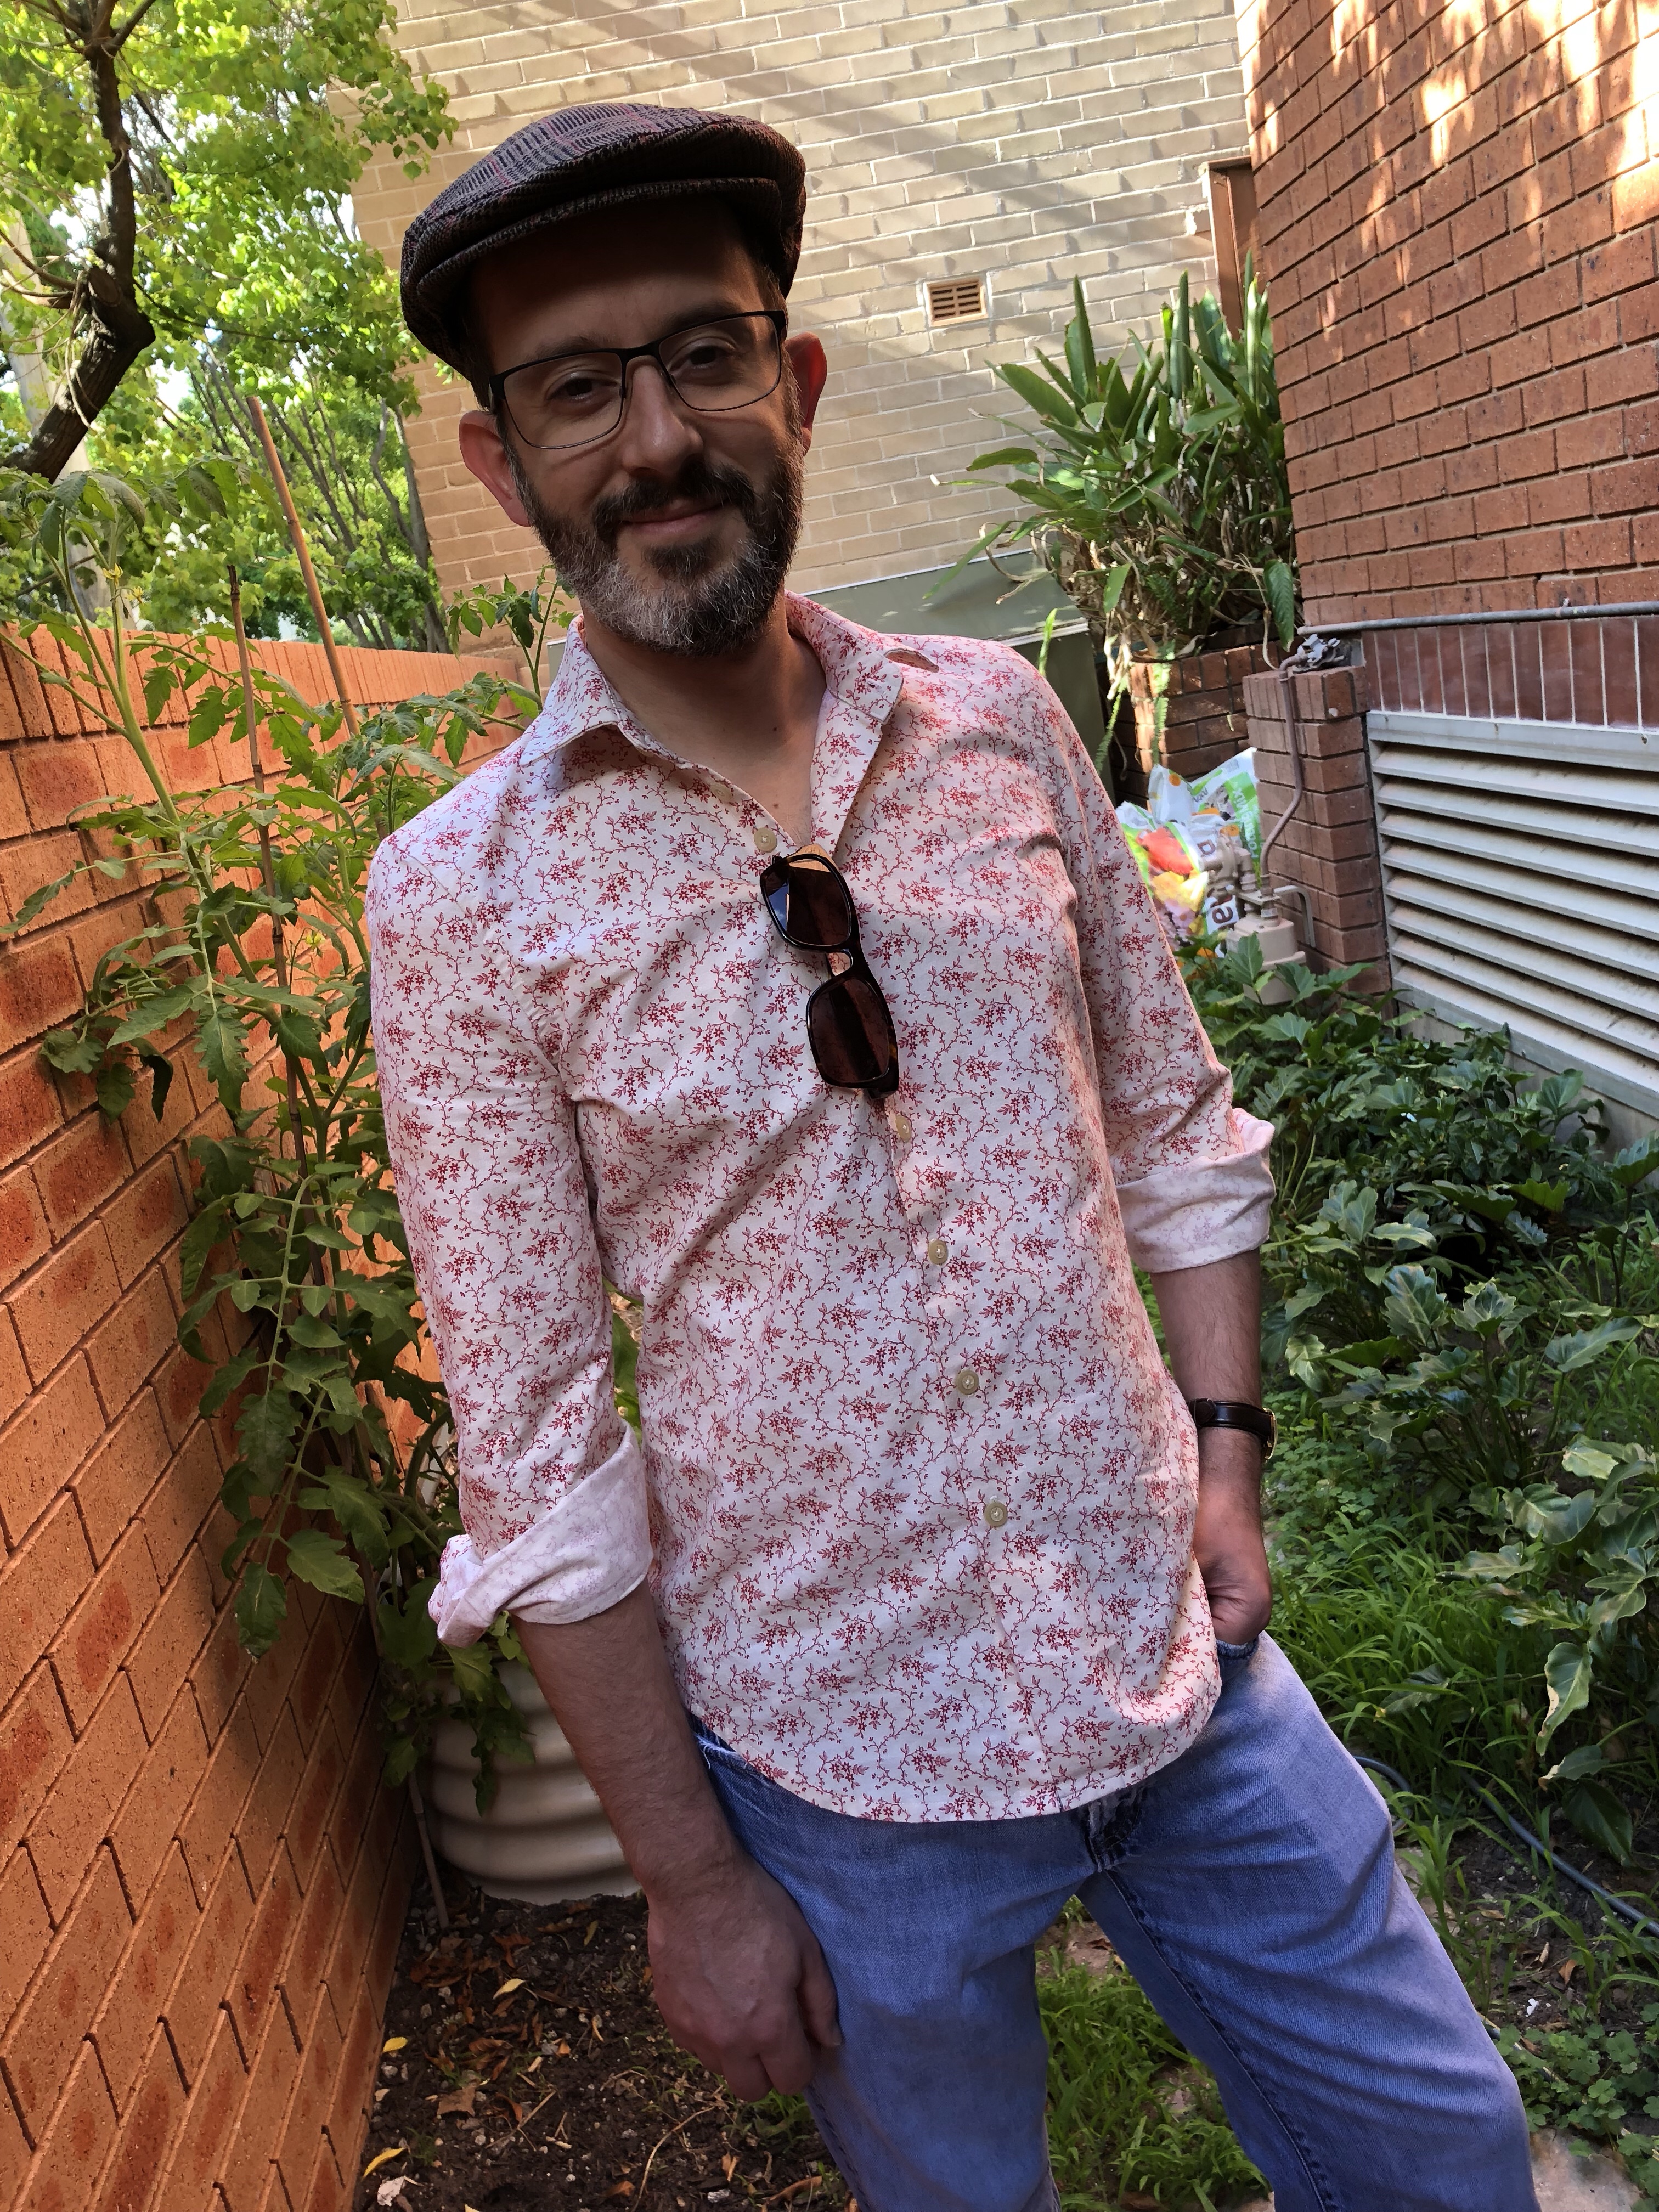
As luck would have it, when we were visiting my Mom’s fabric shop in the US back in August, the Snook asked if I’d make him a new shirt. He really liked this repro vintage cotton, and Mom insisted that we take it. I warned him that quilting cotton could be a bit heavy for a man’s shirt, but I was willing to try. I’d made him several shirts before using Colette’s Negroni pattern, but I felt ready to try something a bit more complex. When I saw the Simon Shirt on freesewing, I knew it was the one.
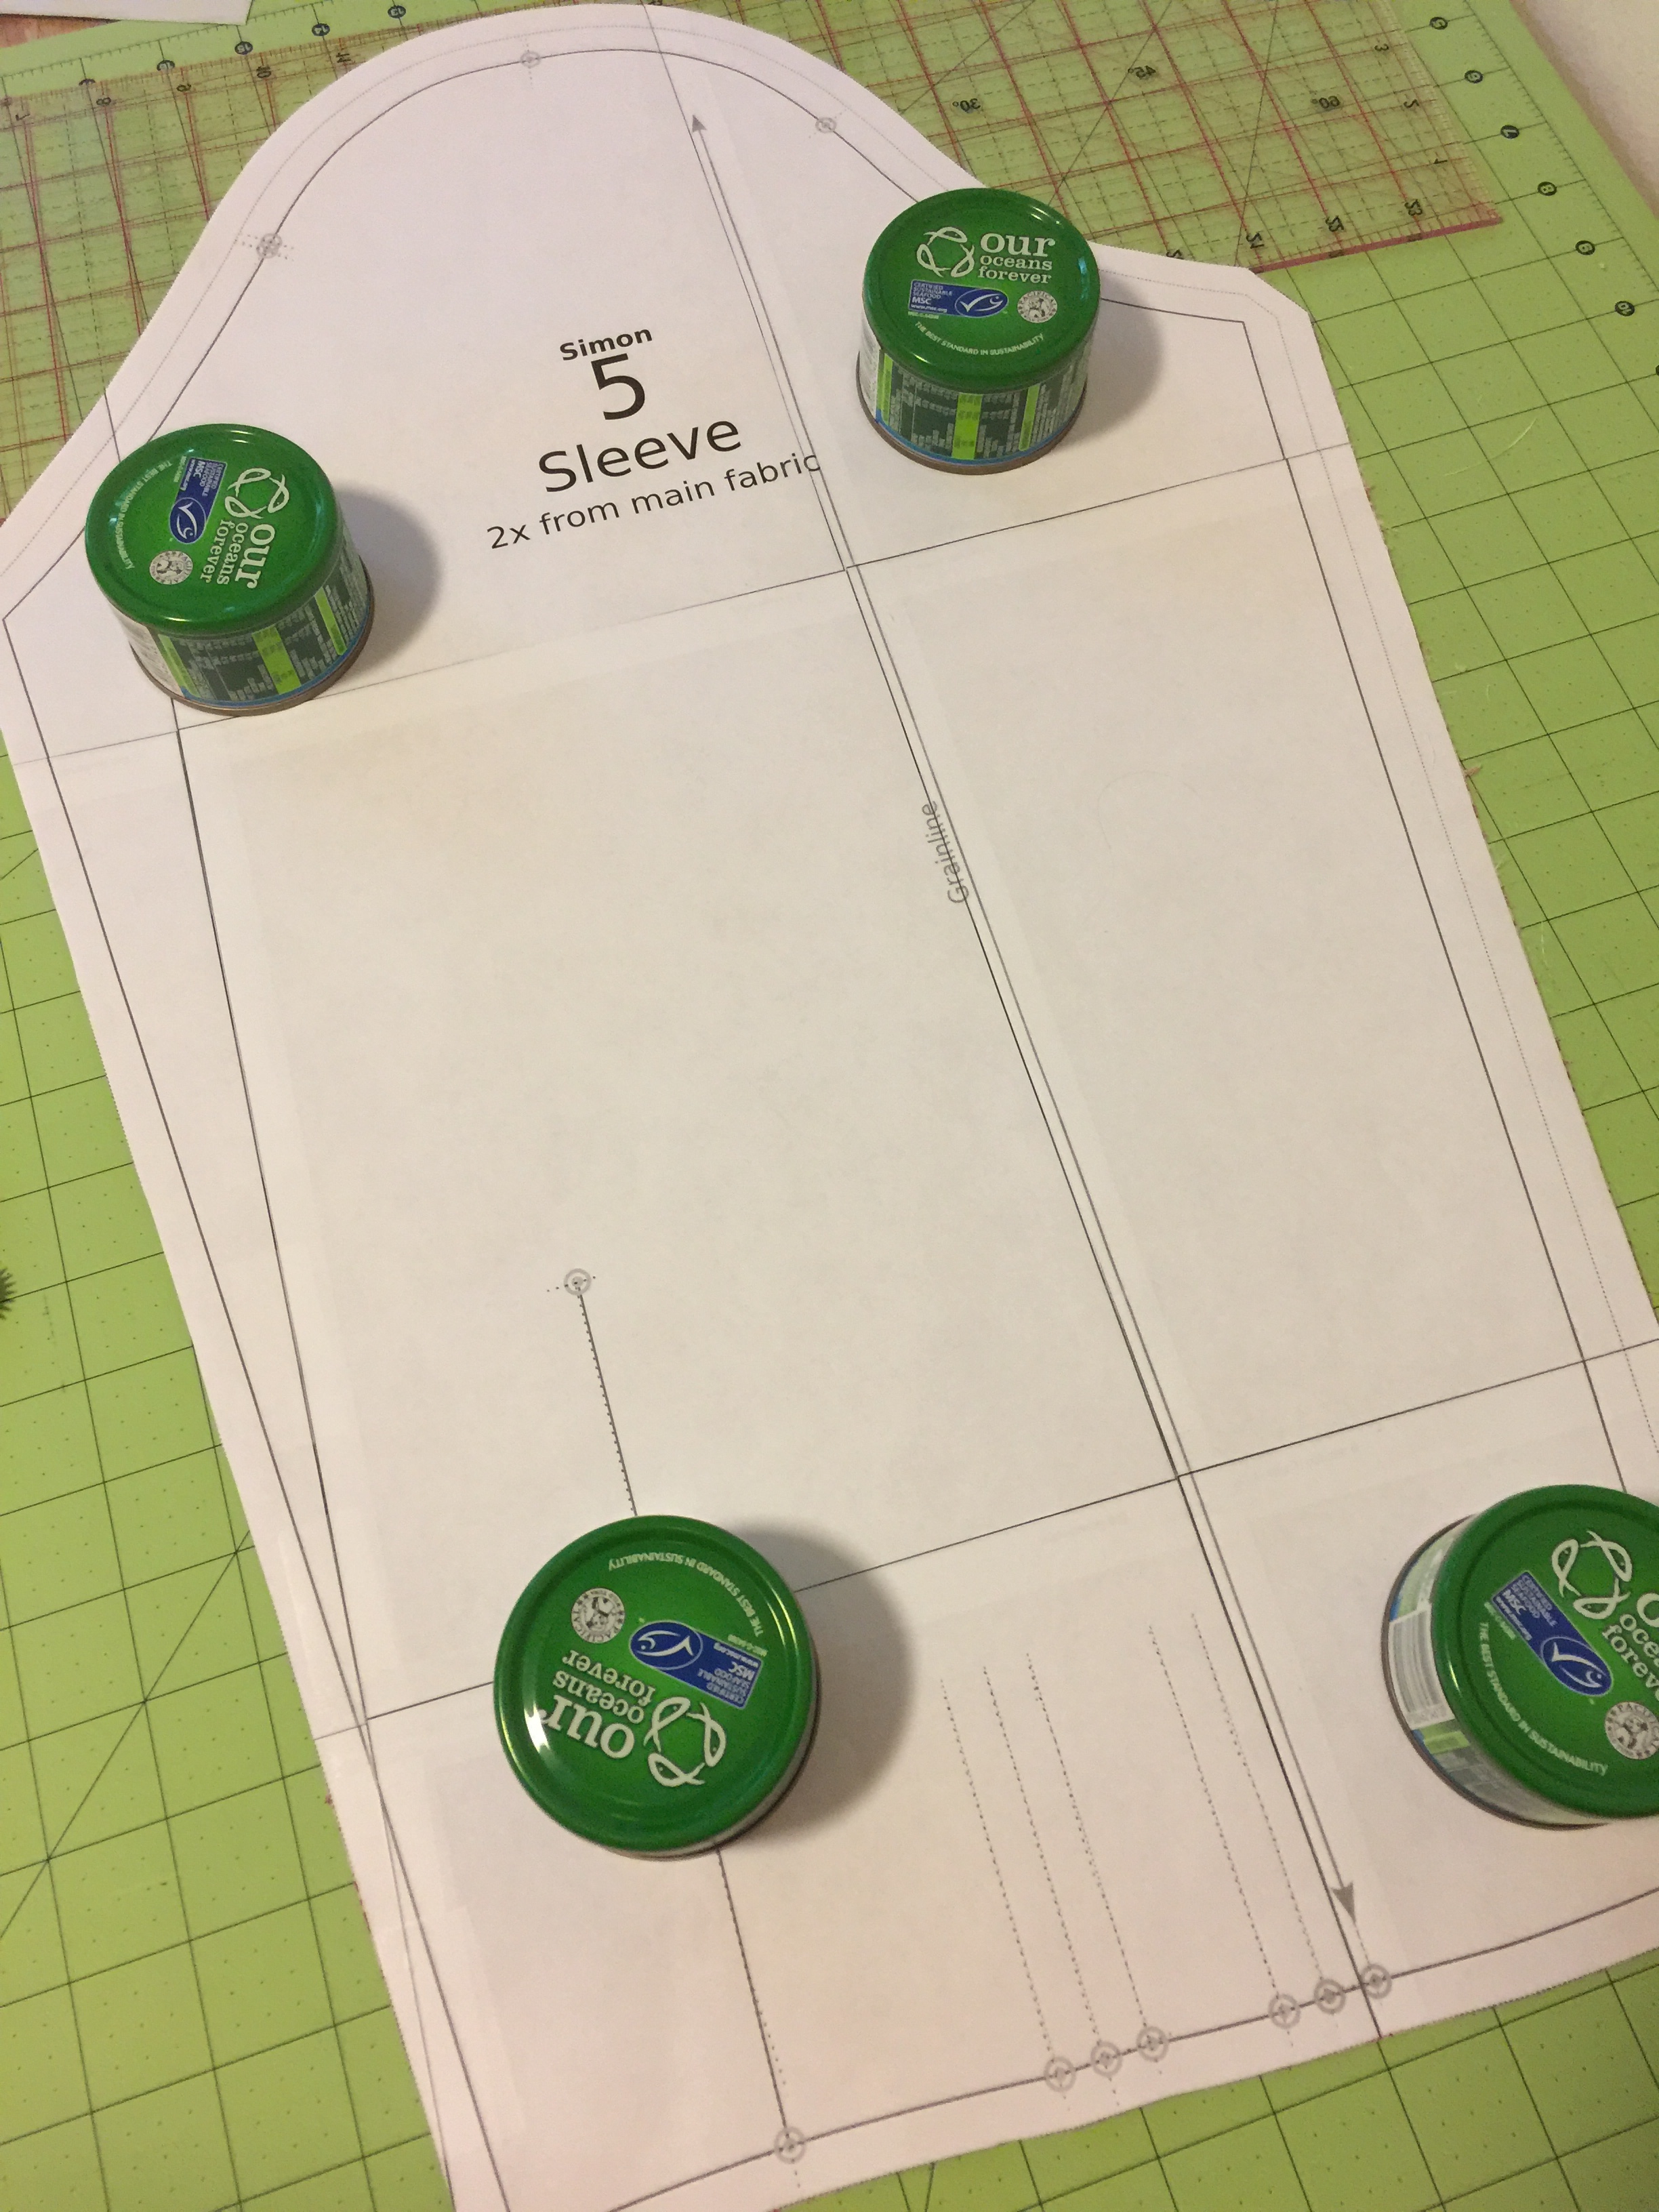
After signing up for the site, I had to create a “model” and upload all the required measurements. That was fun. Then I was able to generate a new draft Simon pattern from it. There are a ton of options. We went with the Classic theme with a baseball hem, regular yoke, extra top button, cut-on classic button placket, cut-on French style buttonhole placket, and rounded barrel cuffs. I printed out my PDF, stuck all the pages together, and got going.
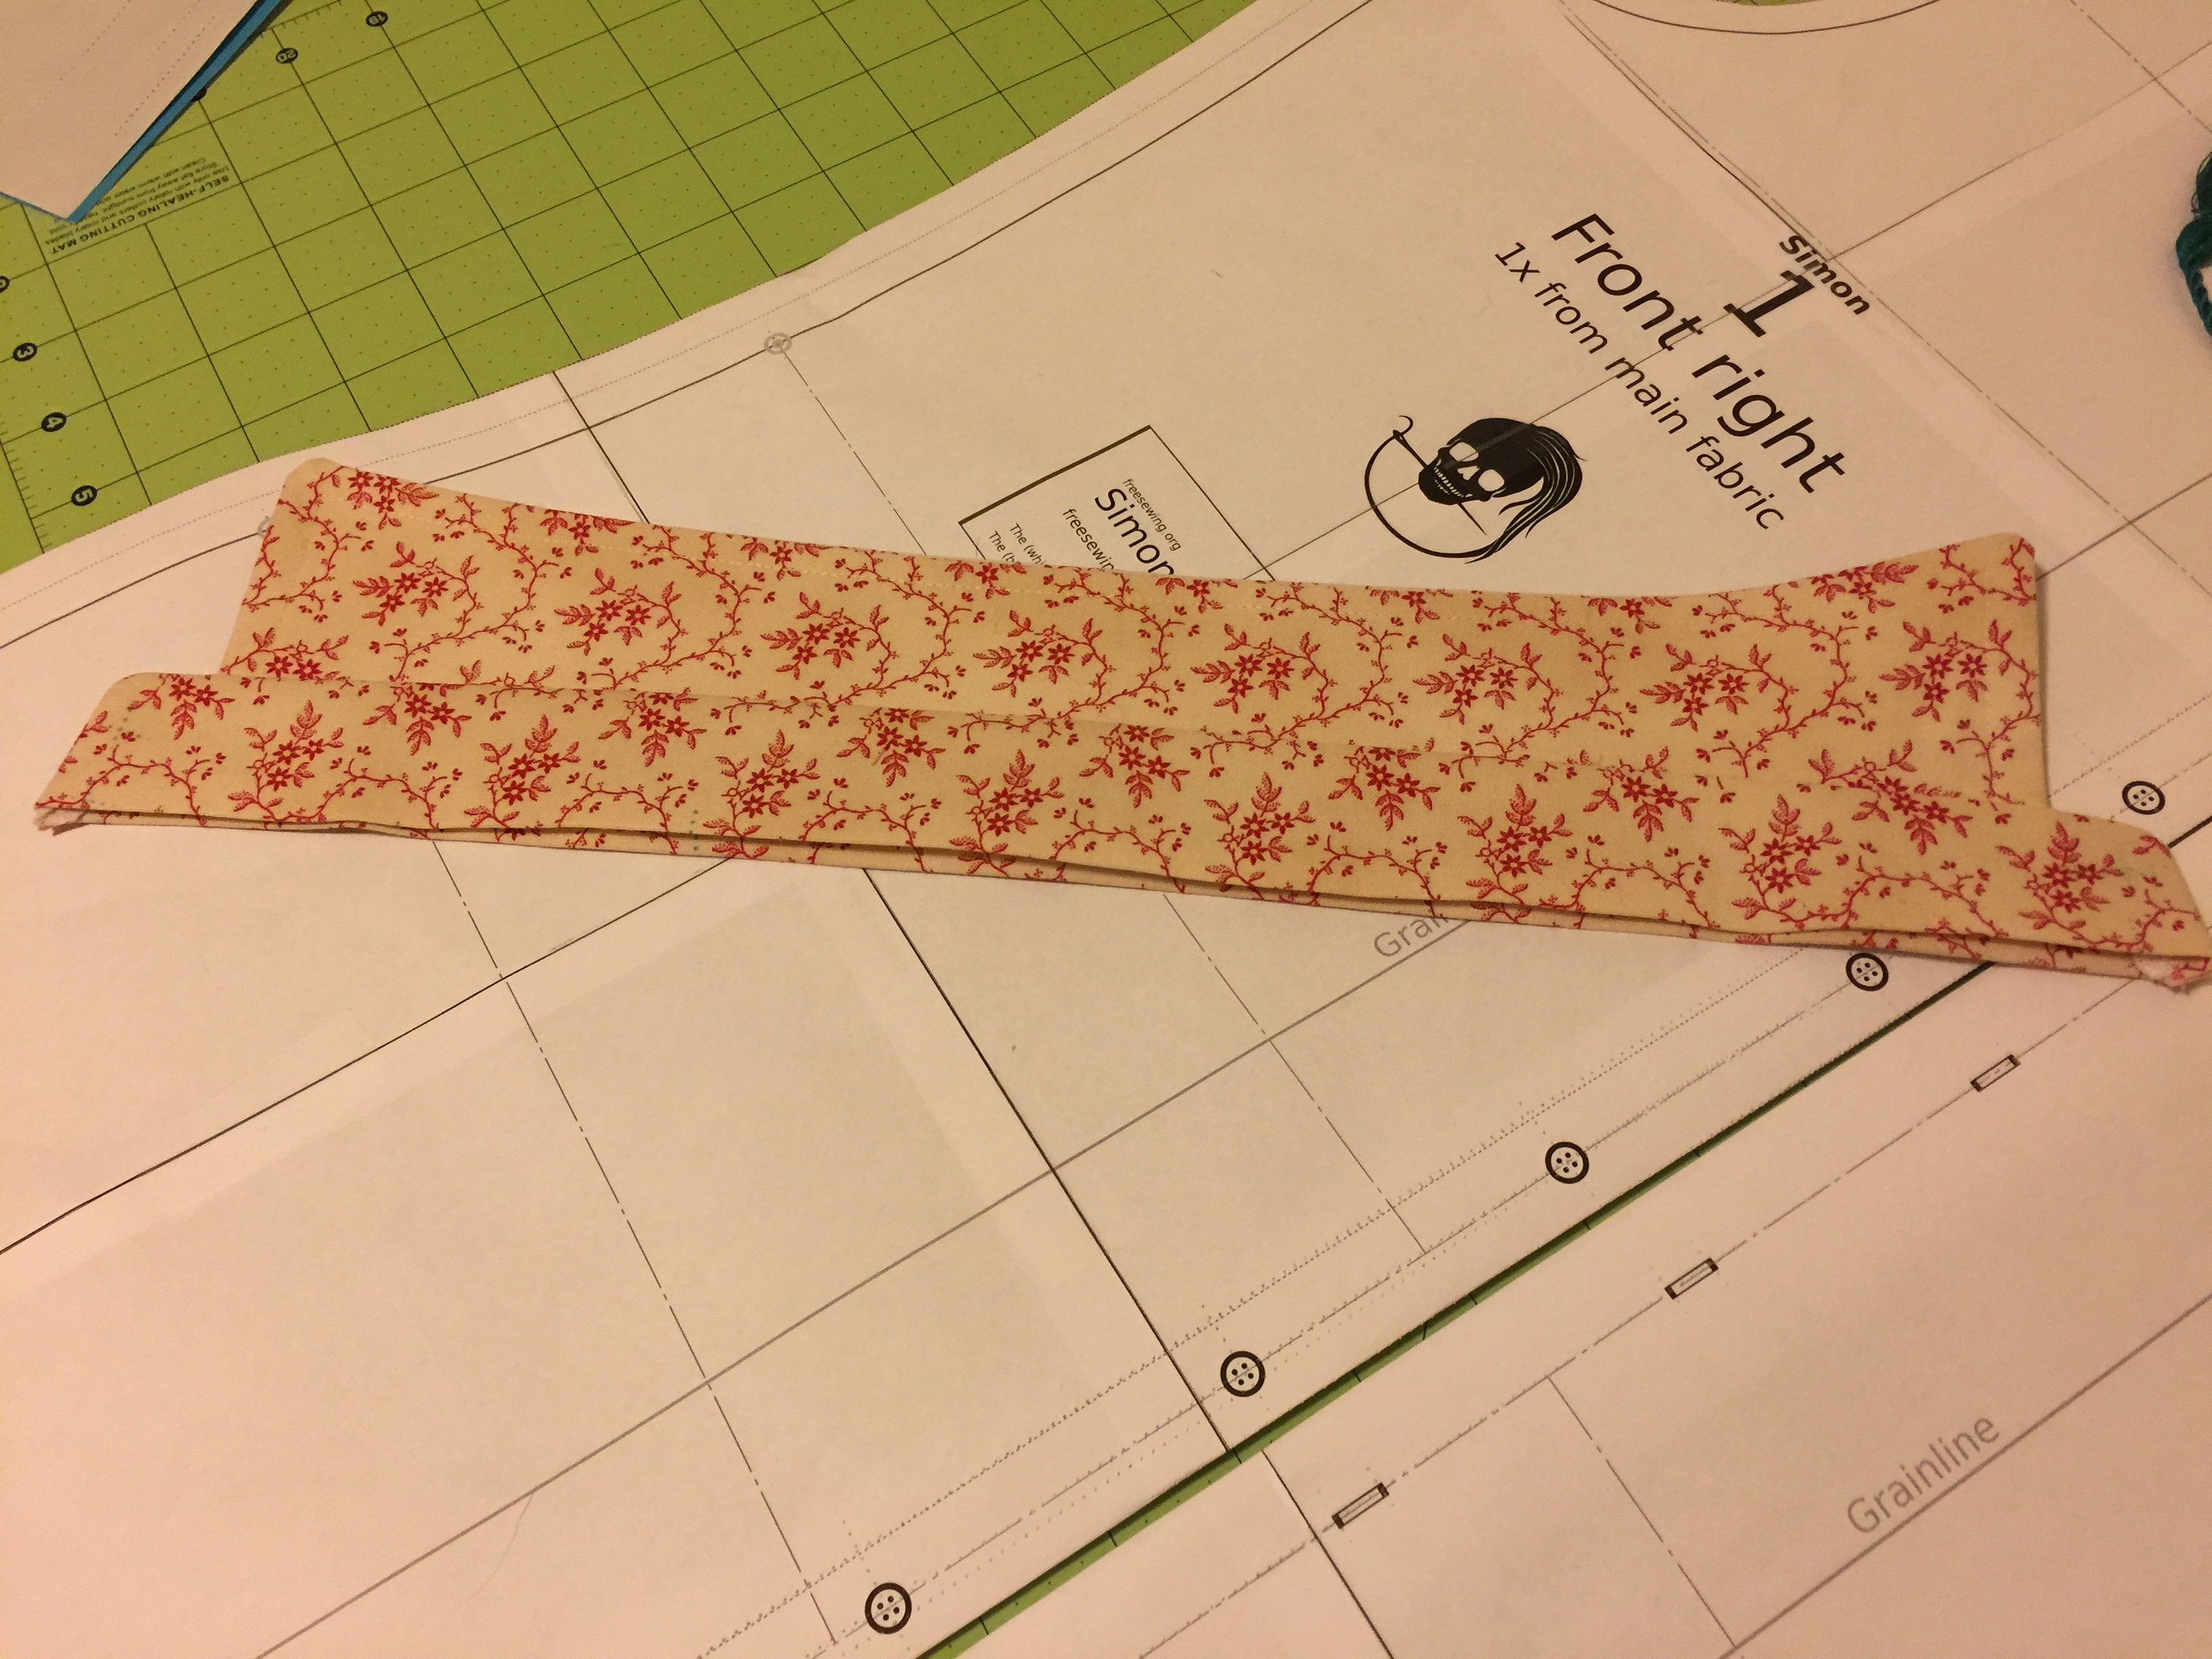
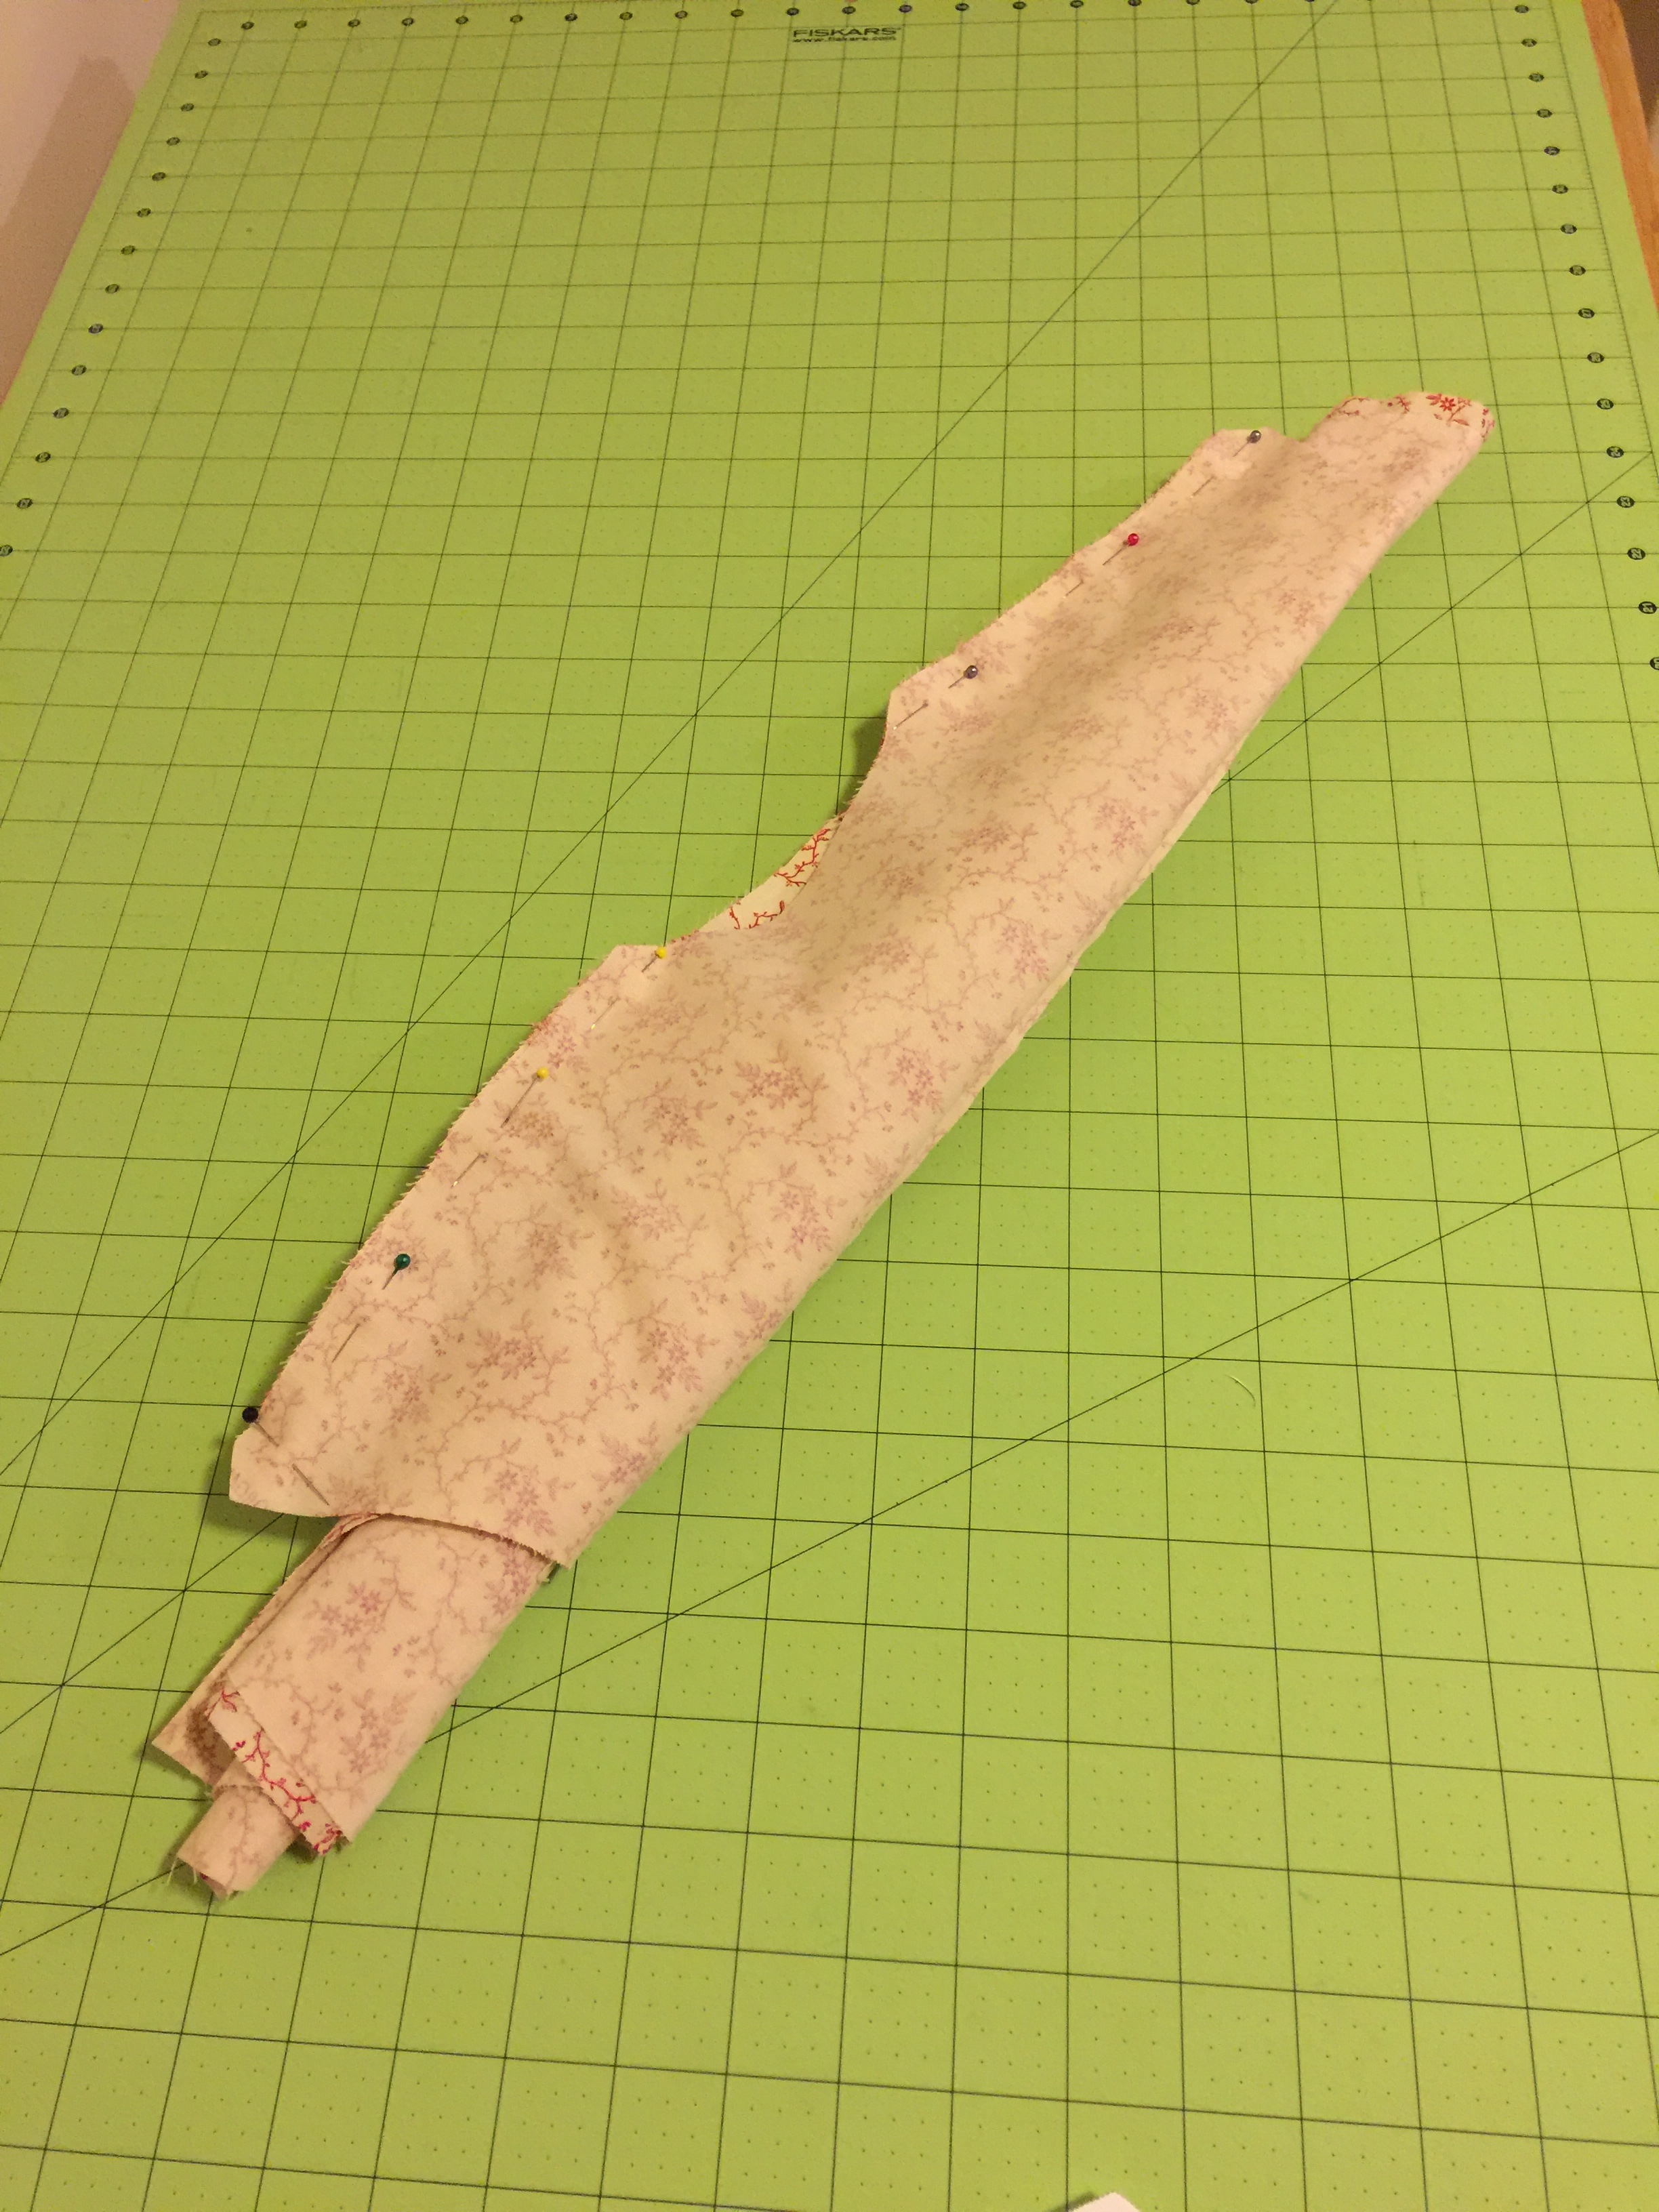
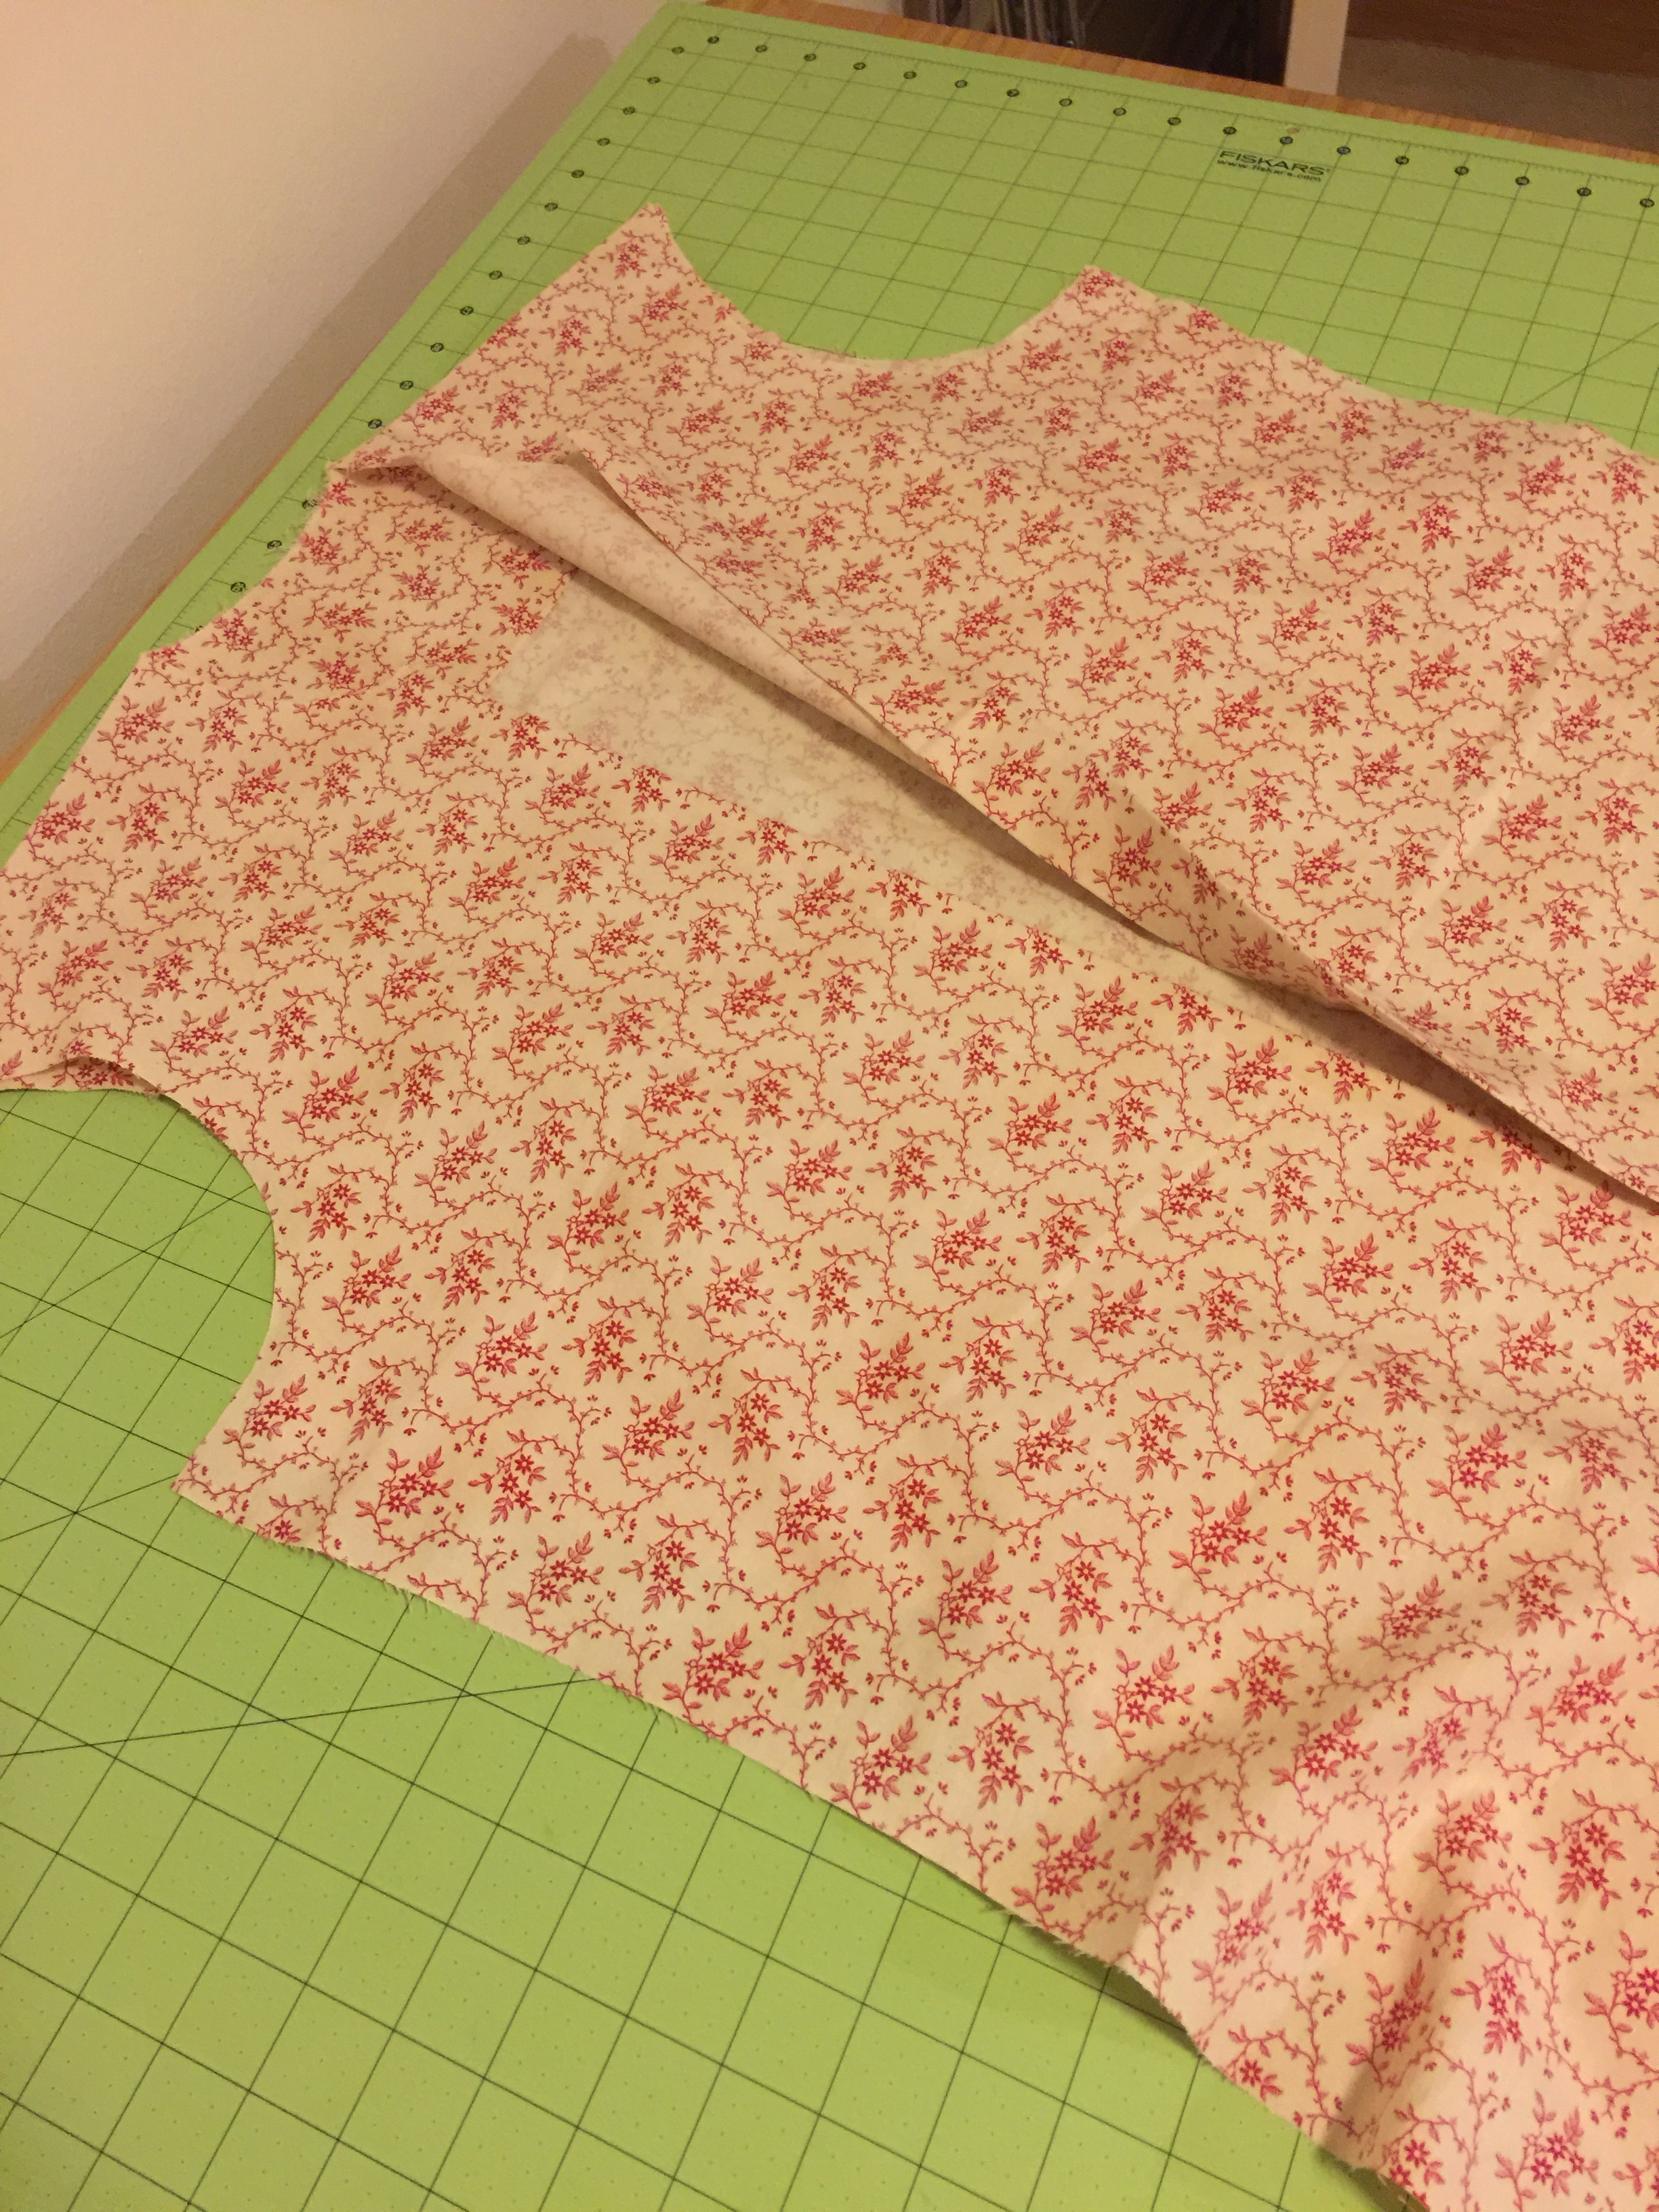
I spent a lot of time on cutting. I hadn’t realised until the Snook pointed it out that the fabric is actually directional, so I needed to make sure everything was going the right way. I cut it so that the “vines” were running vertically on the body, back and sleeves; and they ran horizontally on the collar, collarstand, yoke, and cuffs. I spent way too long trying to get the pattern to match up exactly across the two fronts, not realising that because my button placket was cut-on, the point I was using for reference was going to be folded under anyway. 🙃 So there’s my first tip: If you’re using the cut-on plackets, fold your pattern pieces as if they’re the fabric so you know exactly where things need to line up. Don’t assume you can tell just from the lines.
Next I had to sew the cuffs and the collar together. The collar stand is where I ran into difficulty, but I didn’t realise it until way later. I failed to recognise that it’s not symmetrical – the end with the buttonhole is longer than the end with the button. When you sew the collar to it, you’re meant to center the collar over the notches along the bottom edge. I missed this completely and centered my collar along the length of the collar stand, which meant it was ever-so-slightly offset from where it should be. And because it’s asymmetrical, that means you need to make sure you sew it all together so that the buttonhole is on the correct side to line up with the left body front. This all came out when I was attaching the collar towards the end of the process, and I ended up pulling it all apart and starting over. So my advice for the collar would be: Keep track of which piece is the collar and which is the undercollar. When the collar is facing up, it should be attached to the collar stand so that the buttonhole is on the right. Make sure you center the collar over the collar stand notches. (It’ll look slightly off-center.)
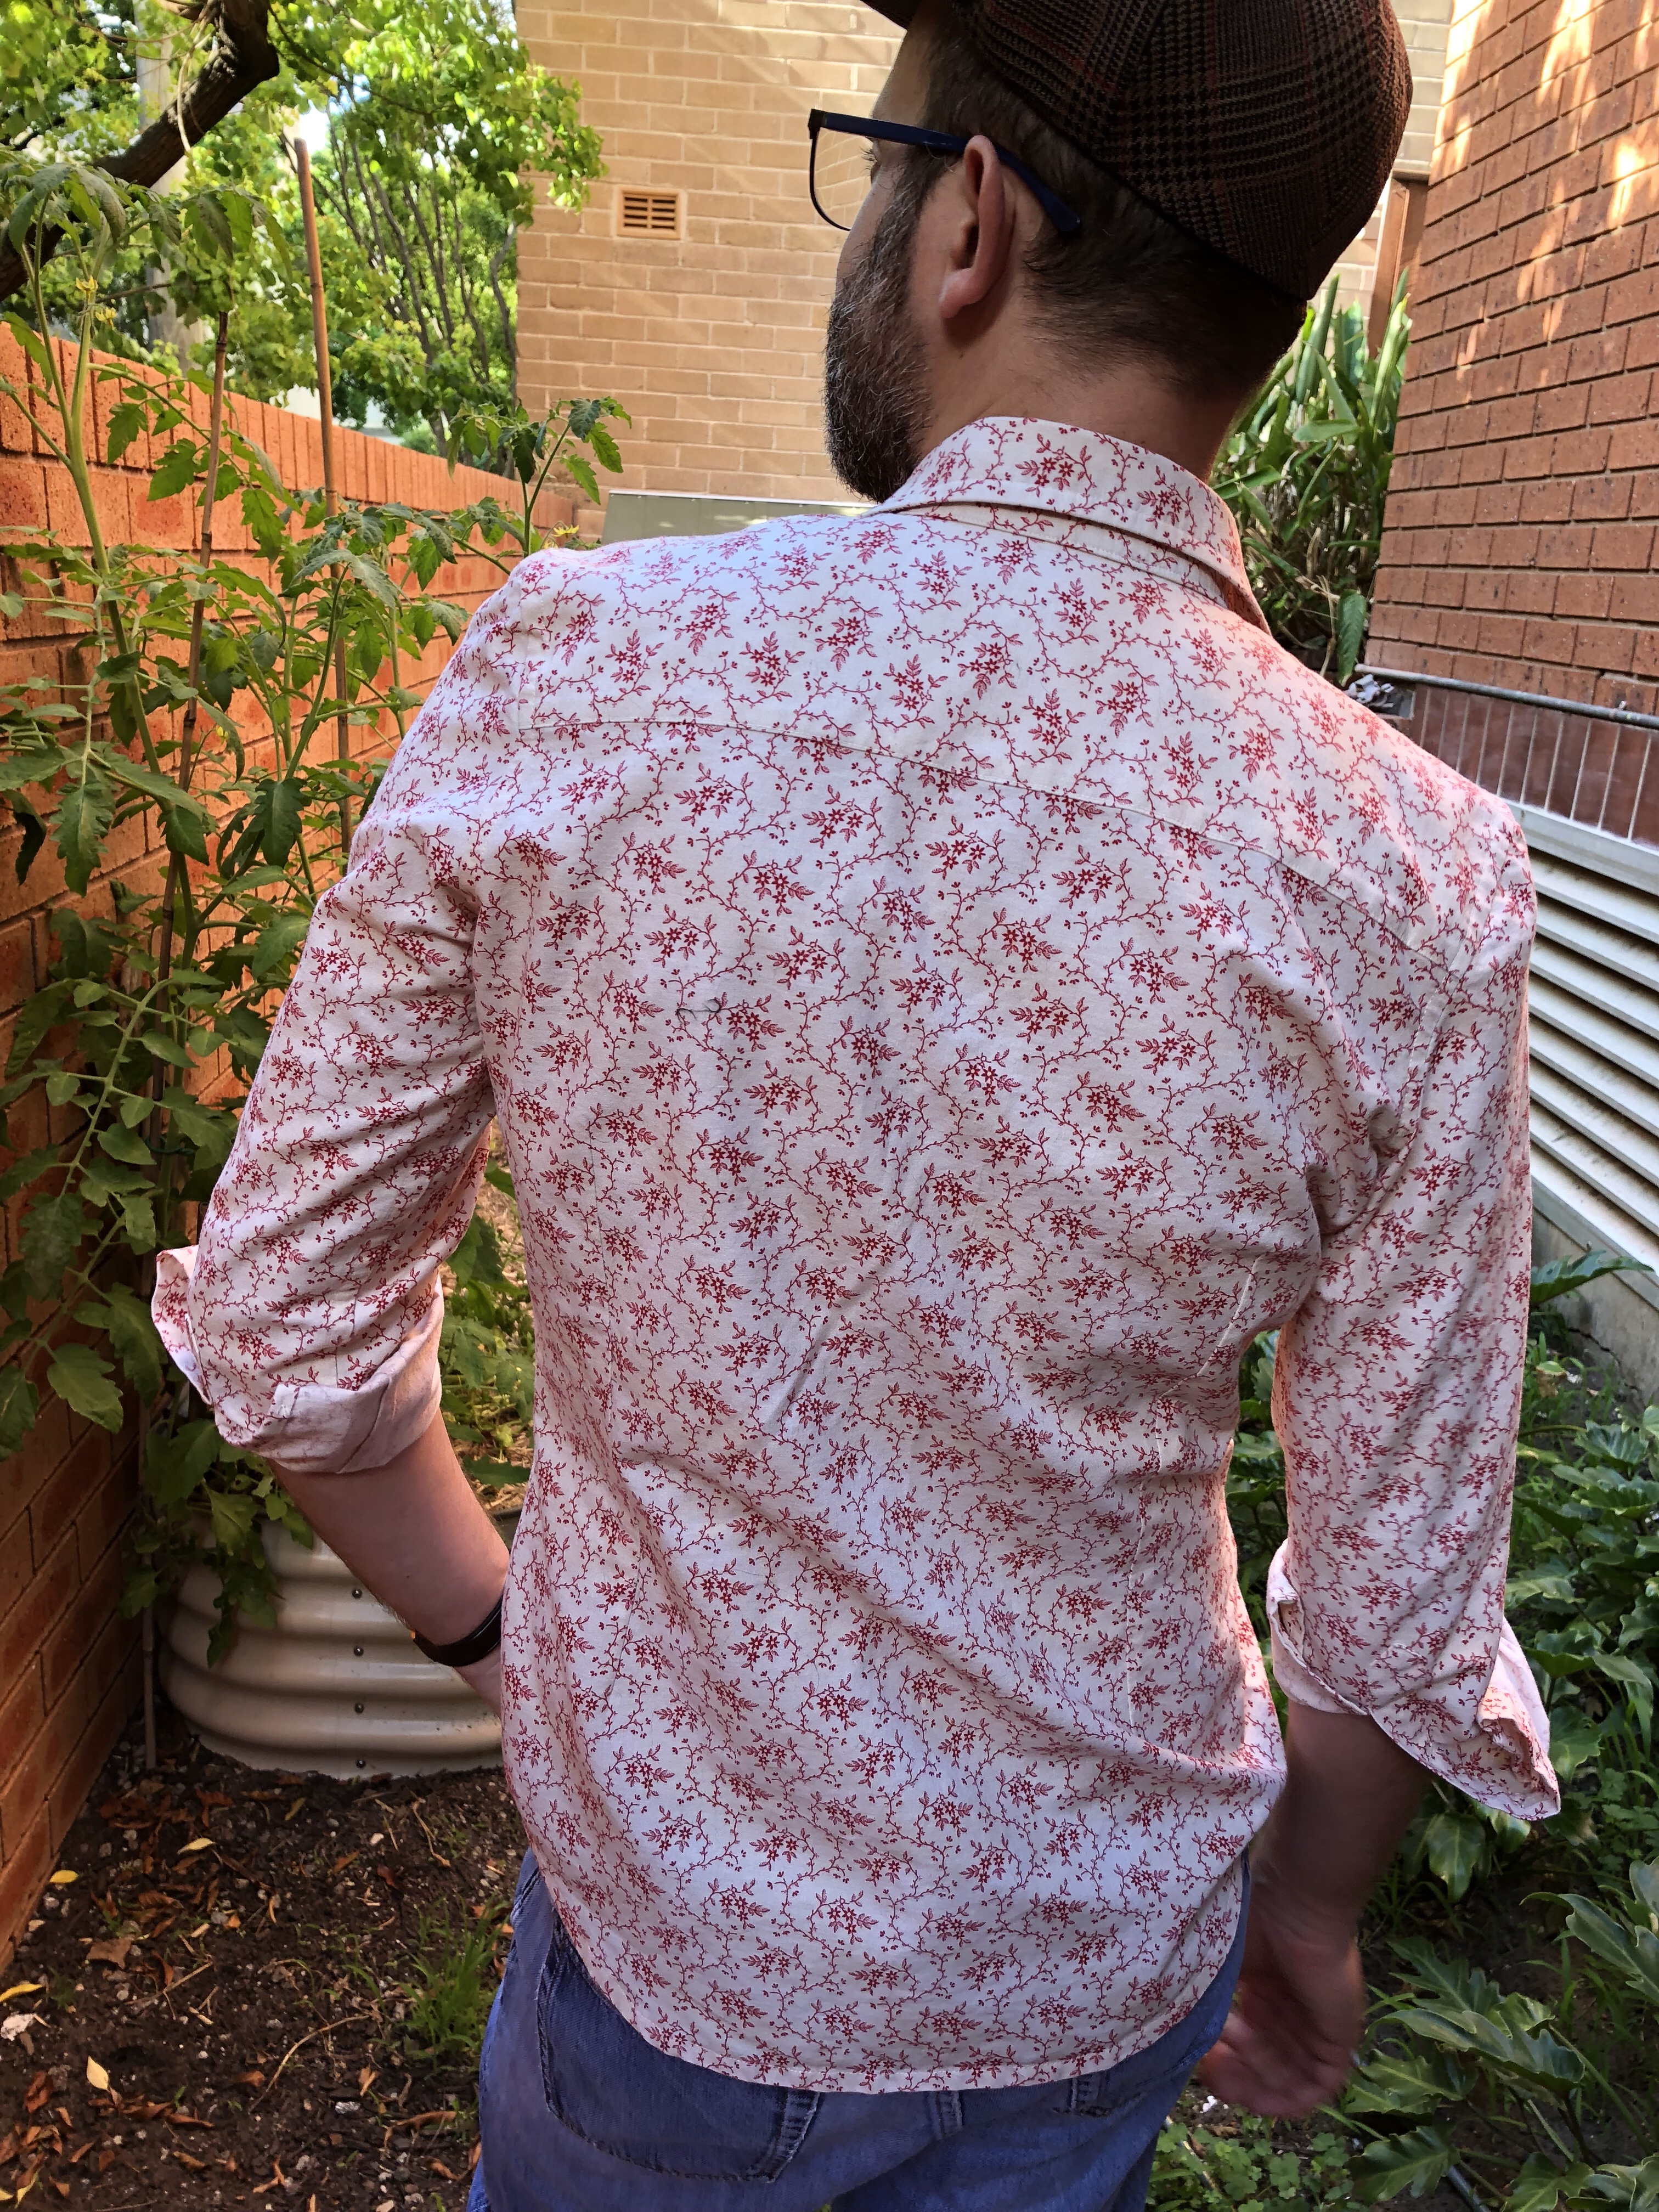
The body construction was fairly straightforward. It has diamond darts on the back, which was new for me in a men’s garment. This is a very fitted shirt. (By contrast, the Negroni is fairly roomy in the back and actually has two pleats under the yoke.) There’s no interfacing along the cut-on button plackets, which I liked, just a series of folds. The instructions have you use the “burrito method” for the yoke construction, which I love. It’s always so magical to turn that burrito right-side out and suddenly have a nice neat shirt!
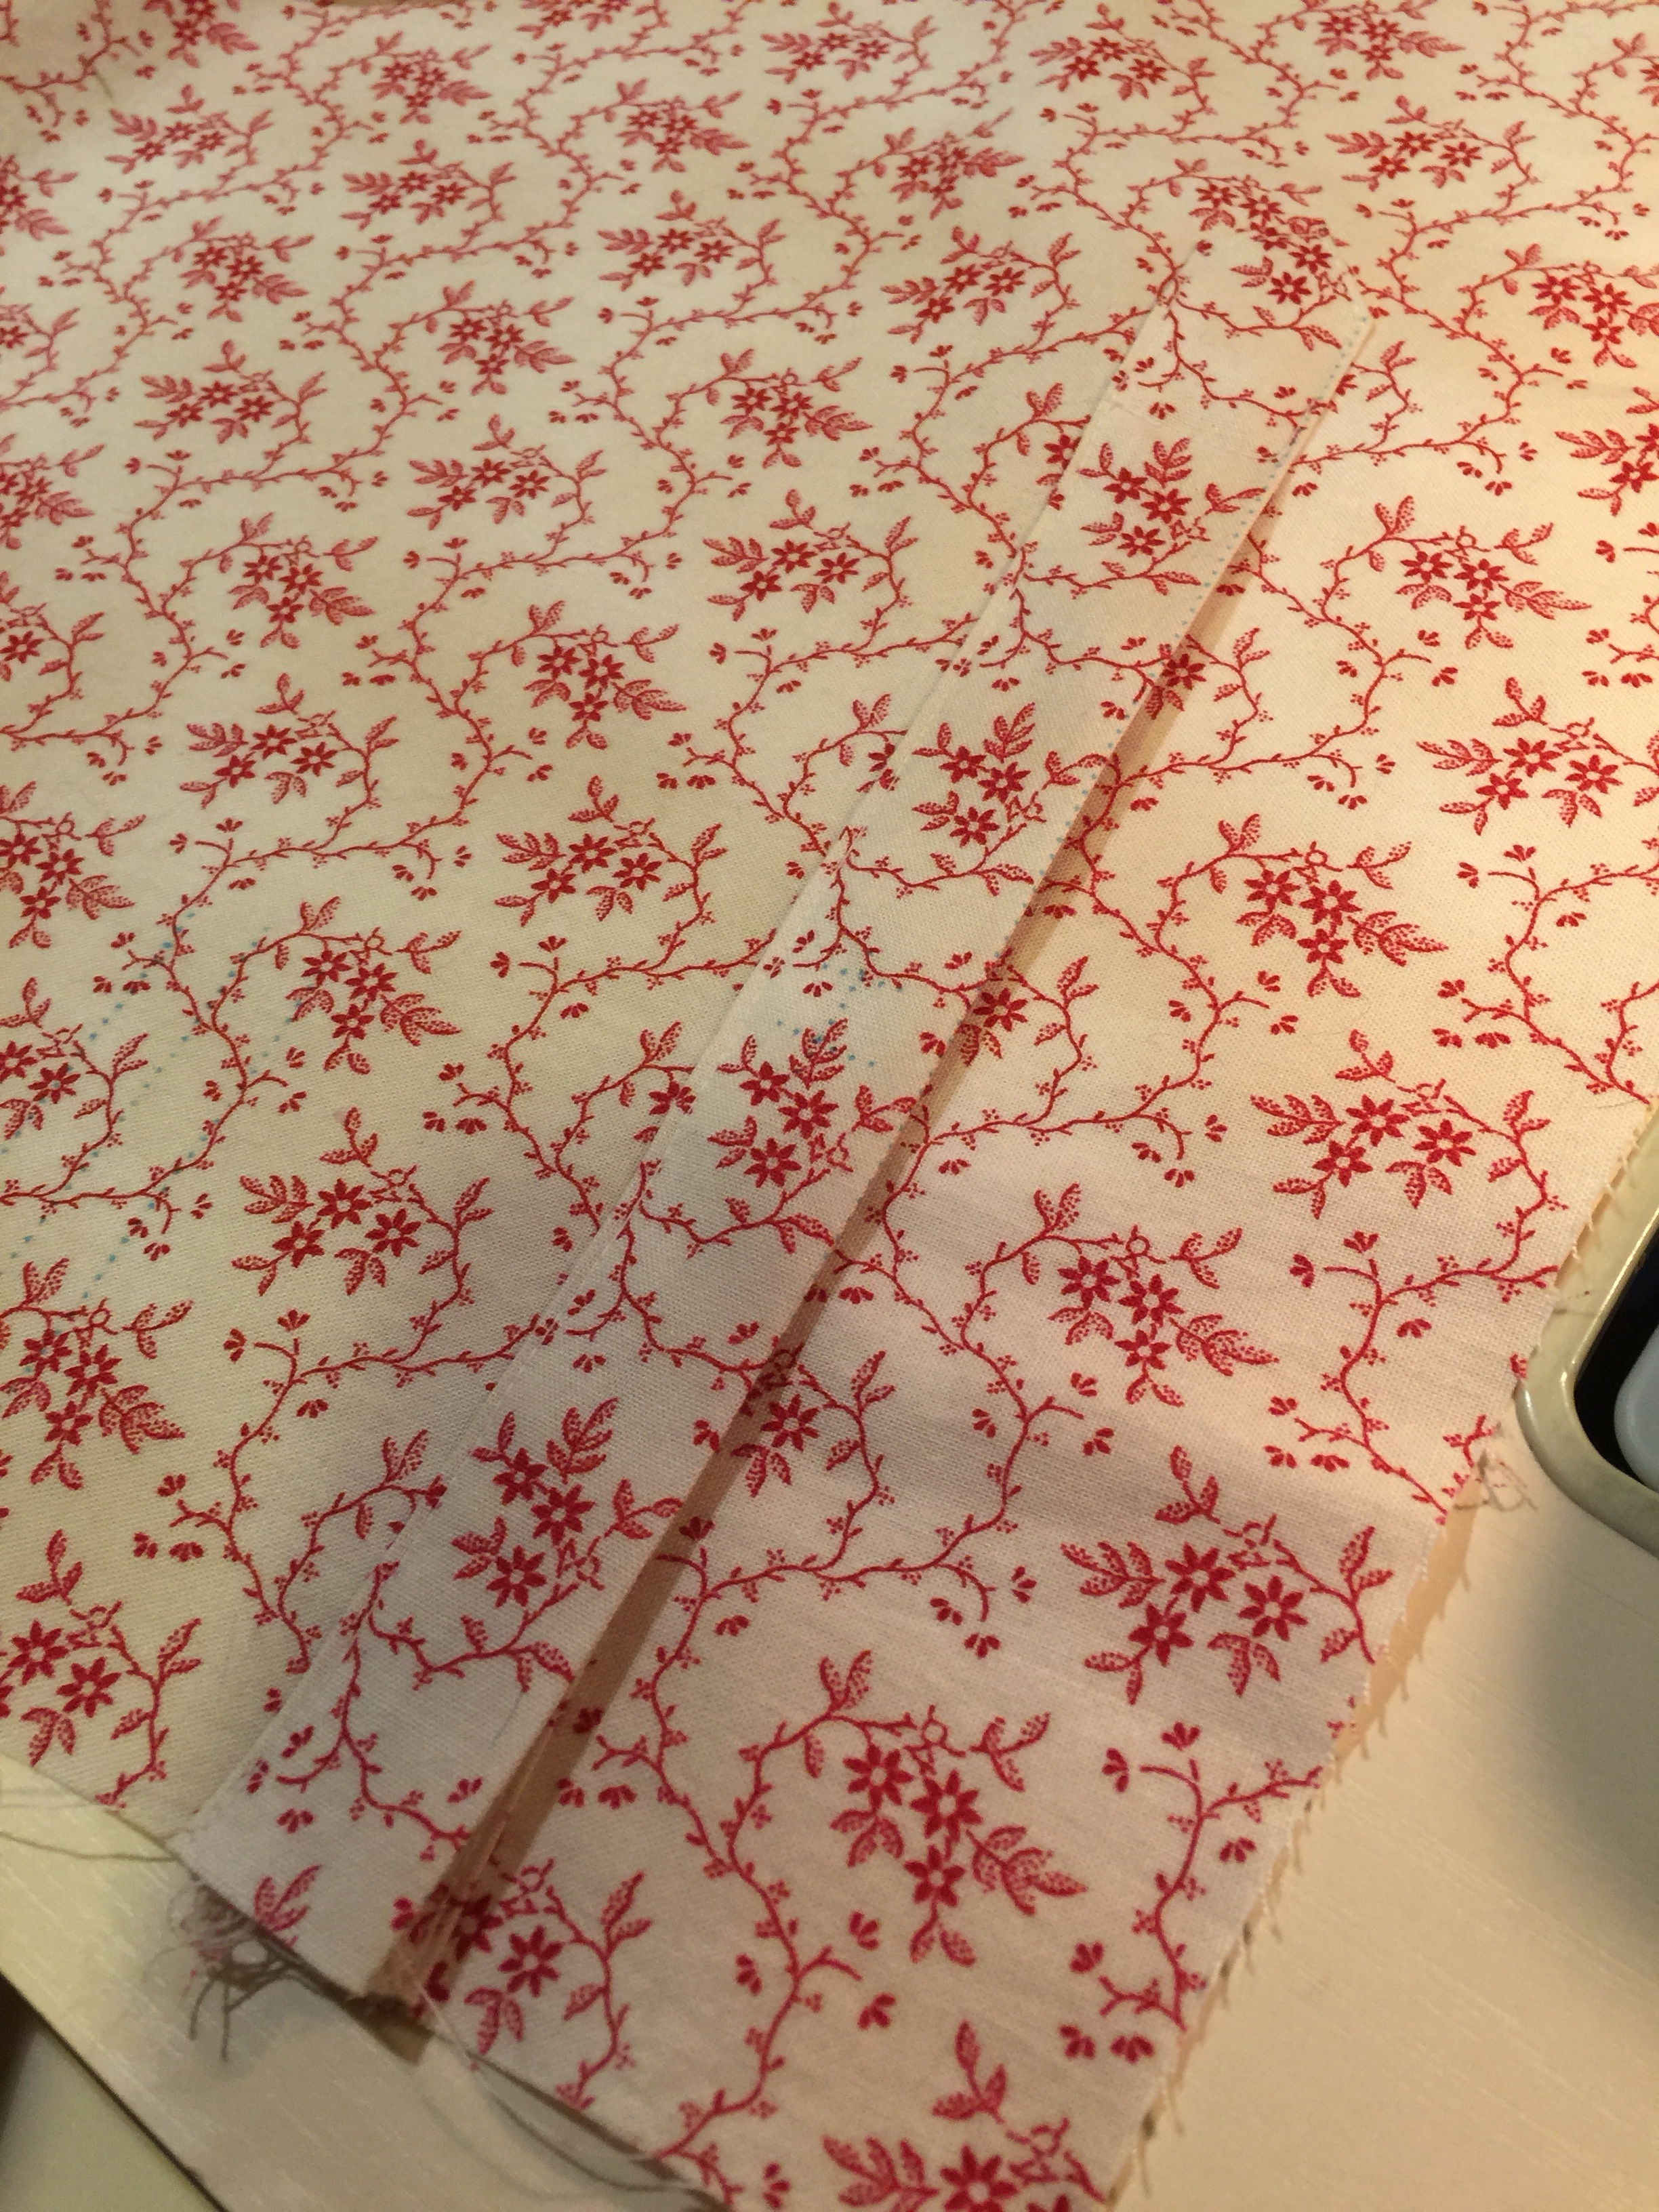
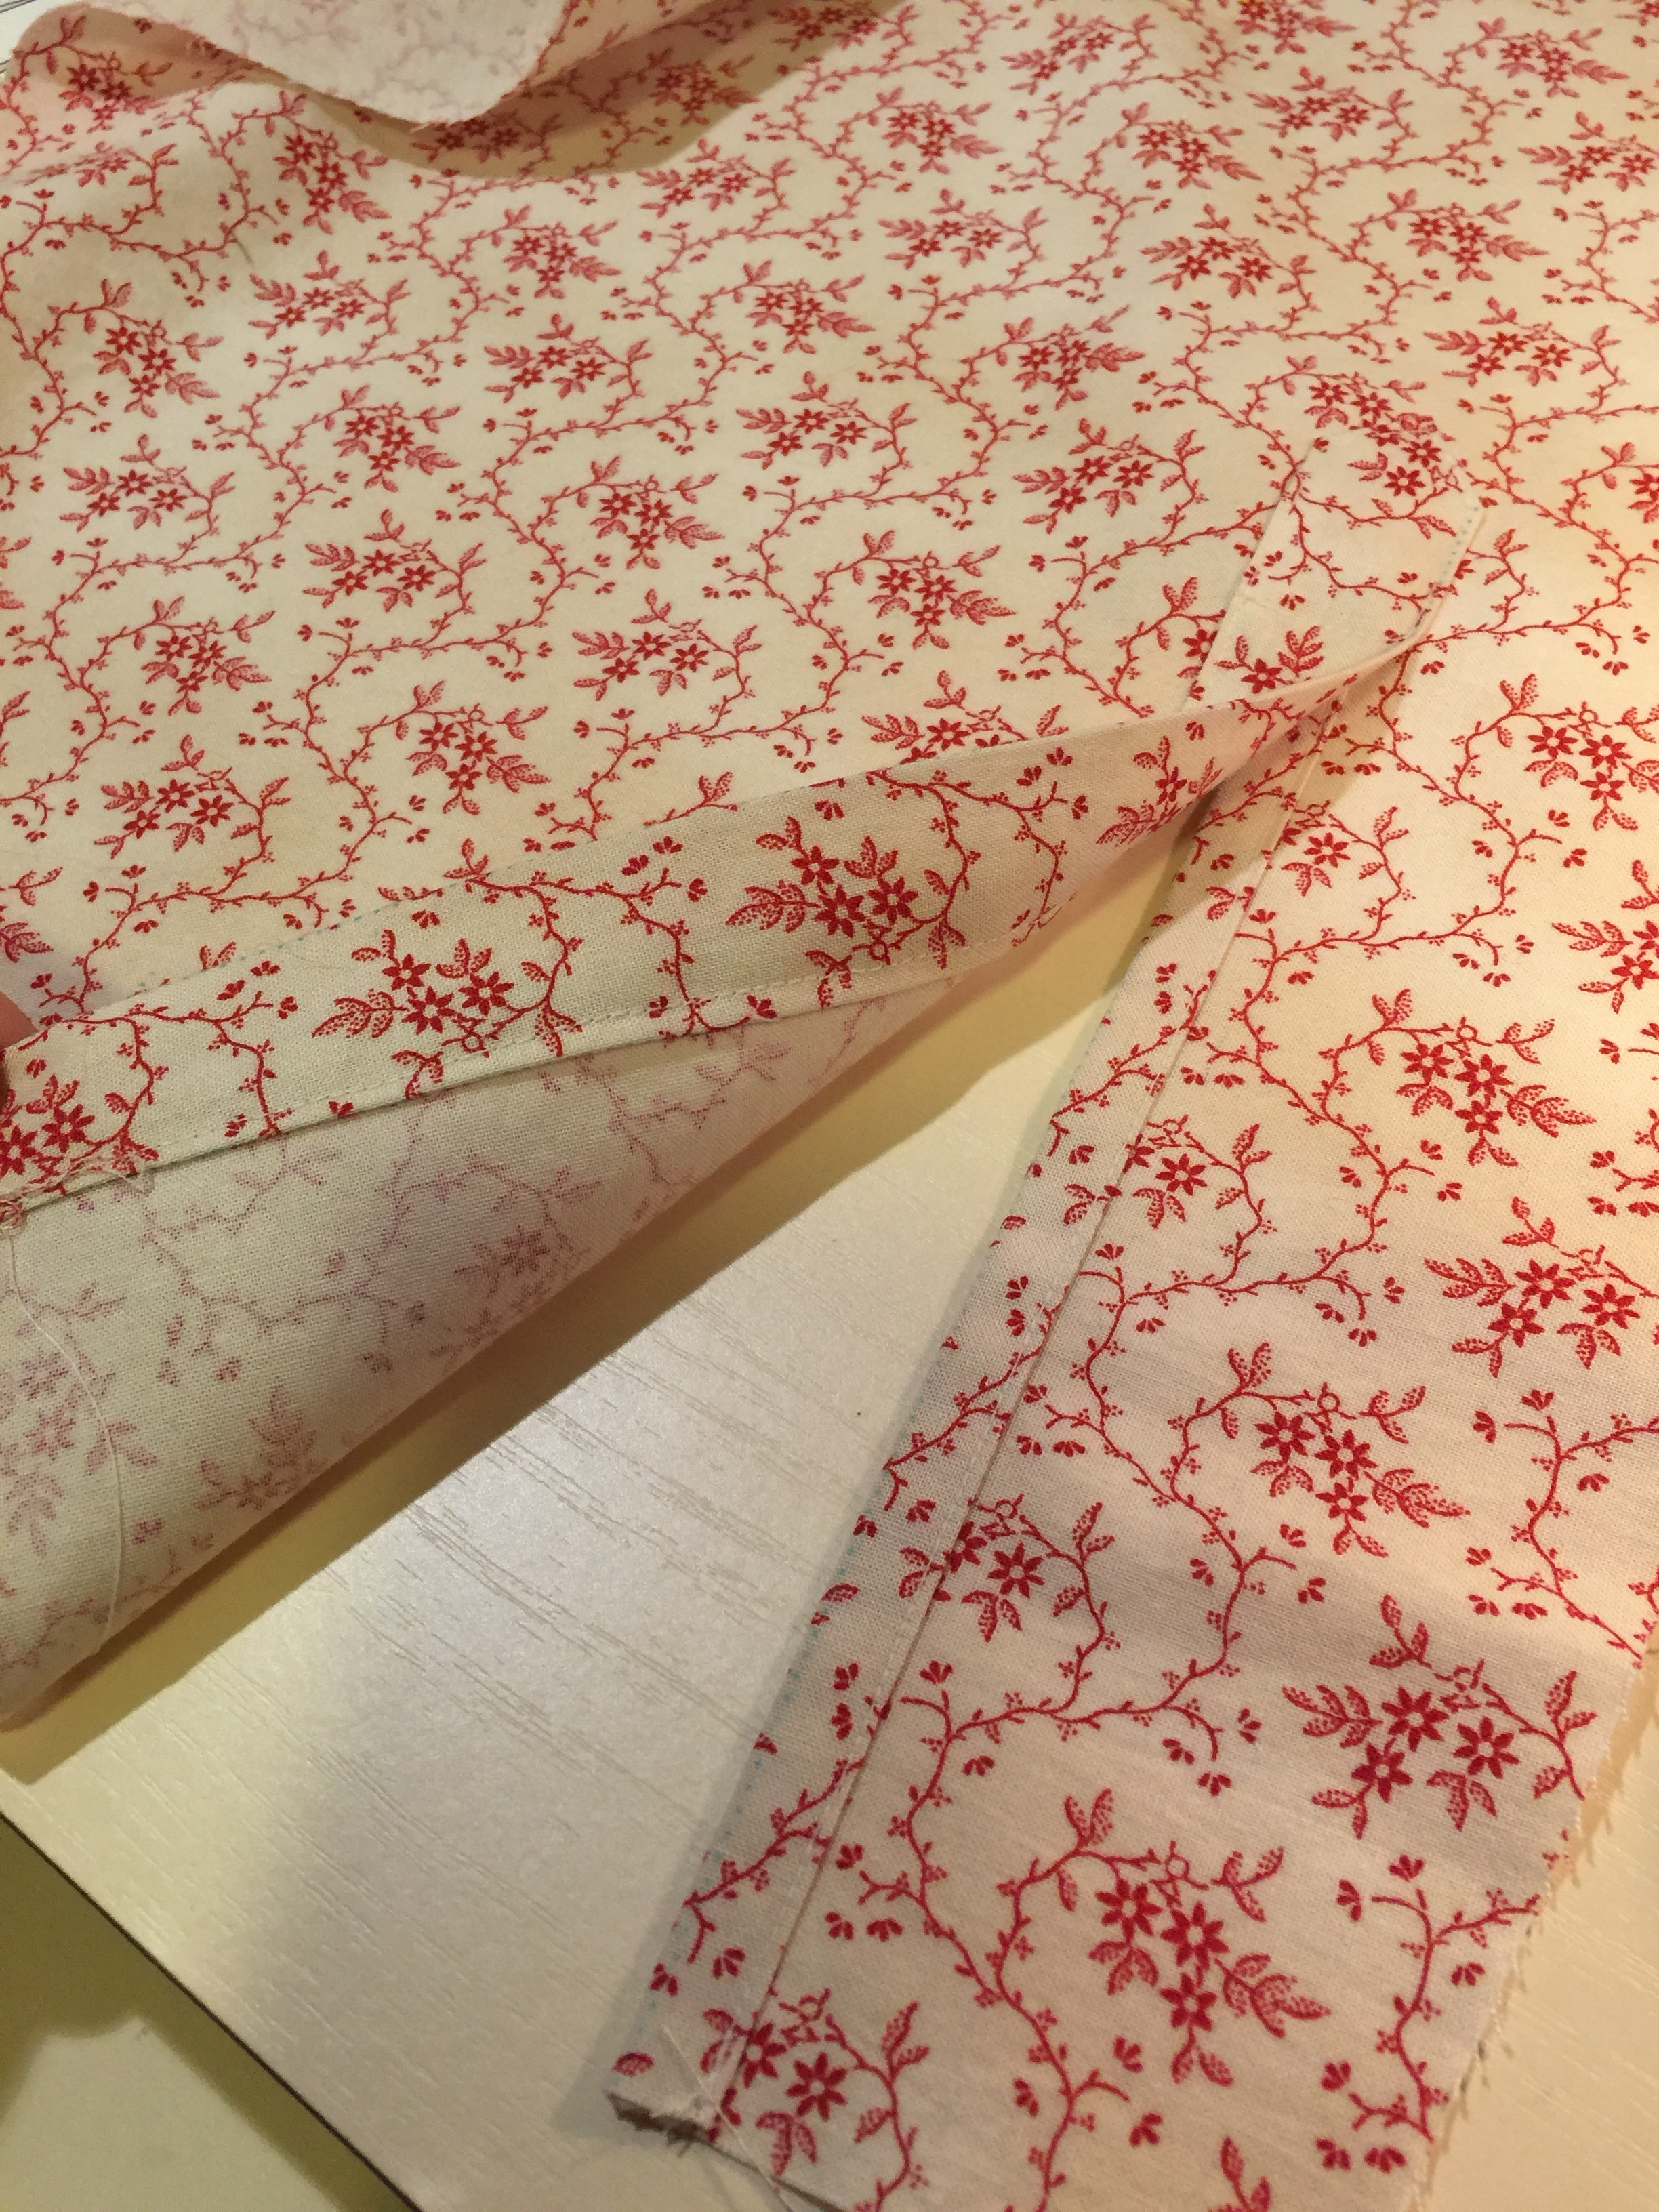
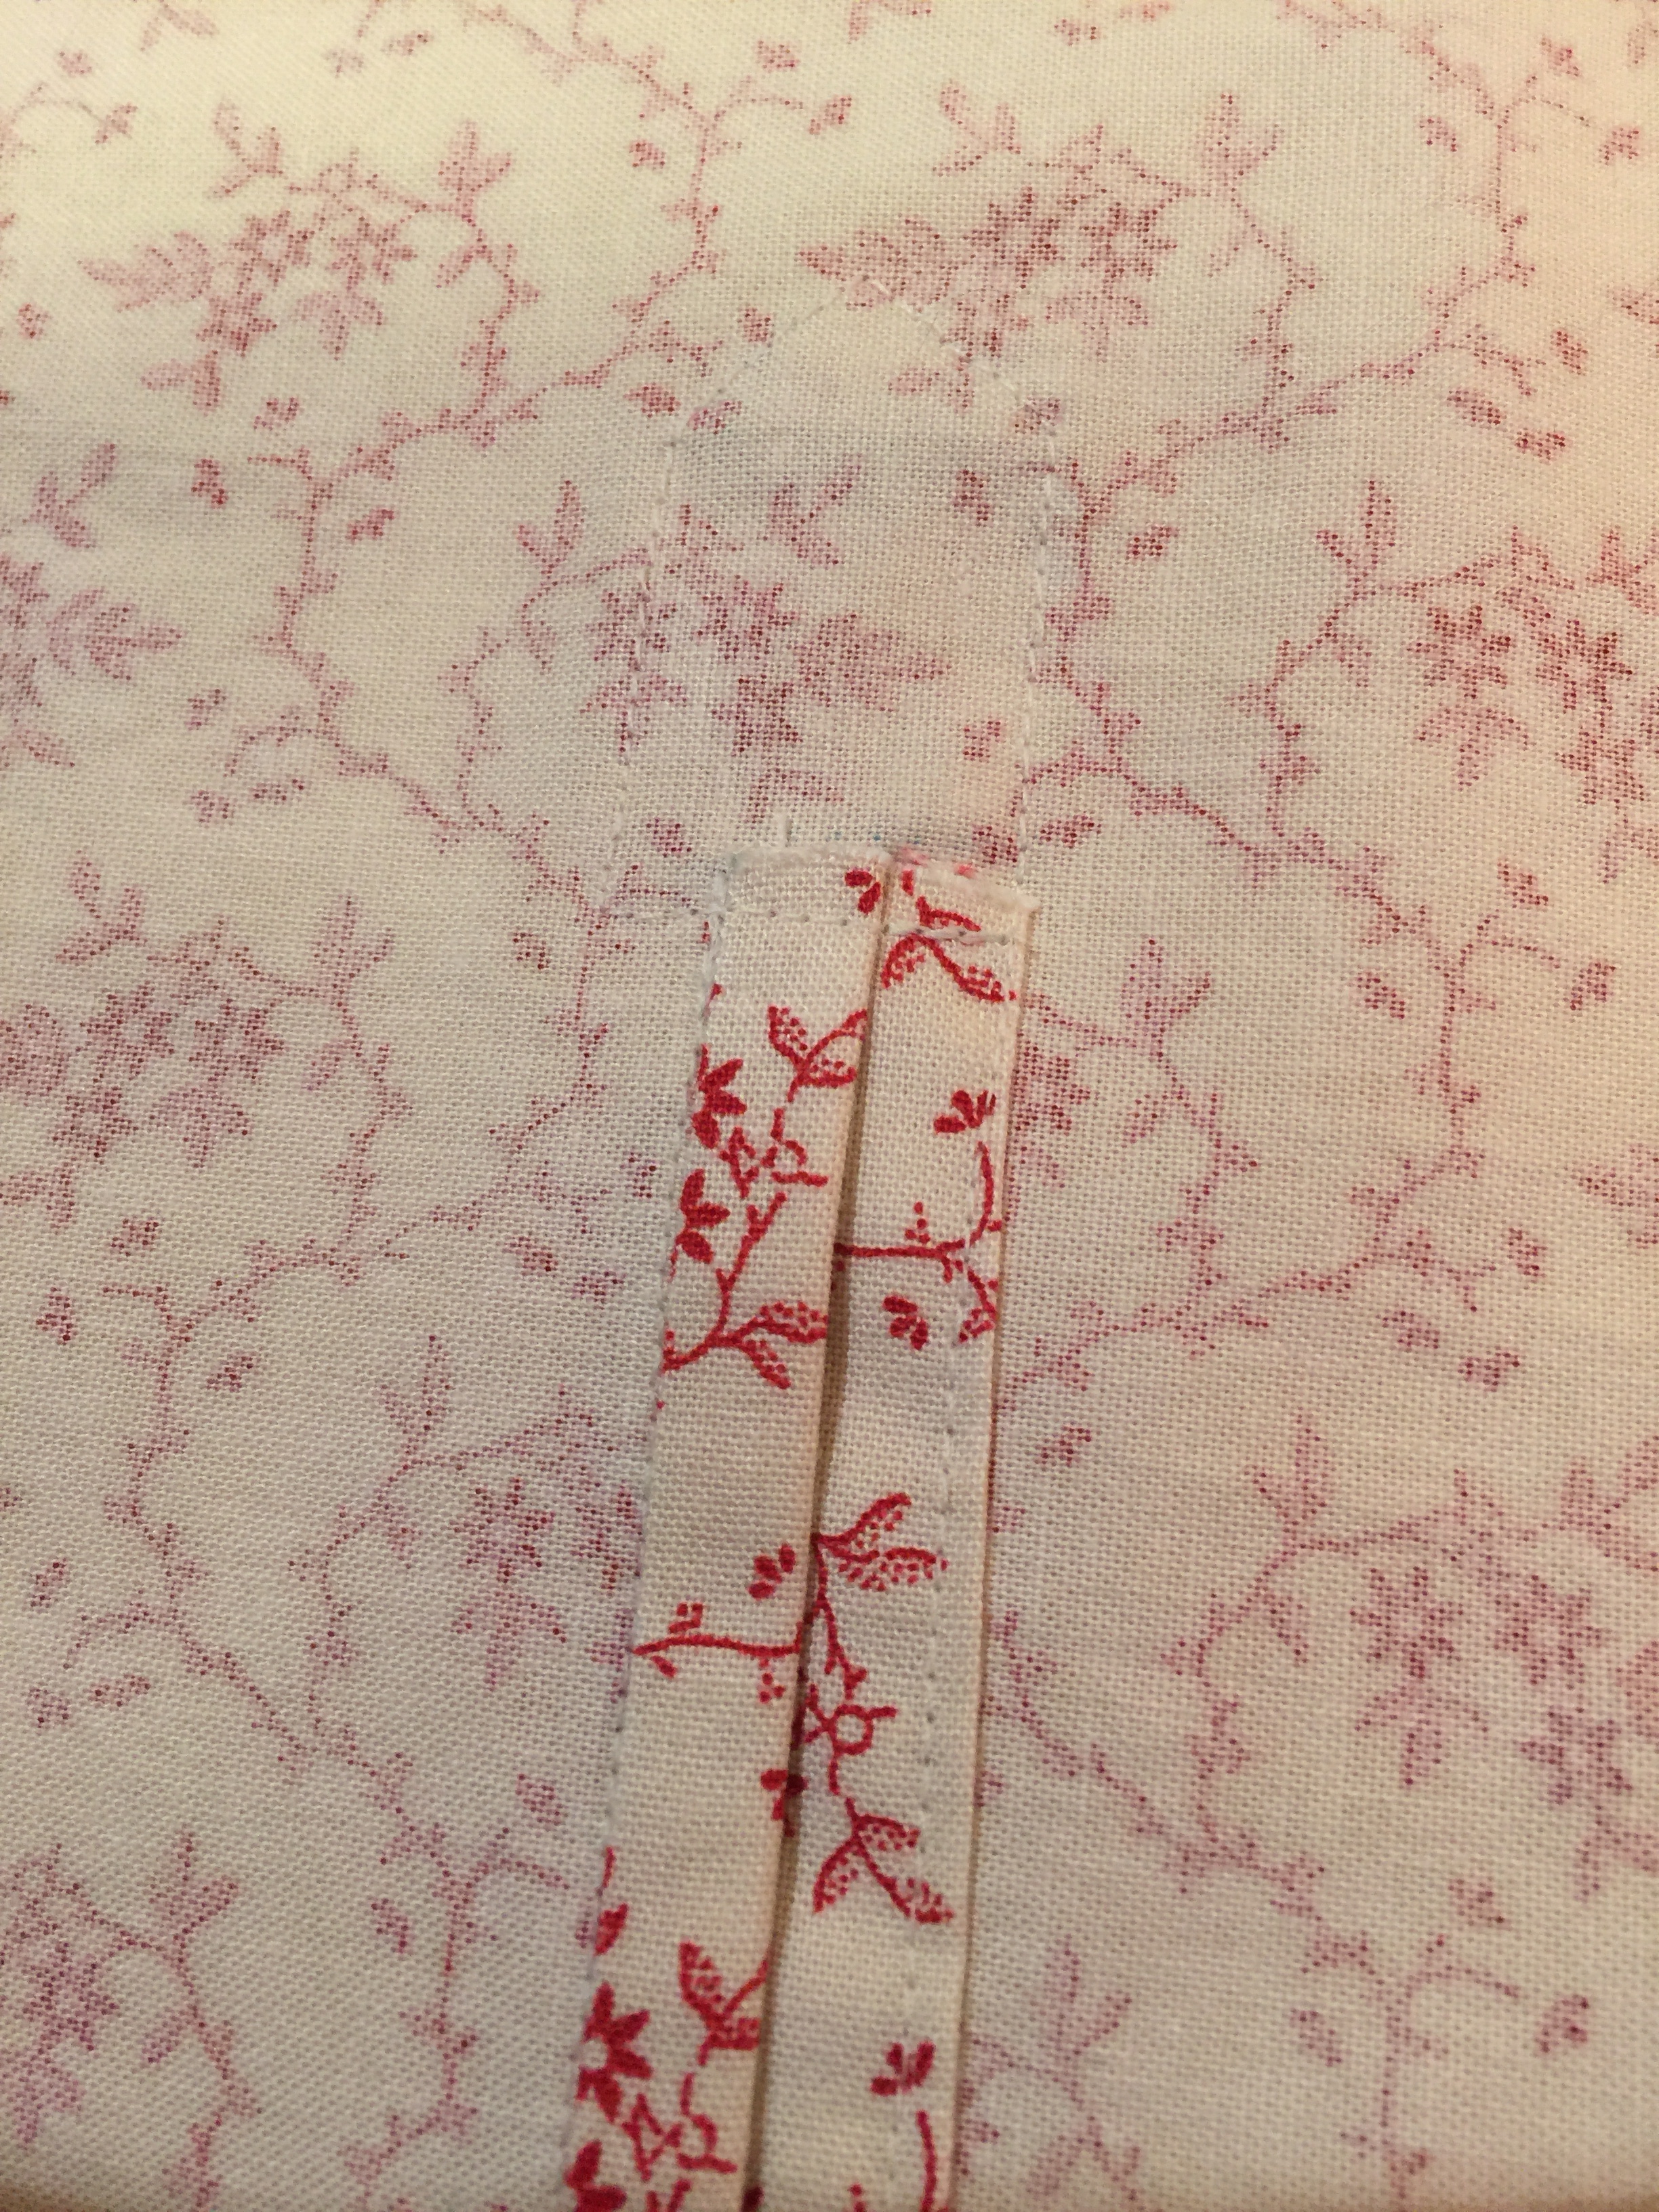
The sleeve placket construction was new to me. Colette uses a single piece for it, but this one has separate pieces for the overlap and underlap. I actually think this version looks better than my Negroni attempts, but it does result in two very small unfinished edges visible on the inside of the sleeve. (I was worried I’d somehow missed a step so I messaged Joost about it, but he confirmed that it’s intentional and shouldn’t be a problem.) The third photo here shows it…
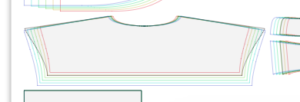
Then it was time to sew in the sleeves… and I ran into trouble. I had failed to notice that my armholes were a rather peculiar shape. The top of the yoke and the body fronts were exaggeratedly wide in a way I hadn’t seen before. I figured it would all come together in the end and proceeded to sew in a sleeve. When I had the Snook try it on, it stuck out in a point like a military epaulette. So I unpicked it and looked at the pattern again, and I compared it to other shirts as well as other patterns. It was definitely not right. After much hemming and hawing, I decided to bite the bullet and just lop off the pointy bit. Sewing in the sleeve was easier then, and it didn’t result in a pokey-outtey point.
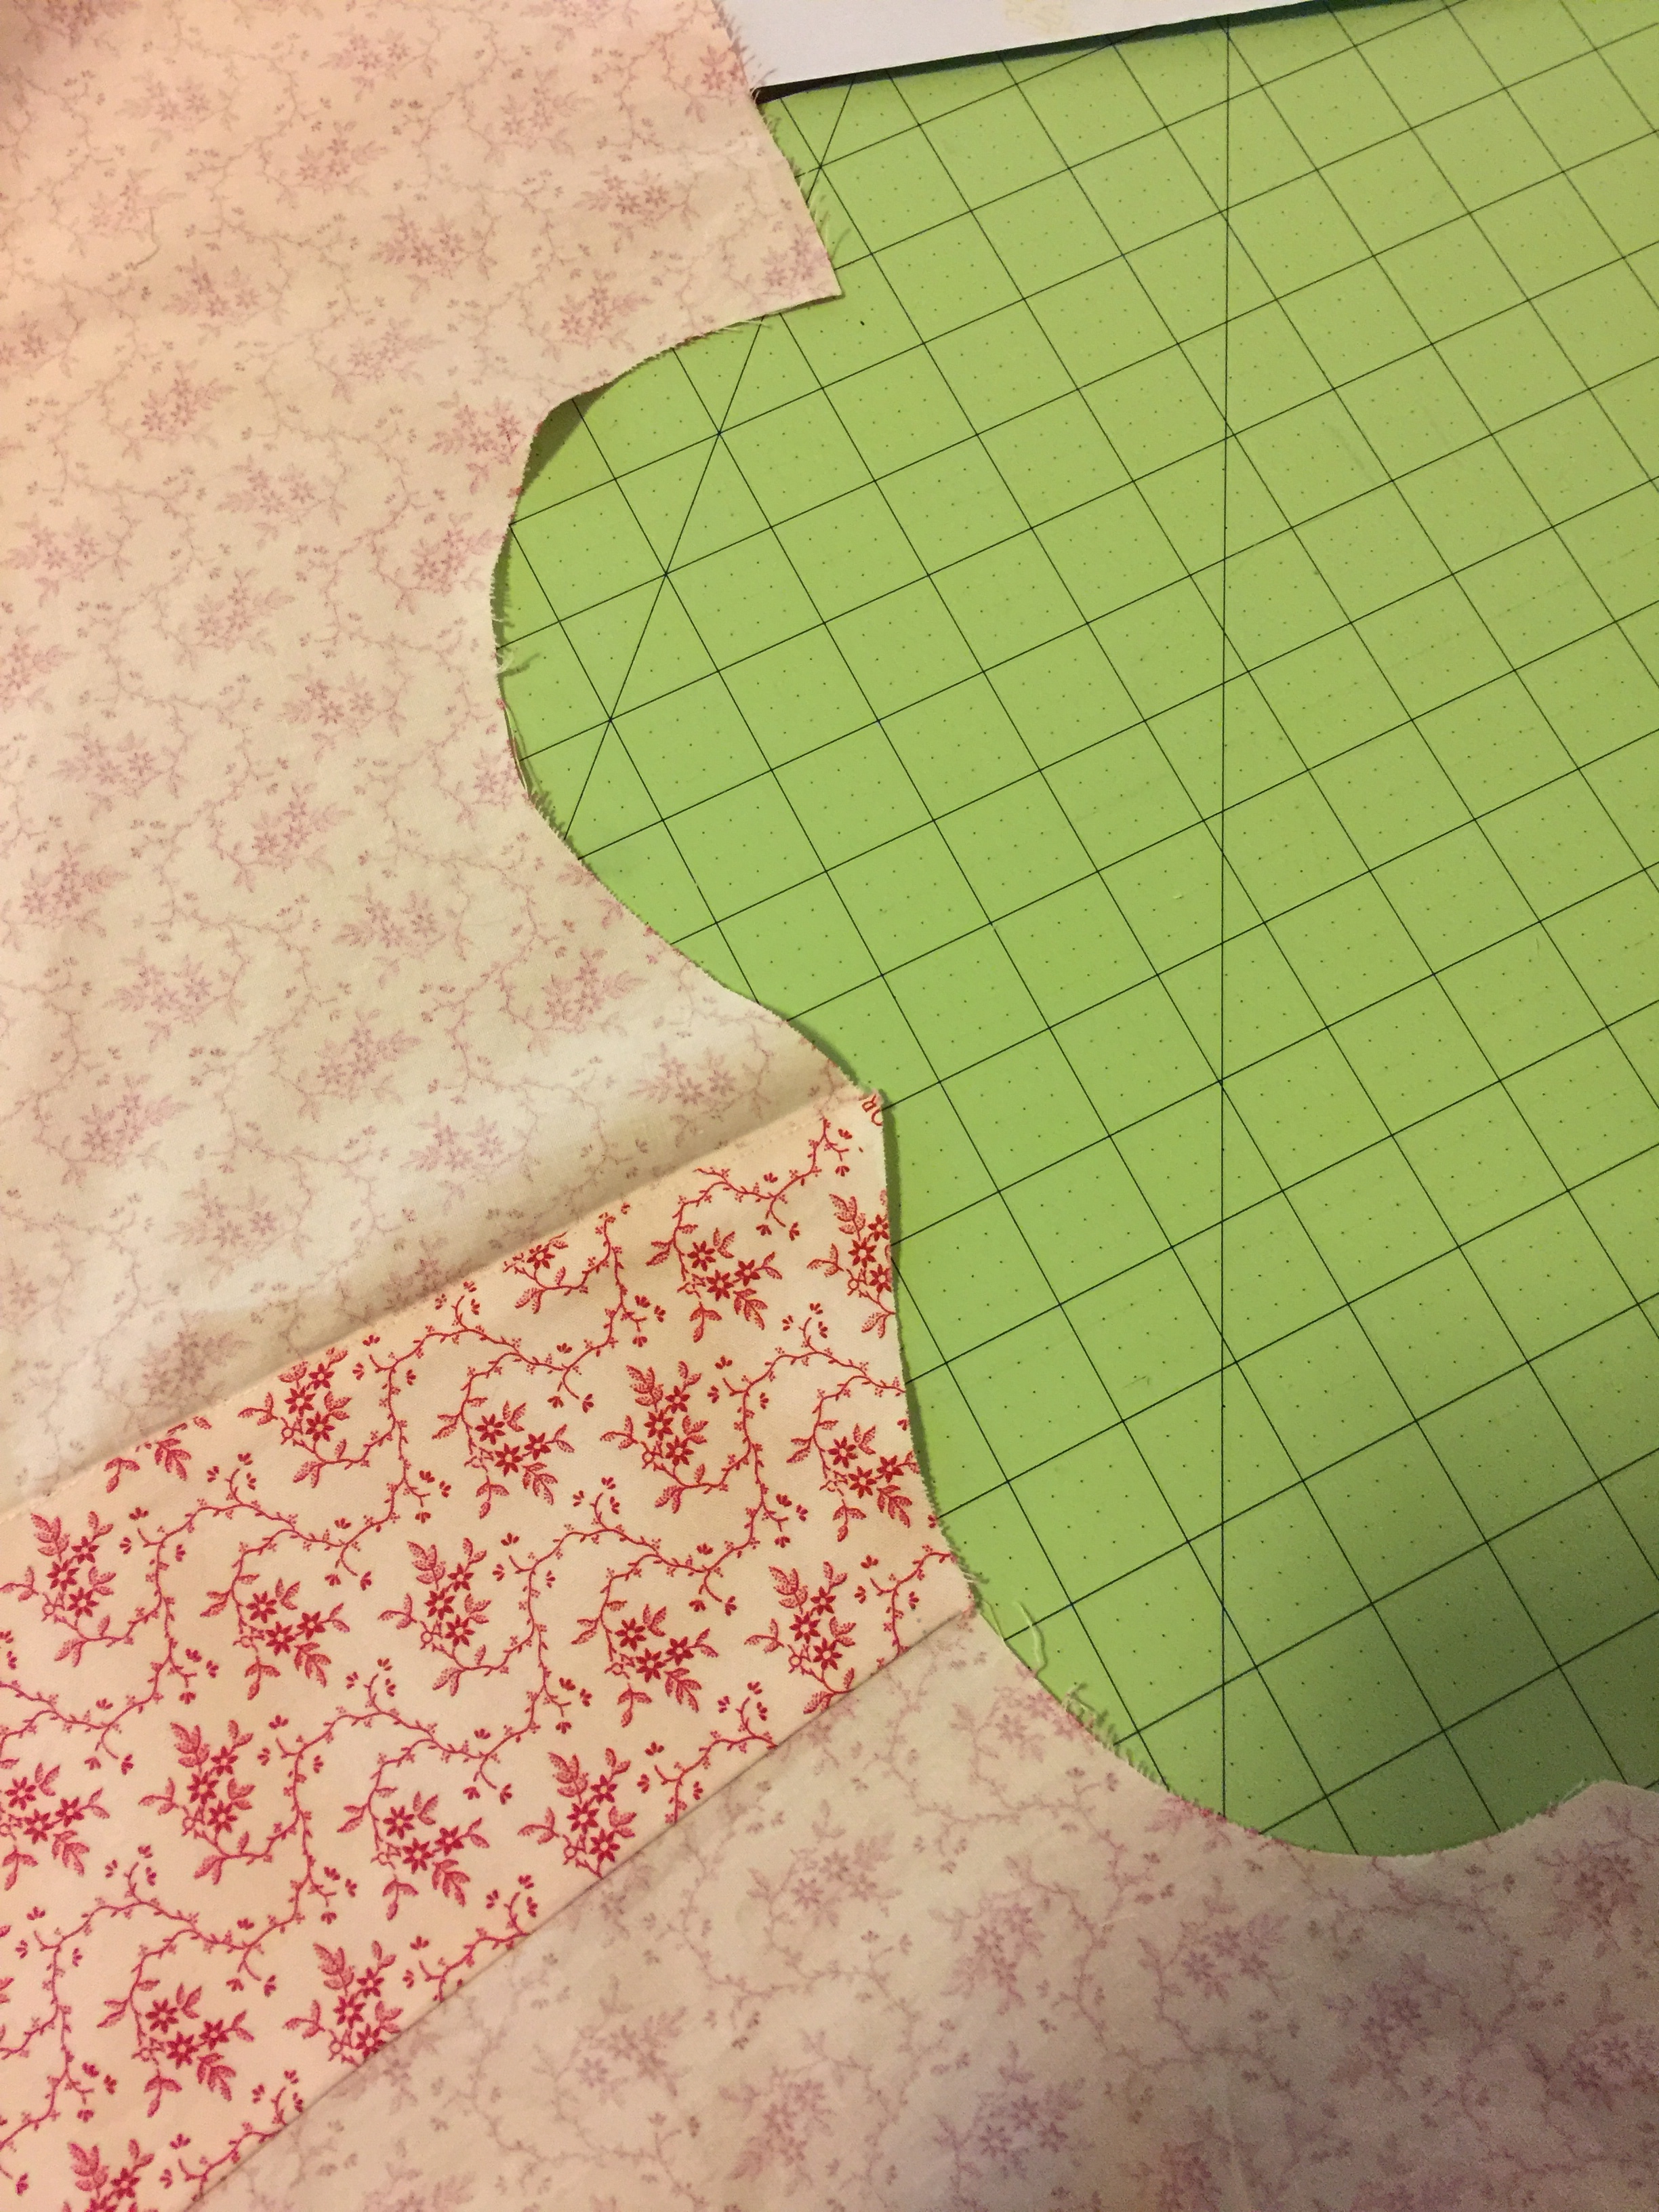
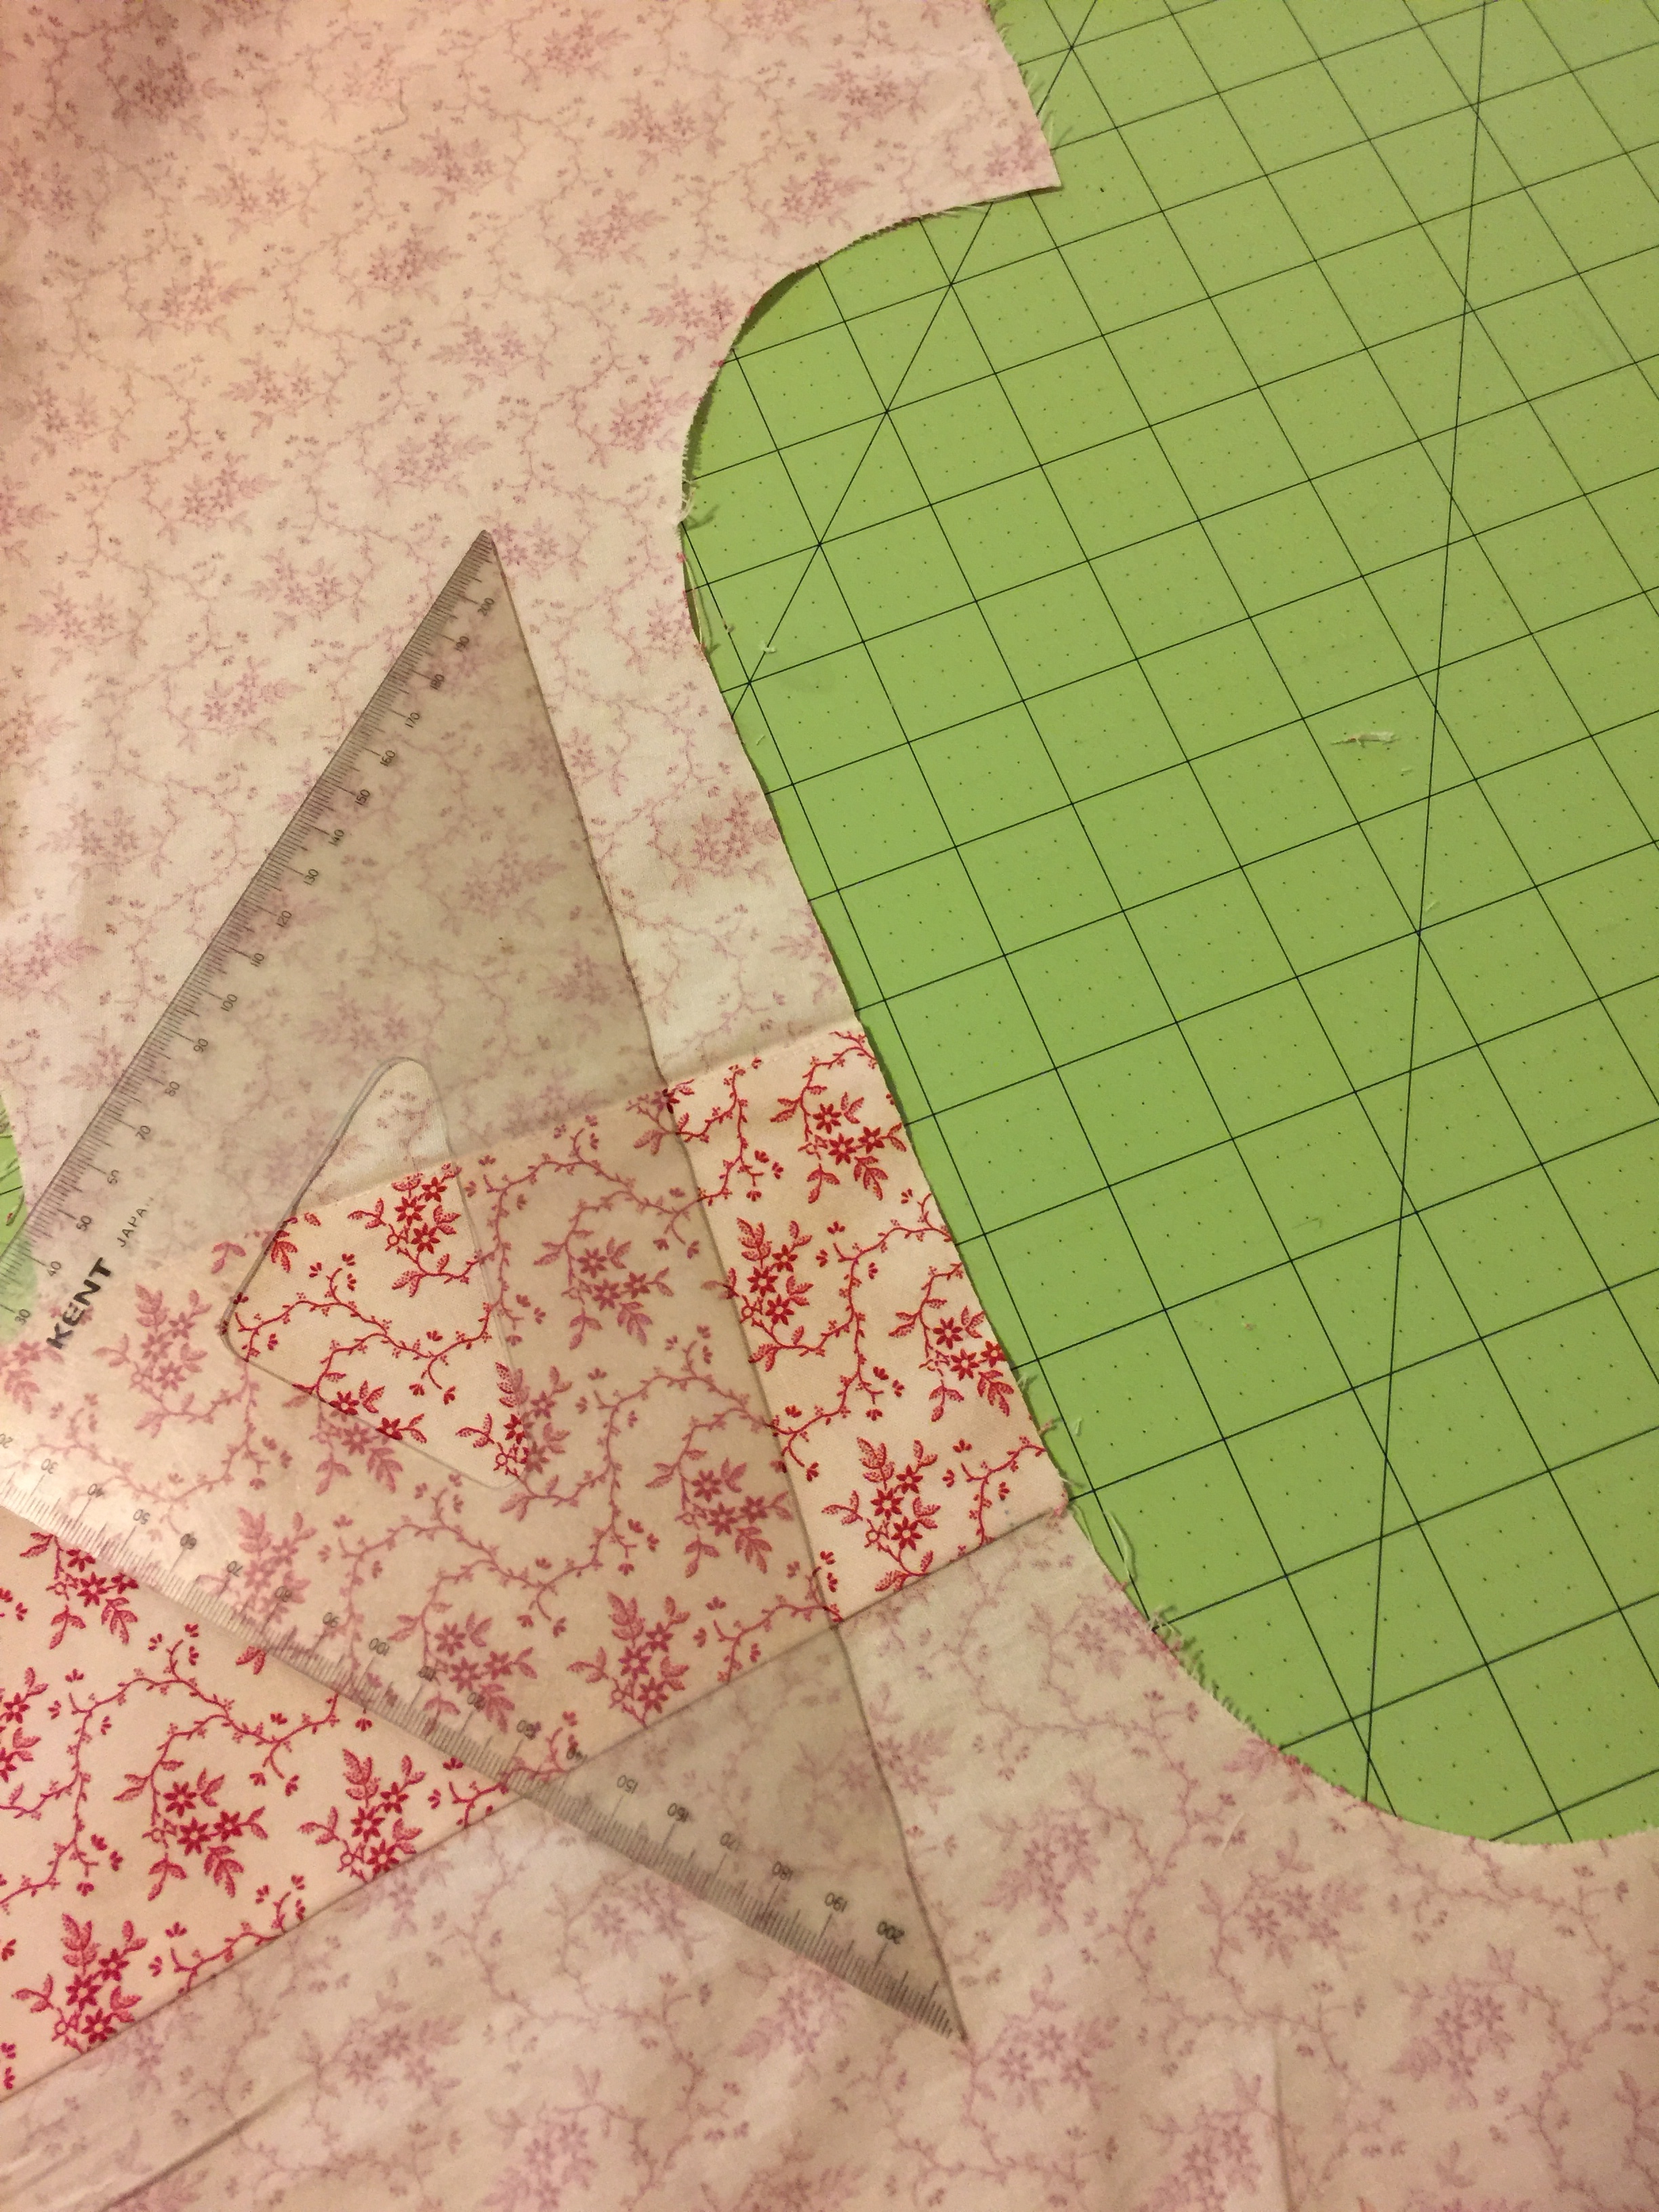
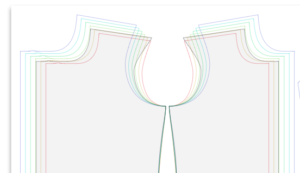
My solution was drastic, and it didn’t fix the issue that the armhole was still more scooped out than necessary. Once I had the sleeve in, I could see that there’s still some weirdness around the armpit. I can live with it. After poking around the Freesewing docs, I’m guessing that one of our measurements around the shoulder area was probably incorrect. The ratio of top of shoulder to back width is probably the culprit. I also discovered that Freesewing helpfully provides a “comparison” preview of your pattern so you can identify these issues before you cut out your fabric. In my case, you can tell immediately that there’s something off about the armholes and shoulder. If I’d seen this before cutting, I would’ve double-checked my measurements and fixed it then. So the next tip: Use the Draft Comparison Preview to check whether any of your pieces look odd. If they do, chances are you had something wonky in your measurements and you should fix it before you cut out your fabric.
Oh, and I won’t even go into detail on my issues with creating flat-felled seams. That’s nothing to do with the pattern or the instructions; that’s just my own lack of practice with them. They look fine from the outside, but the inside – especially around the top of the sleeve caps – is a bit bodgy. I’m cool with that. I’ll get better the more I do.
As I headed into the home stretch, I came up against that baseball hem. Hm. Hemming something with such exaggerated curves was not easy. The pattern indicates that I’ve got 3cm for them hem, which should be folded up at 1.5cm twice. That was just not gonna happen, not without making some cuts on the curves that I didn’t feel comfortable doing. So I decided to go with a skinnier hem (1cm folded twice), which was still tricky but slightly easier. It’s still a bit bodgy over the very curvy bits, but it’s not too bad.
The final step was to sew the buttonholes – all 13 of them! I was very happy that my faithful old Janome has a pretty decent automatic buttonholing foot. I bought medium cream buttons for the body and cuffs, and a couple teesy ones for the wrist opening plackets. Final tip: Make sure you sew the buttonholes on the correct (top) side of the cuffs, otherwise you’ll have to unpick everything and flip them around (like I did). 🙄 Then it was just sewing on all those matching buttons… And here’s the finished result!