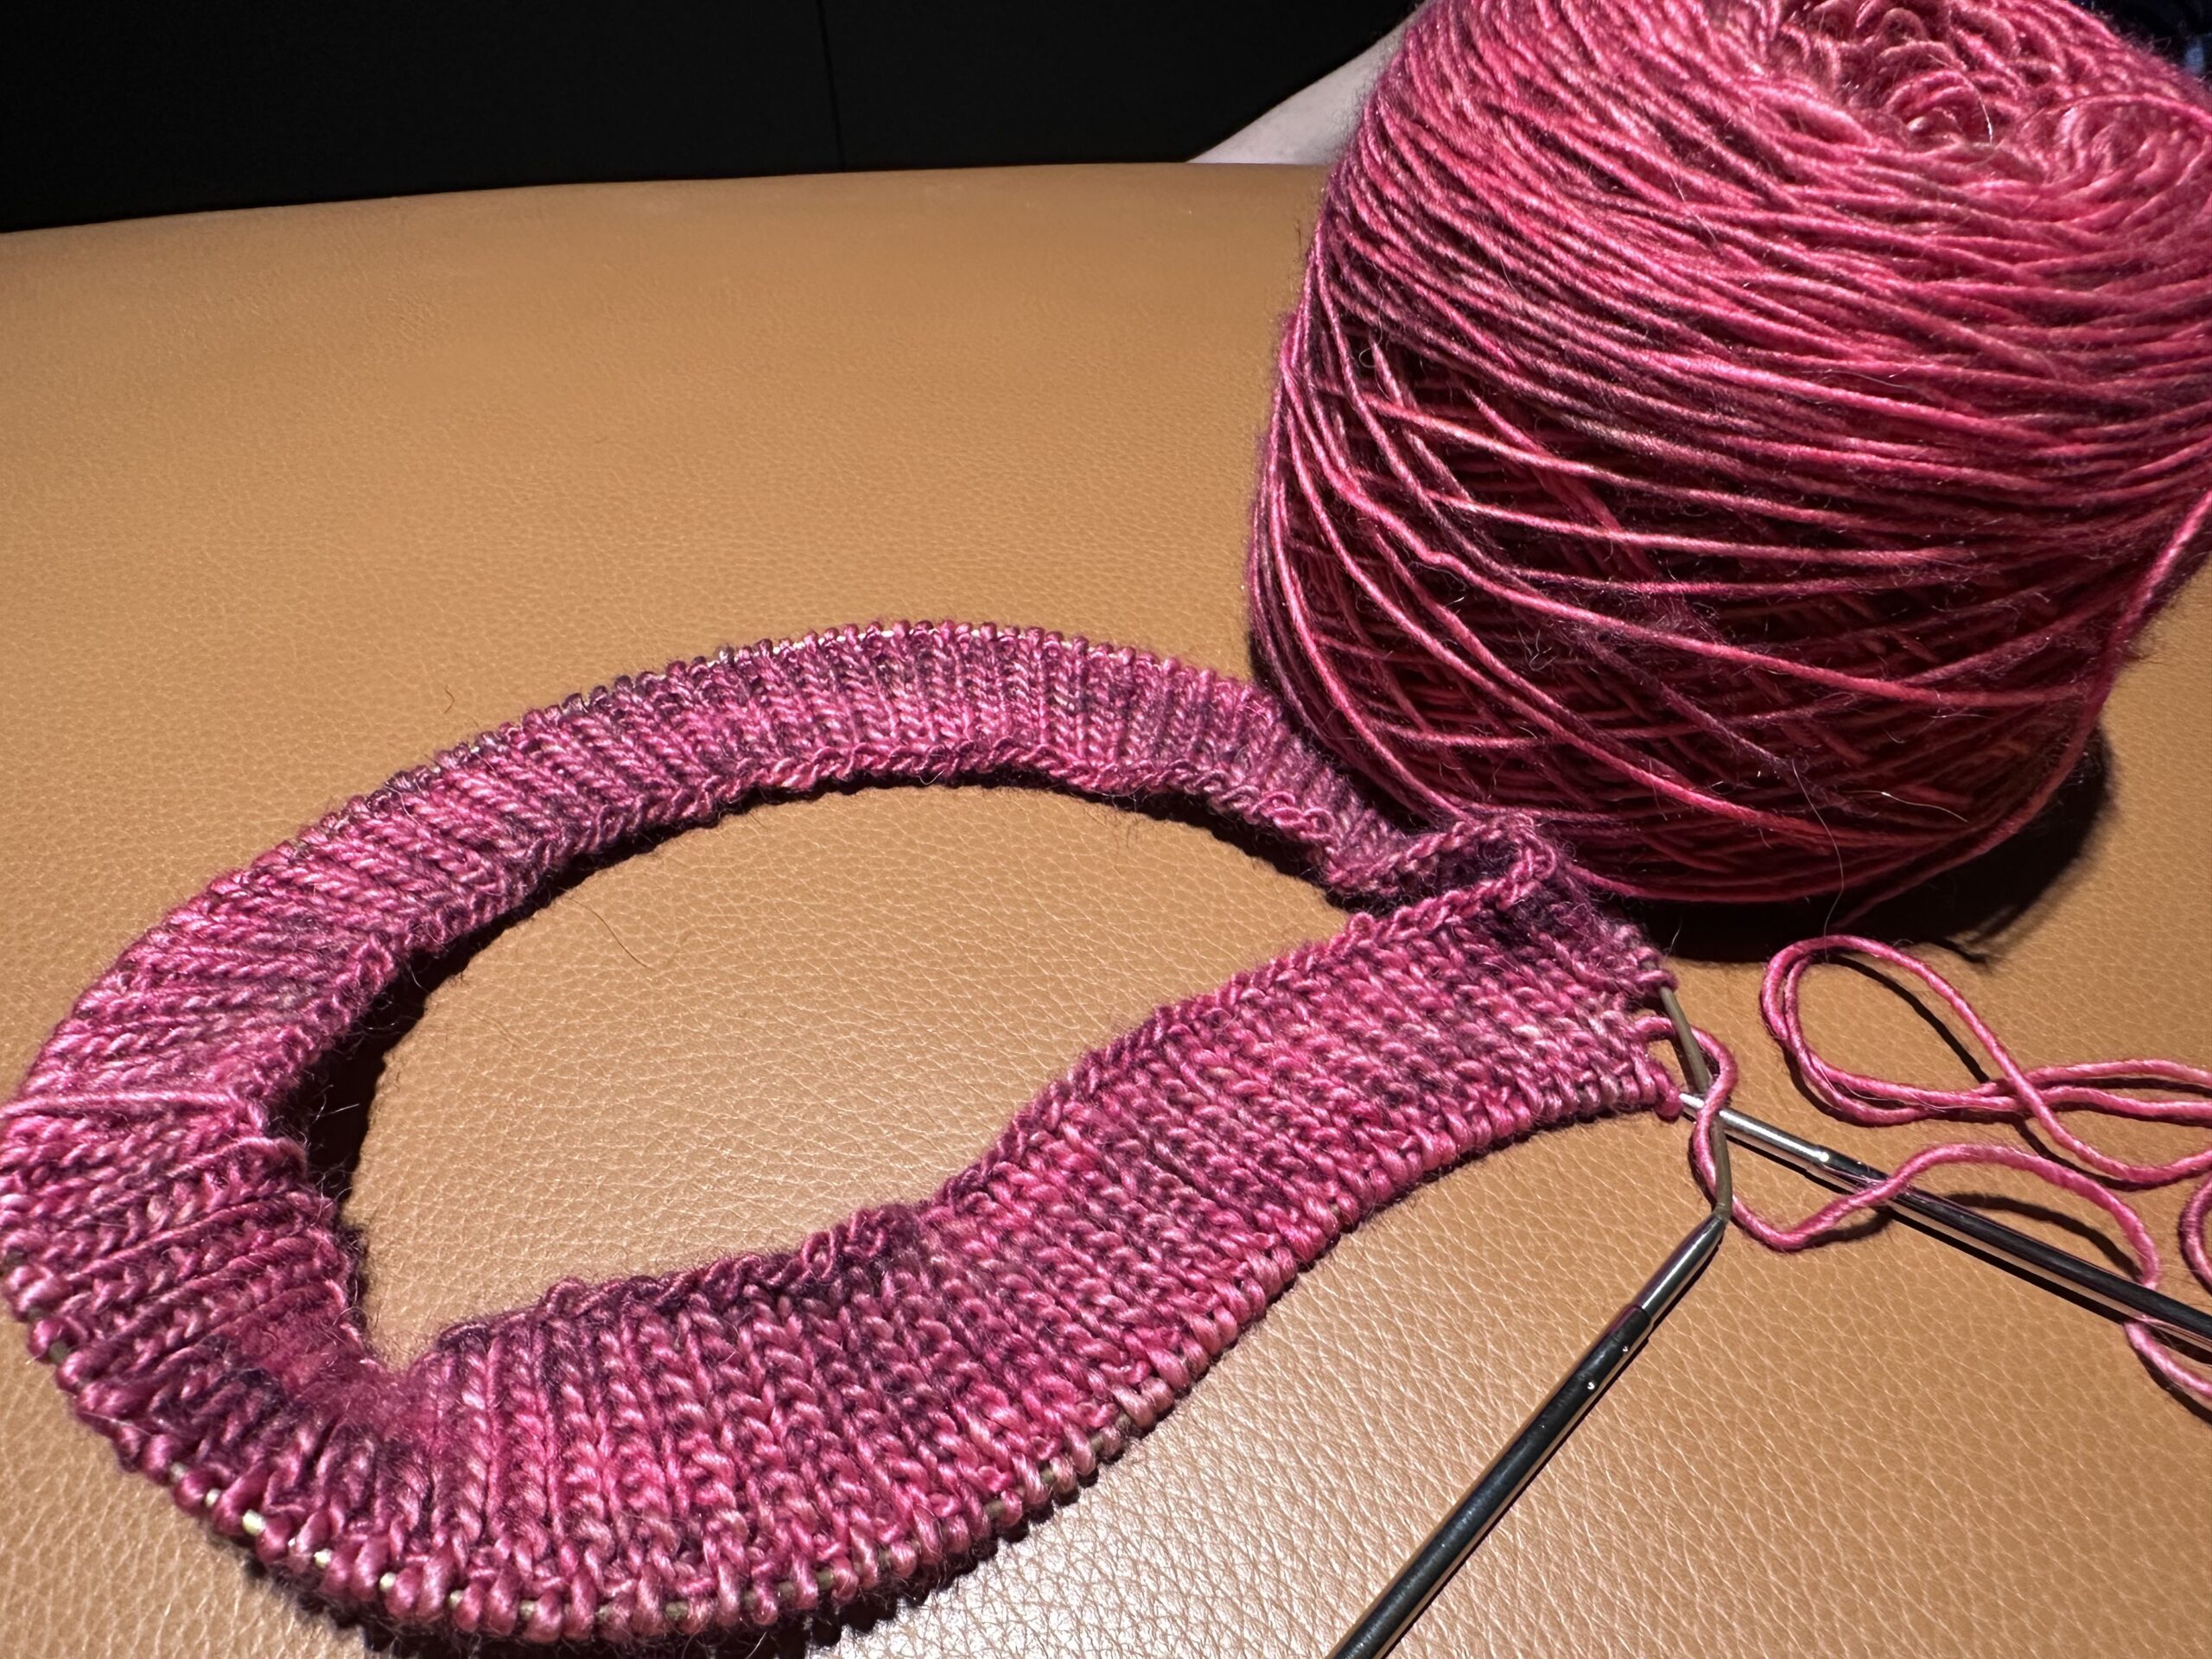
Learned a new knitting trick today: the German twisted cast-on. Biggest challenge is that the long tail needs to be about twice as long as I normally estimate, so I had to do it twice. But I figured it out!
Category: Crafts
Craft projects of mine
-
Non-Cooperation Brick
A knitting pattern for when you really feel the urge to throw something against the wall, like when the supposed leader of the free world sides with dictators and fascists and insults a brave man fighting for his people’s freedom. 🤬 Oh, and it’s free. Bonus.
-
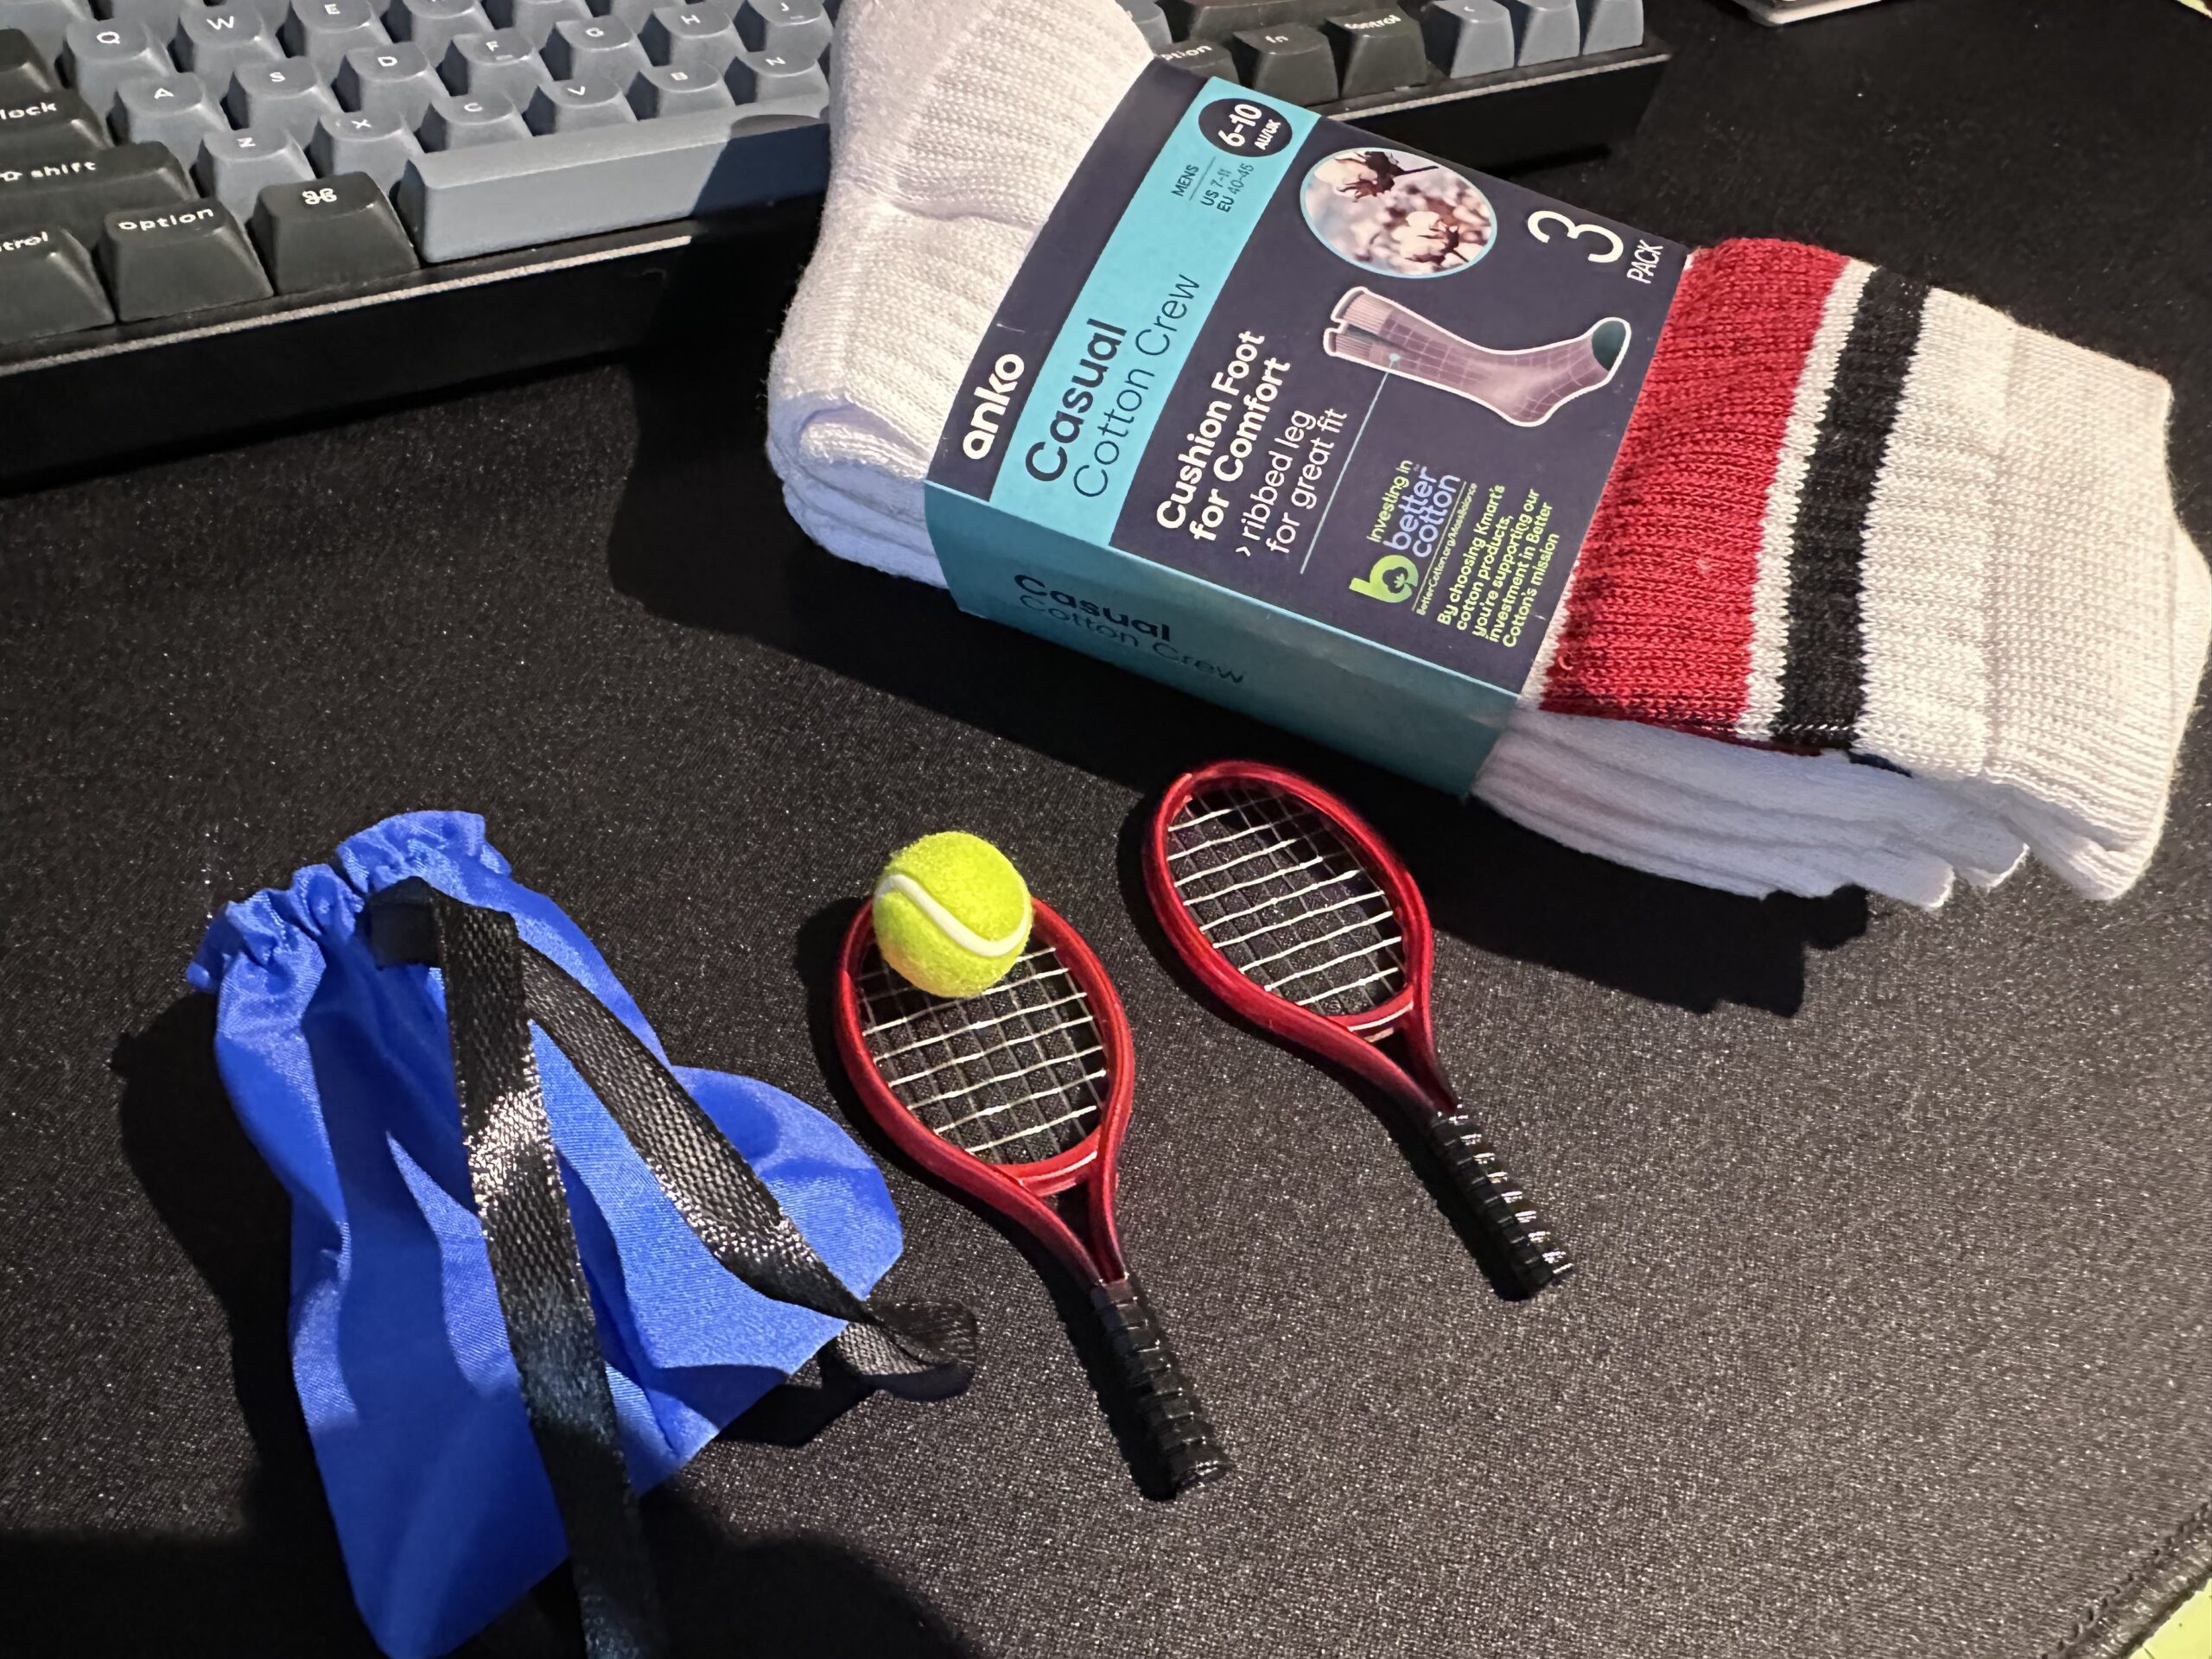
Oscar Contest 2025
It’s obviously not happening! I’m just not feeling it, folks, despite having (IMHO) a fantastic idea for the sock monkeys. I even sourced props! I’ll just have to hope another sexy sexy tennis movie gets nominated in the future… 🎾
-
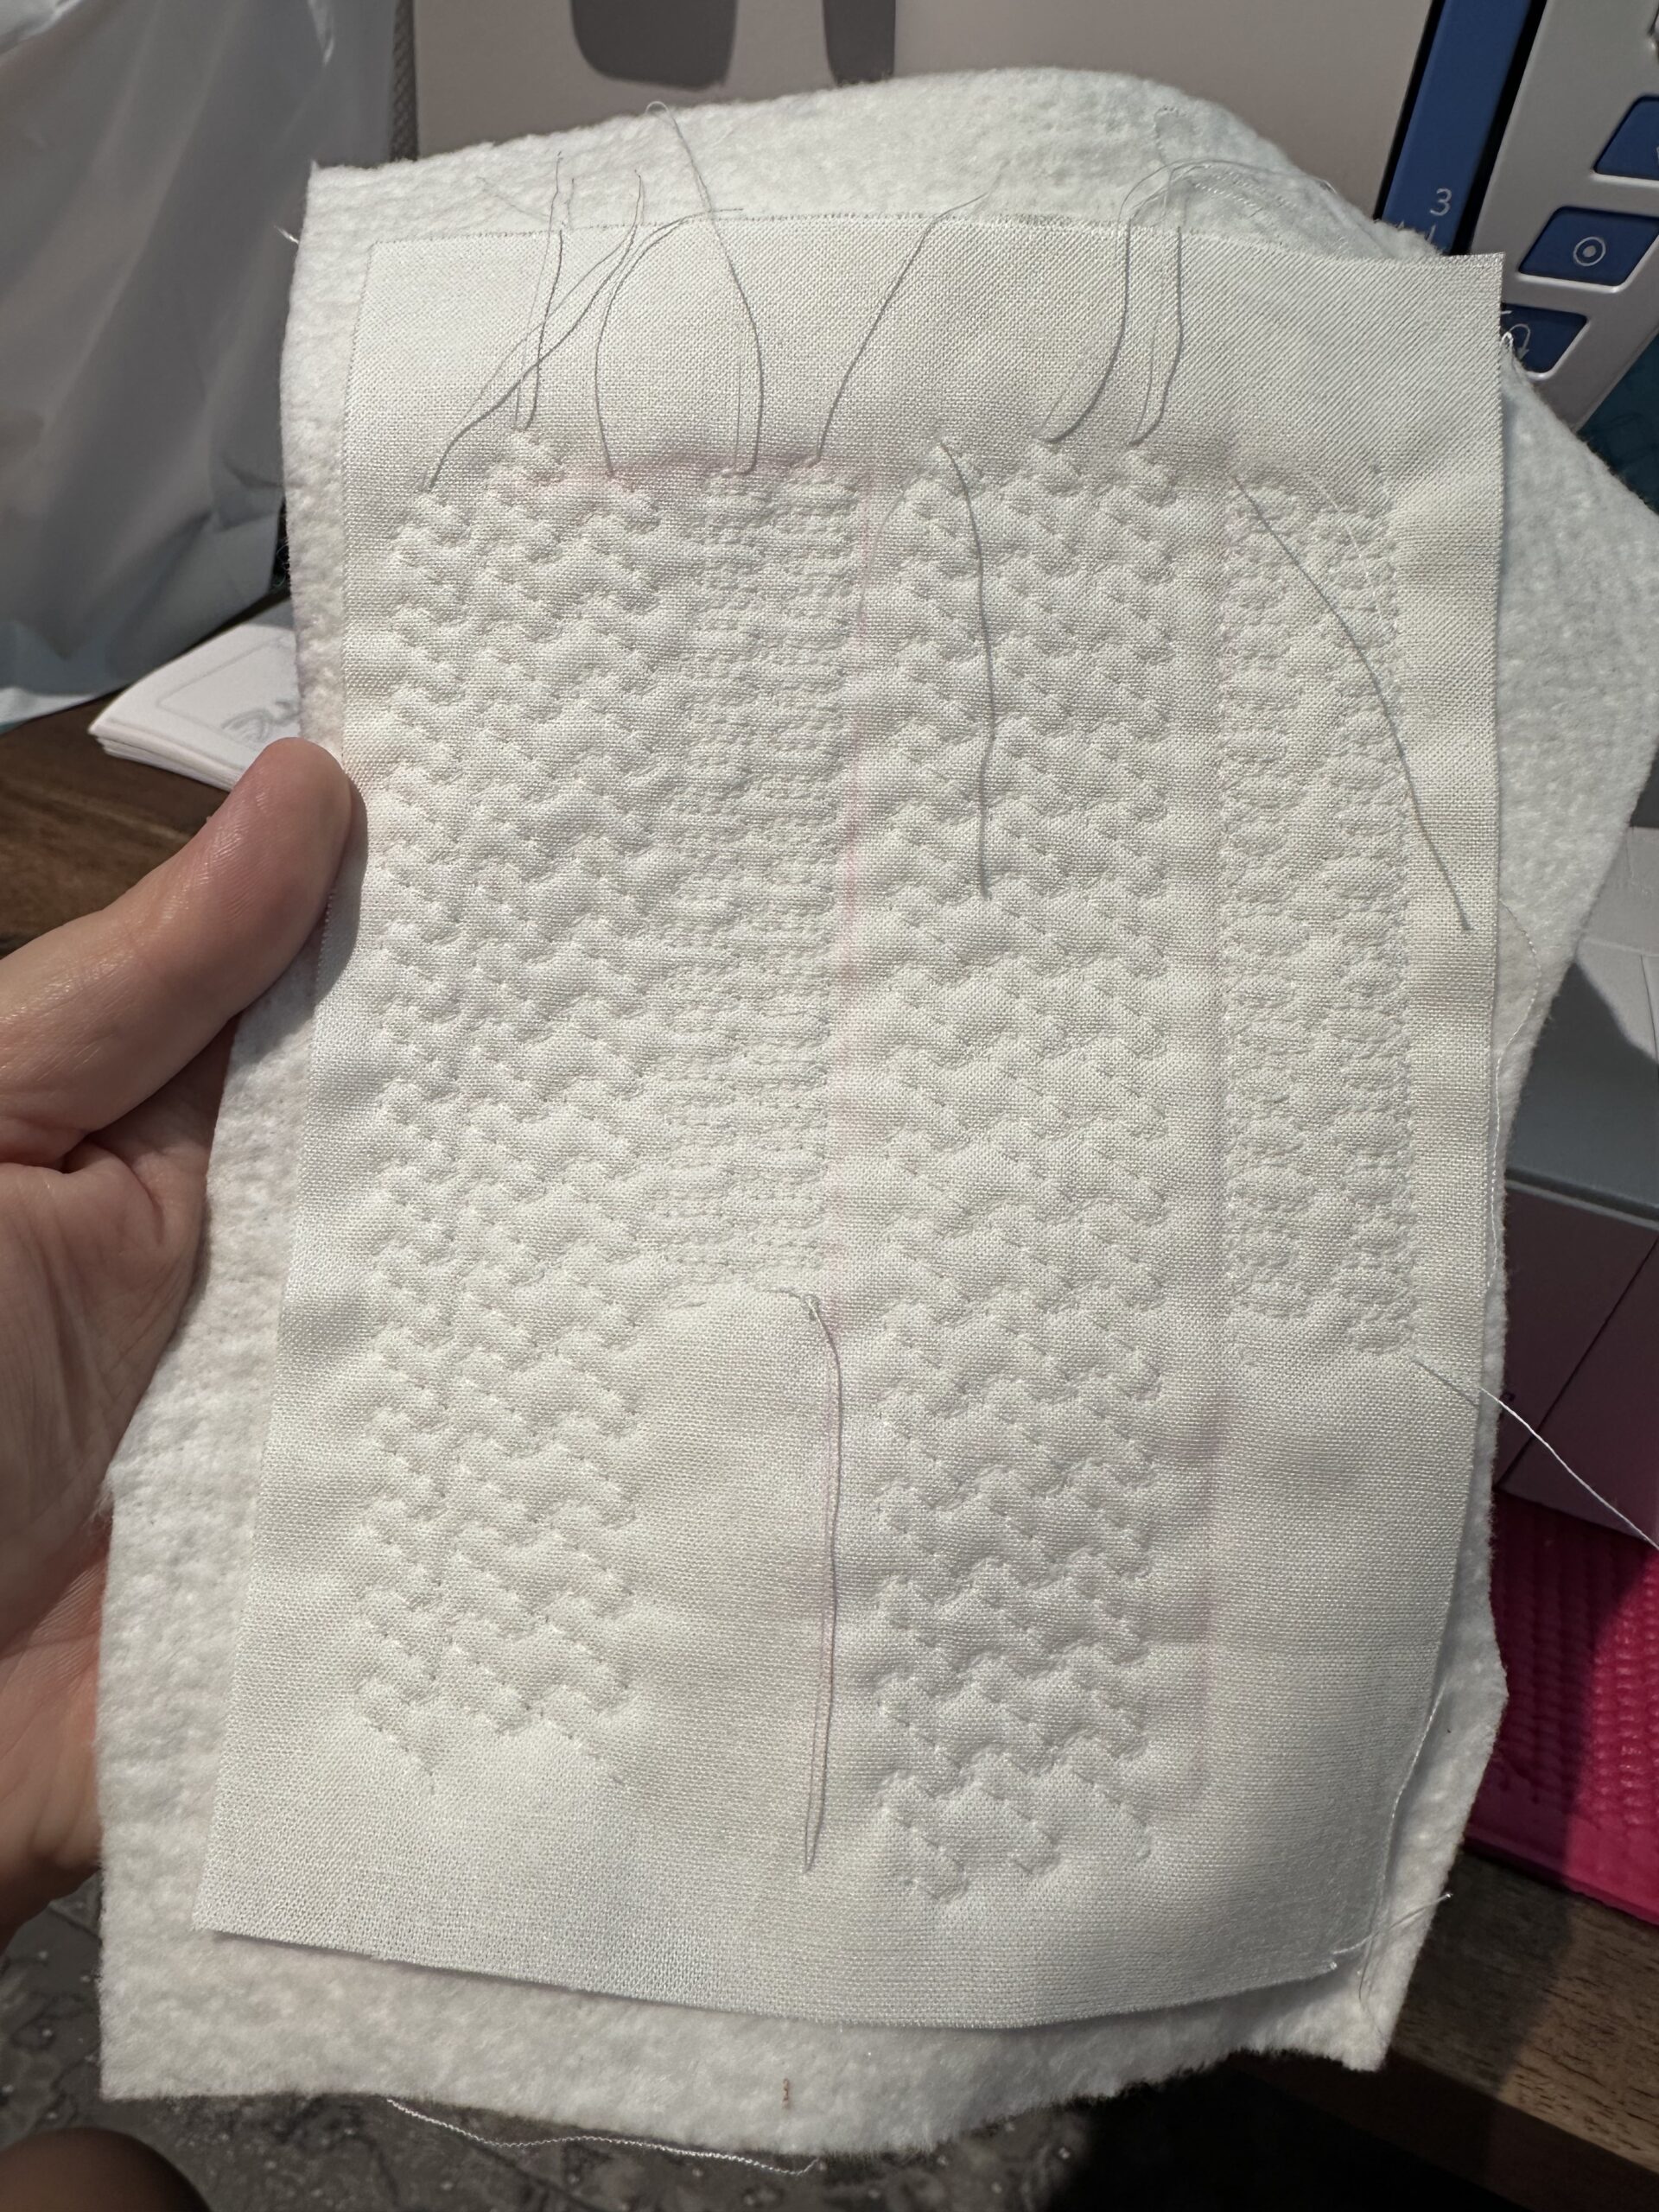
Machine quilting prototypes
Experimenting with some of the stitch patterns on my sewing machine. I think the larger stipple is the way to go.
-
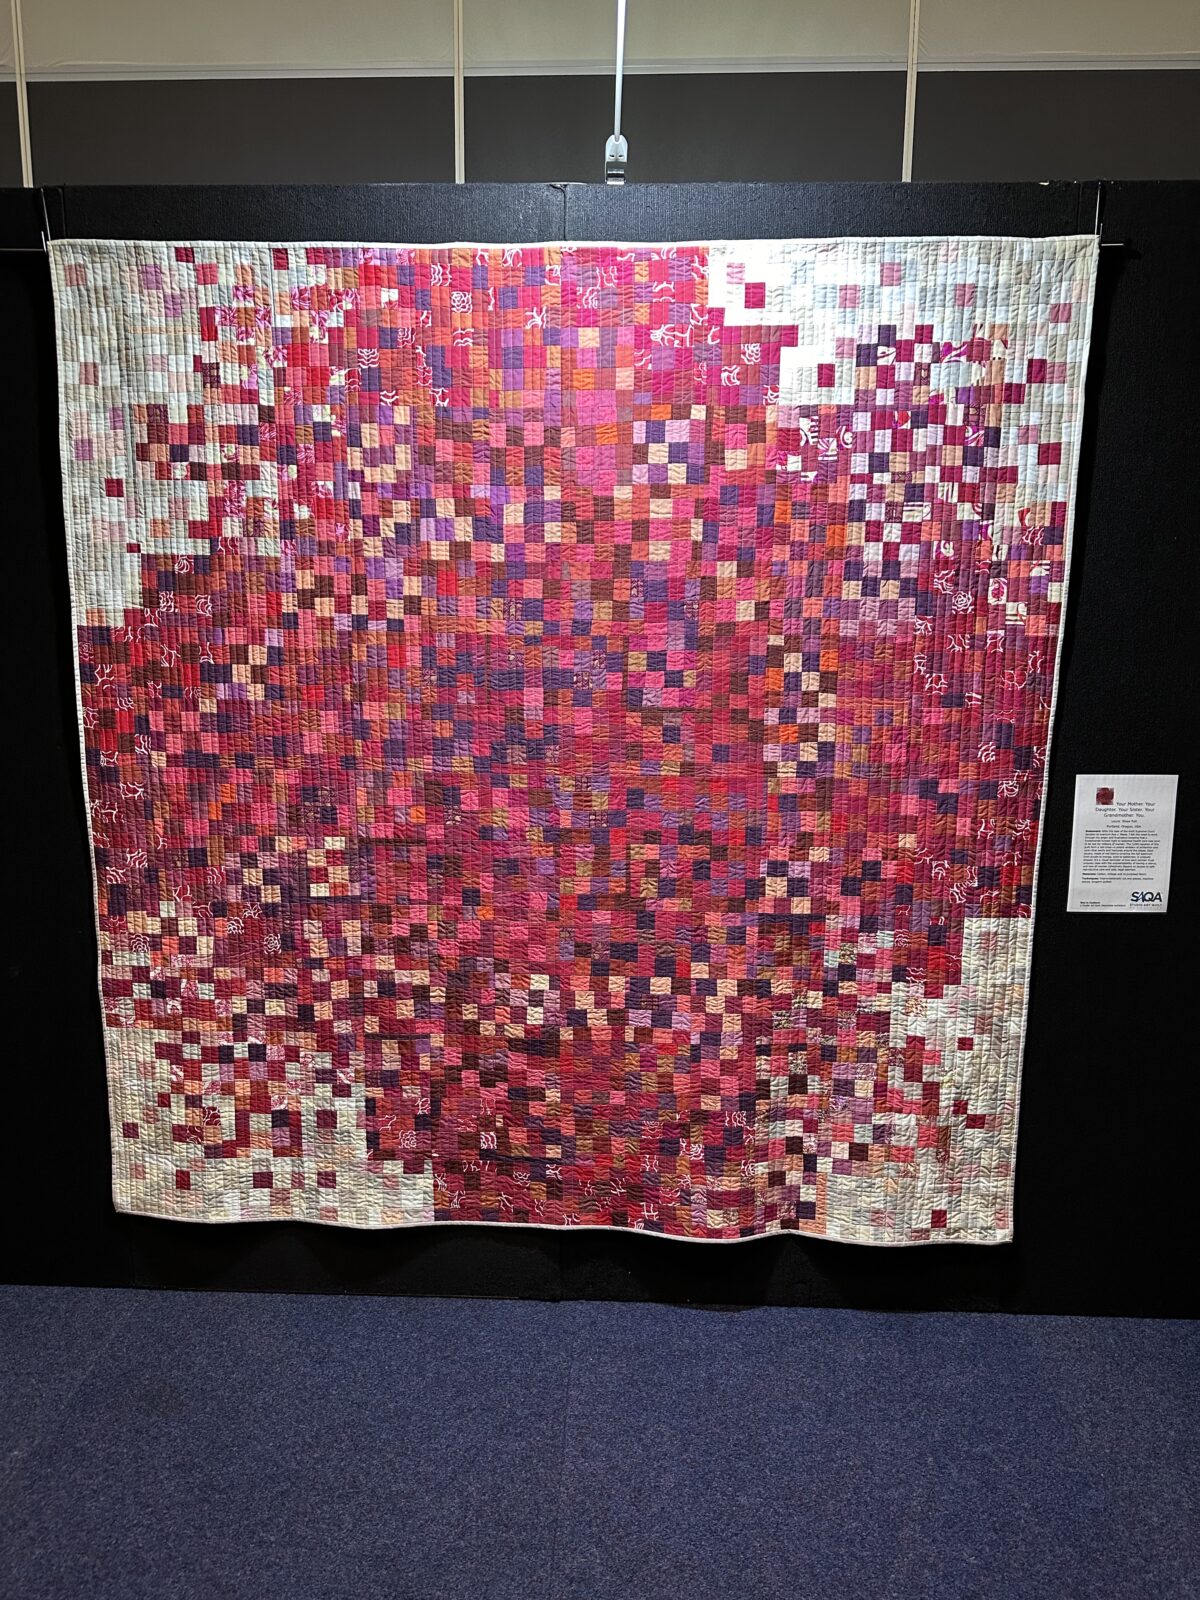
Controversial quilts
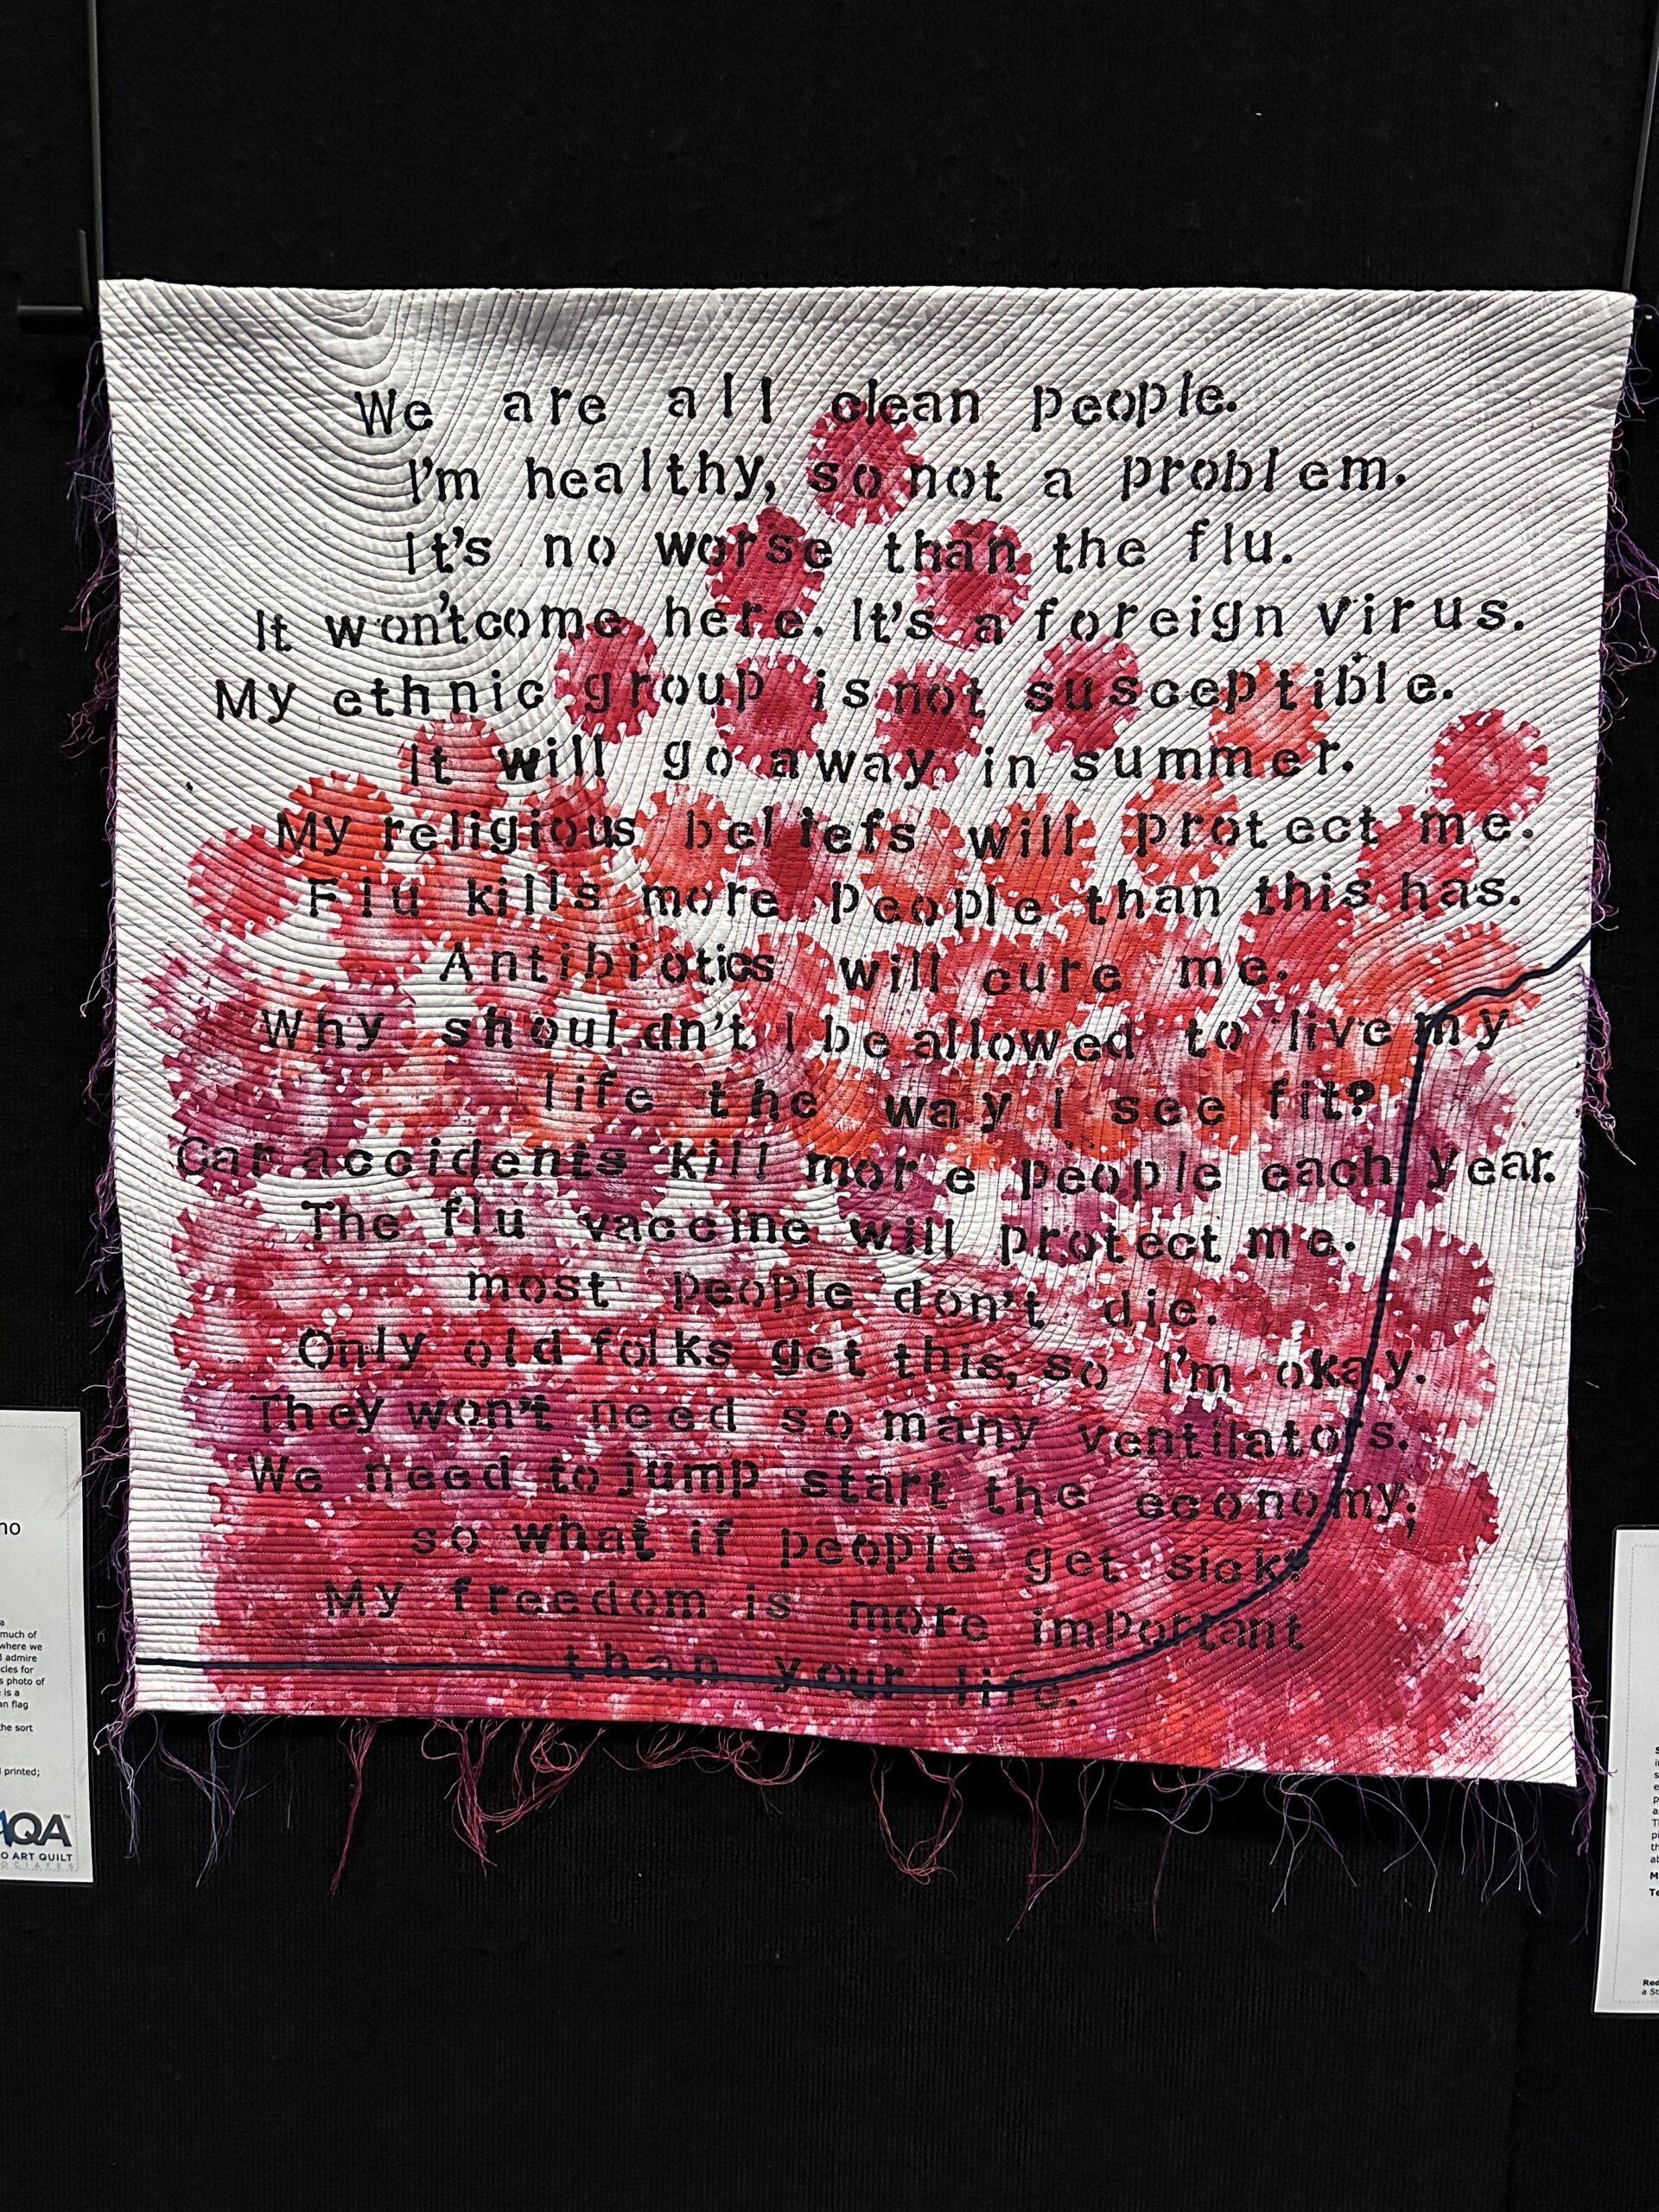
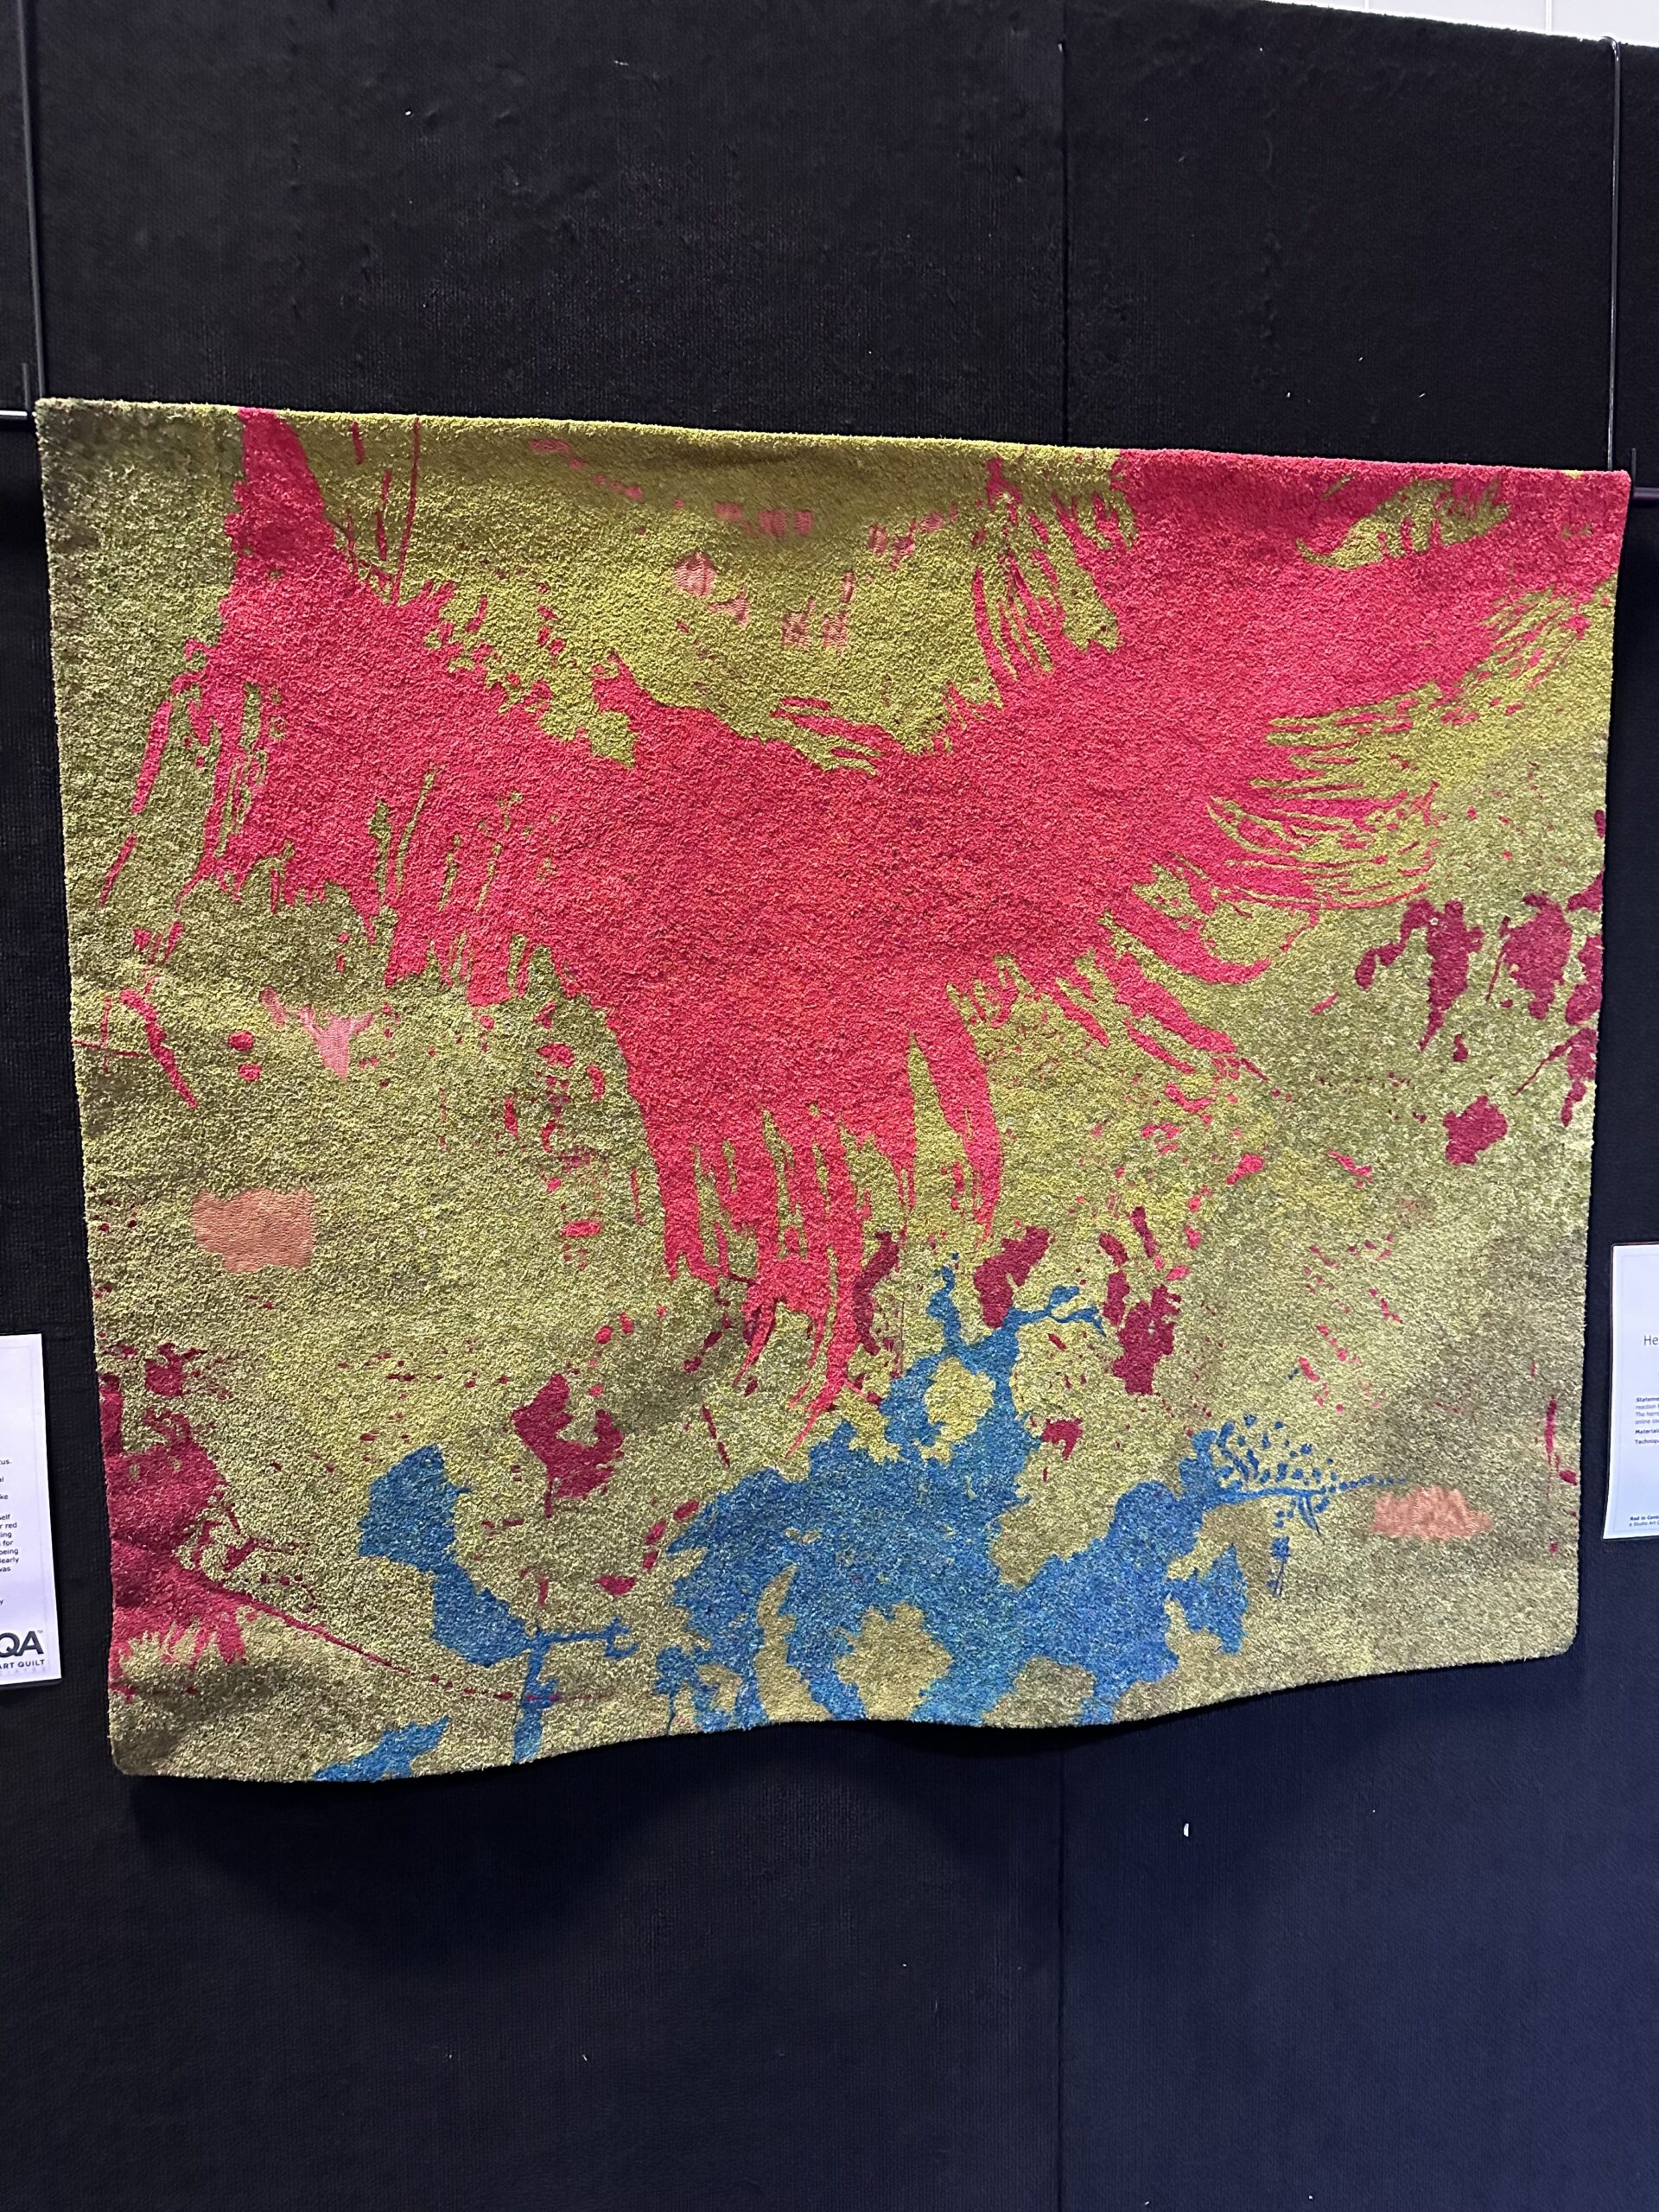
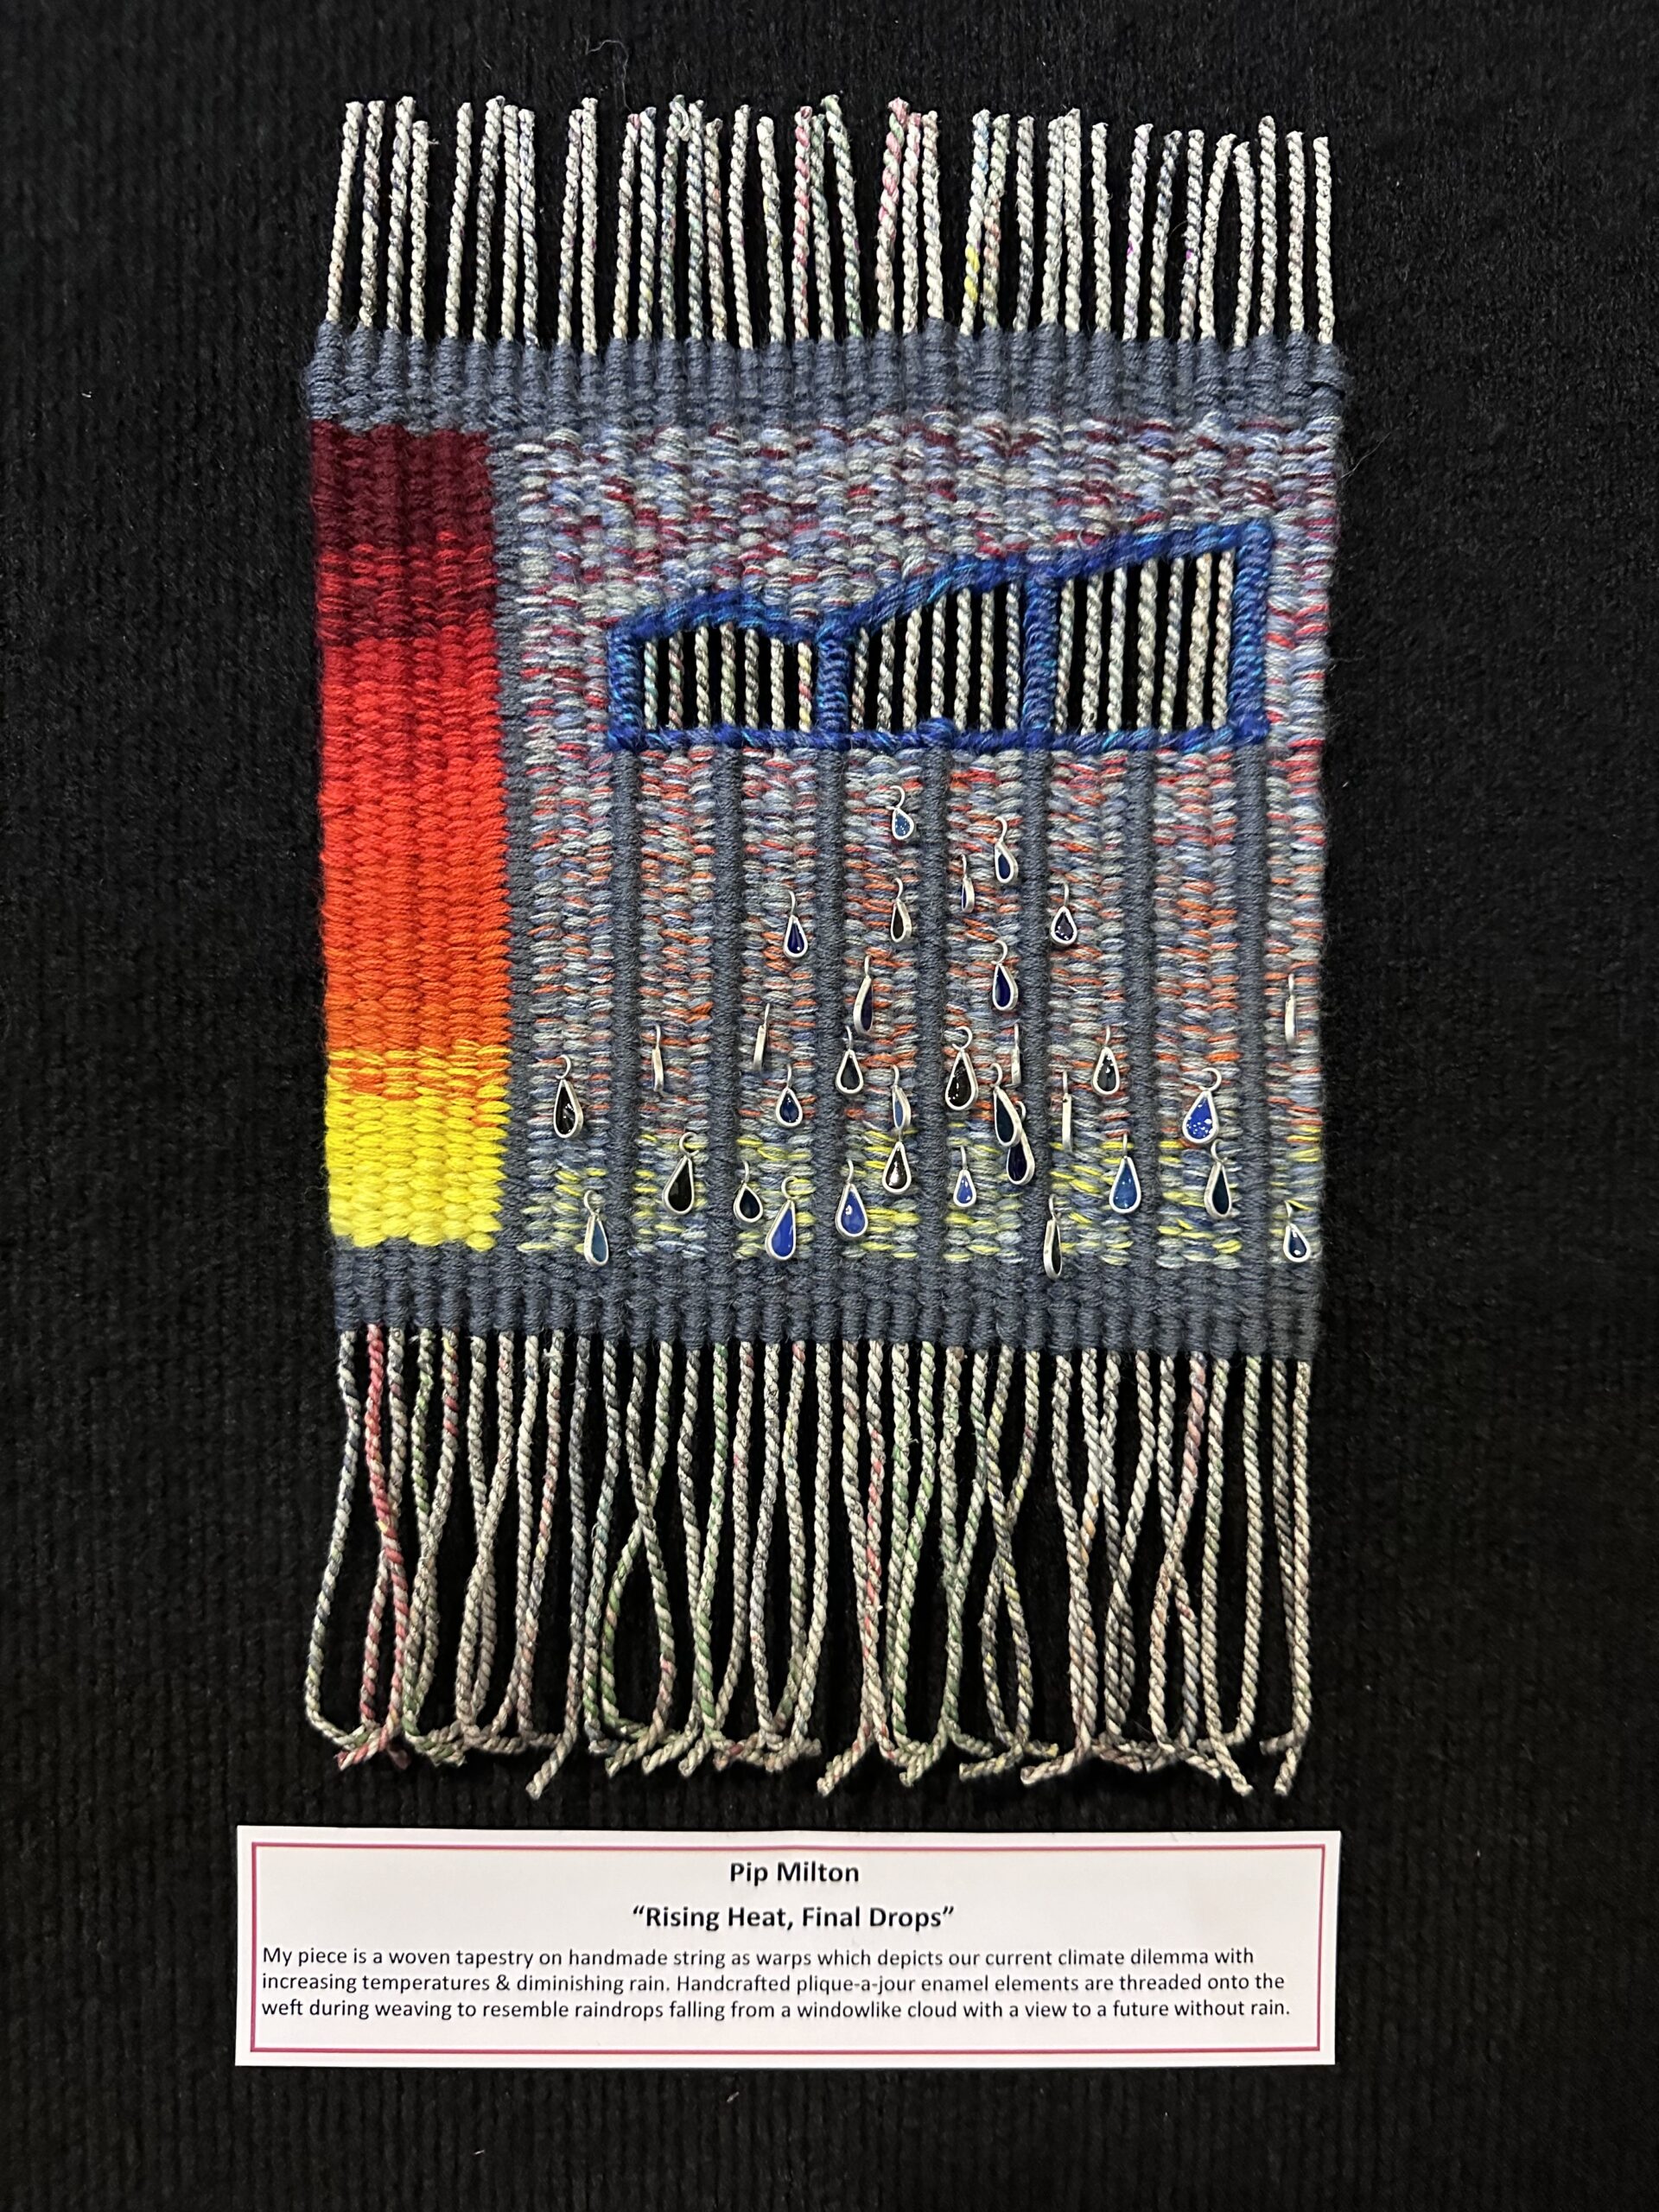
“The American Quilter’s Society refused to show two artworks in an exhibition centered around the color red after claiming they could be controversial… One quilt could be interpreted as depicting female anatomy, while the other references abortion access.” (Link courtesy of InarticulateQuilter.)
What absolute cowards. I actually went to that exhibition when it toured Australia at the Sydney Quilt Show last July. I saw the “Your Mother. Your Daughter. Your Sister. Your Grandmother. You.” quilt and felt it was both beautiful and powerful… but also, without the sign giving it context, it’s just a quilt made of red squares. I also saw quilts inspired by the Covid pandemic, school shootings, and climate change, and many of them were way more overt than this one.
Although to be fair, I don’t remember seeing the “Origin” work. Feels like I’d remember that. 😜
-
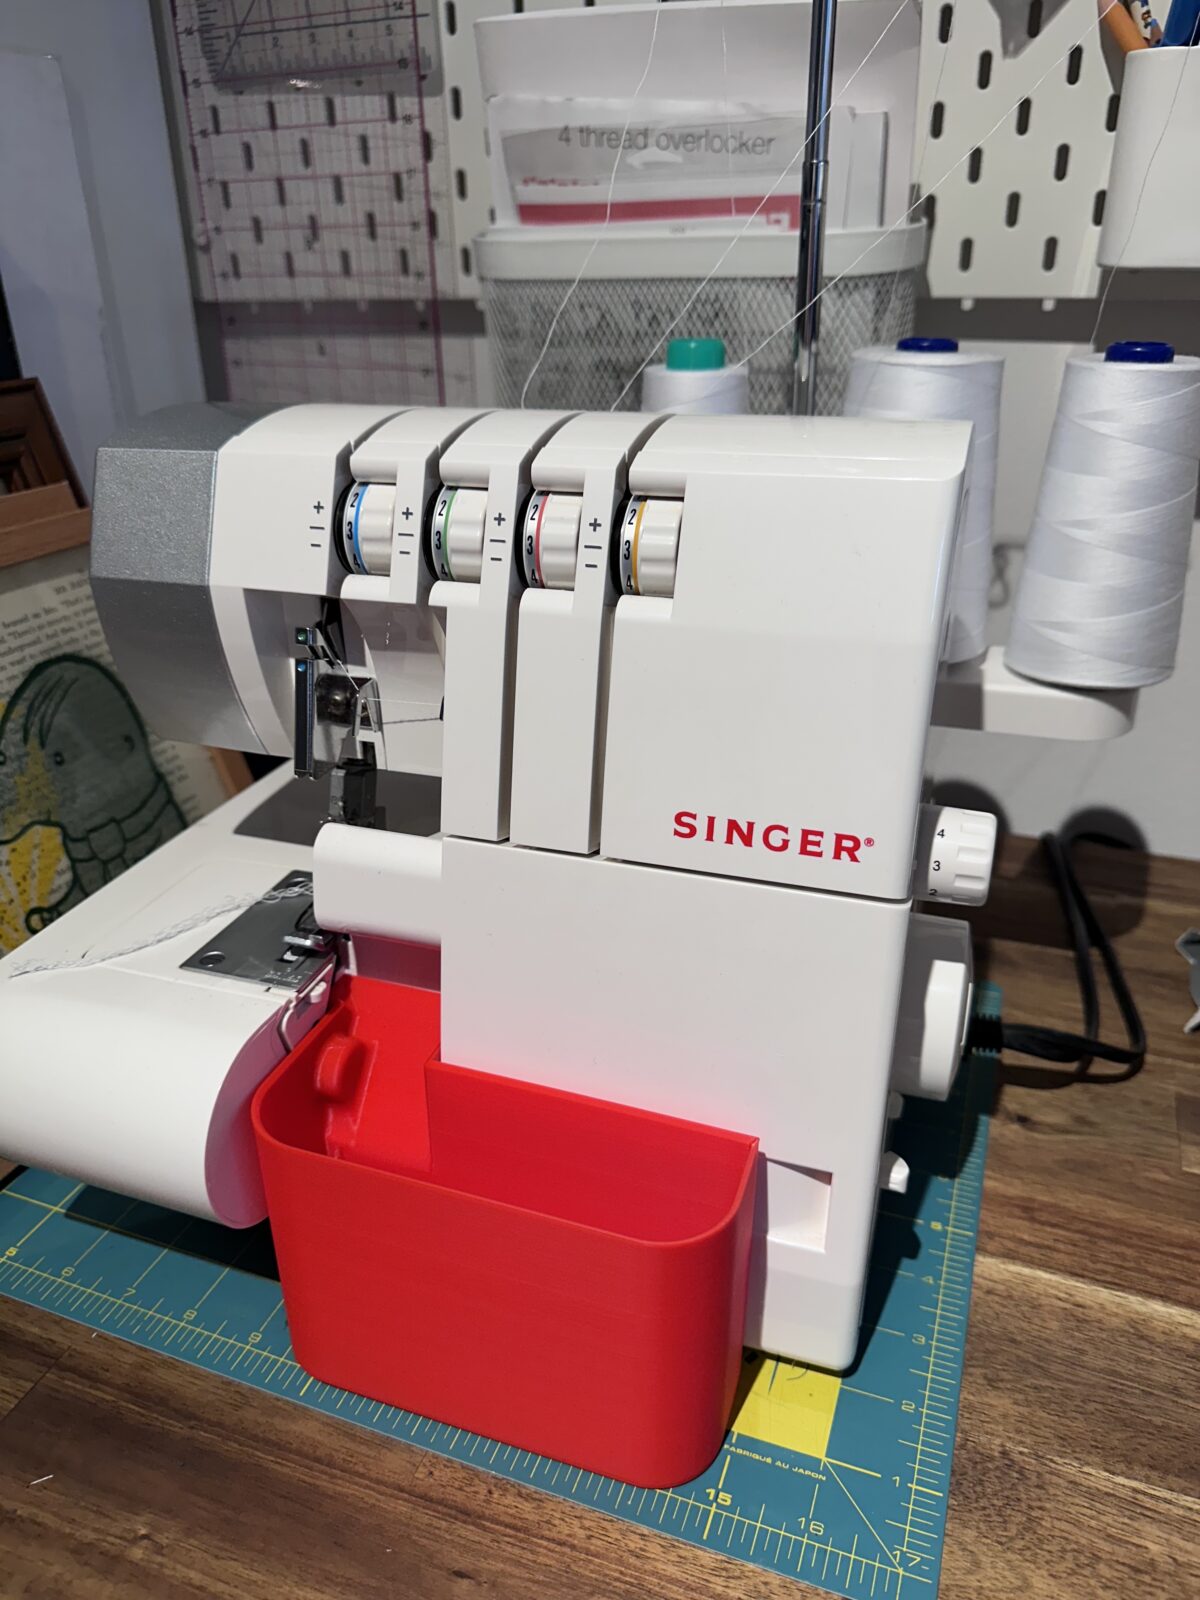
3D-printed overlocker waste tray
I bought my Singer overlocker many years ago (as an Aldi Special Buy!) and while it’s a great little workhorse, it doesn’t have a lot of fancy features… like a waste tray. For those who are unfamiliar, these specialised sewing machines use multiple threads to finish the edge of fabric and keep it from fraying. They also have a cutting blade that trims the edge as you go, and on mine, the bits of fabric and thread just fall straight down onto my sewing table. It’s annoying and messy.
Recently I had a thought: “I wonder if anyone’s designed a waste tray for it?!” Of course they have. I sent that link to my friend Bobbie, who also printed my pegboard spool holders, to see if he’d print one for me. “What colour do you want?” he asked. I figured red would match the logo nicely.
And here it is! Fits perfectly. How cool is that?
-
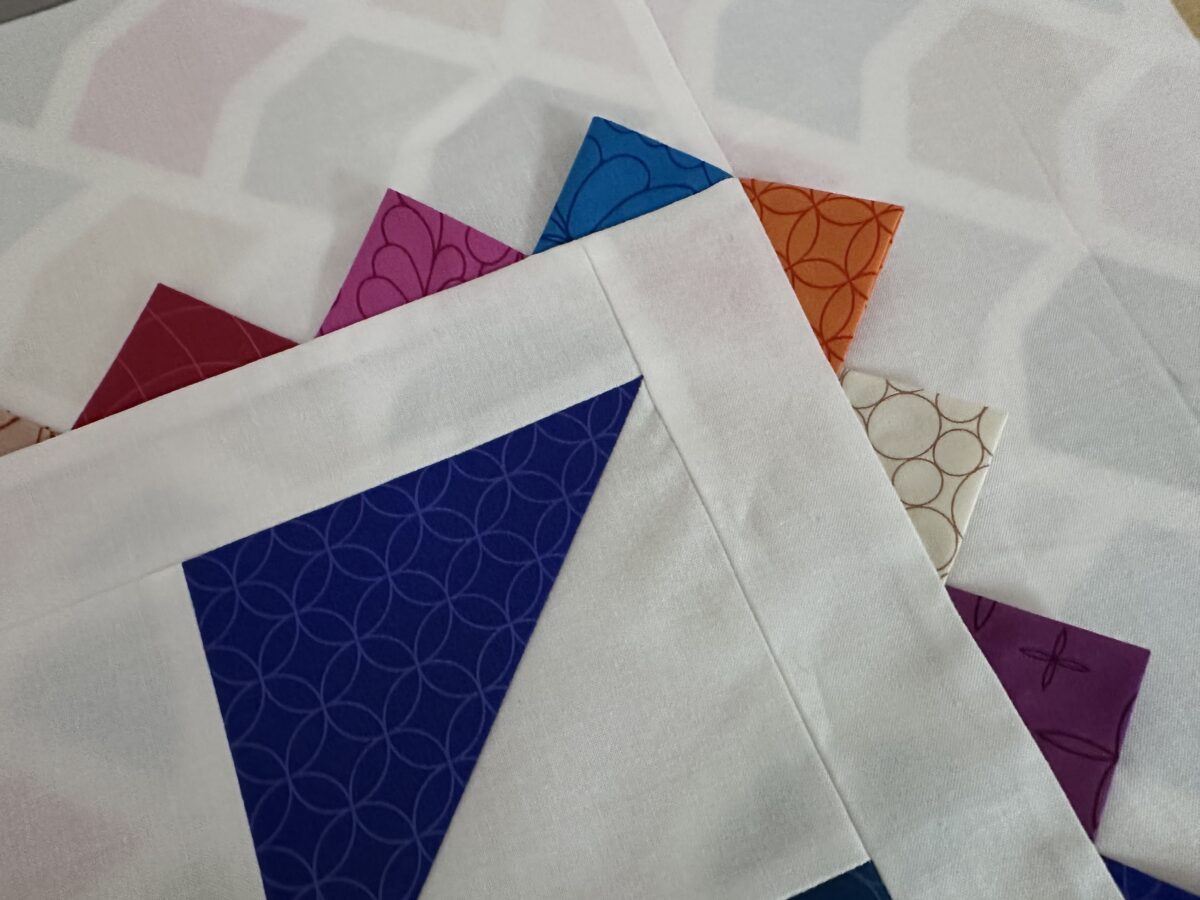
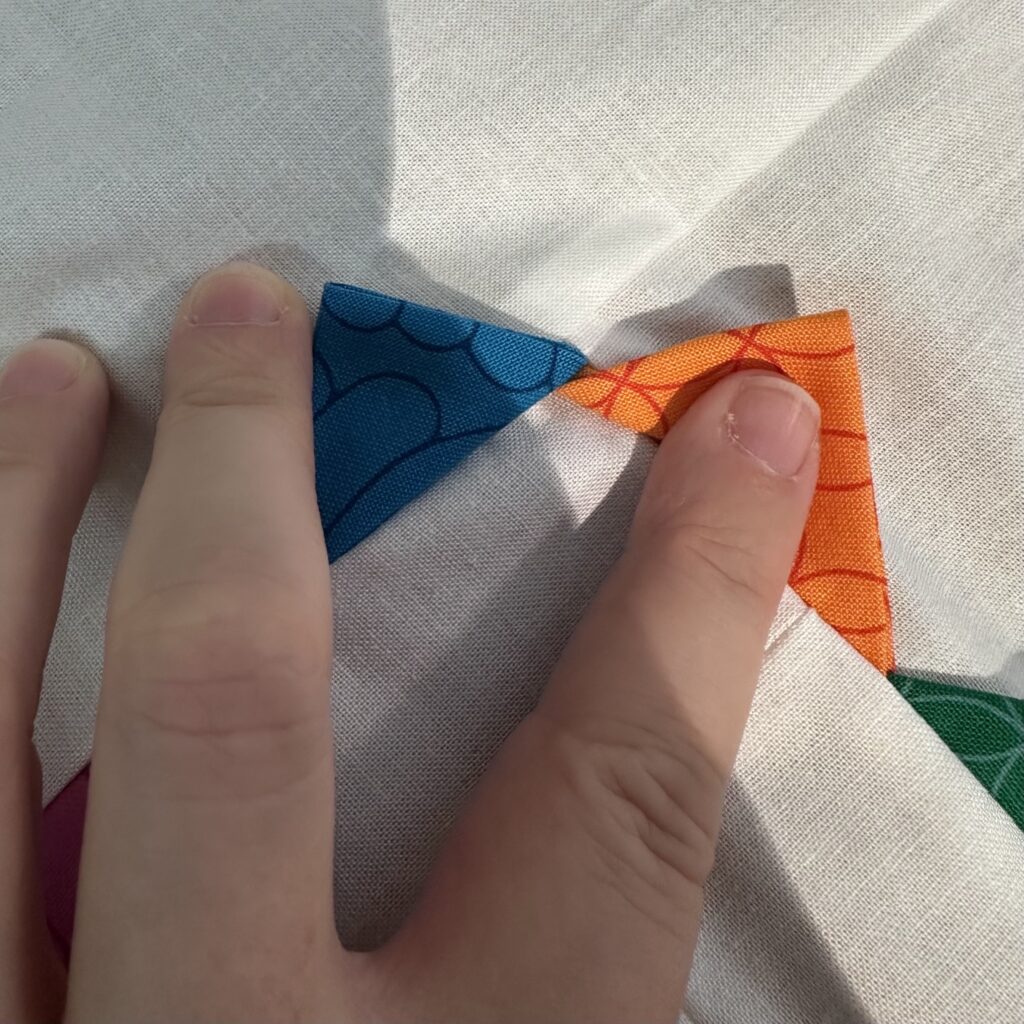
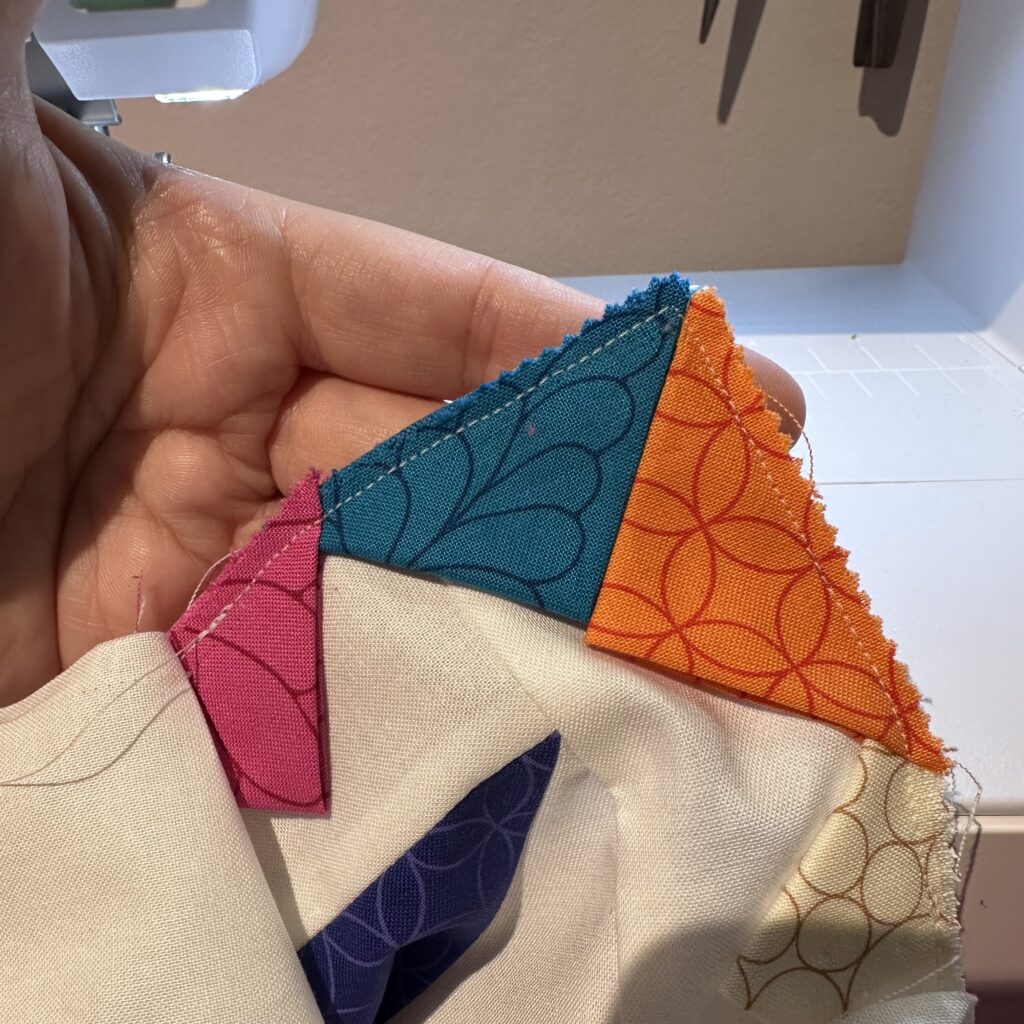
Victory!
I think we can all agree that the correct team righteously defeated their evil enemy today. And of course, by “correct team” I mean “me,” and by “evil enemy” I mean “these goddamn prairie points.” I had to unpick all four corners where I had accidentally overlapped them and redo them so they flipped out correctly. BUT I DID IT AND I WIN. #quilting
-
Bailee Shorts in Linen
This weekend I made myself another pair of Bailee Shorts, this time in a beautiful stone washed linen I picked up at Tessuti a few weeks ago. I haven’t sewn with something with this much drape in a long time! I was nervous doing the cutting, because it felt like the fabric could easily move around beneath the pattern. The actual construction went smoothly though, and I love how they turned out. The style definitely looks better in this sort of fabric than in a stiffer cotton. Here I’ve paired it with the Arkie shirt in Liberty Tana Lawn I made a few months back.


-
Weaving a rug
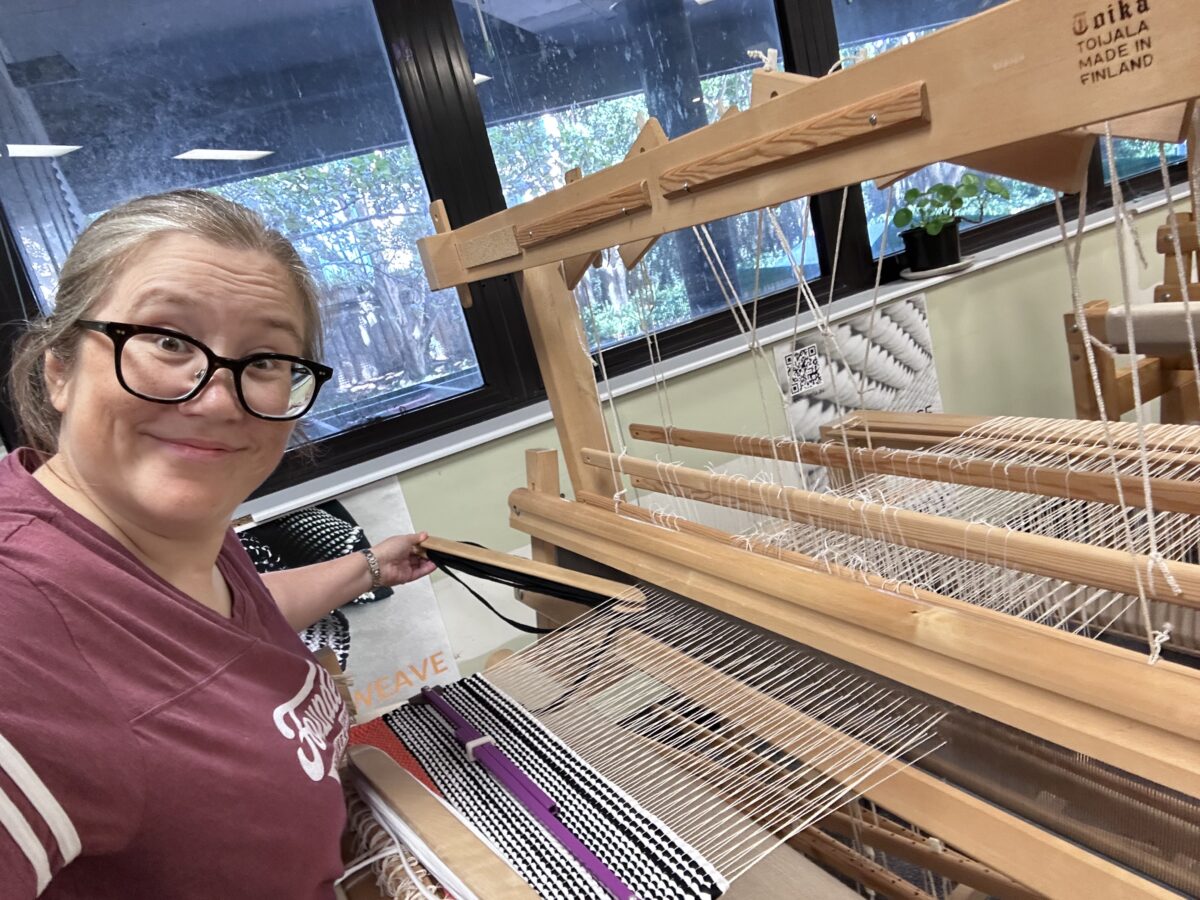
“Take a weaving class” has always been on my Retirement To-Do list, and recently I discovered a sustainable weaving studio near my house that offers “Intro to Rug Weaving” classes. The studio is called Ex Materia and it’s run by two amazing women, Su and Anneli. You can do the course over two sessions, but I opted for the “weave a rug in a single day” option. I went in this past Tuesday, and to my delight I was the only student there that day!
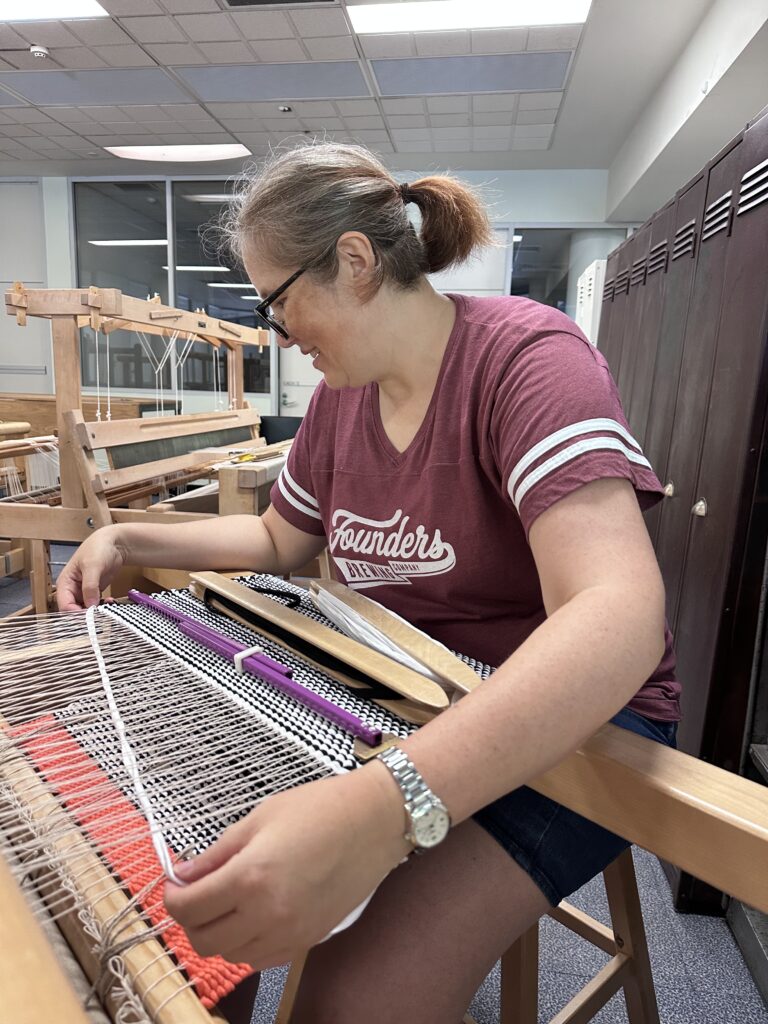
Su introduced me to the floor looms, all of which had been brought over from Finland. They had given me a choice of a few different rug patterns ahead of time, and of course I picked the most complicated one. 😂 I also got to choose my colours. The material is actually strips of jersey left over from making t-shirts and other clothing, and it comes on big cones. Su showed me how to wind my shuttles and then start weaving. It took me a while to get the rhythm down, but pretty soon I was flying! I think my knitting experience also helped, as I knew how to count rows and keep my selvedges neat.
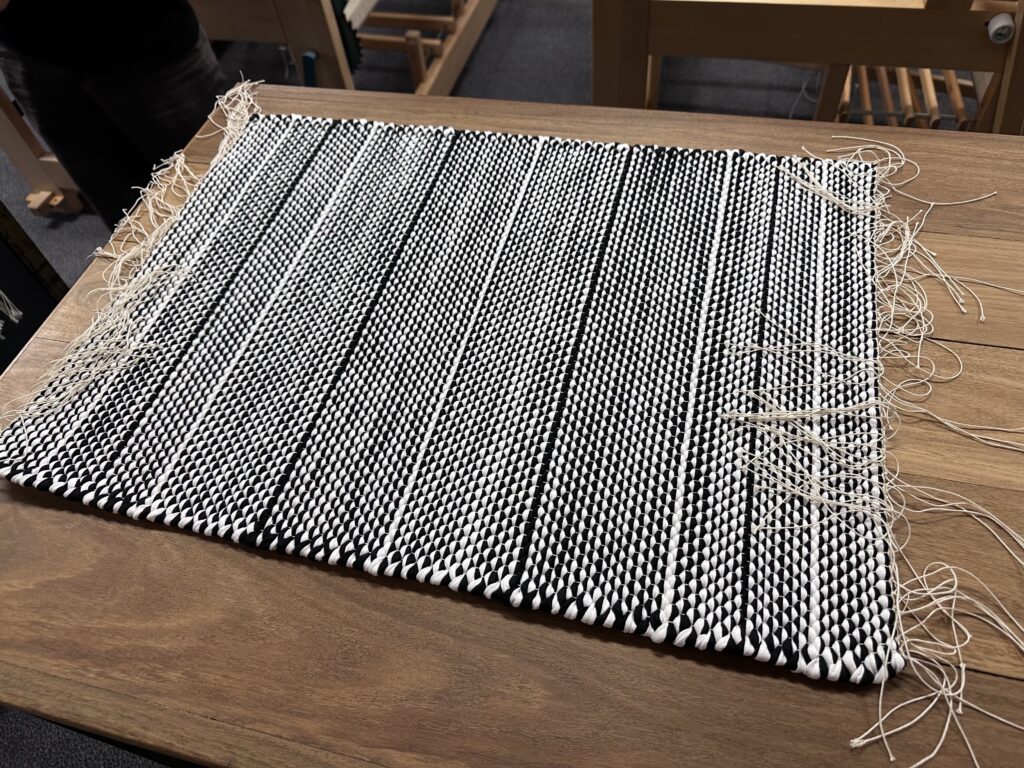
The goal was to finish my 70cm rug by 4pm so I’d have time for them to show me how to take it off the loom and finish it. I took a quick lunch break and then went right back to it. It’s rather addictive, seeing the pattern form! I modified the pattern a little bit (mostly because I miscounted and then liked how it looked), and overall the process went really smoothly. By 3pm I was ready to take it off the loom! Su showed me how she weaves a couple rows with the warp threads and then with some spare jersey to stabilise everything, and then I helped her as we cut and tied off the warp threads. And then it was time for the big moment…
Once it was off the loom, we took it over to a work table where Su showed me how to remove the stabiliser sections and knot the warp threads. Then I had a decision to make: what kind of finish did I want? I could leave the warp threads as fringe, or I could weave them into the finished rug to hide them. I opted for the latter, as it would give a cleaner look. Anneli gave me a quick lesson on how to do it.
It turns out that weaving in the ends actually look longer than weaving the rug! I spent many hours over several evenings plugging away at it.

Finally tonight I finished it! Then I put it into place in front of the French doors in the dining room.
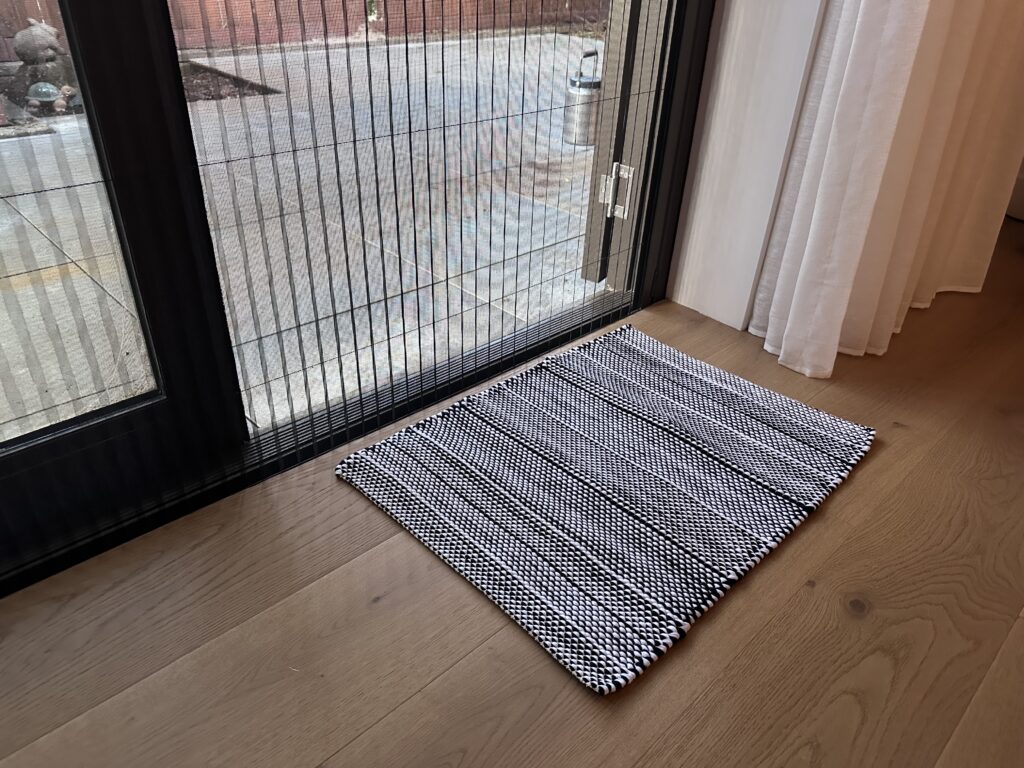
Pretty cool! I had a lot of fun, learned heaps, and ended up with a sustainable handwoven rug that, quite frankly, blows away any cheap one I could buy from a shop. Now I just need to figure out how to fit a floor loom into my house. 😂

Thanks again to Su and Annali for their expertise (and patience)! I wouldn’t hesitate to recommend Ex Materia’s course to anyone looking to learn a new craft. I found weaving really engaged my whole brain and my body, and I have a newfound appreciation for the skill that goes into creating textiles and the engineering that makes it possible.
-
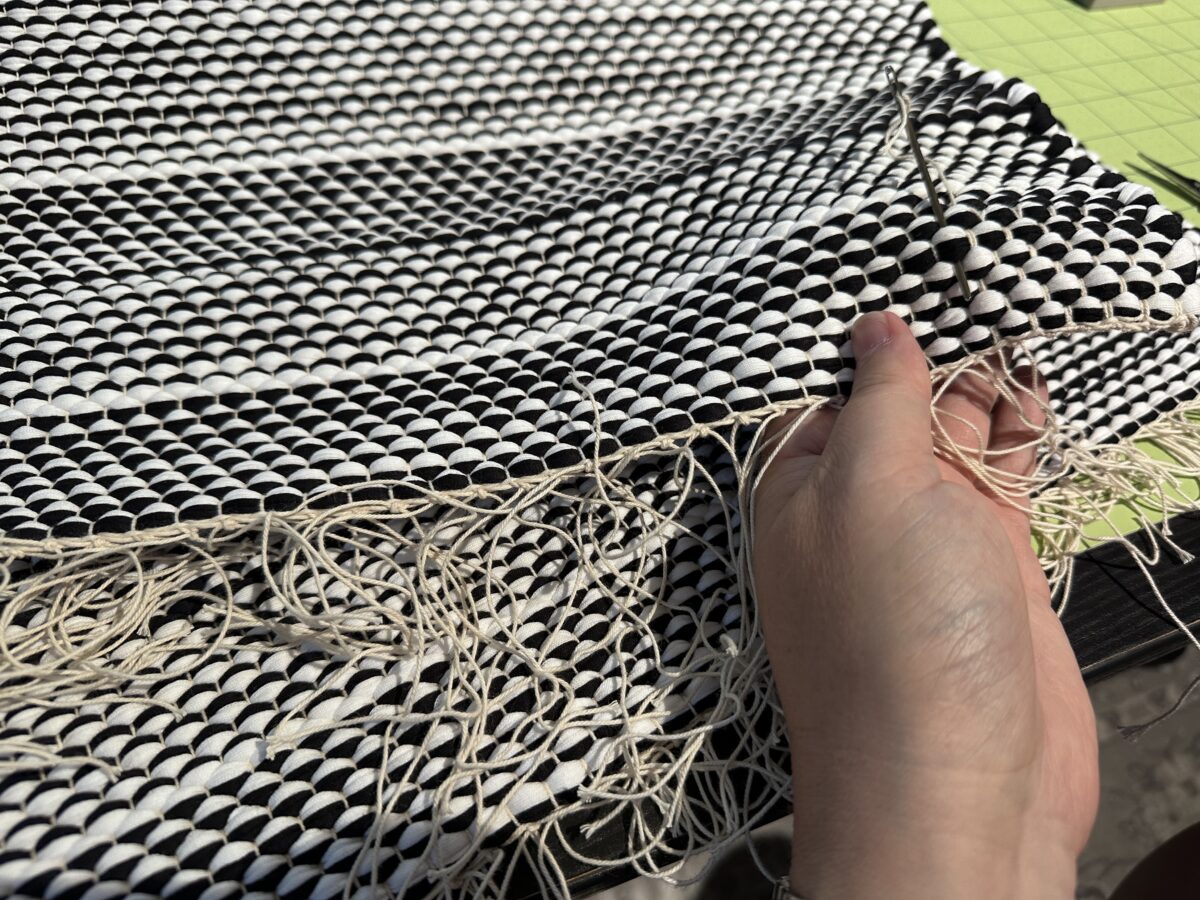
Finishing my rug
And here I thought weaving in knitting ends was the most tedious job in the world! This is going to take me forever…