@mattstratton Must’ve been the blessing of Saint Dolly!
I literally drew a tombstone for Google Reader last night in #DevOpsPartyGames, along with a bottle “pouring one out.” Come on, @DrJosh9000. Be the hero we need. https://t.co/Ig3UUD24eZ
@mattstratton Must’ve been the blessing of Saint Dolly!
I literally drew a tombstone for Google Reader last night in #DevOpsPartyGames, along with a bottle “pouring one out.” Come on, @DrJosh9000. Be the hero we need. https://t.co/Ig3UUD24eZ
Well that’s disappointing. I was hoping to get to visit our family in Australia in the summer, especially as we’ll be fully vaccinated by August. 🙁 https://t.co/HCbvWThLeI
RT @deekob: I recently had fun recording a new AWS AppSync workshop by @BricePelle and @electricste – You can check out the workshop here…
@Squozen_EU There’s have been some mentions of proposals for vaccinated Australians to be able to quarantine at home, etc. But I’m guessing this outbreak will kill that idea.
@notsolonecoder WHY HAVE YOU CURSED MY TIMELINE KATIE
Our @awscloud Women in Cloud Germany event is about to start! https://t.co/HPAtLlFmFR https://t.co/cfQ2T1nxX7

YESSSSS. ❤️ https://t.co/JRuj9Bm0Y8
@americanozmom OMG DID YOU SEE THIS https://t.co/4mUvkTxYf6
@melpemone_ Mine are delayed until September. 😰
RT @phrawzty: 👋 It’s nearly time for another round of mirth and merriment at @devopspartygame! Join us tonight at 20:00 (Paris). https://t.…
It appears that Germany have lost the match with England, and I am about to extend our losing streak with my #DevOpsPartyGames performance. Tut mir leid, Deutschland. Time to cry into the beer… 😭🍺 #traurig https://t.co/wSMKx6buJ0

Hey, I finished in the top half of #DevOpsPartyGames tonight! I still think my answer of “Elon’s kids” for this one was GENIUS. 😂 https://t.co/ubLCyOApms #Drawful2 https://t.co/TU5kLoKfww
@rchrdbyd Hey @darkosubotica, I have a brilliant idea for our next 1:1. It’s like this, except CURRYWURST.
@Vel12171 LOLLLLLL I did a lot better I’ll have you know! 😂😂😂
@americanozmom Yes. I think we killed Neil’s website. 😂 But apparently he and Terry planned the sequel before the first book was even published, but just never got around to it. They used some parts (Gabriel, etc) in the series. I REALLY HOPE IT ENDS WITH A COTTAGE IN THE SOUTH DOWNS. 😍
RT @jennapederson: Remember that CloudFormation template I built last week to provision an EC2 instance? Here’s how you add a database to t…
@americanozmom How did I miss that Neil himself retweeted your original tweet?! Obviously he approves of your lockdown plan. 😂
@americanozmom That’s lovely. I’m glad you had that small ray of happiness!
@americanozmom If you want any fanfic recommendations, just say the word. I’ve literally read hundreds. 🙃
@i386 Between the ‘tache and the chest, he’s looking very 80’s Tom Selleck, AND I HEARTILY APPROVE. 😍 Happy birthday, David!
@damovisa @github WAAAAIIIT a minute! Did I know this?! Congrats!! 🎉
@SydCSS I’m going to try to dial in from my morning in Germany! Miss seeing you all. ❤️ @msharp @mobywhale
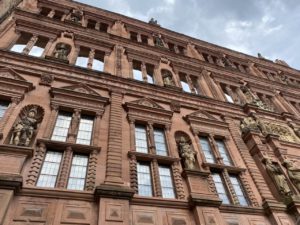
When I was 17, I spent six weeks in the summer of 1994 living and studying in Krefeld, Germany as part of the Indiana University Honors Program in Foreign Languages. There were about thirty of us, and we spent most of our time living with host families and going to class in the city. We did make a couple of group trips though, including one to Heidelberg to visit the famous Schloß Heidelberg. I remember vividly that it was my favourite castle in all of Germany. (I even posted some photos on my very first website way back in 1996!)
Fast forward 27 years…
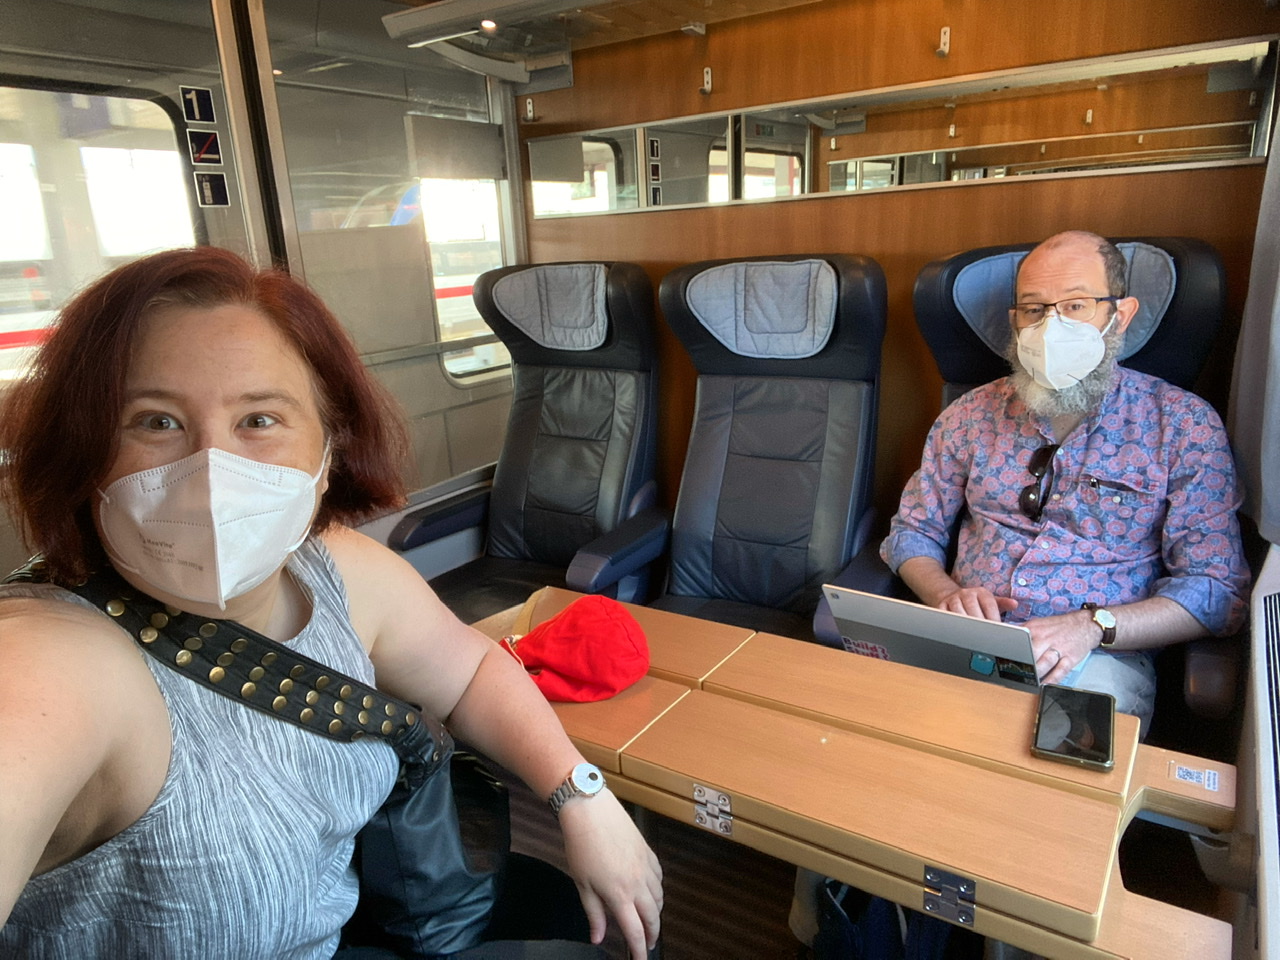
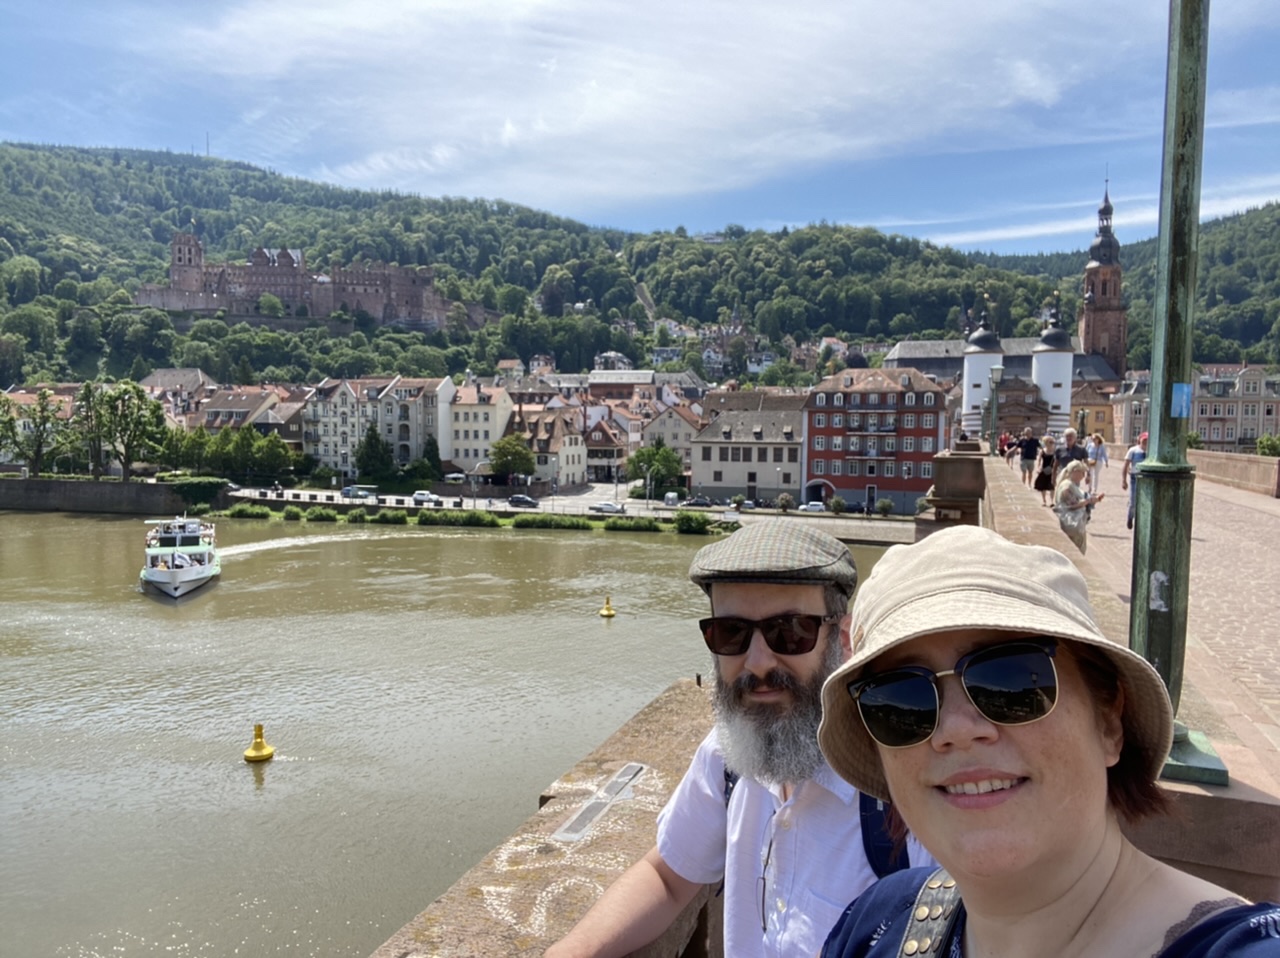
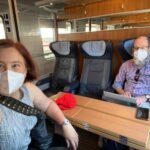
After a Covid “Schnelltest” first thing in the morning, we boarded the train from Munich to Heidelberg. We’d decided to splurge and go for first class (mostly because you can reserve a seat that way), and to our surprise we had an entire compartment to ourselves! The trip was around 4 hours and we got there around lunchtime.
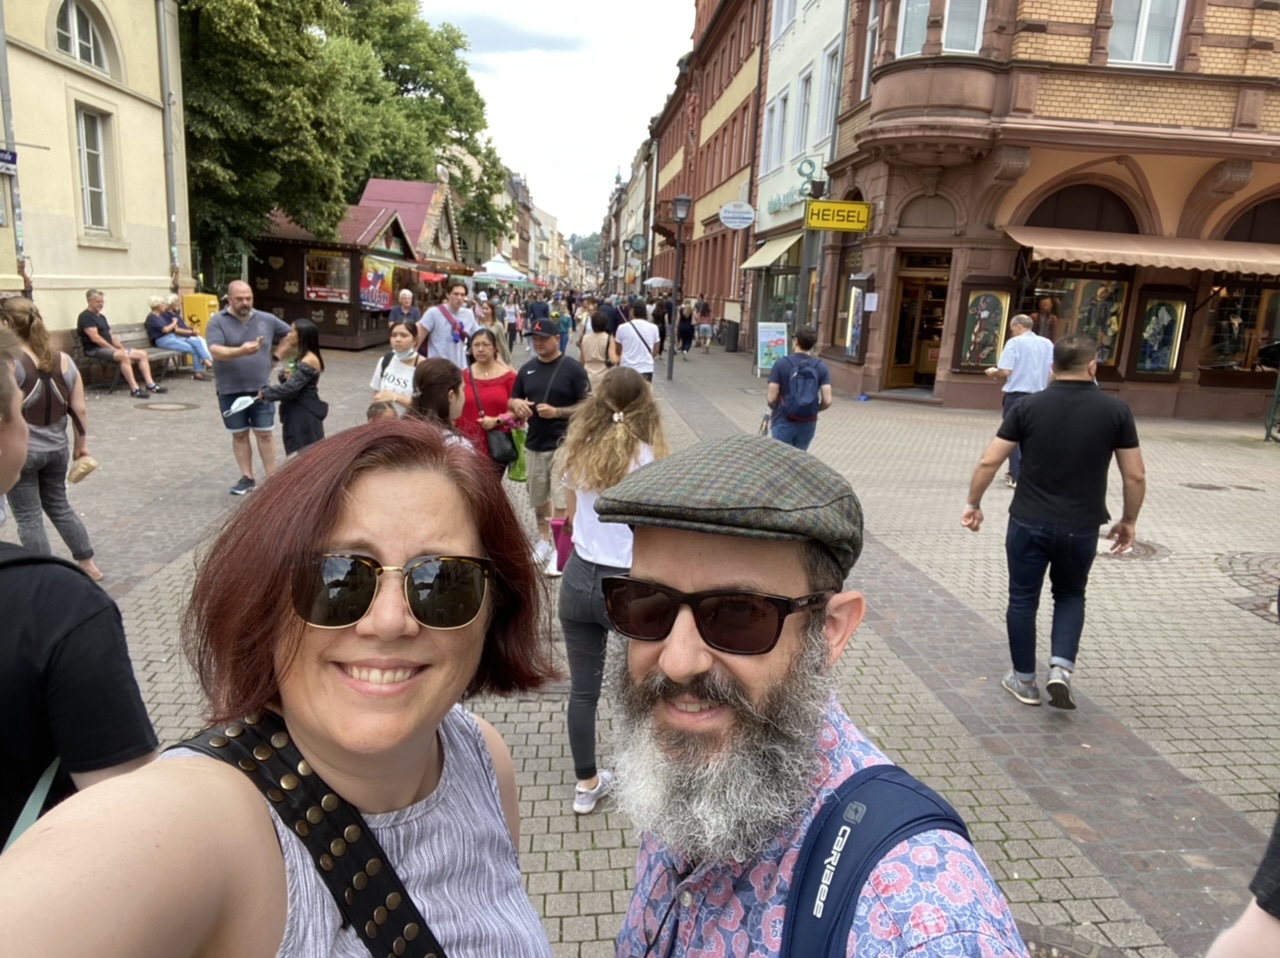
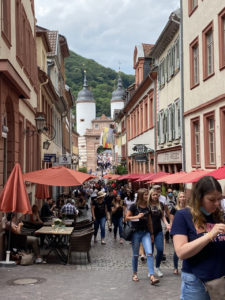
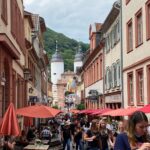
We dropped off our bags at our hotel and headed down into the Altstadt. Heidelberg’s historic main street is quite a bit longer than a lot of other cities, and there were plenty of folks out and about.

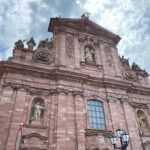
Down a side street we caught a glimpse of the Brückentor (bridge gate) at the Alte Brücke (Old Bridge) across the Neckar River. We also stopped to check out the lovely pink stone Jesuitenkirche (Jesuit Church). But our stomachs were growling, and we had a very special destination in mind for lunch…
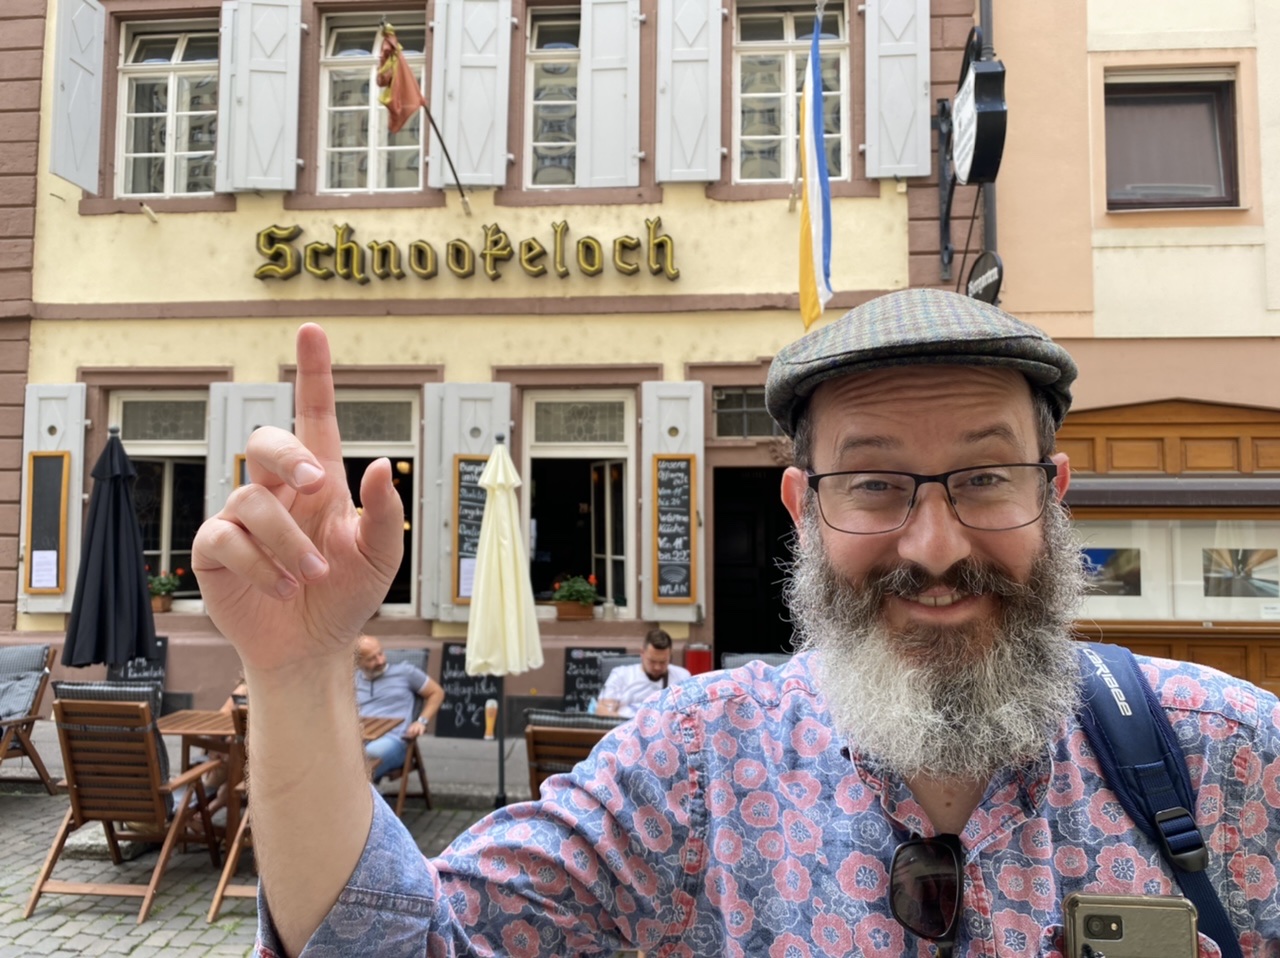
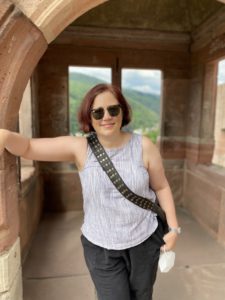
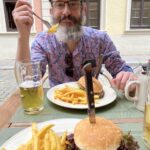
The Schnookeloch! Somehow when we were planning the trip, the Snook noticed that there was a historic guesthouse with his name (sort of) on it. 😂 As near we can figure out, “Schnooke” in the local dialect refers to jokes or pranks, and “Loch” is German for “hole.” Fitting name for a very old student pub!
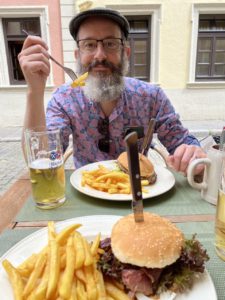
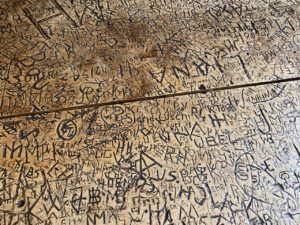
The burgers and beers were pretty good! On my way to the bathrooms, I noticed that the tables inside were covered in hundreds of student graffiti carvings. Pretty neat! But it was finally time to head to the castle…
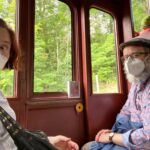
We took the Heidelberger Bergbahn funicular railway up to the castle. Interestingly, I don’t remember taking that back in 1994. I suspect that our tour bus simply drove us up to the castle. (Any other IUHPFL alumni remember?)
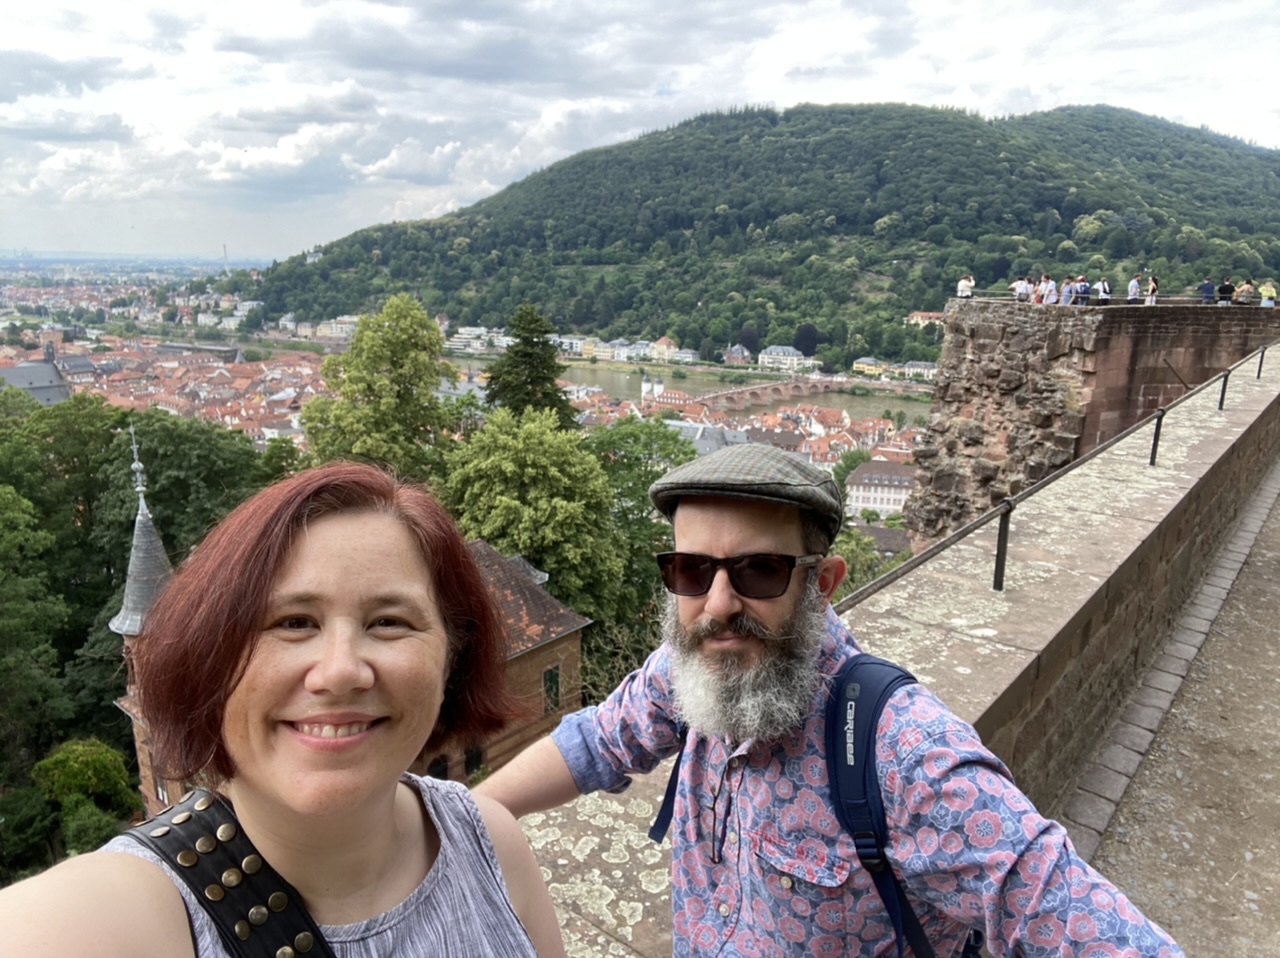
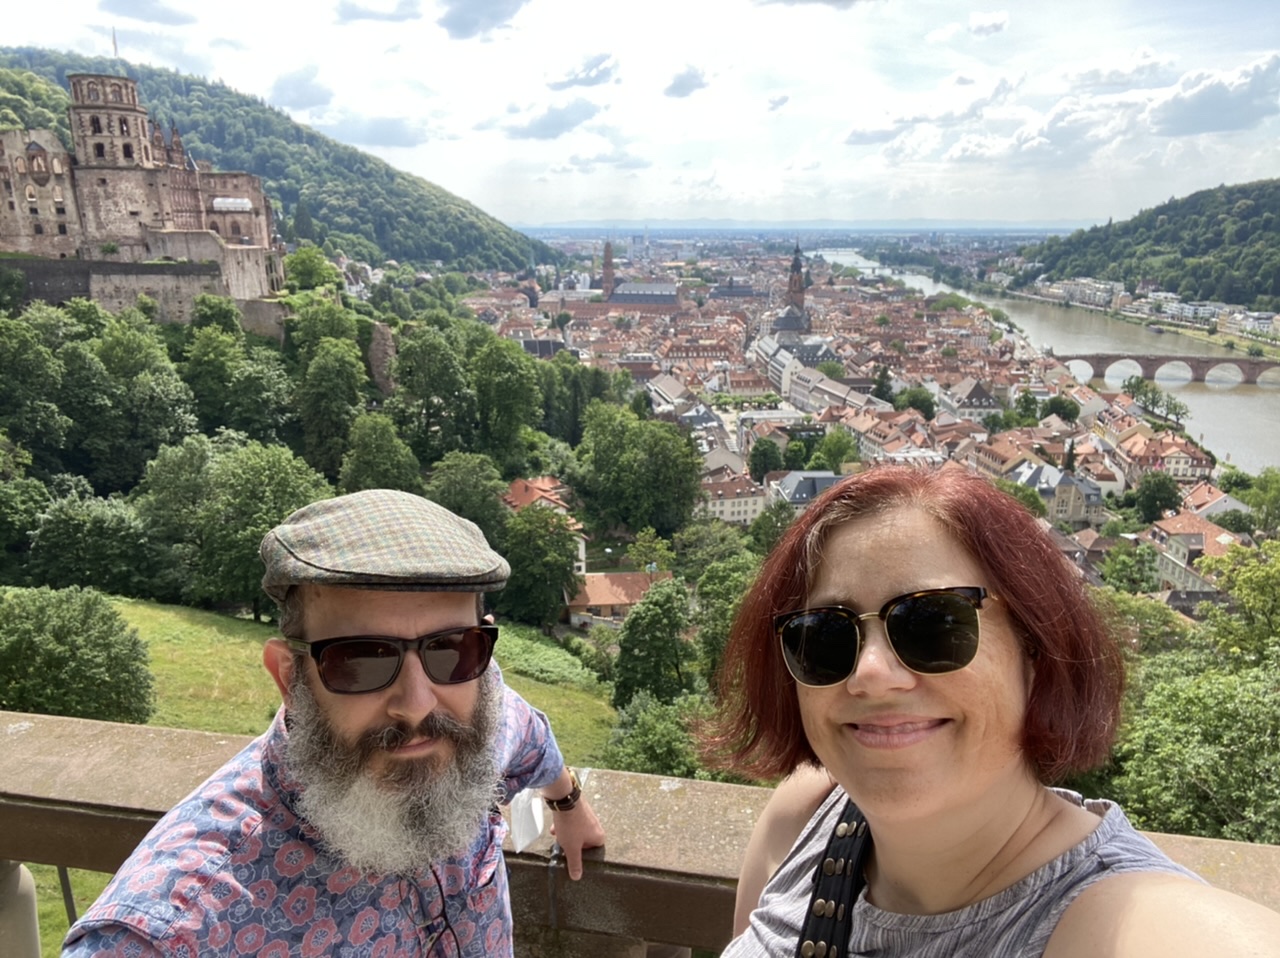
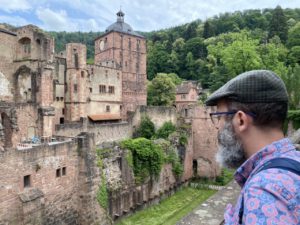
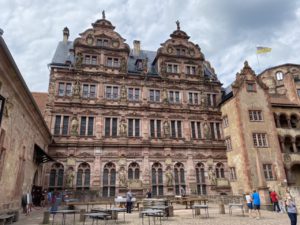
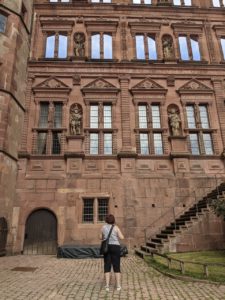
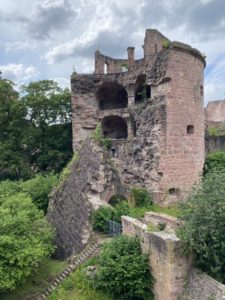
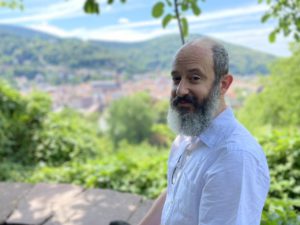
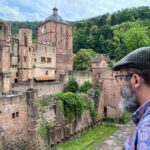
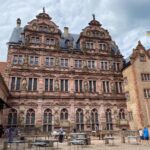
The castle is a beautiful ruin. As far back as the 19th century there were debates about whether to fully restore it, but thankfully the decision was made it leave most of it alone. The way it looks now is pretty much the same as when Mark Twain visited and wrote about it in 1880. My memories of it from 27 years ago were mostly about being an overly dramatic teenager and swanning about moodily thinking about Romantic poets. (I still can’t quite believe I’m getting to revisit some of these places again.)
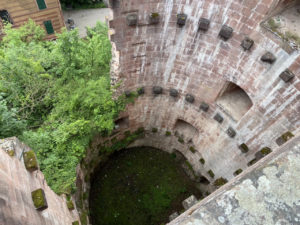
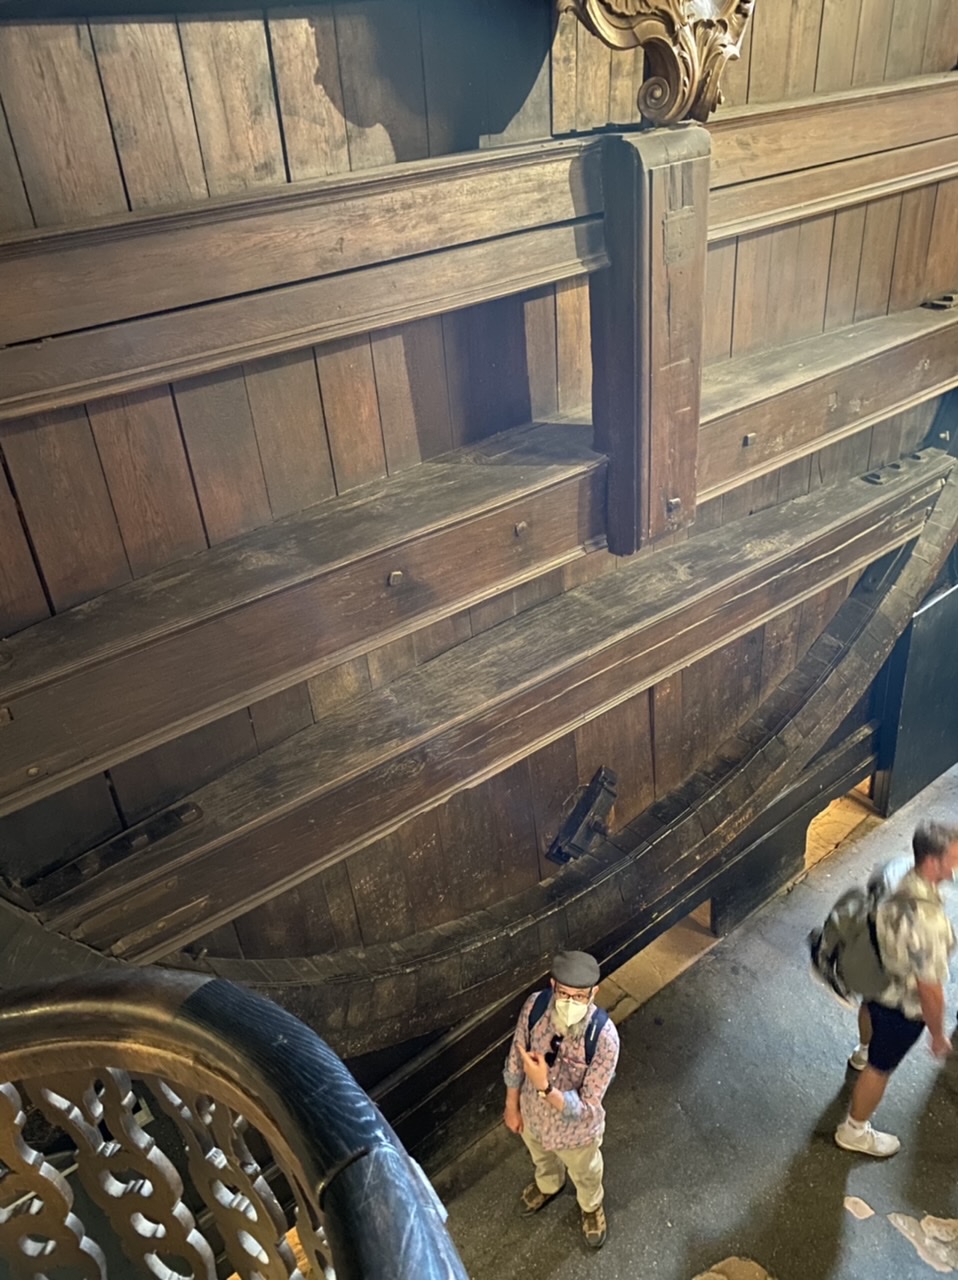
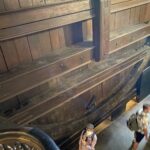
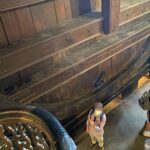
After walking around the castle walls, we headed into the courtyard in search of the Großes Fass (Big Barrel), also known as the Heidelberg Tun…
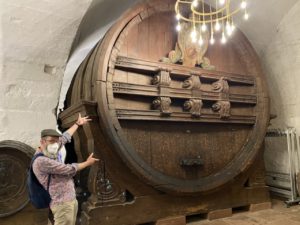
Rumoured to be the world’s largest wine barrel, I definitely remembered visiting it back in 1994. But… I remembered it being a lot bigger? Confused, we rounded the next corner and—OH. That’s the big barrel. 😂
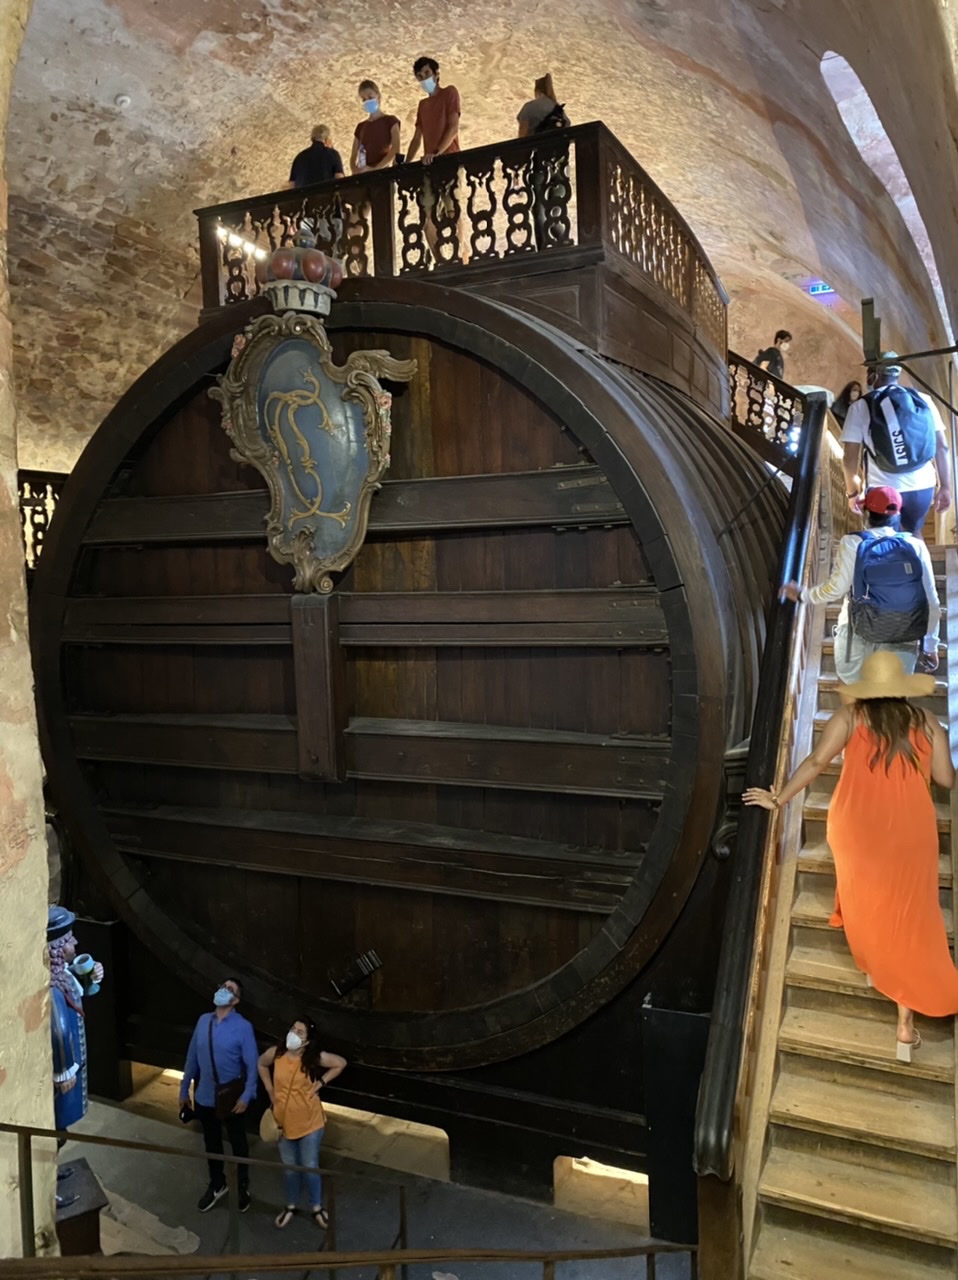
That’s more like it! We made the circuit up the stairs to the viewing platform on the top, then back down the other side. With a Snookums for scale:
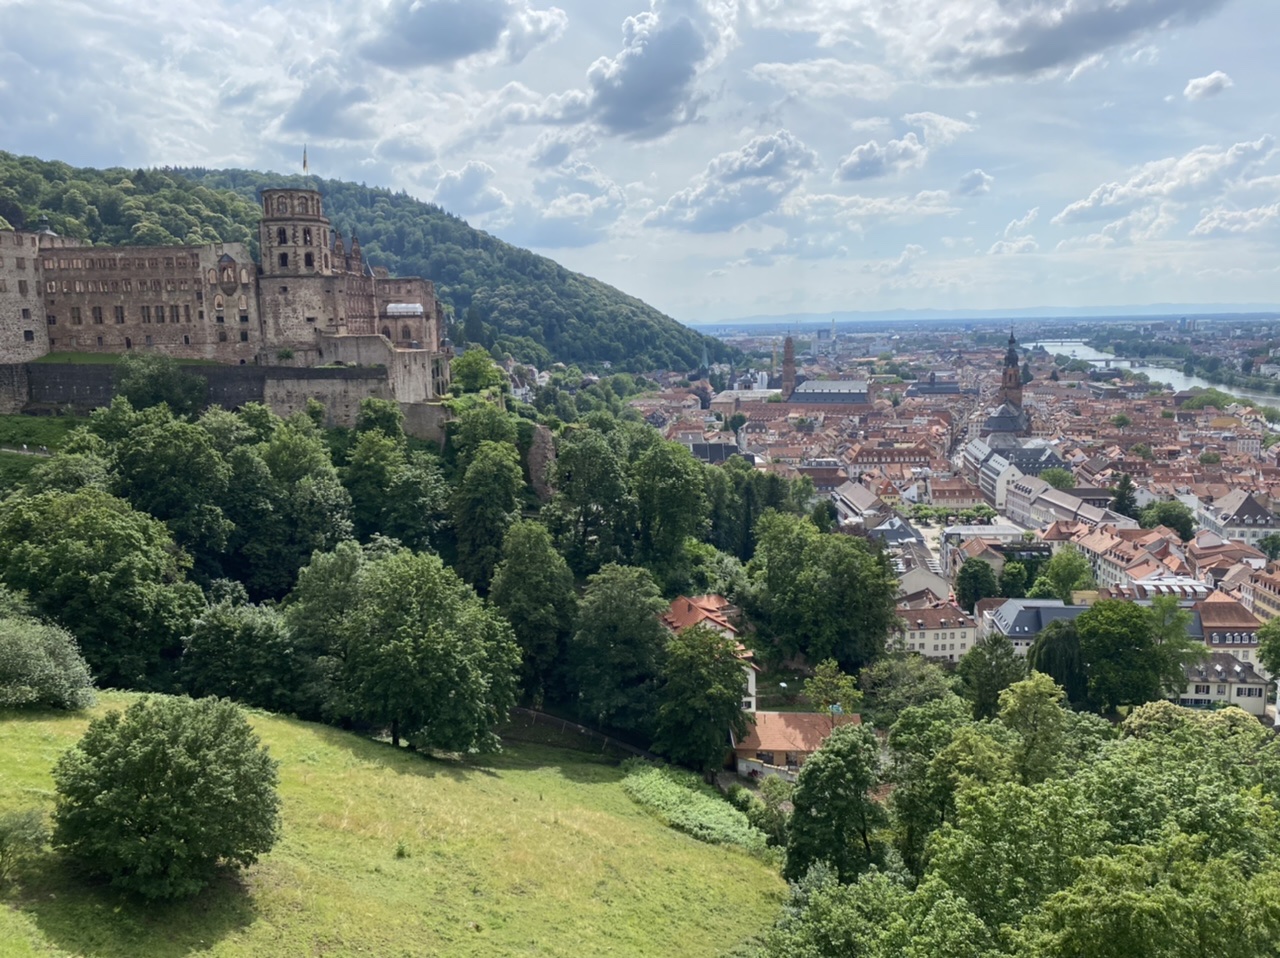
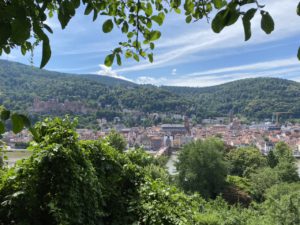
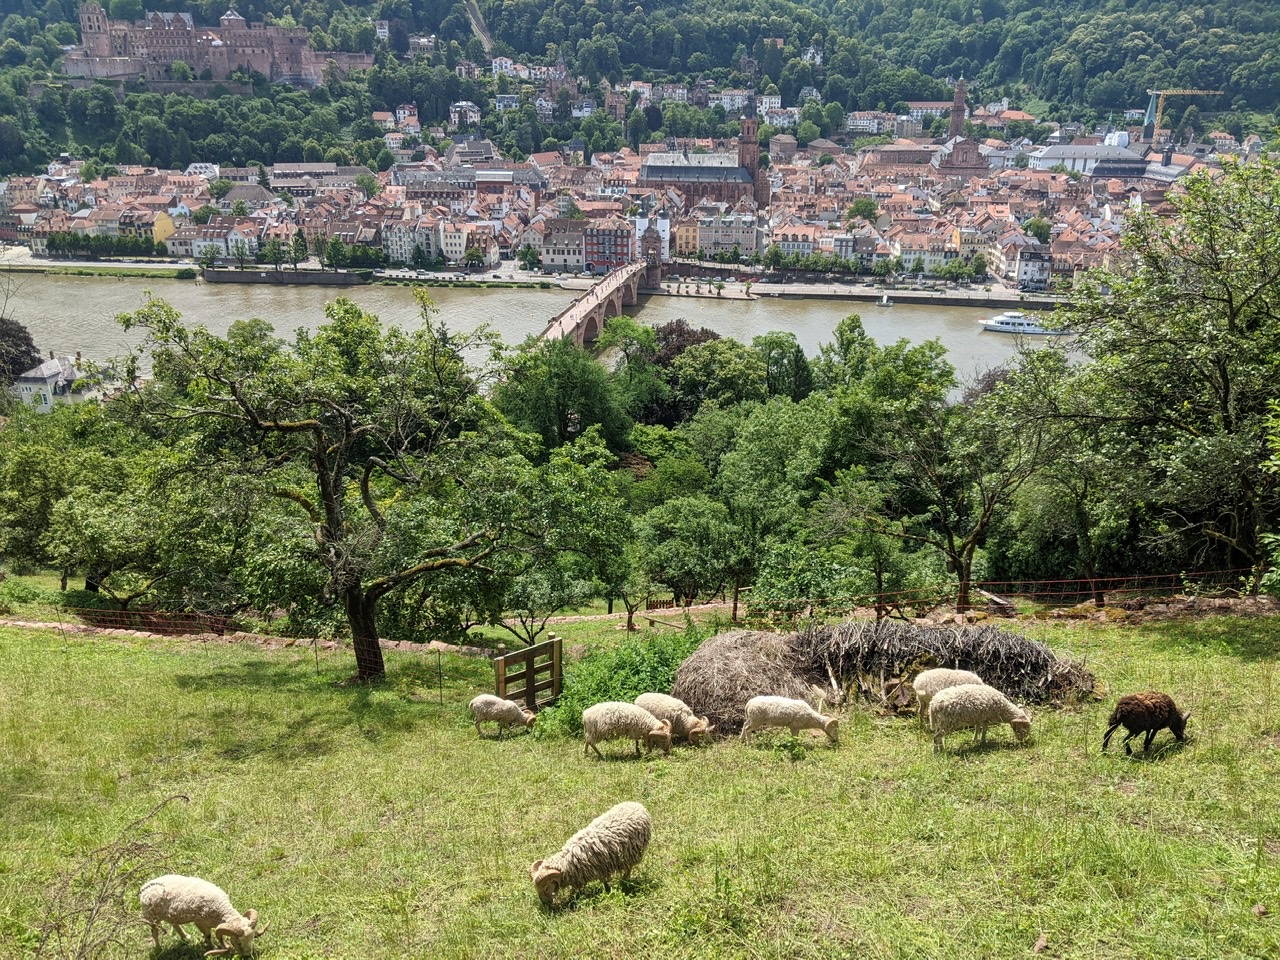
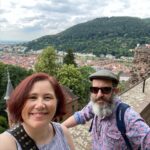
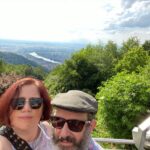
We headed back out to walk around the gardens behind the castle. The views of the city were glorious. The castle isn’t really as high up the hill as I’d remembered. The weather was overcast but hot.
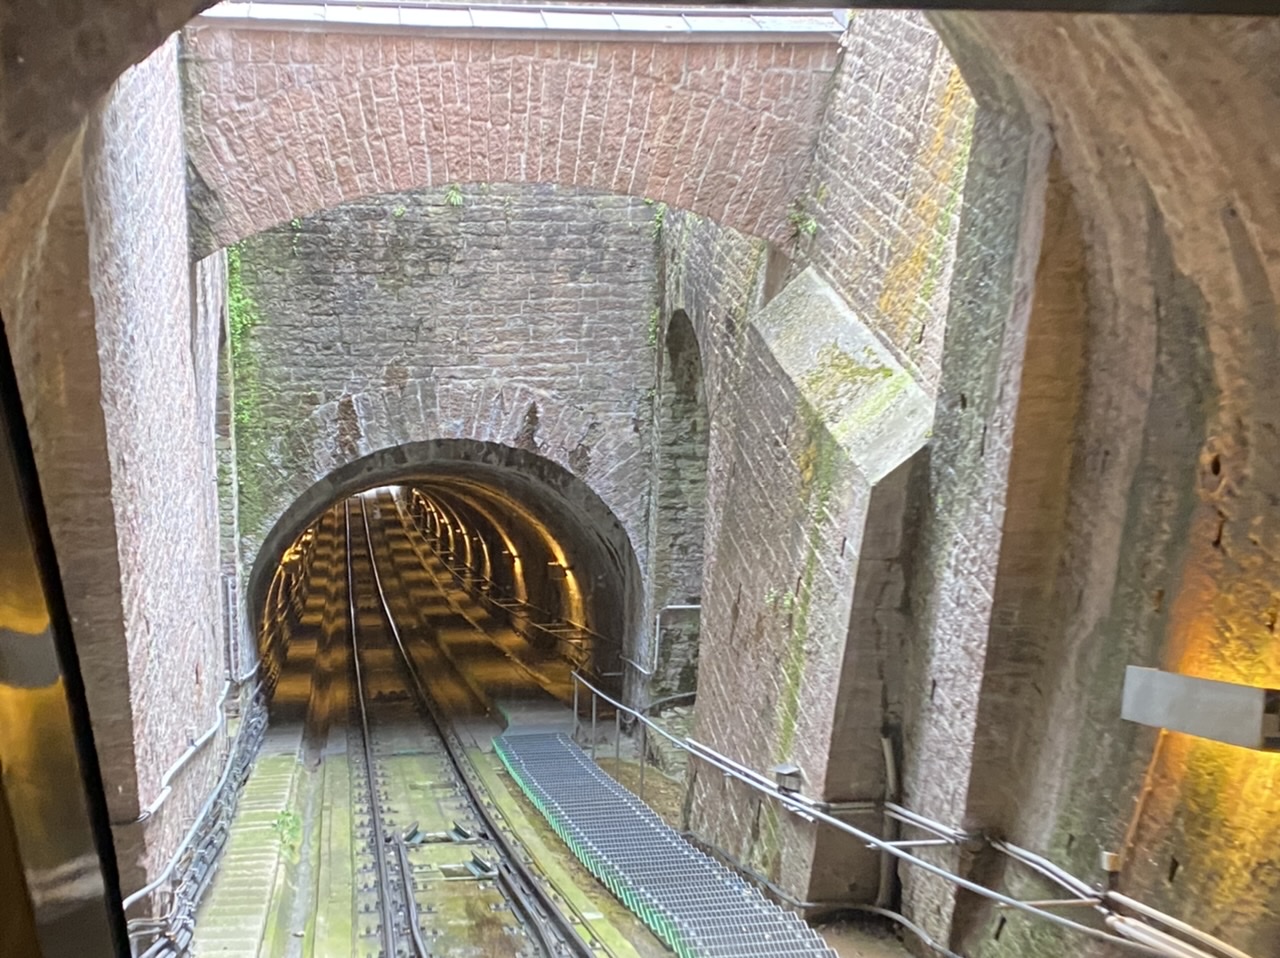
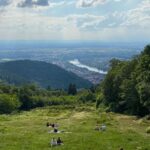
We headed back to the funicular to go even higher. The castle is at 120m above sea level, but you can ride up to Molkenkur at 289m and then switch to the older line to go up to the Königstuhl at 550m. The old line is slower and smaller and doesn’t run as frequently, so we had to wait a while to board. The trip on the upper section takes about 10 minutes and at times you’re climbing a 41% grade! 😳

But it’s all worth it for that view…

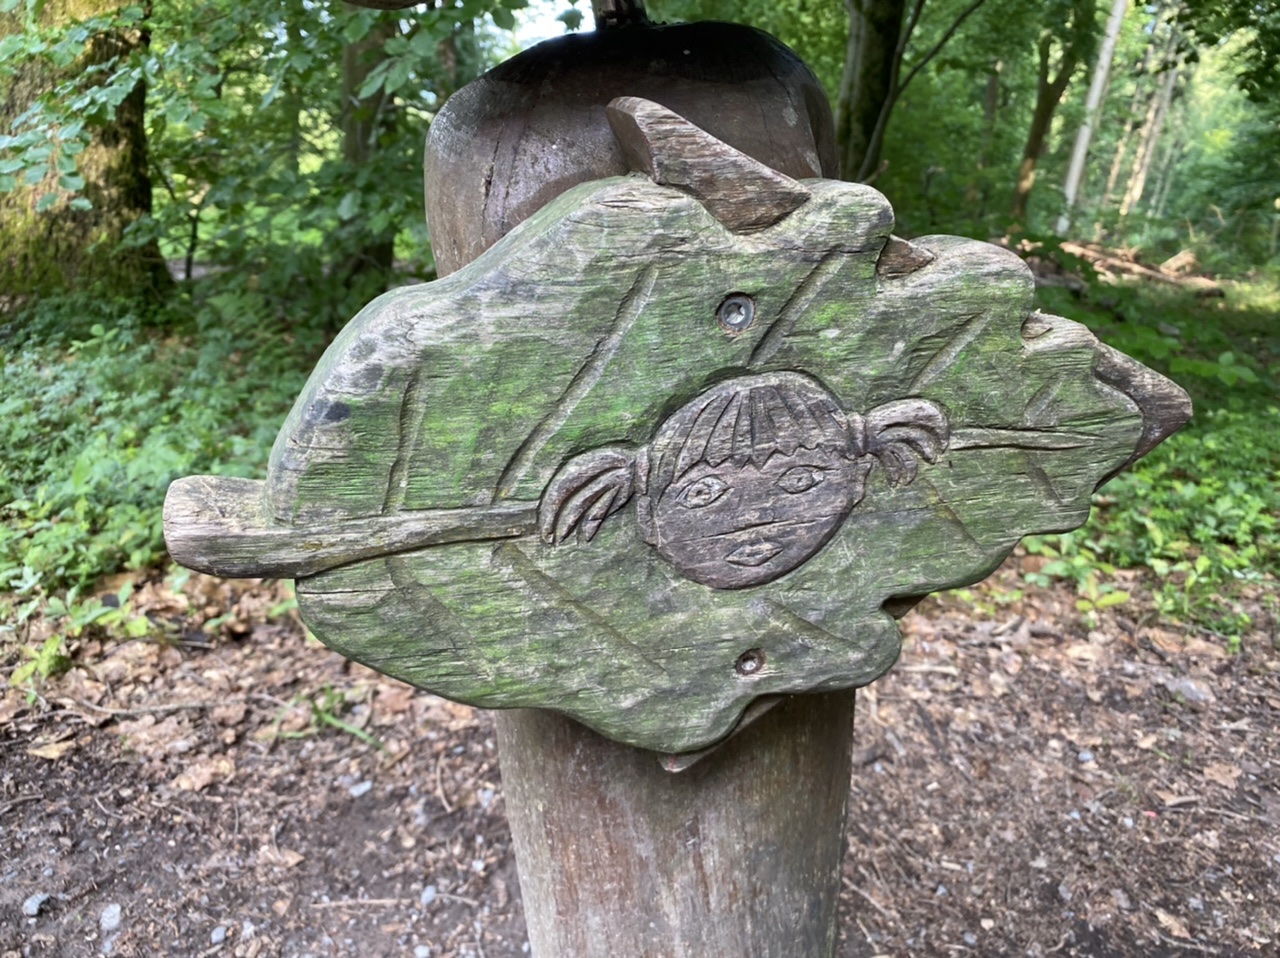
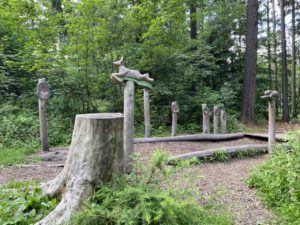
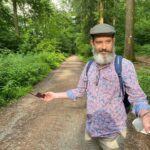
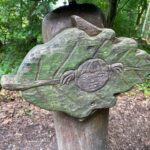
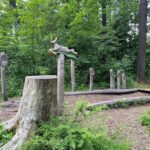
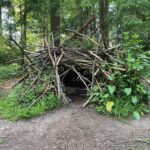
There’s a hotel at the top of the mountain, as well as an observatory, a falconry (?!), a kids’ fairytale park, and many walking trails. We decided to follow the family walking trail, marked with these rather creepy signs…
We saw very few other people.
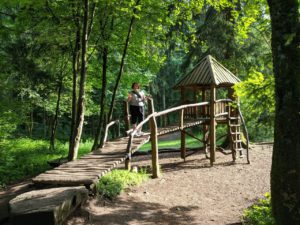
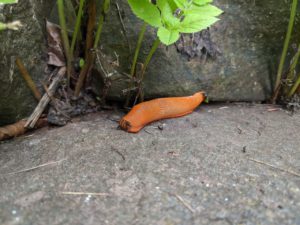
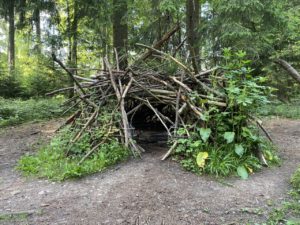
The family trail was a big loop and had some rustic play areas. The Snook found a brilliant orange slug and took a photo of it. There were also several creepy structures built out of old tree branches, which gave off a very witchy fairytale vibe.
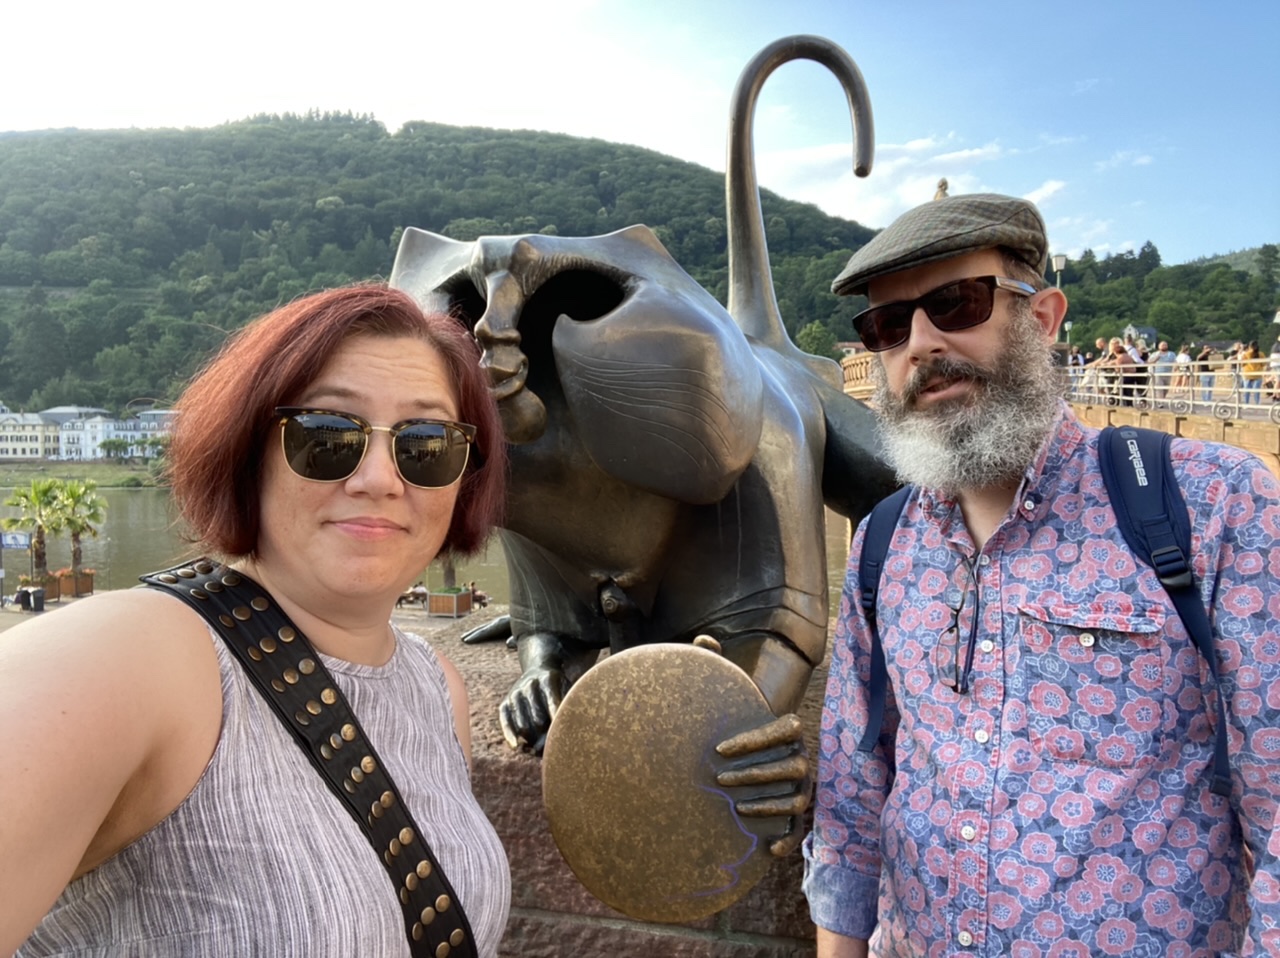
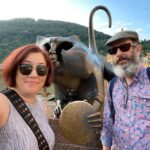
We caught the funicular back down the mountain and walked through the Altstadt again. Back down by the Alte Brücke we patiently waited our turn to take a photo with the famous Brückenaffe (Bridge Monkey), who’s meant to bring you luck. 🐵
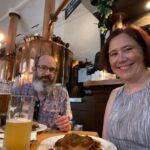
I should mention that I made heavy use of this blog post for planning our time in Heidelberg. We took the author’s advice and headed to the Vetter’s Alt Heidelberger-Brauhaus for dinner, and everything was delicious!

That was a pretty big day. My smartwatch says we did nearly 19K steps! We headed back to the hotel to crash.
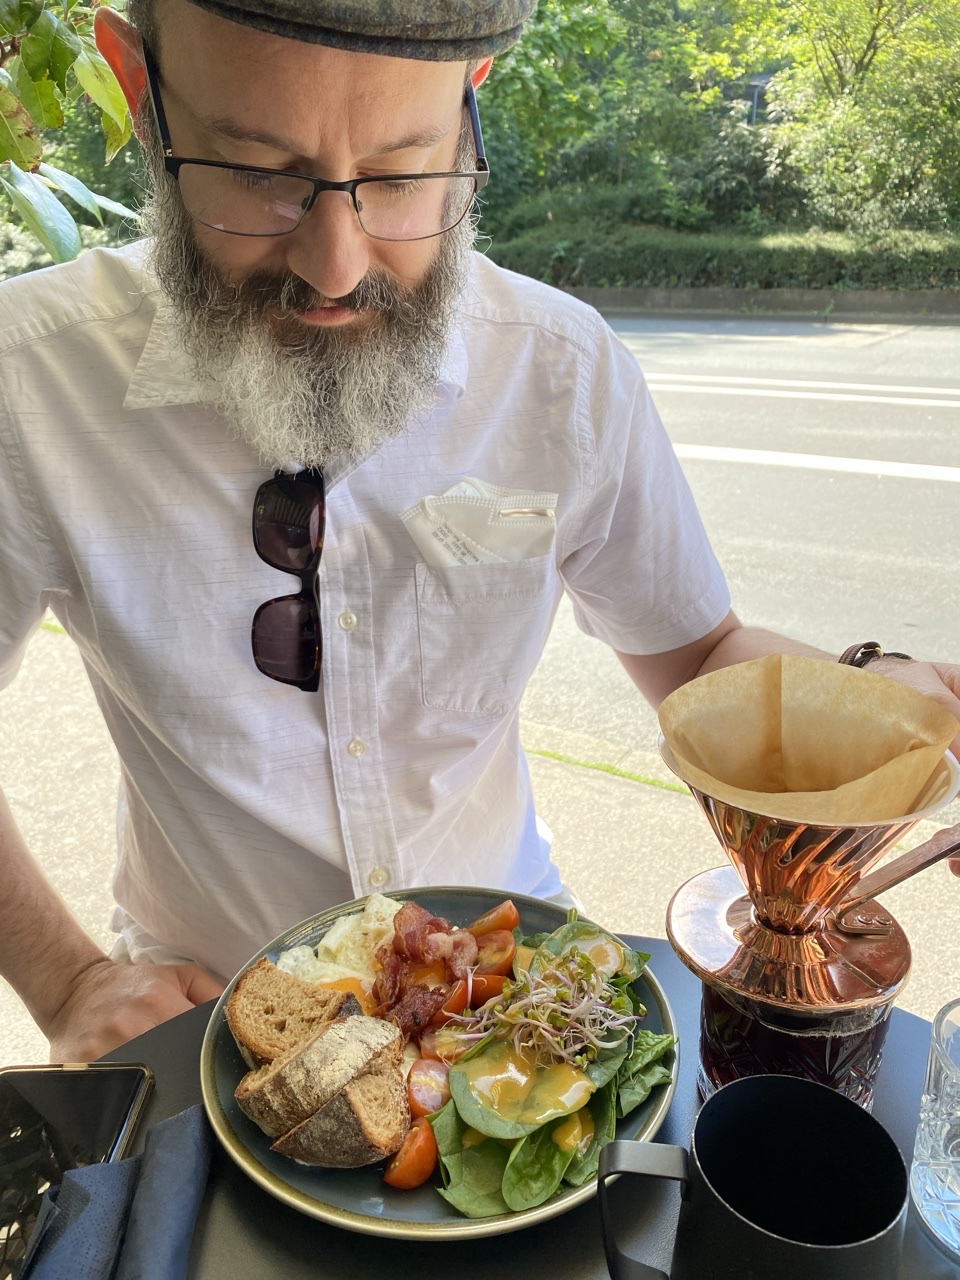
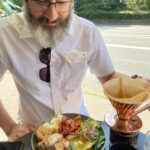
The next morning, we took advantage of the fact that Heidelberg is a university town to have a hipster cafe breakfast at deer. (Honestly, going out for breakfast is the #1 thing I’ve missed in Corona lockdown.) The Snook was very, very happy with his pourover…
After breakfast we headed back to the Altstadt and finally crossed the Alte Brücke.
Our goal was the Philosophenweg (Philosopher’s Way), a walking path high up on the other side of the Neckar. To get to it, we decided to climb the Schlangenweg (Snake’s Way). This is an old narrow vineyard path that climbs nearly 90m as it snakes back and forth up the hillside, with stone walls on either side of you. It was actually pretty gruelling, and thankfully there are a couple spots with benches to stop and take in the view.
We even saw sheep!
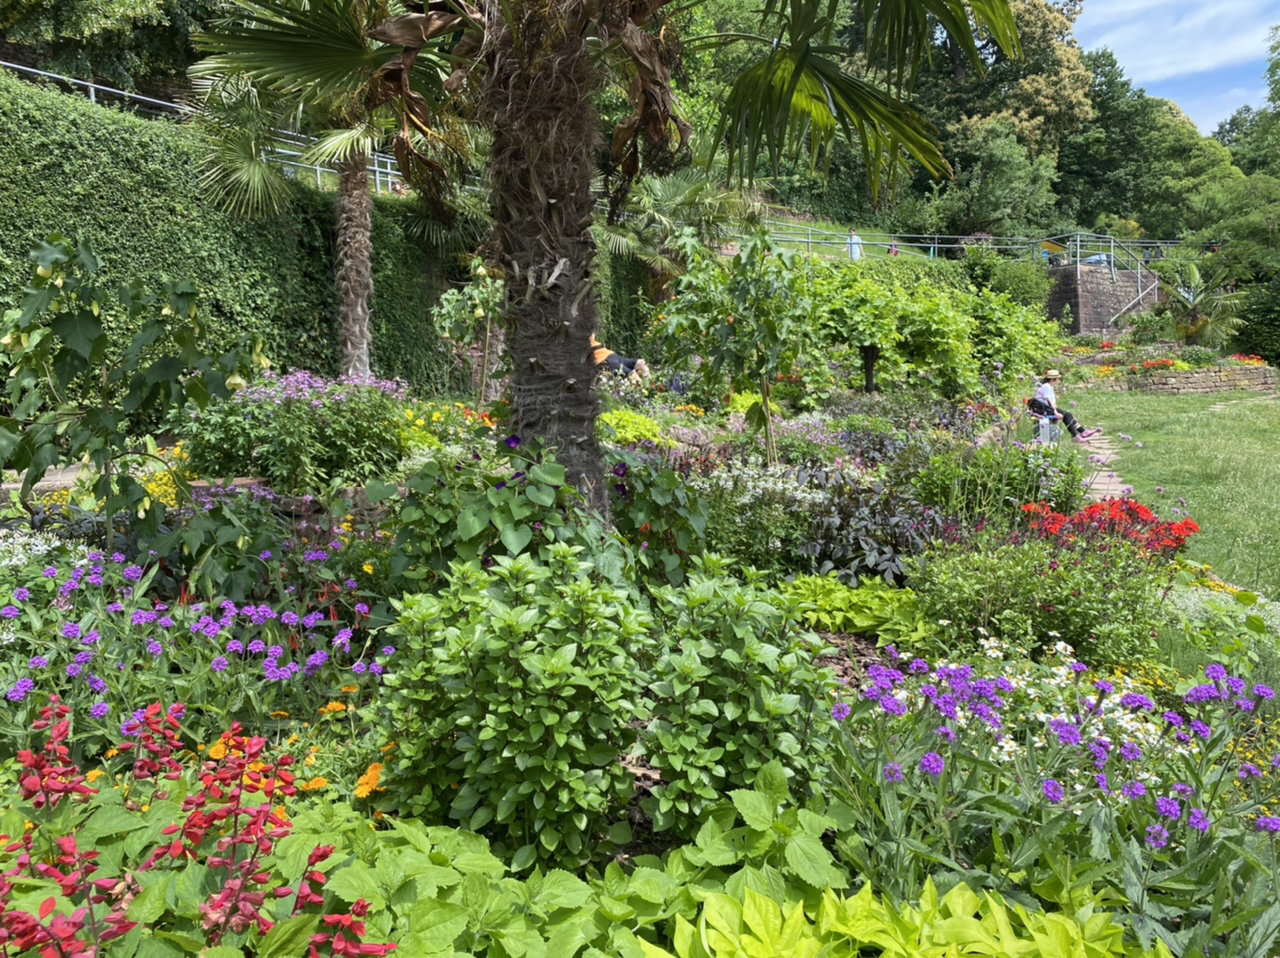
We finally reached the Philosophenweg, which was thankfully flat. We meandered past more vineyards and gardens with lovely flowers. At one point, there was an outlook with some seats, and an old man was playing the guitar. It was heavenly.
We slowly made our way back down to city level. At the end of the Philosophenweg is the Philosophengarten, which was a riot of colourful blooms.
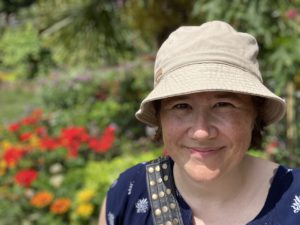
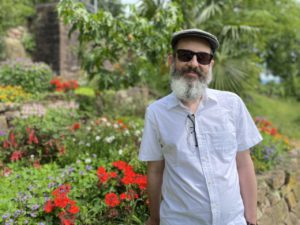
I took advantage of the backdrop to take some cute photos of us.
We walked past many university buildings and charming houses. This one was one of my favourites. It has a poem painted on the side:
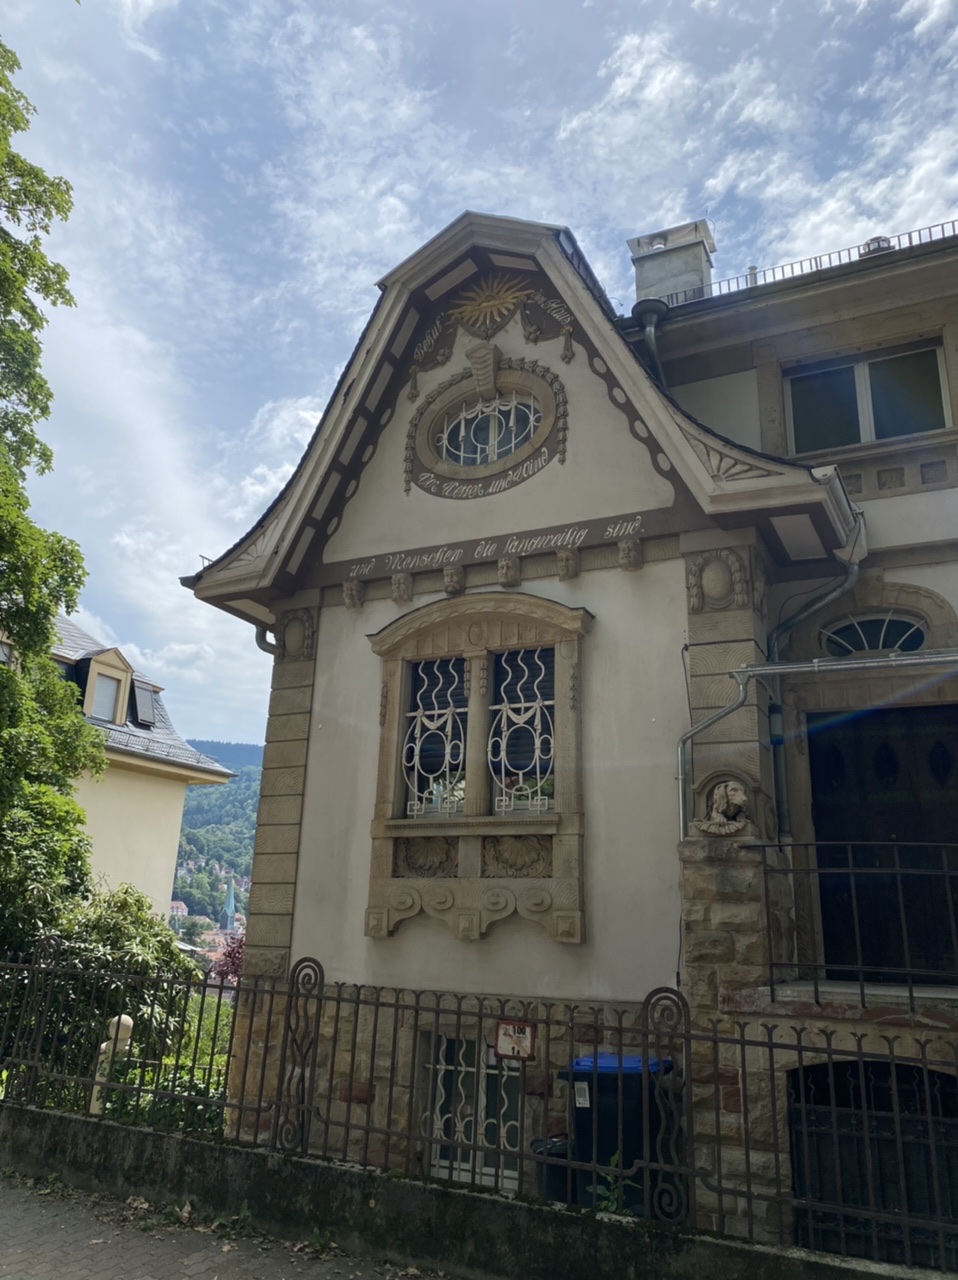
Behüt dies Haus
von Wetter und Wind
und Menschen die langweilig sind.
“Watch over this house
from weather and wind
and people who are boring.”
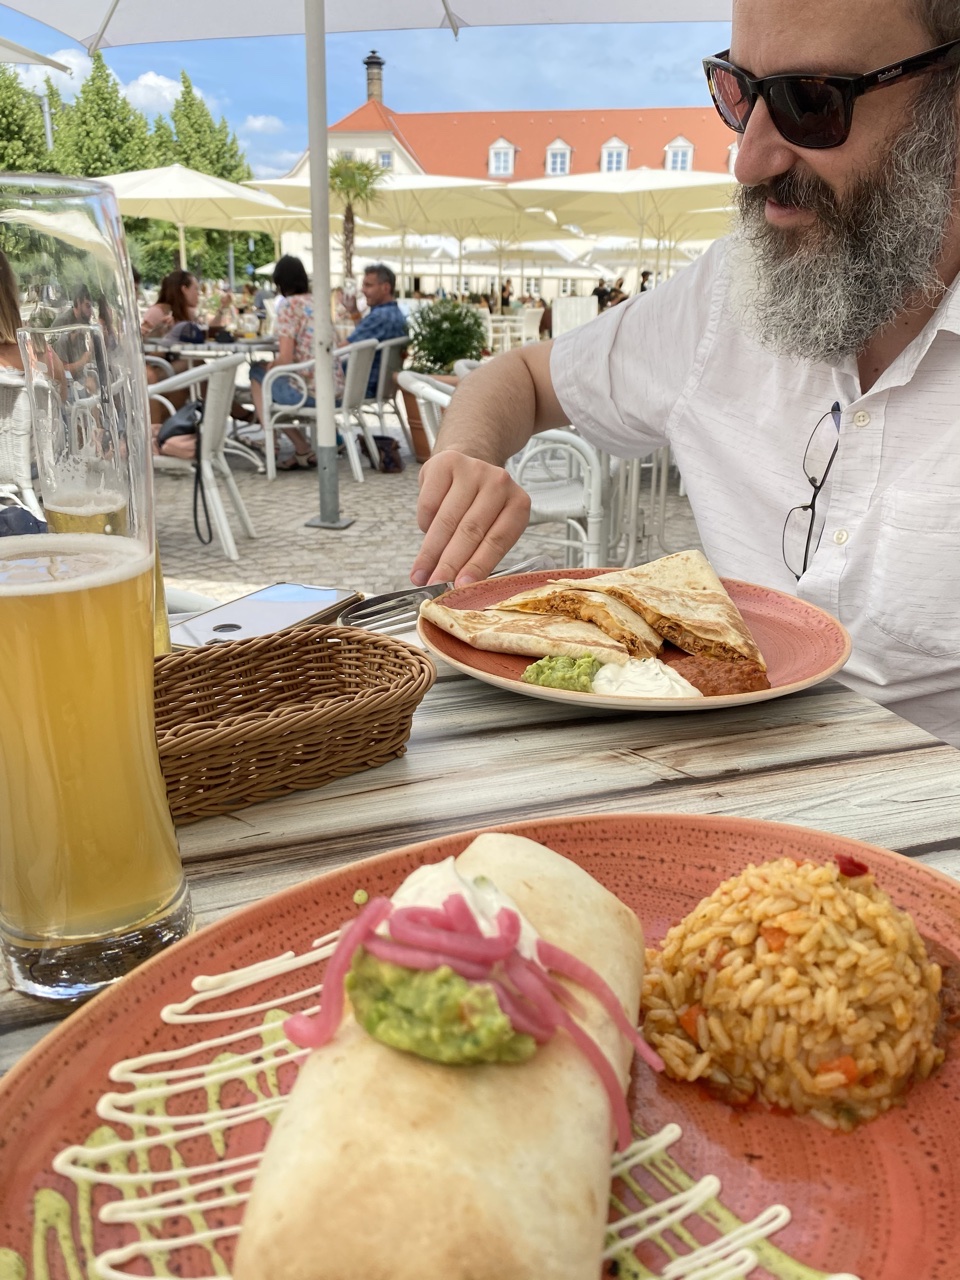
We checked out of the hotel and stashed our bags in a locker at the train station. Then we hopped on a bus and headed to the nearby town of Schwetzingen. This hadn’t been part of our original plan, but I realised when looking at my old website that the IUHPFL trip had included a stop at Schloß Schwetzingen and the Snook cleverly figured out how to get there. More nostalgia! When we got to Schwetzingen, we had a quick lunch at a Mexican restaurant near the palace.
Then we headed over to the palace…
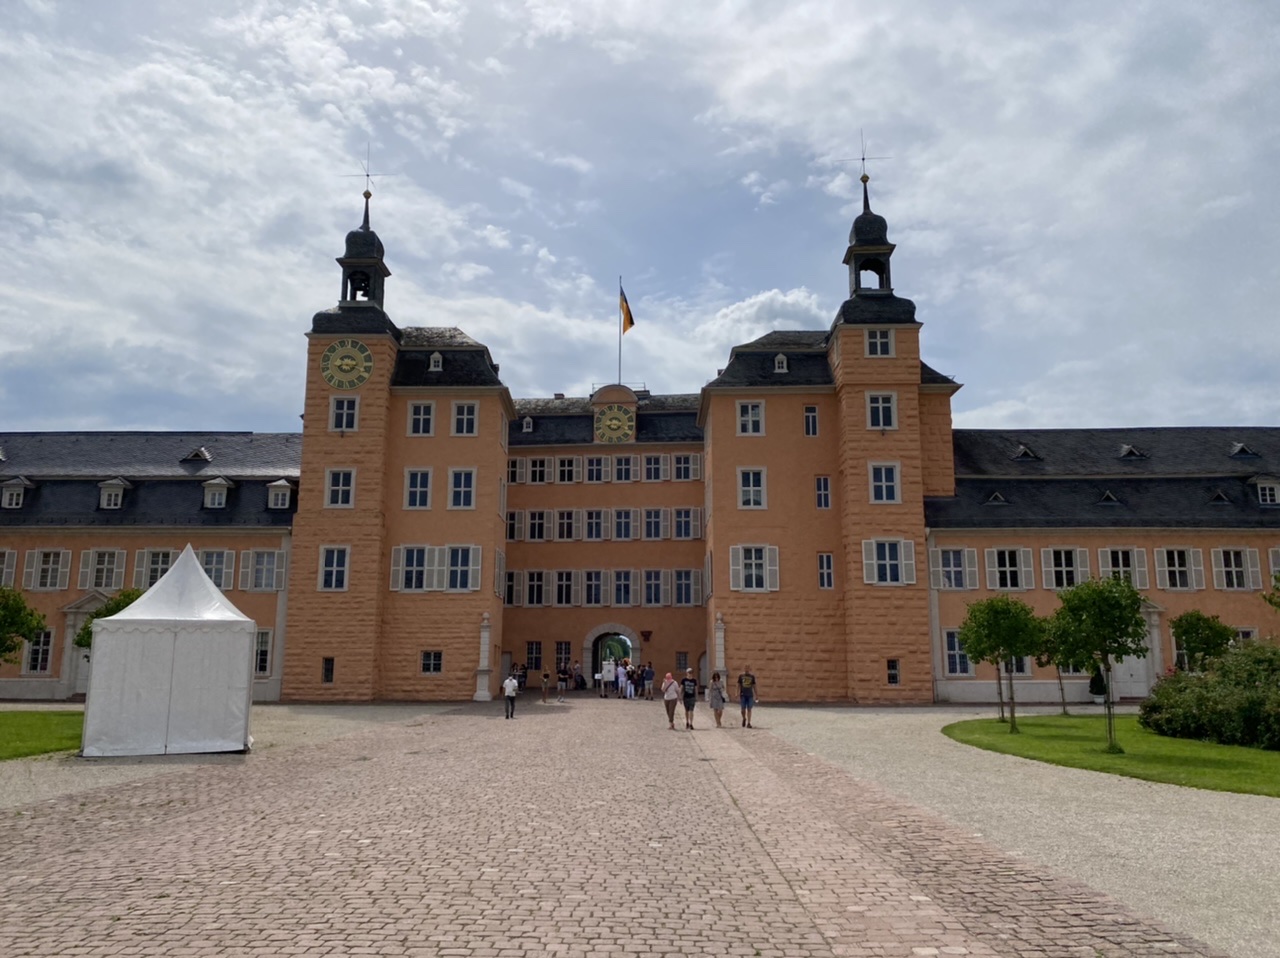
I remember that, as a 17-year-old from Indiana, stepping into that formal garden felt like Alice going into Wonderland. I’d never seen anything like it in my entire life.
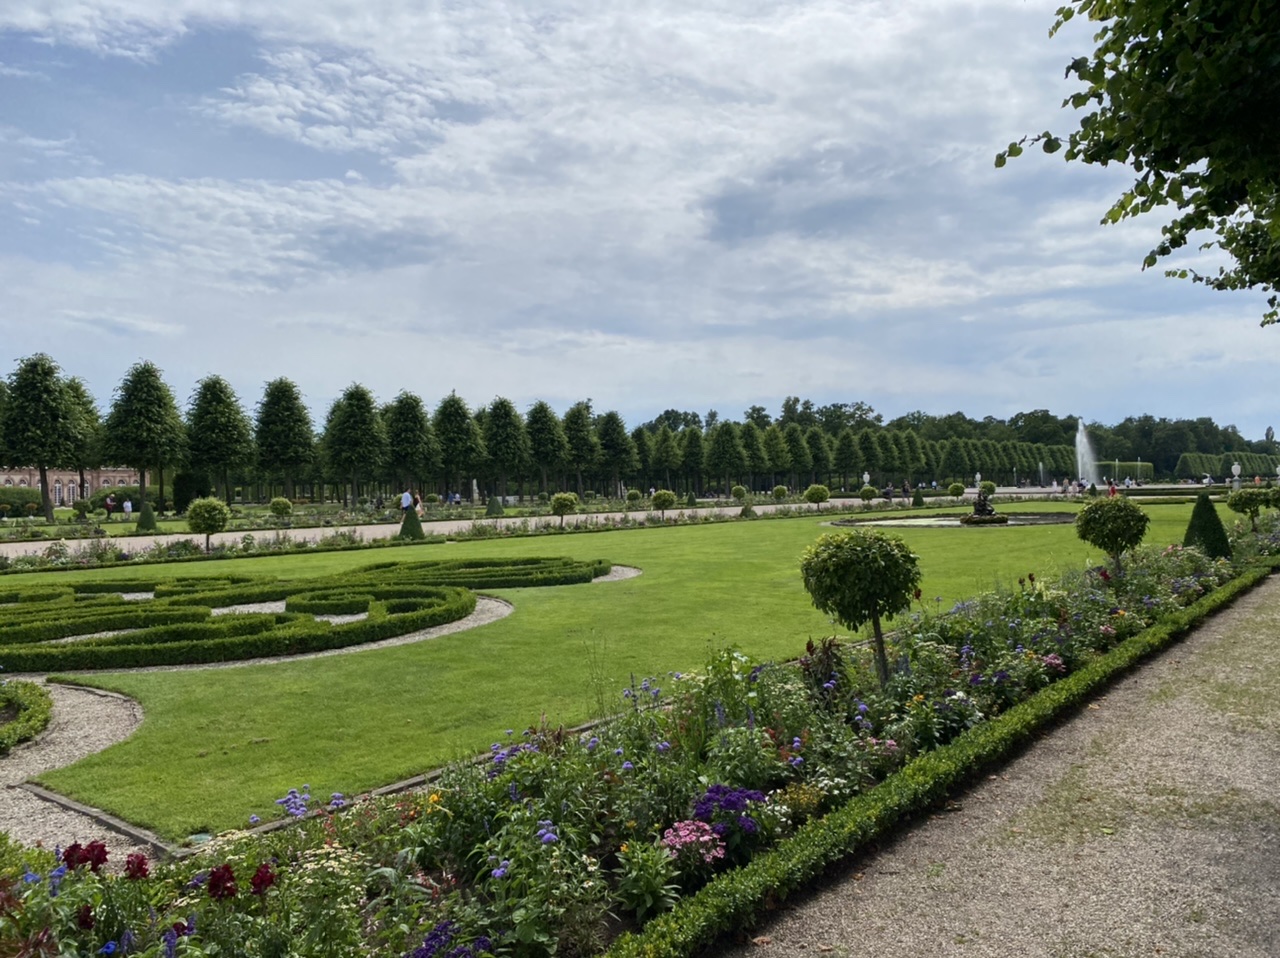
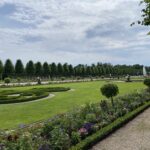
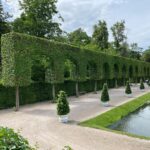
The garden was established just as the more formal French style was giving way to the English landscape garden, so it’s unique in the way it tries to marry the two.
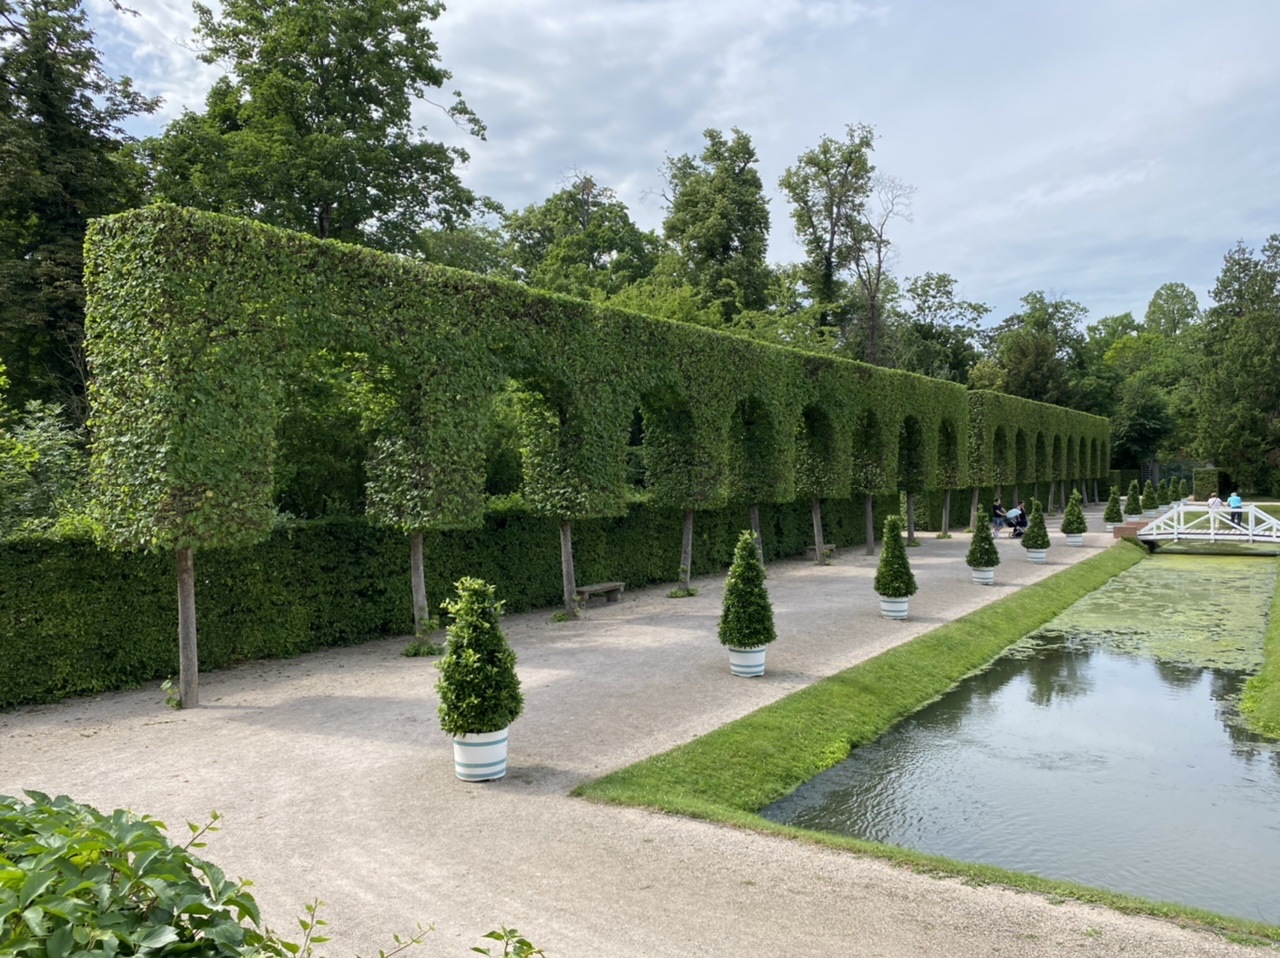
While the central vista features strict geometrical beds, topiary, and large fountains, the sides and back have more rambly, natural feeling paths with hidden grottoes and follies.
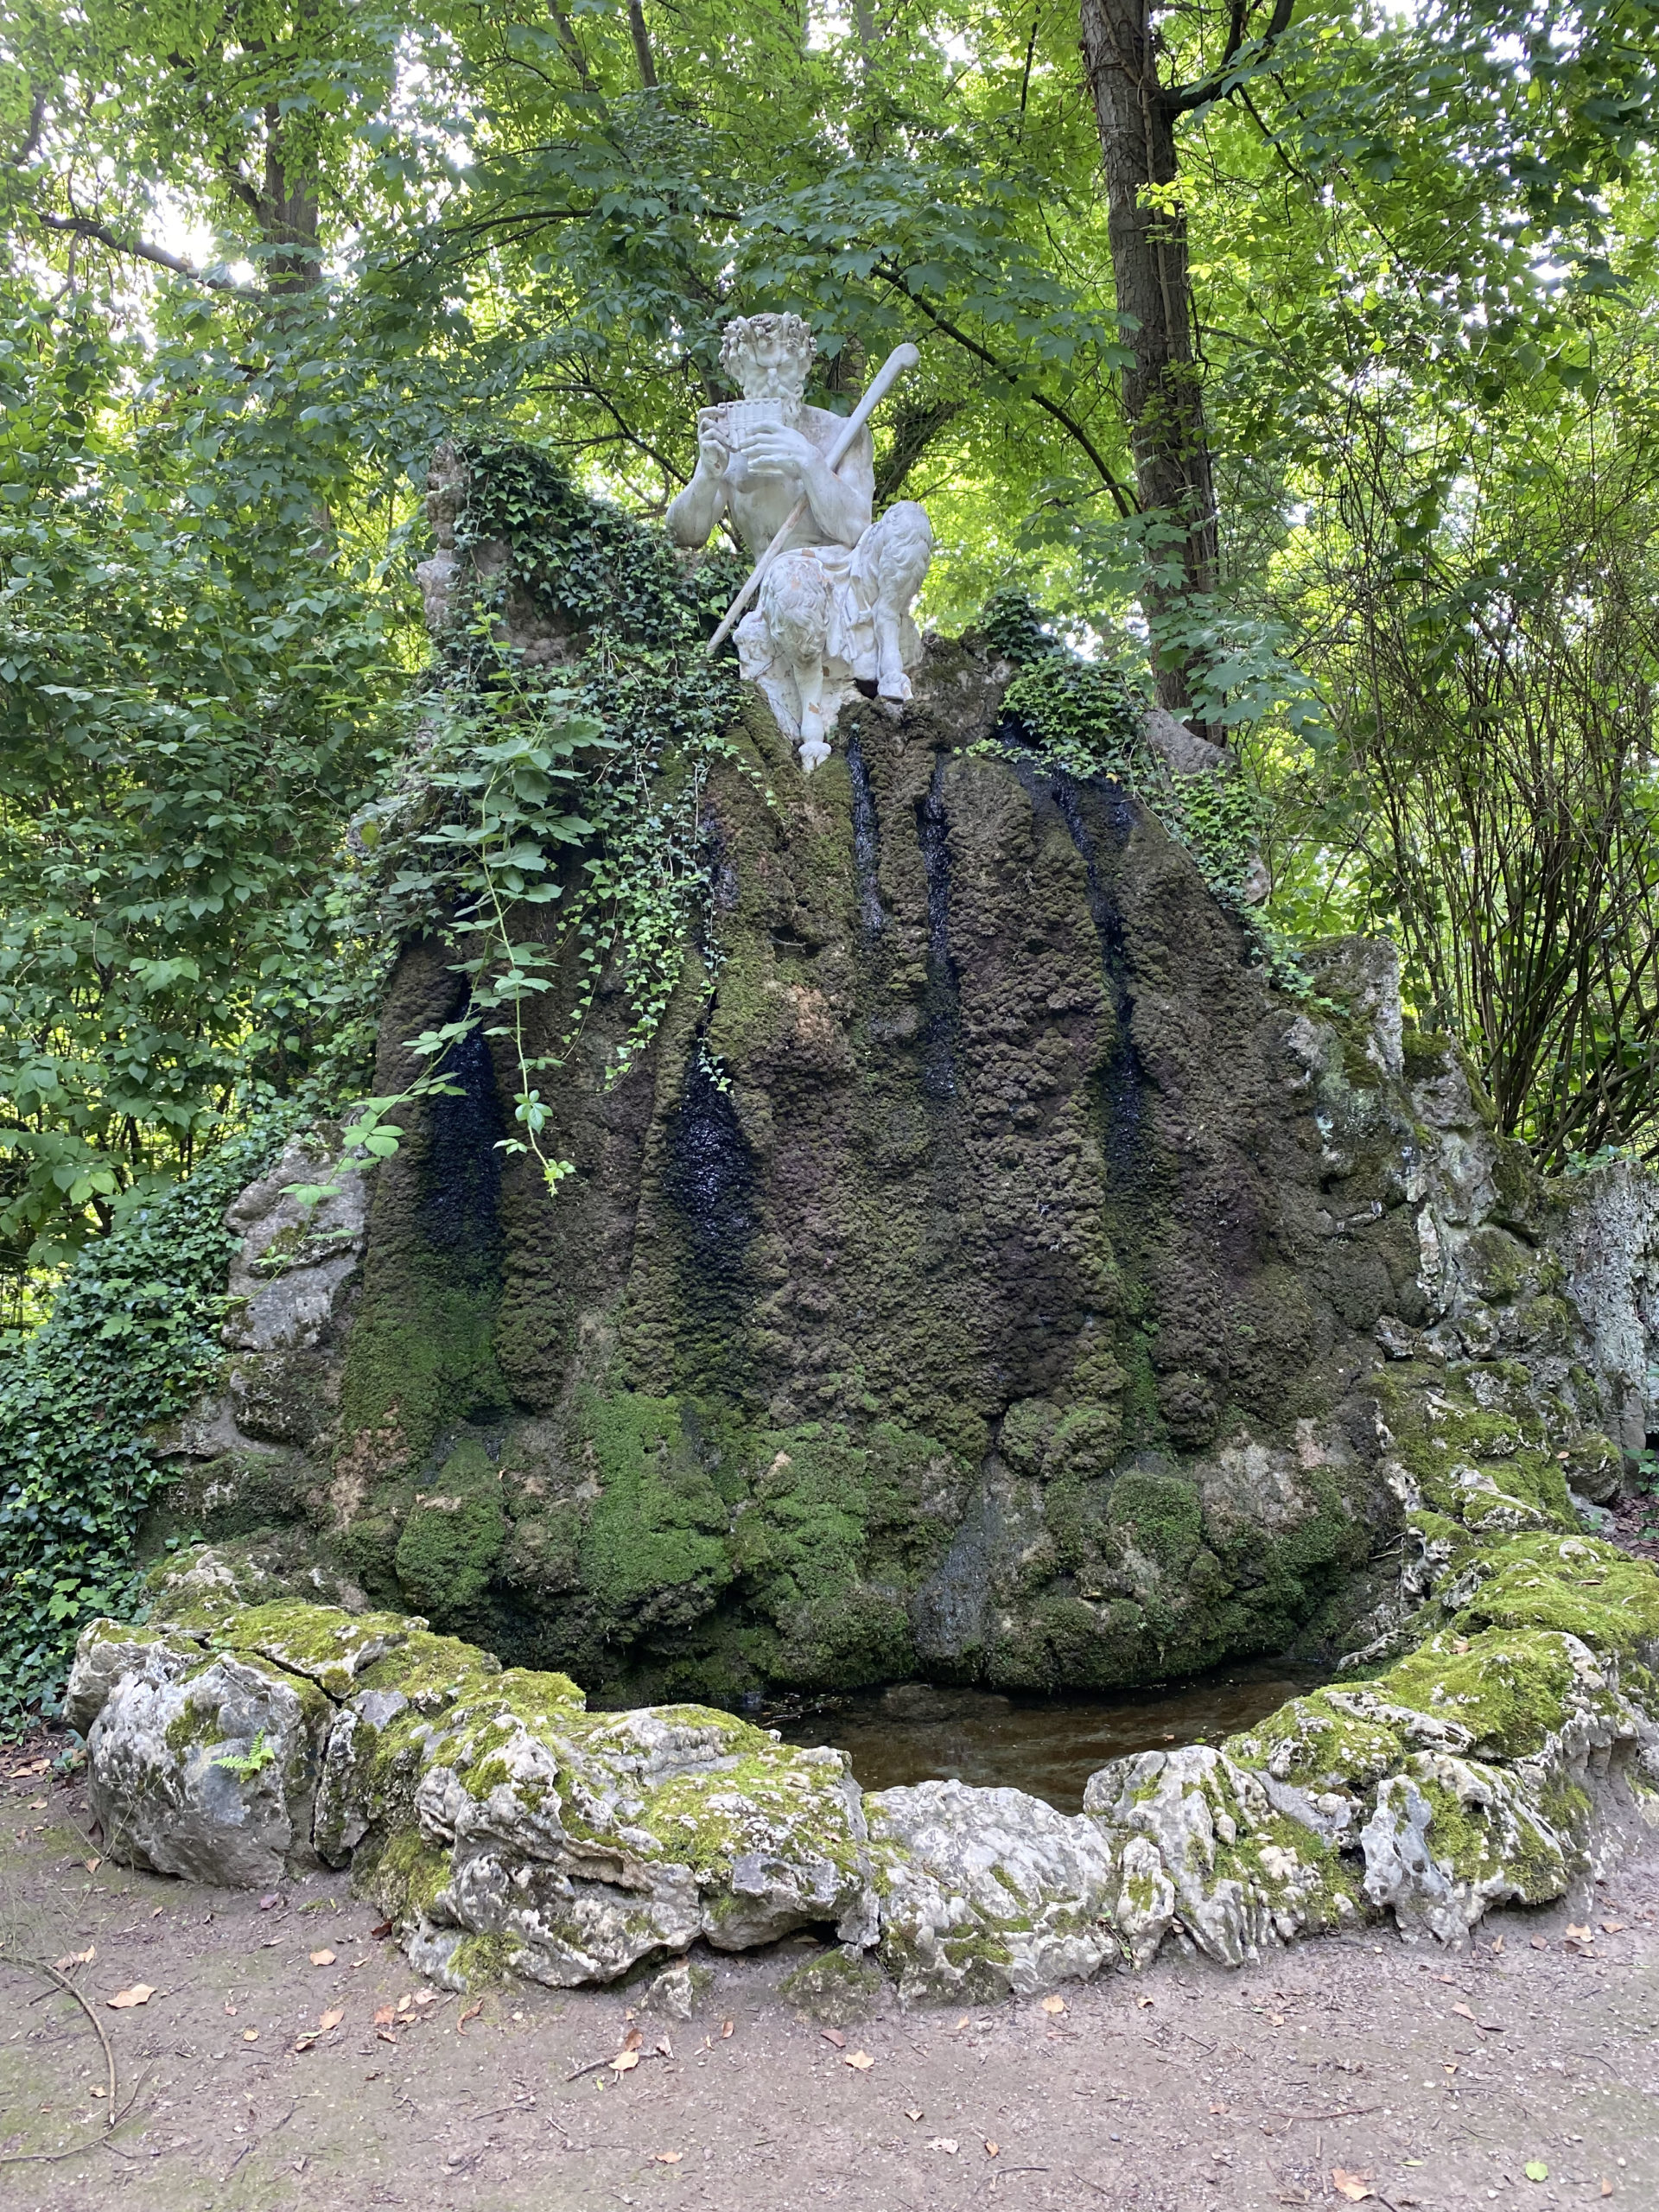
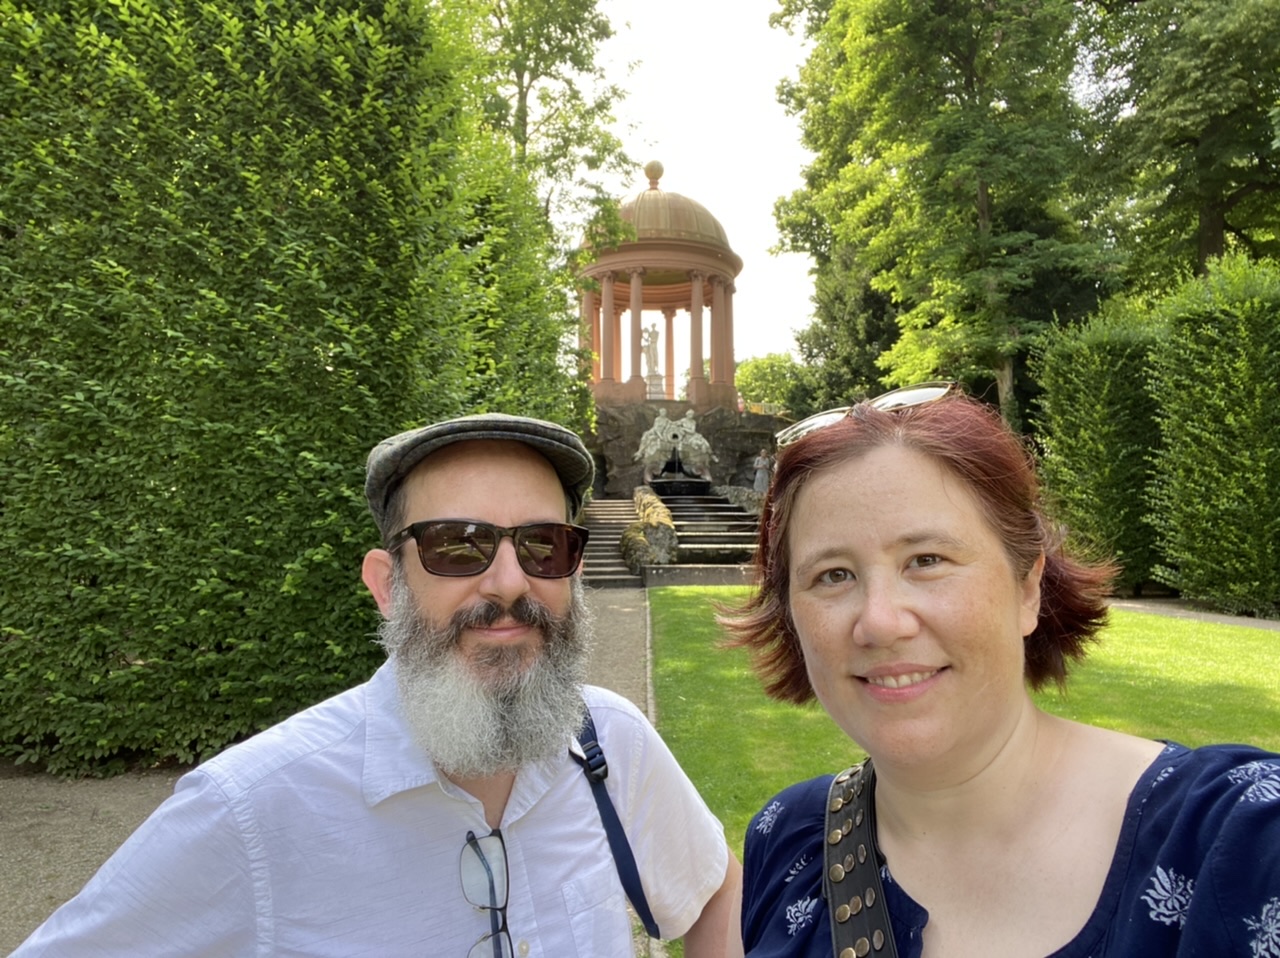
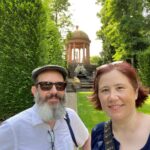
I was most looking forward to The Temple of Apollo. I remember spending a big chunk of my time in the garden back in 1994 having lunch on the lawn in front of the temple, swooning about and pretending to be a pagan. It looked exactly as I’d remembered.
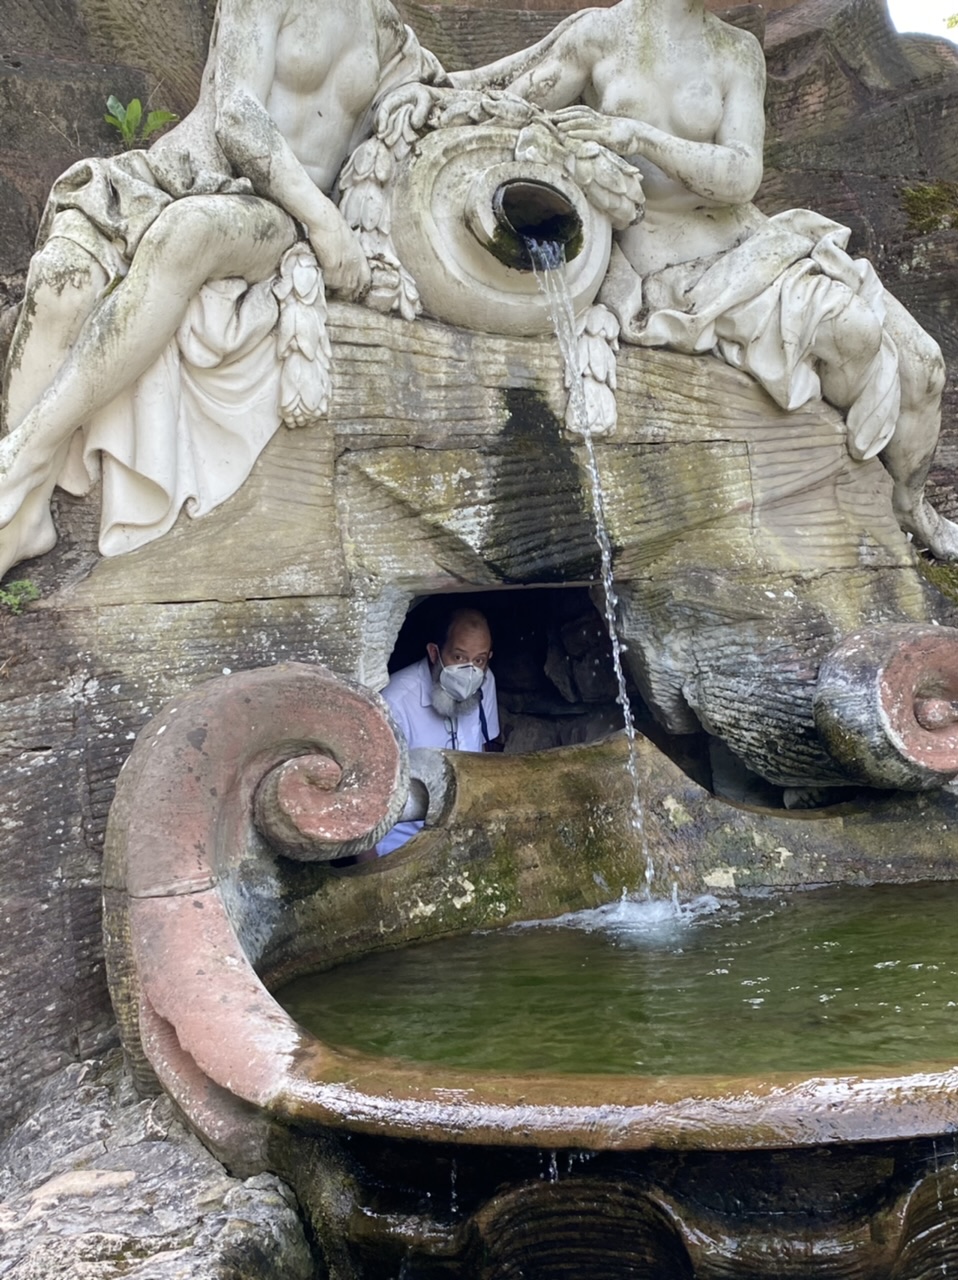
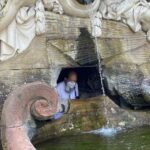
We were delighted to find out you can actually go under/inside the monument and peek out behind the fountain.
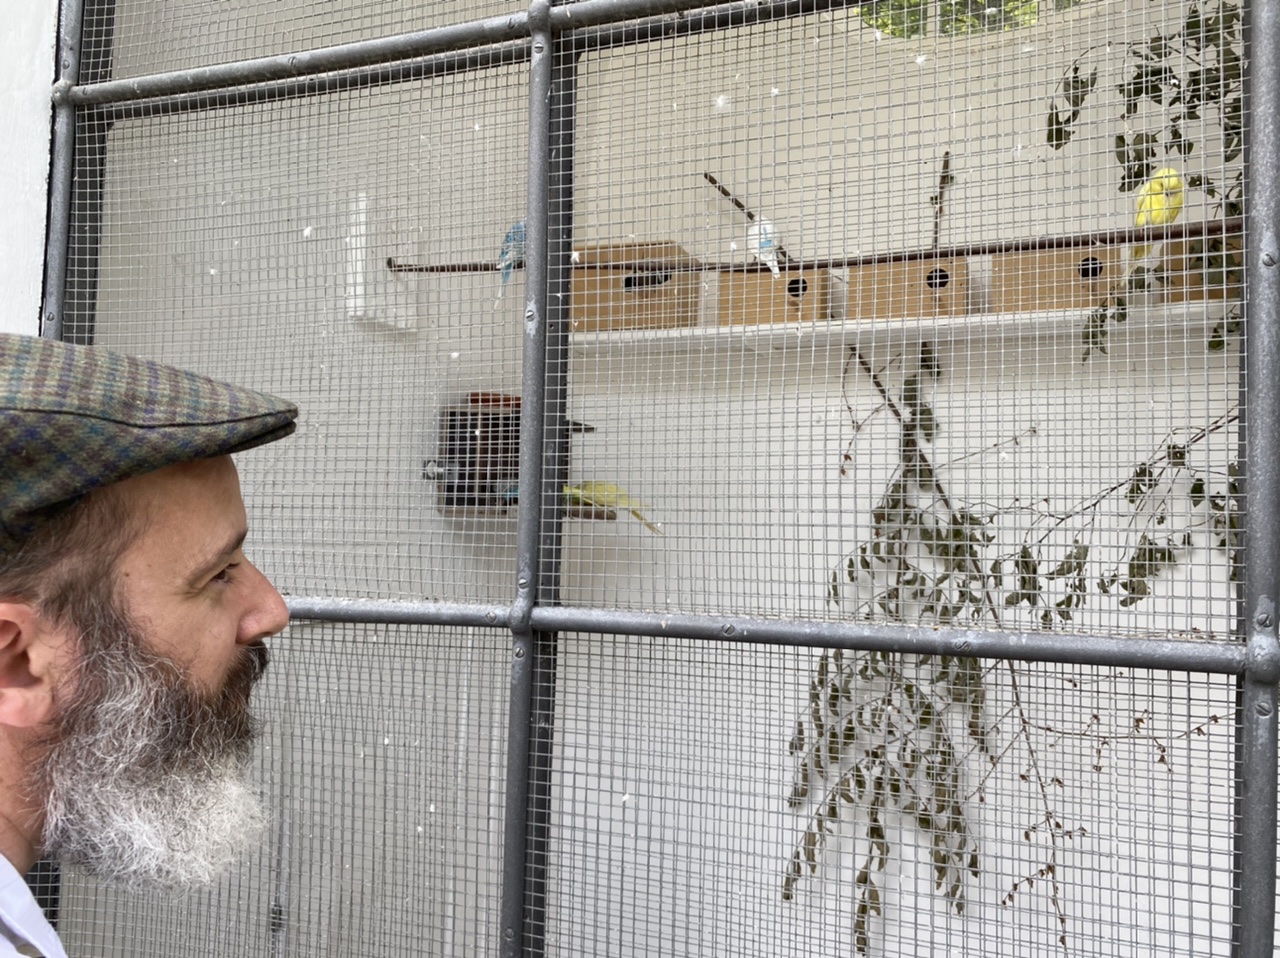
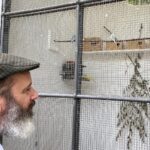
We also came across the Vogelbad (bird bath), an over-the-top circular aviary built around a fountain, where dozens of bird sculptures perched around the roof spit water down into the center.
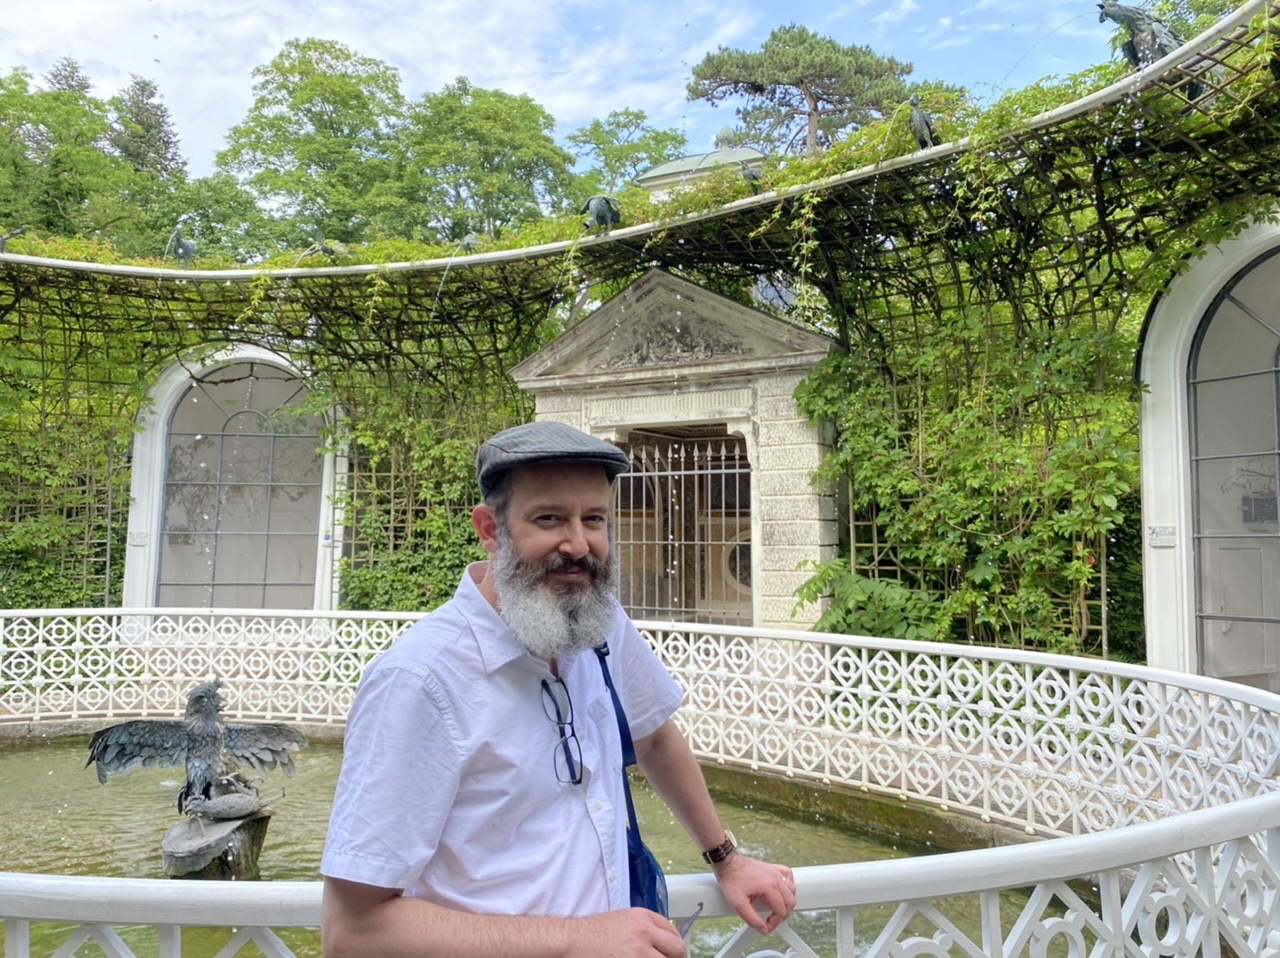
In the alcoves around the sides were many living birds, including quite a few from Australia! Here’s the Snook chatting with the budgerigars.
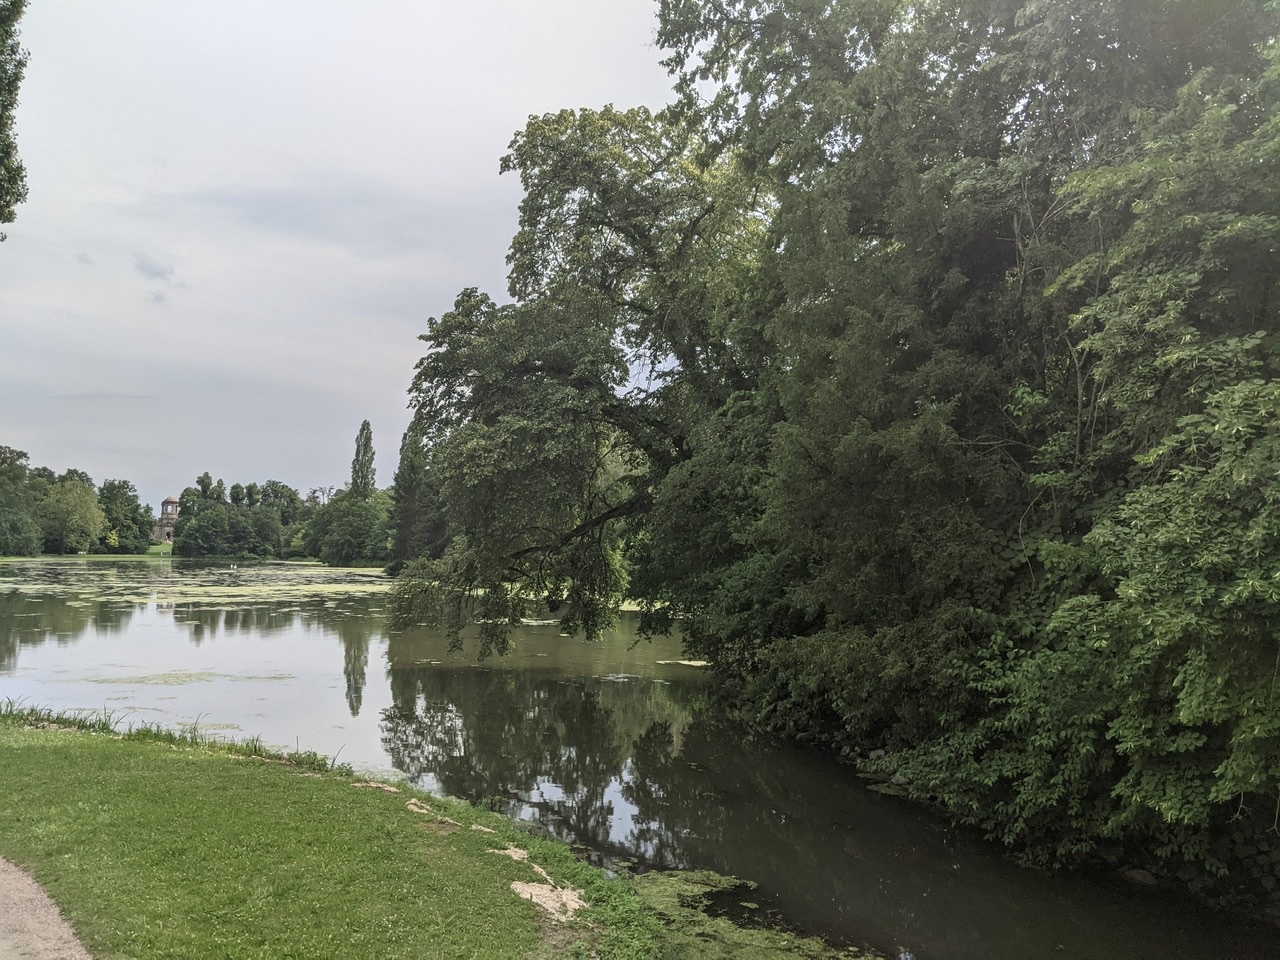
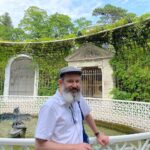
The far end of the palace gardens have a lake of sorts with little brooks with bridges over them. It’s all very charming.
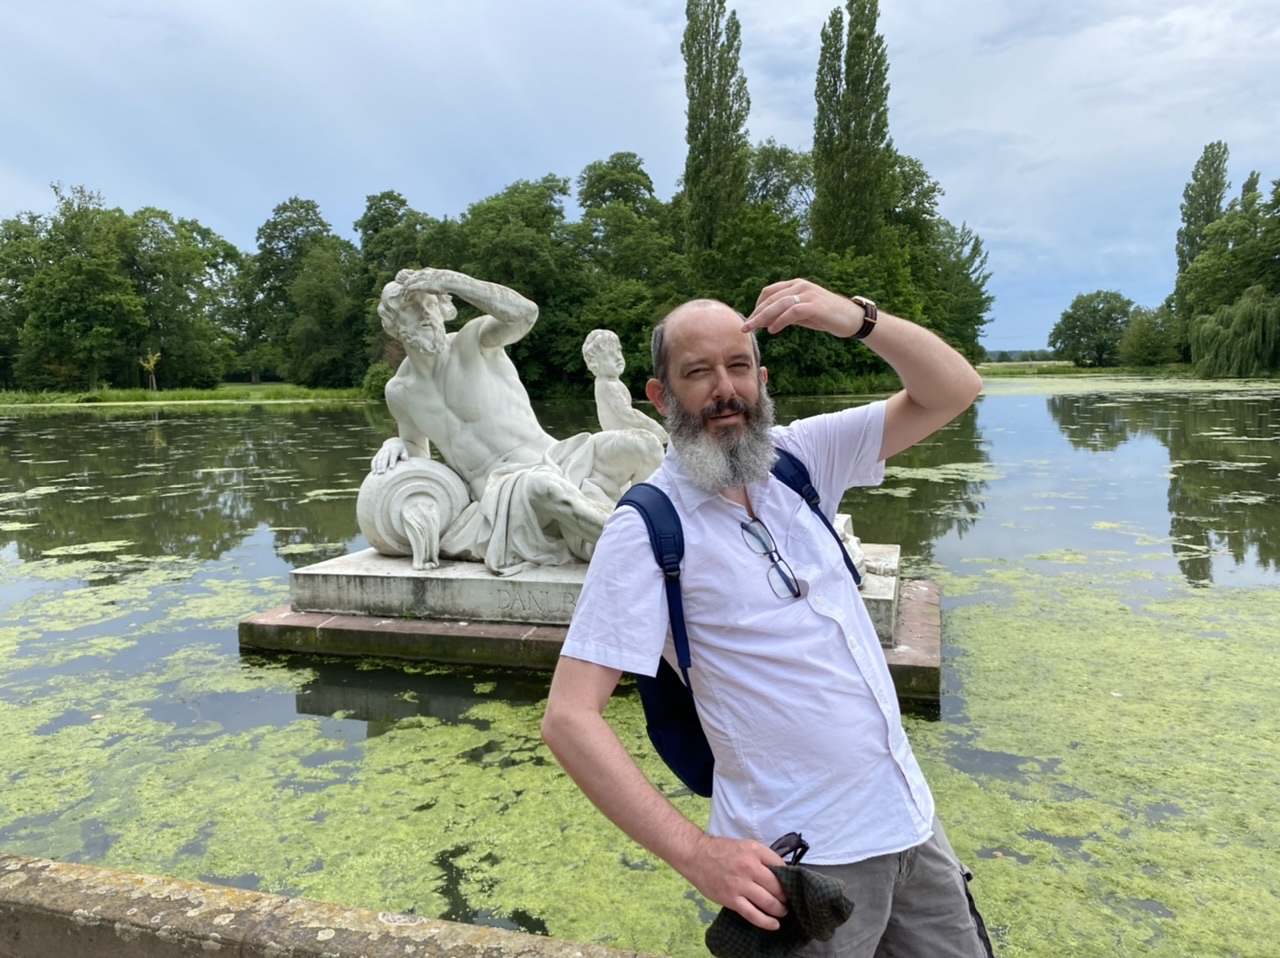
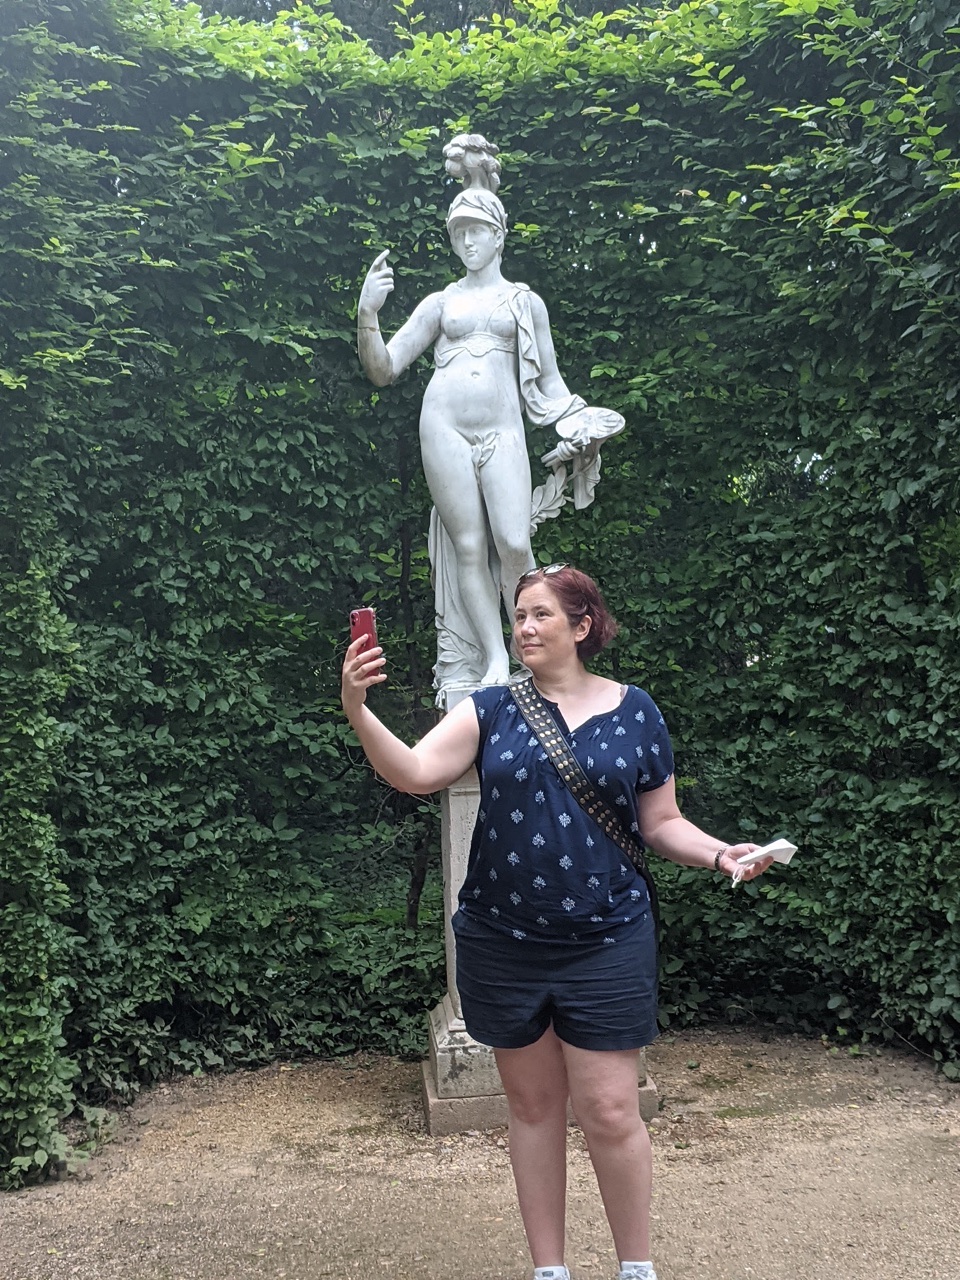
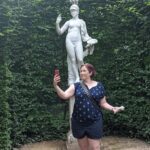
We noticed that the Snook bore a resemblance to the statue of the Danube river god…
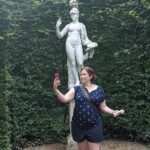
…and happily, we found my doppelgänger in a statue of Athena. She’s clearly taking a selfie! 😂
Rain was threatening, so it was time to leave the palace and catch the bus back to Heidelberg. We collected our suitcases and then hopped on the train back to Munich, getting back late Sunday night. I honestly never expected to get to visit these places again in my life, so it was such a special and unique treat to see these sights again! ❤️
@aussiemusicfan @minxdragon Good lord, I was there one year later in summer of ‘94, and I have the same set of photos. 😂 Here’s Rodd with the wine barrel yesterday… https://t.co/bOqgA7QXoP

@aussiemusicfan @minxdragon …which I just realised was on my original tweet. (I just woke up.)
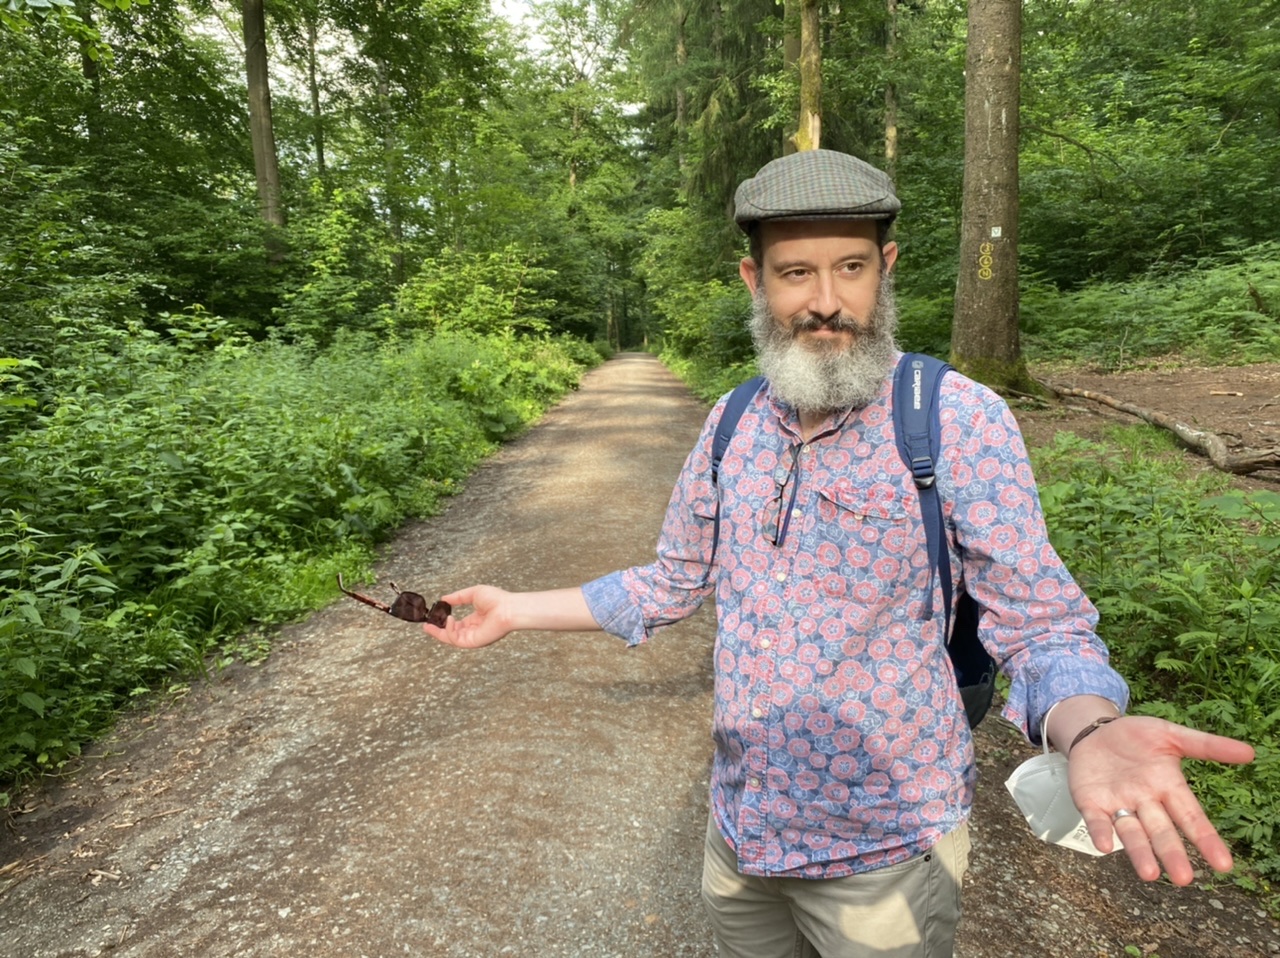
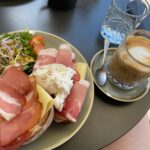
“I now see the attraction of the gooseneck pourer.” Look at this effing hipster. (He’s in his happy place.) ❤️☕️ https://t.co/pHmo1XQWxQ


@bmusedbystandr Yup. Fancy copper filter thing.
Was für ein schöner Tag. ❤️☀️🎶🎸 @ Philosophenweg https://t.co/RVPvDWLLXV
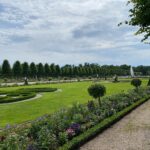
Fun at Schloß Schwetzingen. When I came here in 1994, I thought it was the most beautiful garden I’d ever seen. It’s still right up there… ❤️🌳🌹🌺🌼 https://t.co/MkXx2umEes

I’m still pretty new to the DB @_DiningCar, but that warm ham-and-cheese sandwich was better than it had any right to be. 😋 #headinghome https://t.co/G58pgvB5Bd

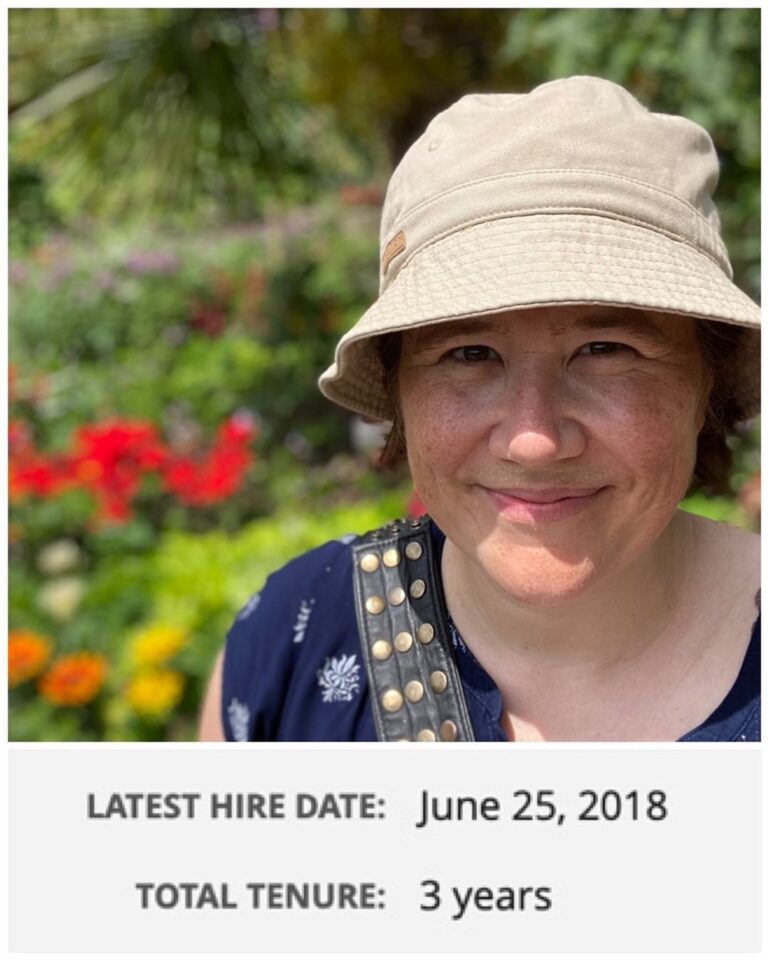
Home again in Munich. Forgot to mention that this trip was also a celebration – I’ve hit 3 years at @awscloud, and I’ve also graduated as a Bar Raiser (a recognition of my skill and experience as an interviewer). Pretty proud of that… 😊 https://t.co/8zcTwNYbLe

If you had asked what I missed the most during both the Sydney lockdown last year and the last 9 months in Germany, it would’ve been cafe breakfasts. This makes me happy. ☕️

Fun at Schloß Schwetzingen. When I came here in 1994, I thought it was the most beautiful garden I’d ever seen. It’s still right up there… ❤️🌳🌹🌺🌼


Home again in Munich! In addition to being a fun getaway, this trip was also a celebration. As of this past week, I’ve been at @amazonwebservices for 3 years. 😊🎉

Home again in Munich! In addition to being a fun getaway, this trip was also a celebration. As of this past week, I’ve been at @amazonwebservices for 3 years. 😊🎉
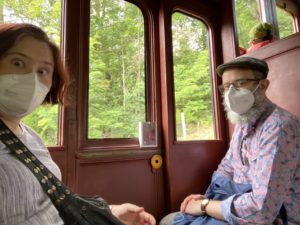
You know, I think this is the first time I’ve ever ridden in a proper train compartment! 🚄 @ München Hauptbahnhof https://t.co/zGHqoLxNBA
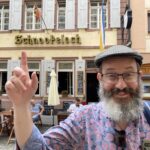
When there’s a restaurant with your name on it, you have to eat there. 😂🍻 #schnookeloch #snookyhole https://t.co/c47LOpbq1q
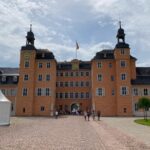
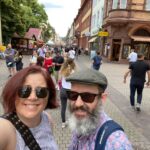
Back in Heidelberg for the first time in 27 years… ❤️🏰 https://t.co/bFC3gTIjLl


@abertrotzdem We’ve been trying to translate it. Seems to be a slang term for jokes?
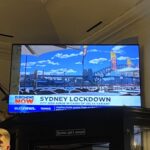
There we were, sitting in a brewhouse in Heidelberg, Germany, and the Sydney lockdown made the international news. https://t.co/c2pFZDKUWI

You know, I think this is the first time I’ve ever ridden in a proper train compartment! 🚄
Heidelberg. ❤️ My favourite castle in all of Germany. I haven’t been here in 27 years… 🏰

When there’s a restaurant with your name on it, you have to eat there. 😂🍻 #schnookeloch #snookyhole


After exploring the castle, we took the old funicular up to the Königstuhl, the highest point in Heidelberg. The view was breathtaking. Then we did a short hike before eventually heading back to the Altstadt for dinner at Vetter’s Alt Brauhaus… 🌳🍻
Today’s German class accomplishment: describing the plot of “The Castle” auf Deutsch:
Der Flughafen wird größer! Der will das Haus der Familie kaufen! Aber die Familie liebt ihr Haus!
😂❤️
RT @KenScambler: @web_goddess “Sag ihm, dass er träumt!” (Or so Google translate tells me)
RT @codepo8: @KenScambler @web_goddess Das geht direkt in das Billiard Zimmer.
@mark_sabbatical @StewGleadow I didn’t know that! I first saw it when I was living in London with Rodd, and then many times since we went to Sydney, of course.
@KenScambler @joneaves @codepo8 LOL. @the_snook’s contribution was: “Ich habe ein loch gemacht. Es füllt mit Wasser.”
RT @KenScambler: @joneaves @codepo8 @web_goddess Es ist Mabo, es ist die stimmung
Many thanks to Lea at @salonahead for removing about a kilo of hair and letting my neck enjoy the summer breeze! 💇♀️❤️ @ Munich, Germany https://t.co/nuOoi8ih3R