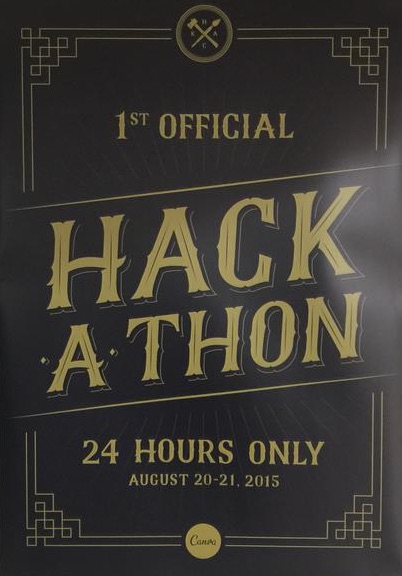
This past Thursday and Friday, Canva held its first ever Hackathon. At first I wasn’t quite sure what I was going to do for it. (I work with some really brilliant engineers, and my coding skills aren’t great.) But the sign-up sheet came out and it was clear that non-coding projects were encouraged. Then the organiser Chris Doble (jokingly?) suggested that “someone” could create cushions with commas on them. A-HA!
(The Three Commas thing is a running joke from the show Silicon Valley. As a start-up, we quote that show a lot. We even threw in some references as an Easter Egg in our Canva for Work videos.)
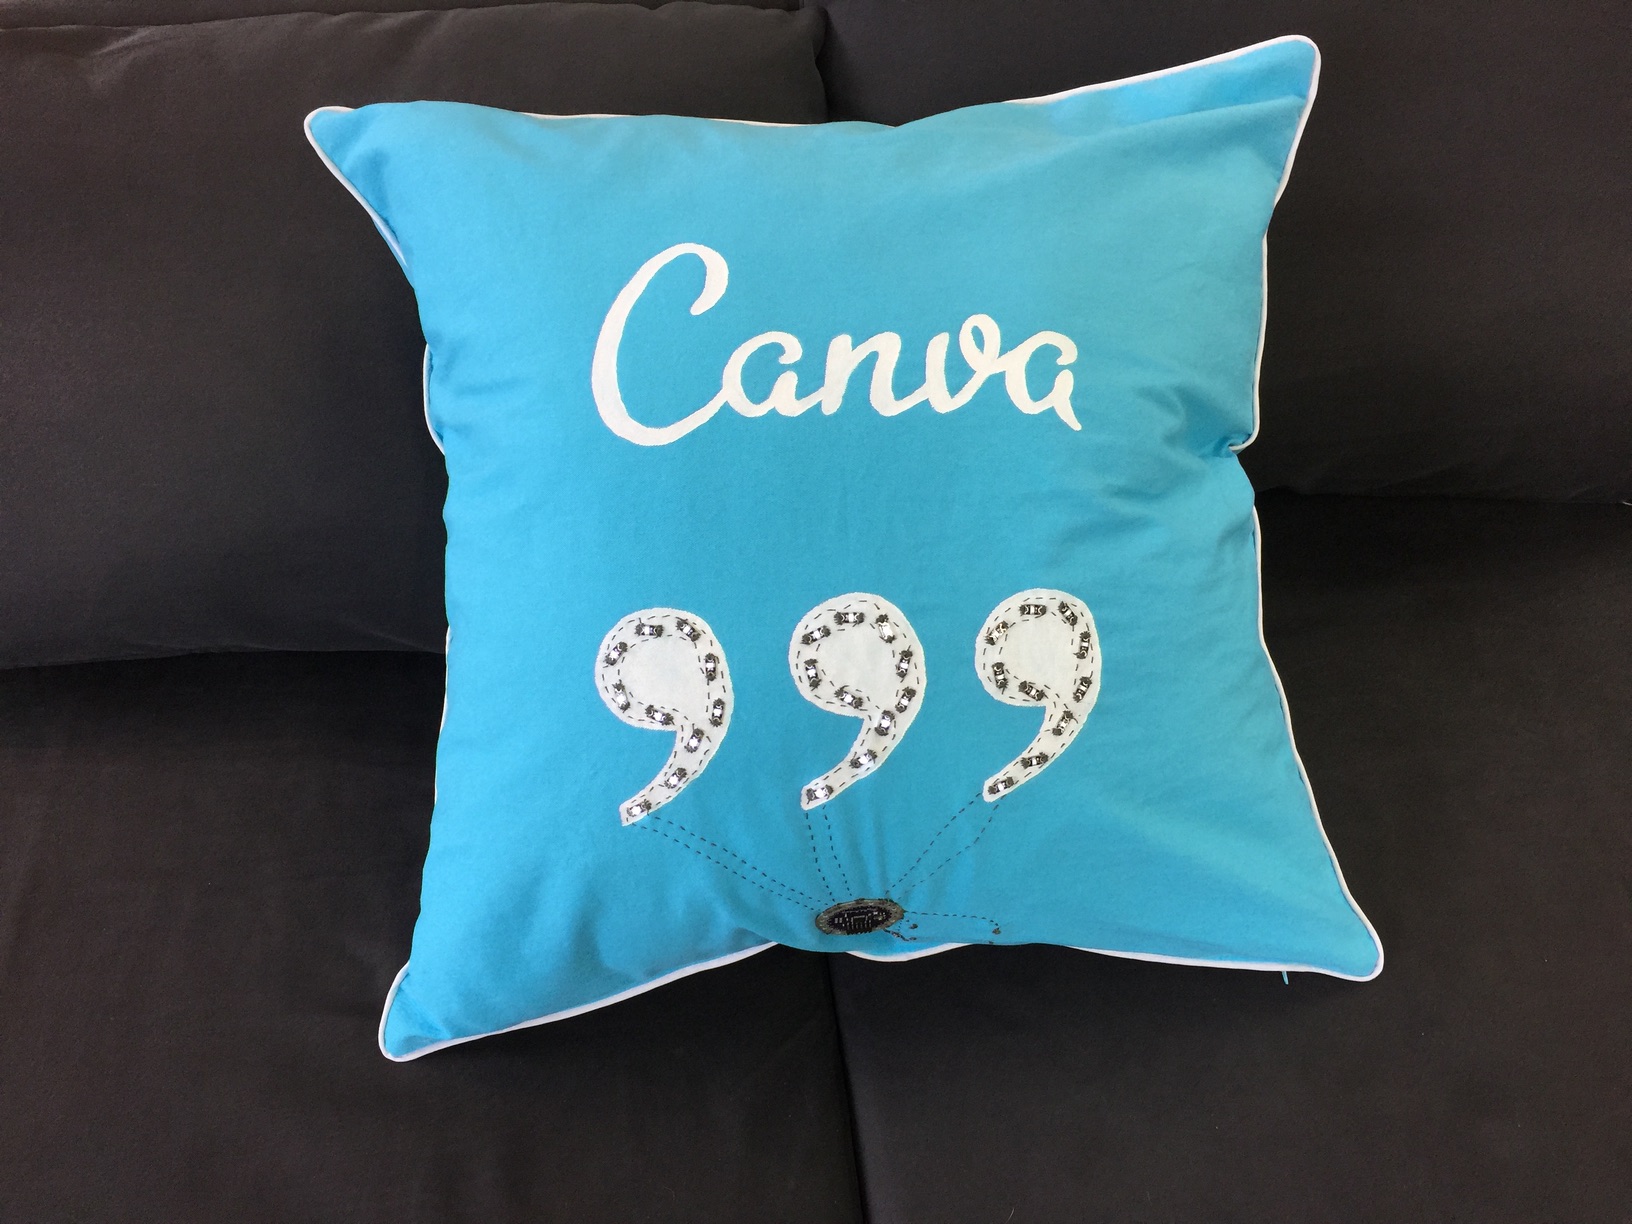
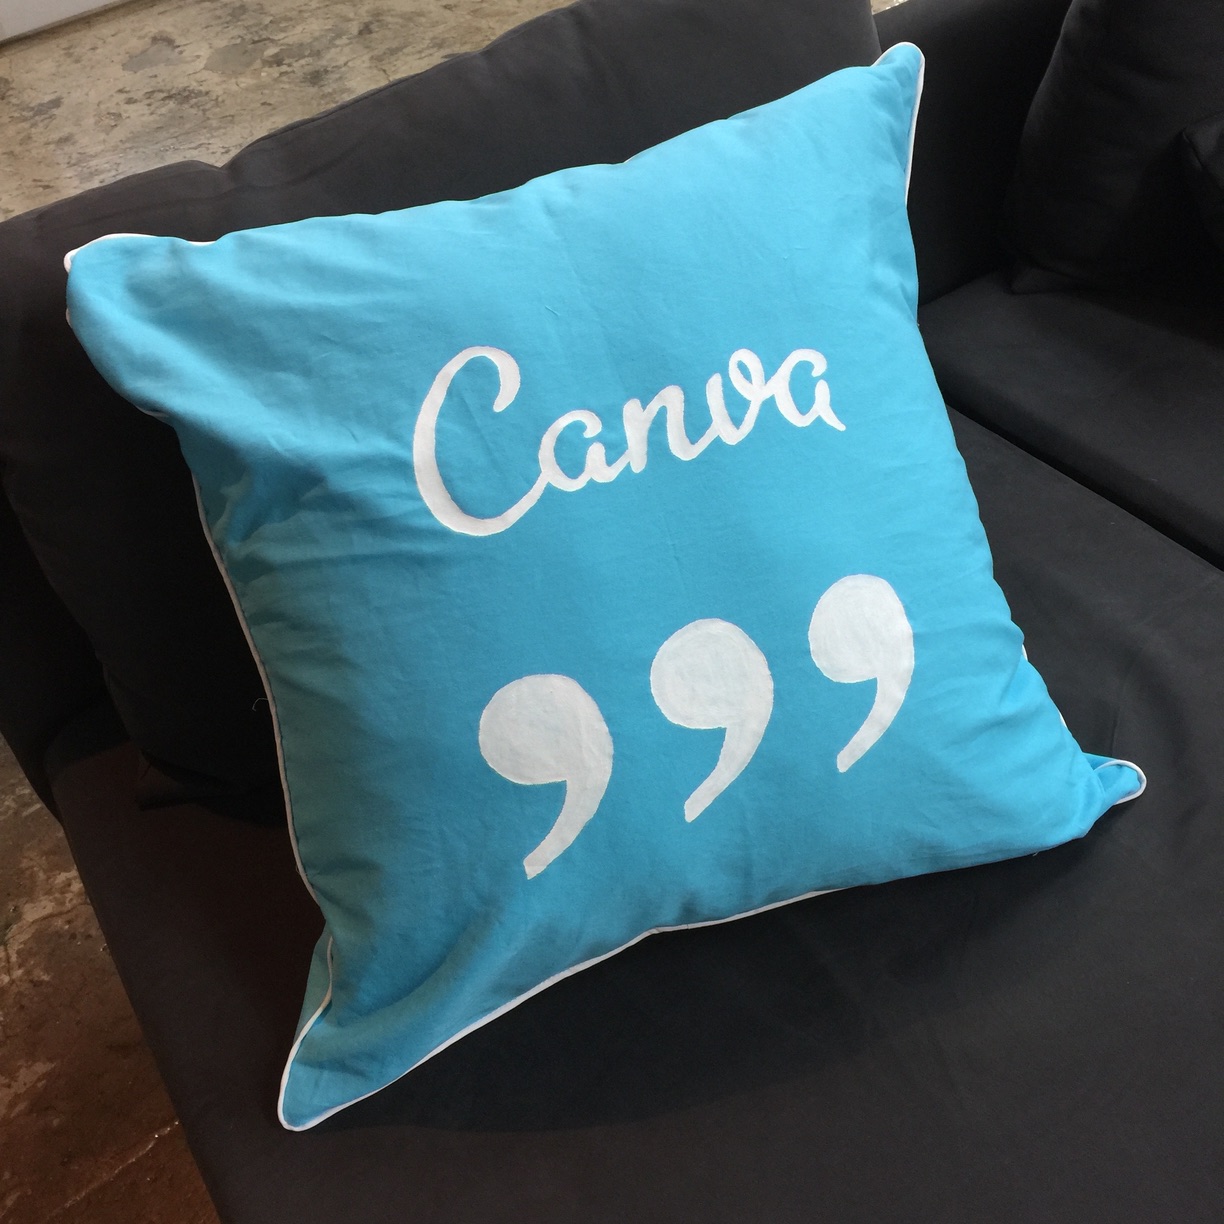
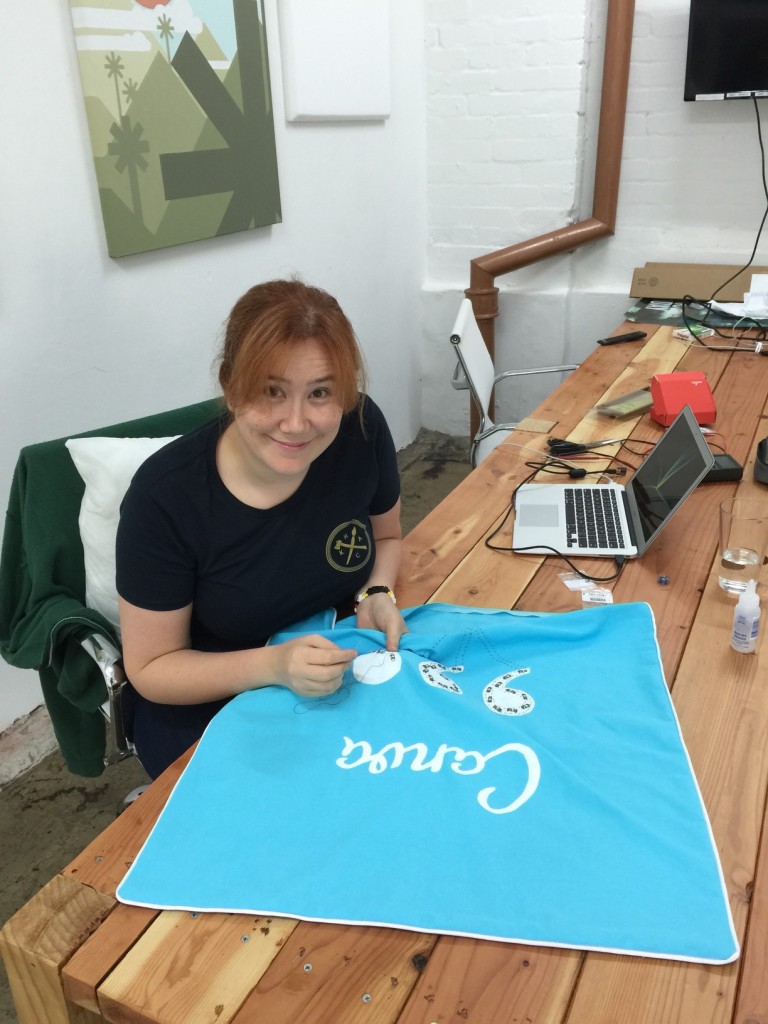
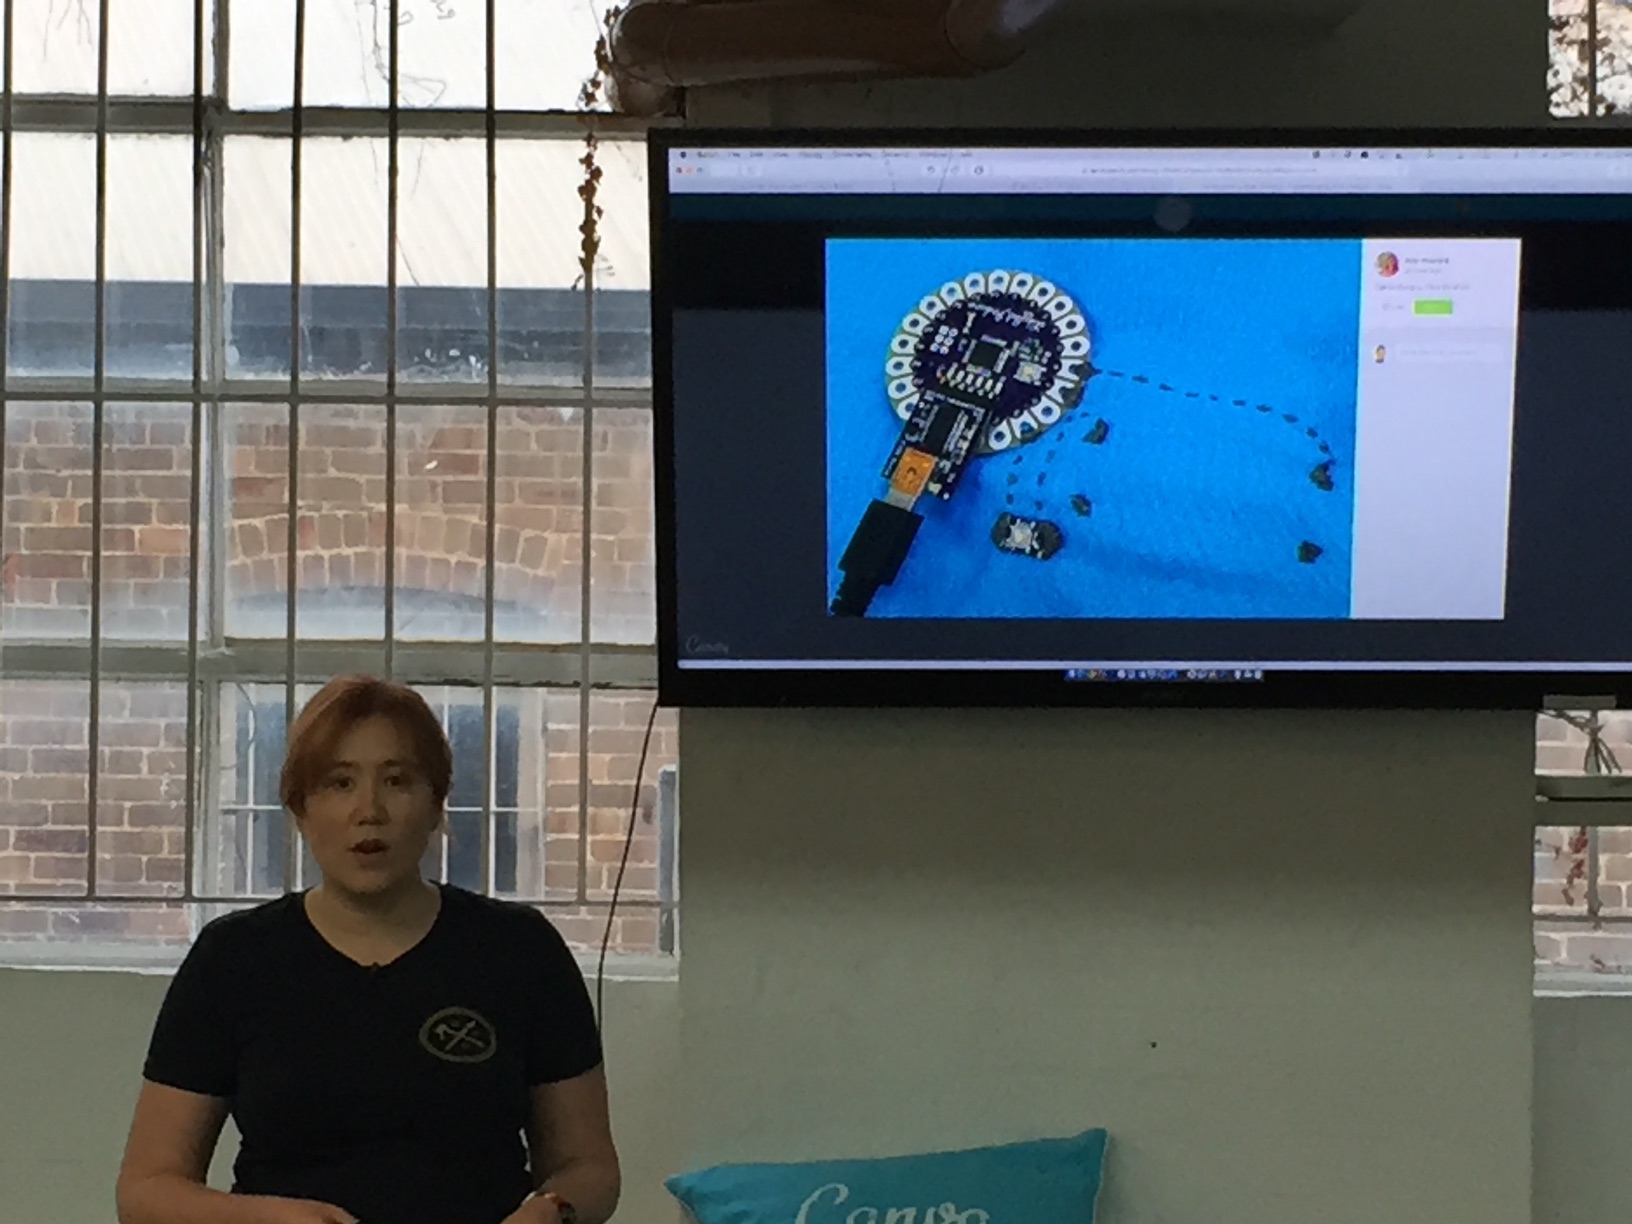
So I knew immediately what I would do: I’d sew up a cushion with the Canva logo and three commas, and then I’d use my LilyPad Arduino to make the commas light up. The end result turned out pretty spectacular, if I do say so myself.
A few weeks before Hackathon, I started making plans and ordering components. I decided pretty early to model my build on Leah Buechley’s Turn Signal Biking Jacket. I got the fabric, paint, and cushion insert from Lincraft, while all the electronic bits came from Core Electronics (who I recommend). I had everything else!
Materials List:
- 65cm cushion insert
- 1.5m of chino cotton drill in aqua
- Piping cord
- 3m of polycotton bias binding in white
- 55cm dress zip in aqua
- White fabric paint
- Transfer paper
- Normal sewing notions (scissors, thread, needles, pins, etc)
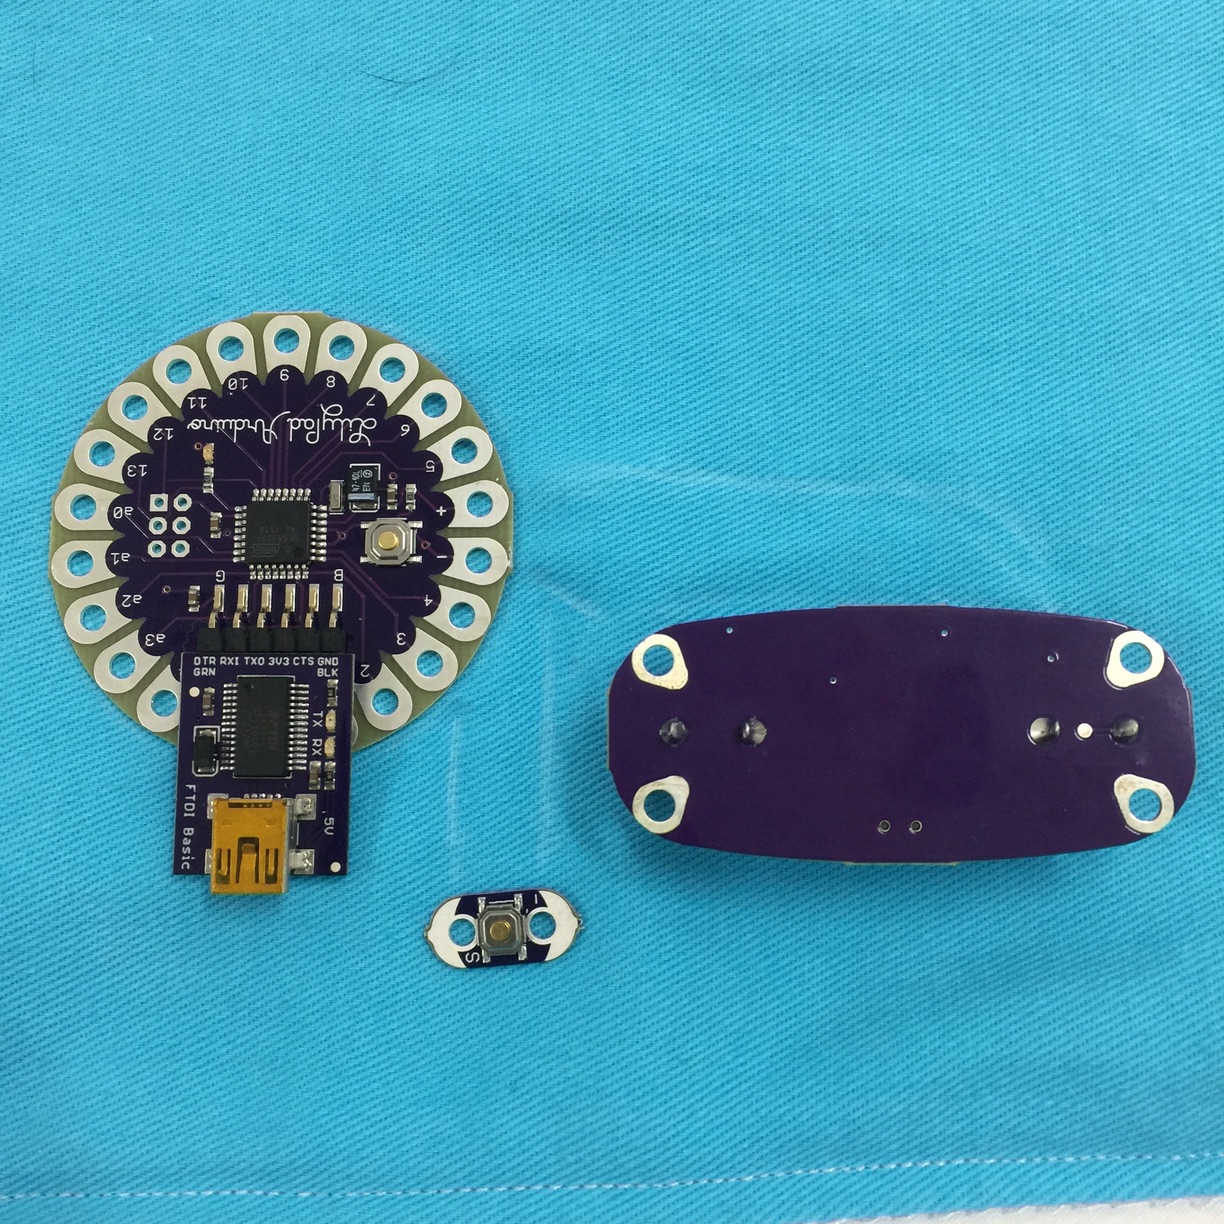
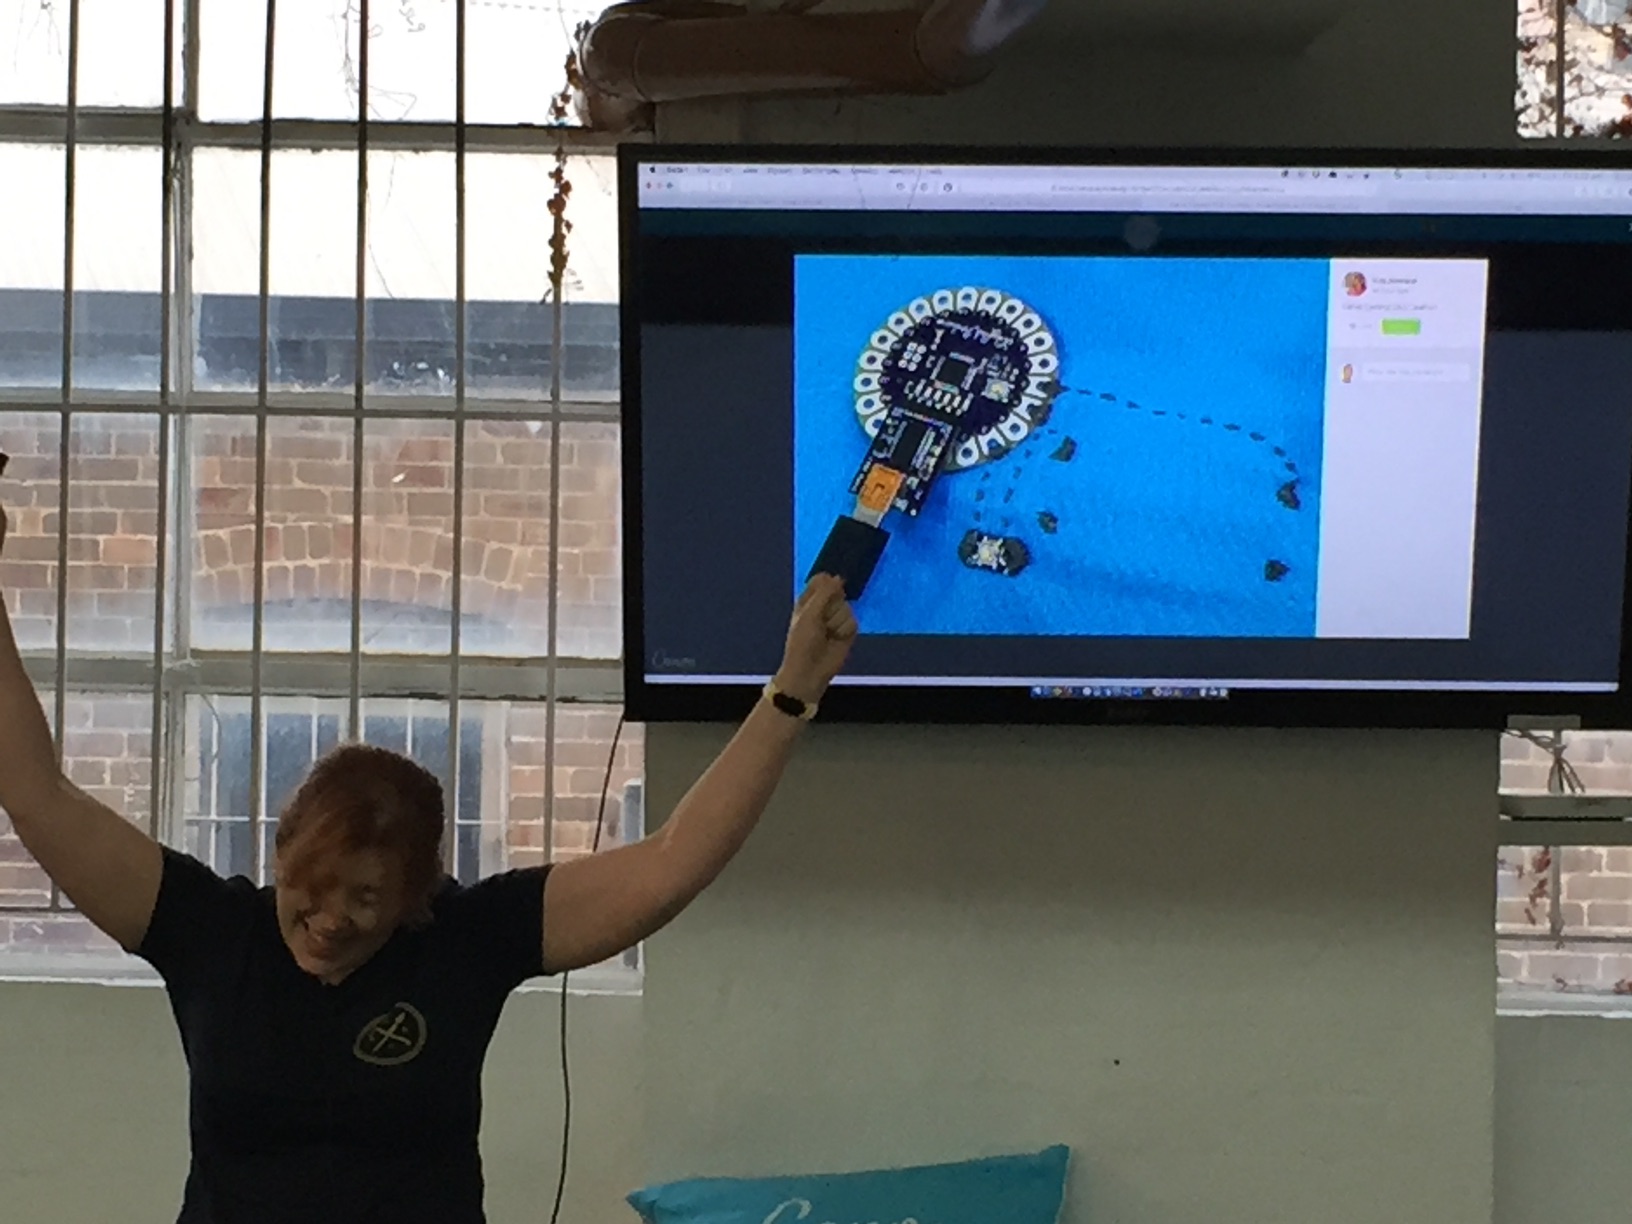
- LilyPad Arduino 328 Main Board
- LilyPad Power Supply
- LilyPad FTDI Basic Breakout – 5V
- LilyPad Button Board
- 6 packets of LilyPad LED White (30 in total)
- Conductive thread
- Fabric glue
- Mini-USB cable
- Multimeter
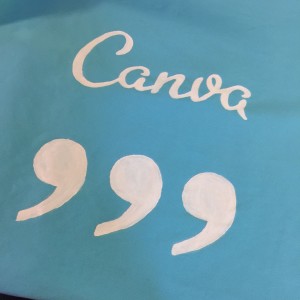
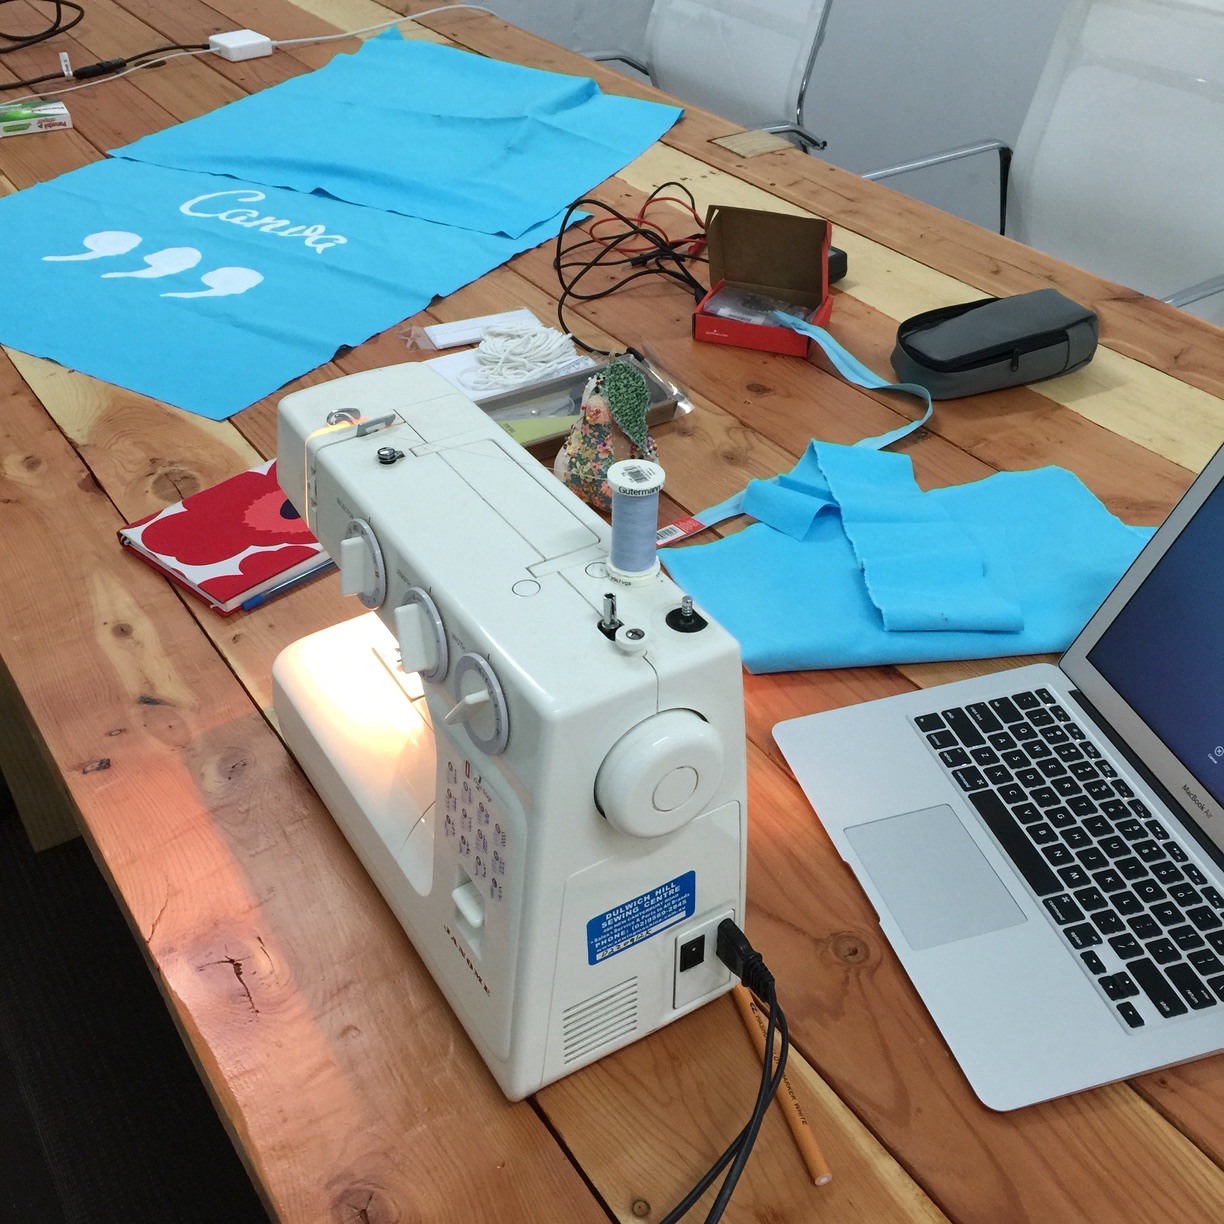
The first step was to pre-wash the fabric and then paint it. The fabric paint can take a couple days to dry, so I did this a few days ahead of time. For the Canva logo, I printed it and then traced it onto the fabric with transfer paper. For the commas, I printed one and cut it out, then traced around it with a pencil. Then I filled in the outlines with fabric paint, putting on a couple coats to get enough coverage. It looked pretty good when it was done!
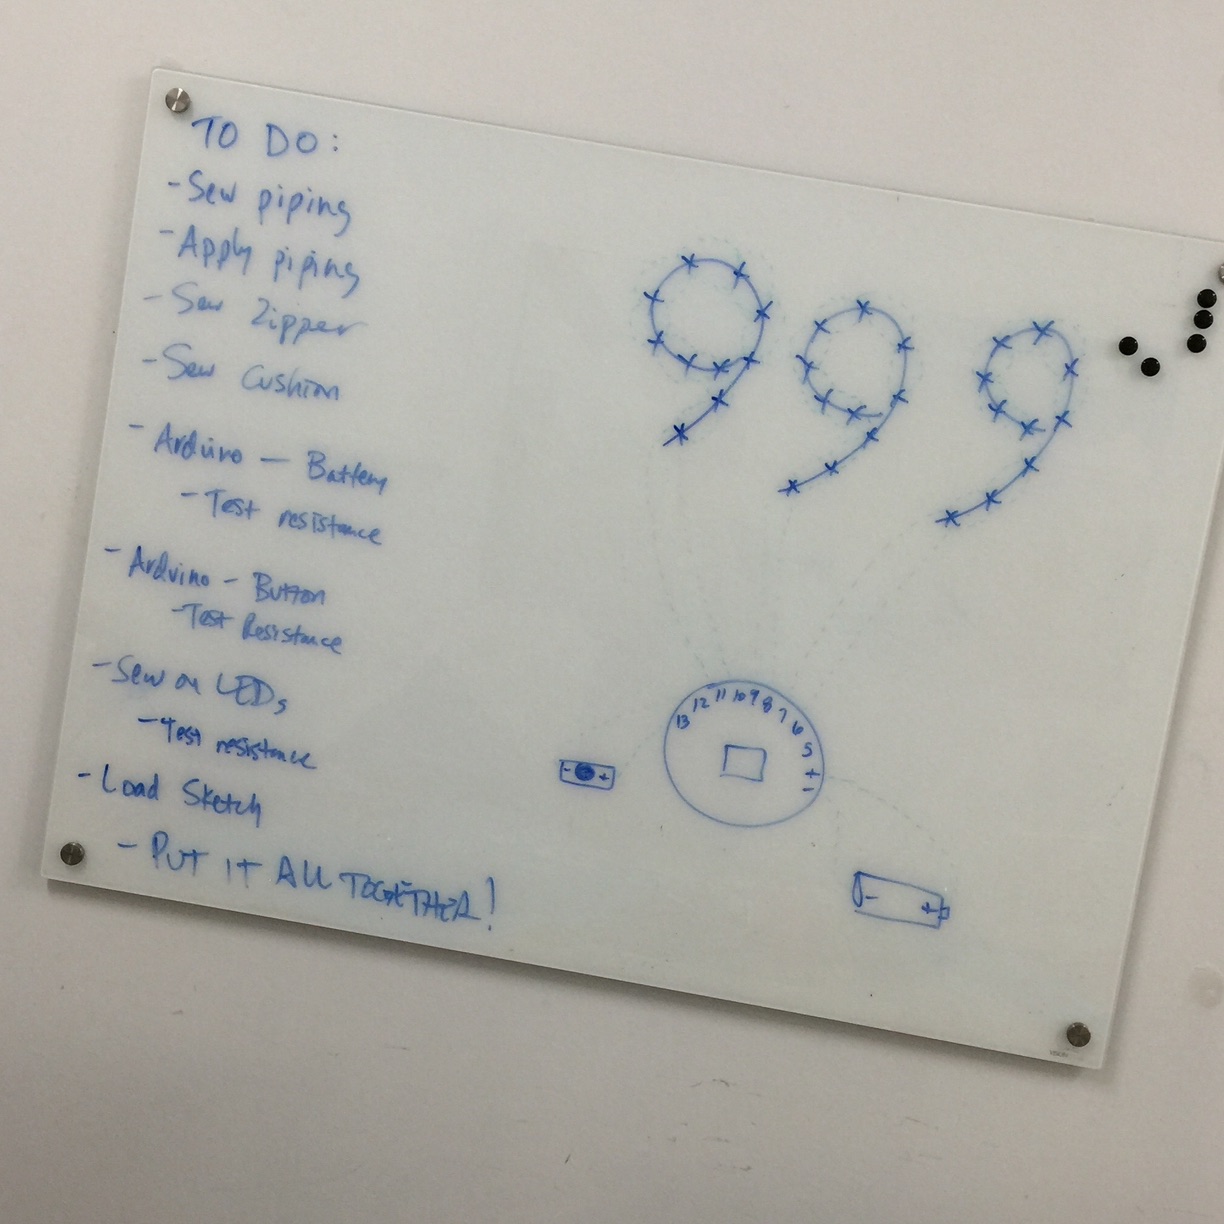
The Hackathon started at 2pm Thursday, and I was ready. I wheeled all my supplies in (including my sewing machine) in a shopping trolley bag, and I took over a meeting room to use as a makerspace. On the whiteboard, I sketched out a preliminary plan.
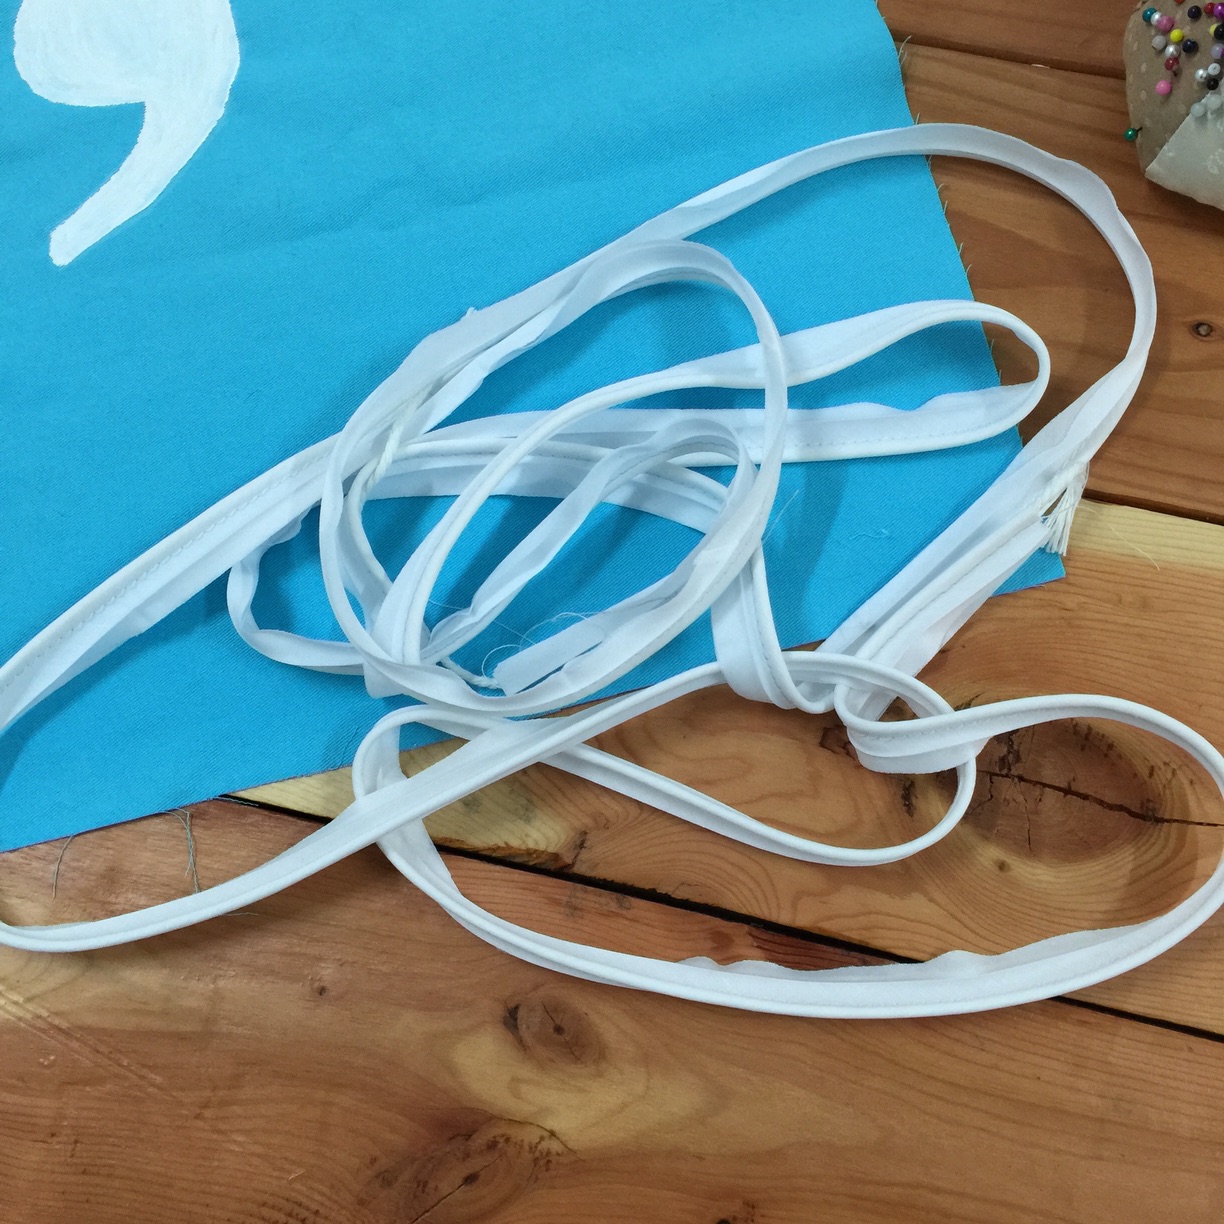
I hadn’t been able to find any pre-made piping, so I had to make my own. I looked at a few different tutorials online and it seemed easy enough. The pre-made bias binding saved a lot of time. Once I had the piping done, I attached it to the front panel. Then I sewed in the zipper, using it to join the front and back panels together. All that was left was to sew up the other three sides and stuff in the insert!
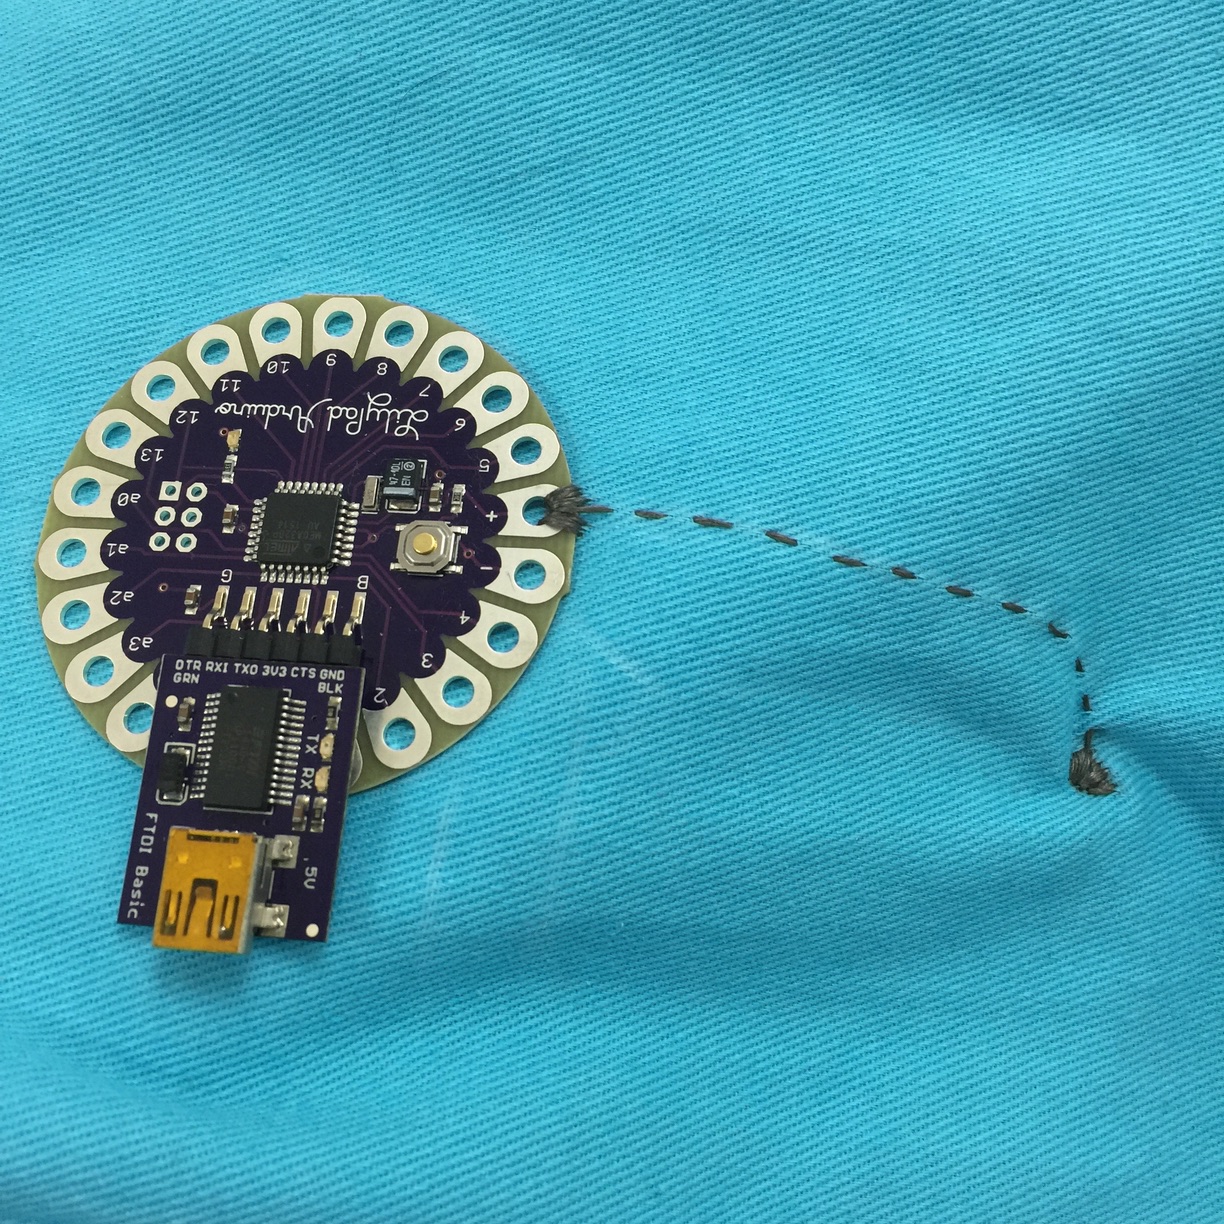
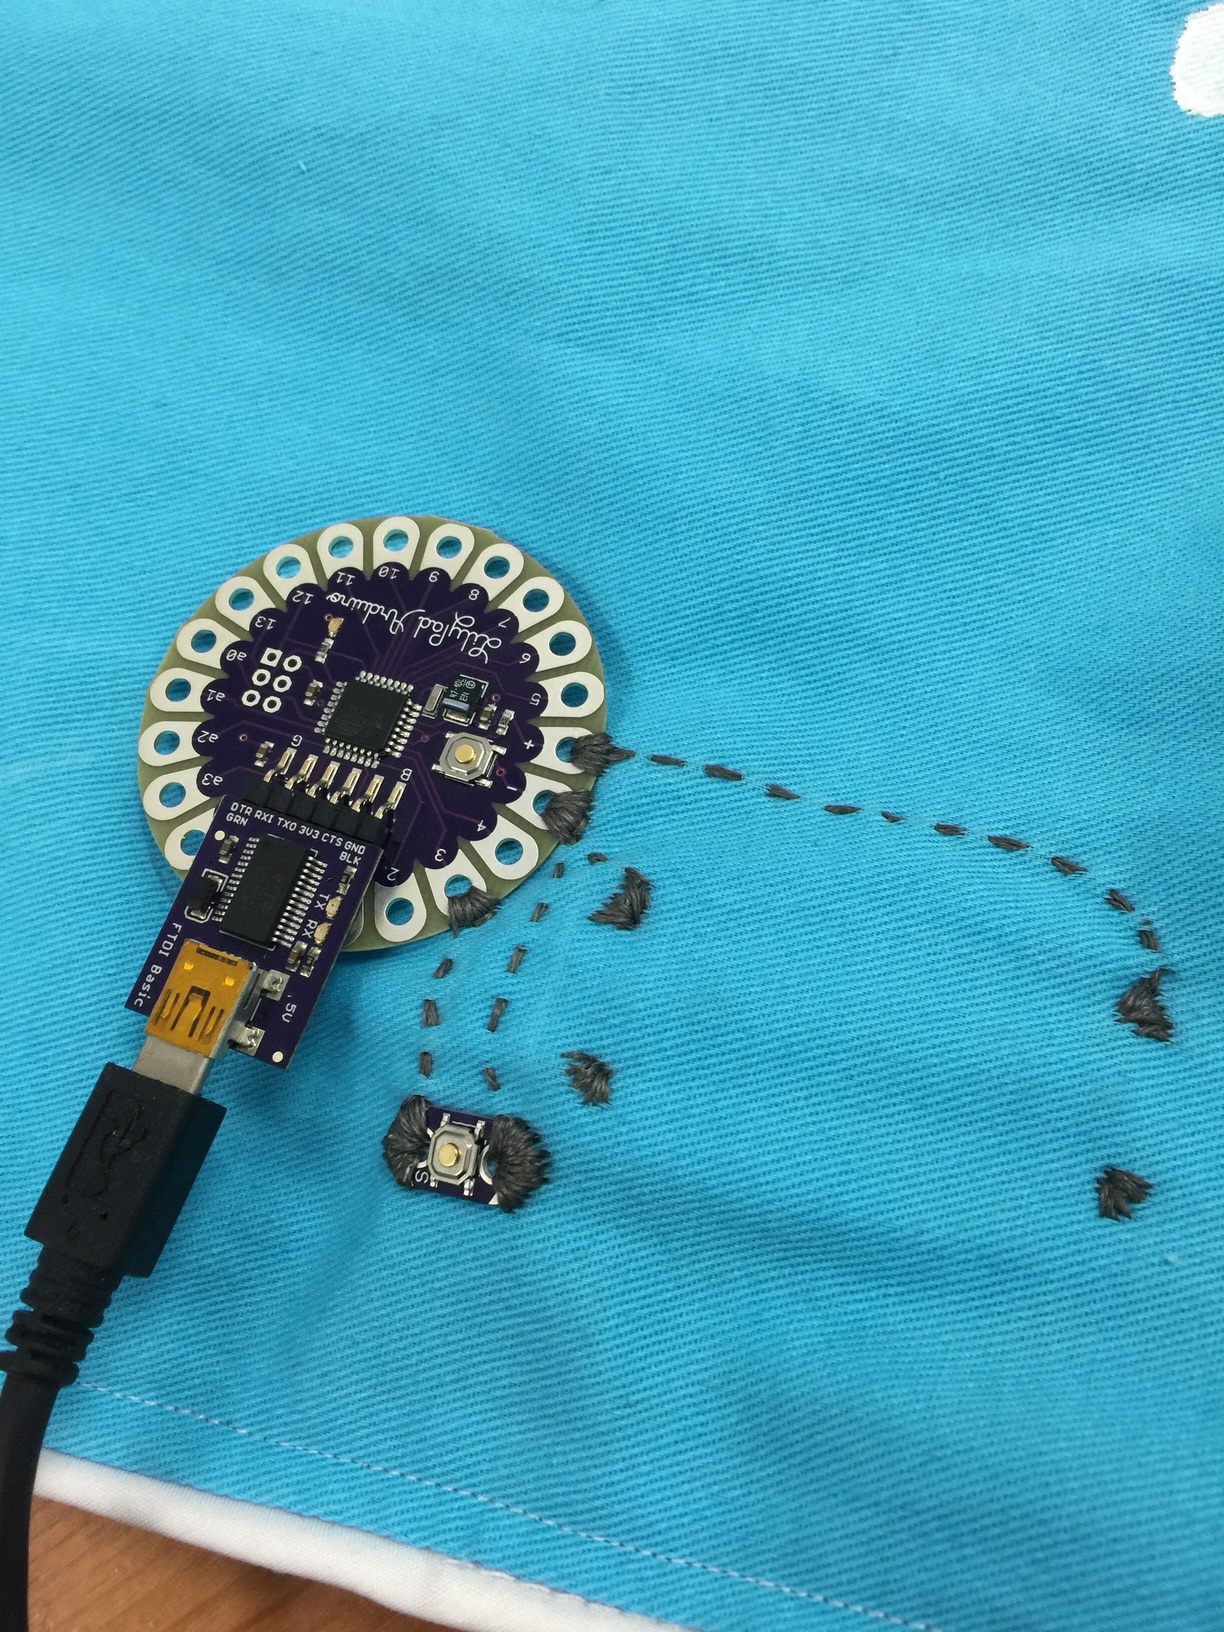
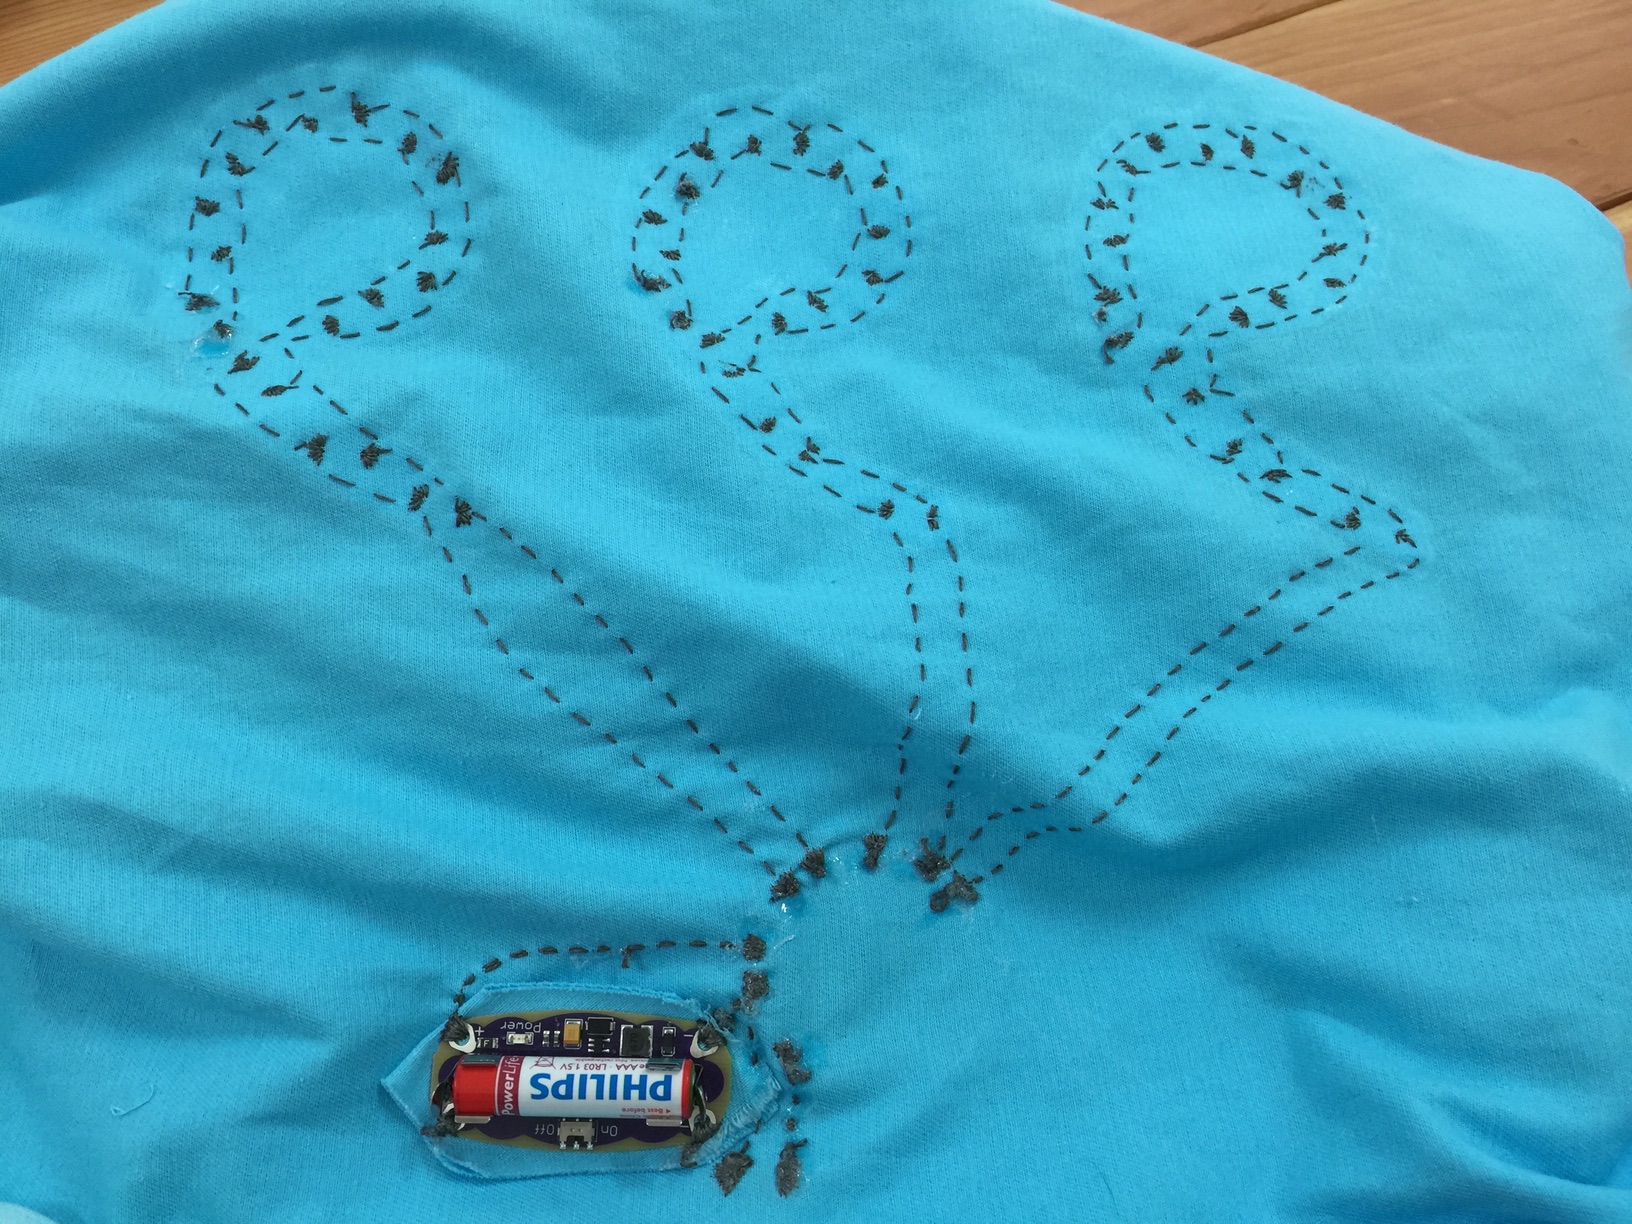
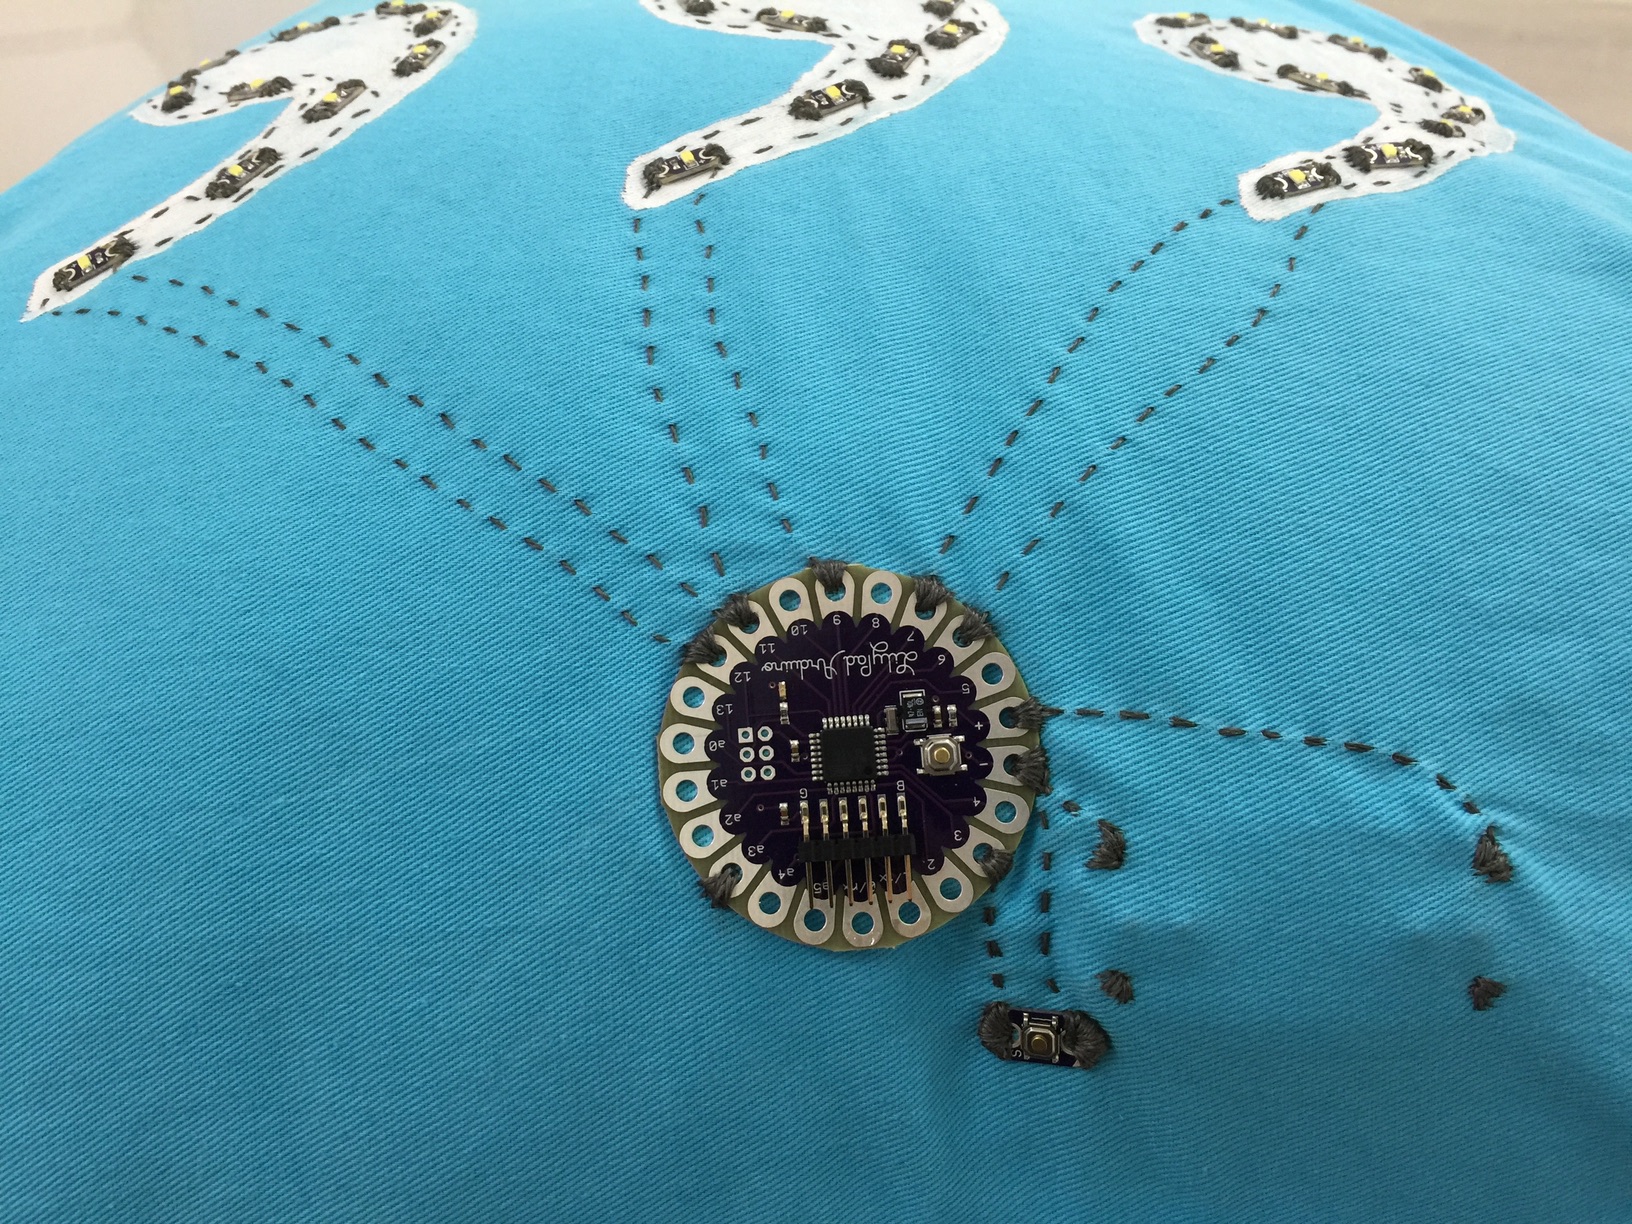
Now for the fun part. I started laying out the LilyPad, button, and power supply. I decided to sew them at the bottom in the center to make it easy to change the battery (and switch it off to save power). The conductive thread wasn’t too difficult to use once I got the needle threaded. It was thick though and had a tendency to want to knot up, so I had to go pretty slowly. I was worried about getting enough power to the LilyPad (the thread has some resistance), so I actually went back and forth over each trace three times. I used clear fabric glue to secure the knots so I could trim the tails. Then I loaded up a simple test program and turned it on. It worked!
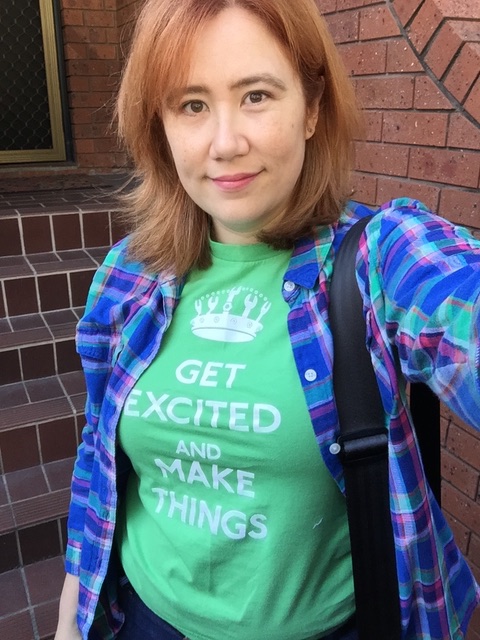
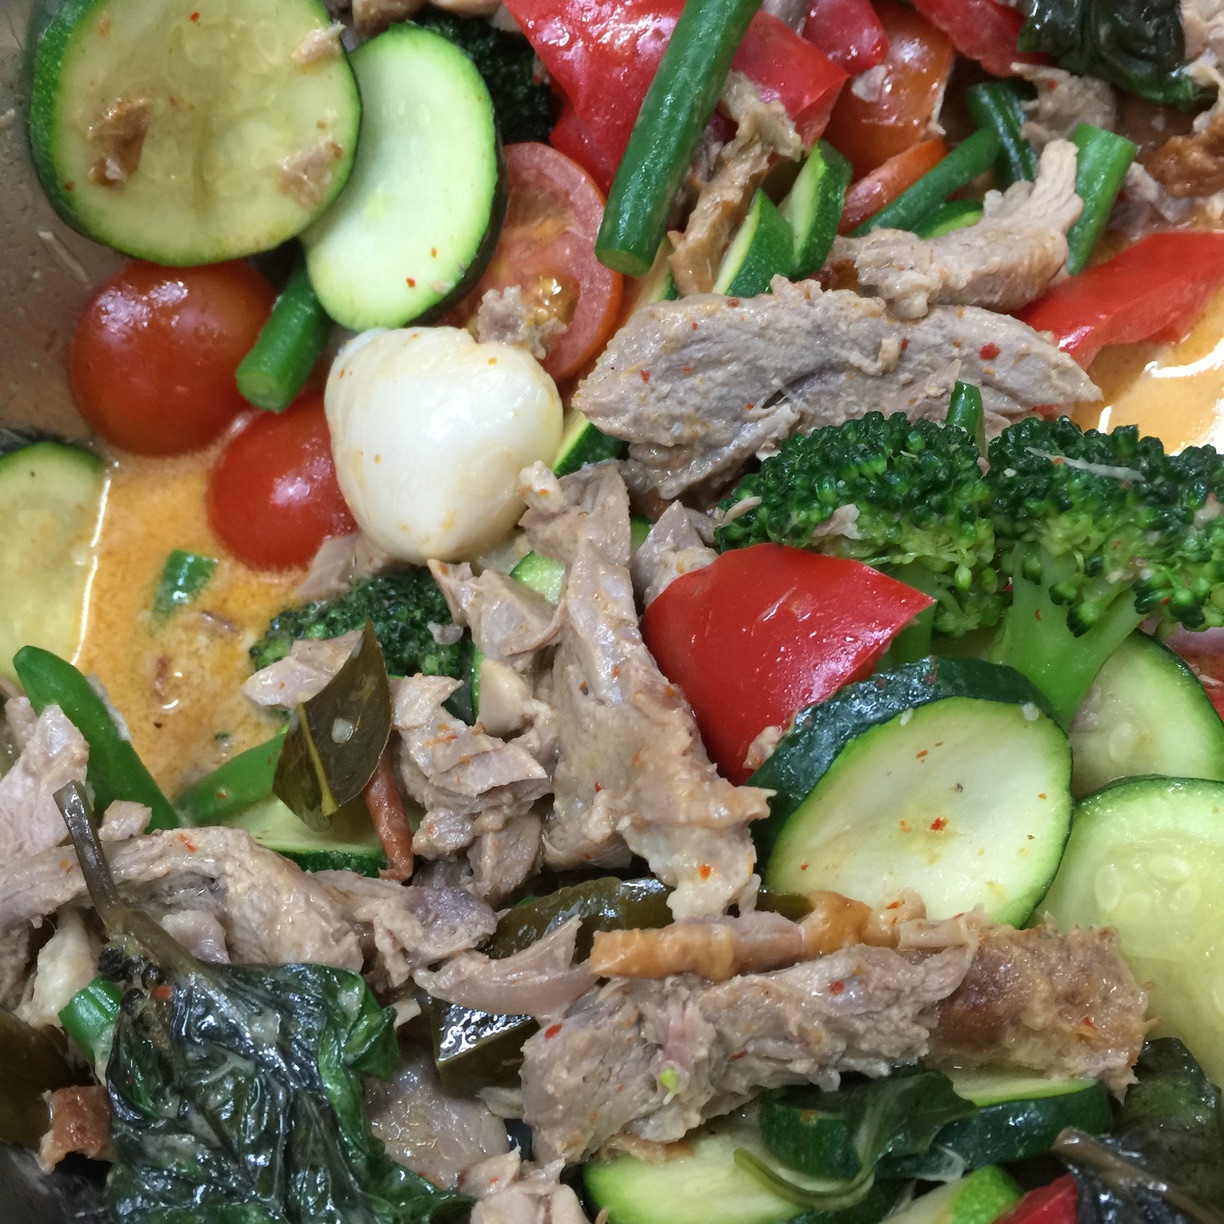
I should mention that Canva know how to put on an event. Chef Song cooked up some beautiful duck curry for us at 7pm, and later in the evening my colleague Nic brought me an espresso martini. Pretty much everybody was participating. At some point the custom T-shirts arrived and we all put them on. It was really fun!

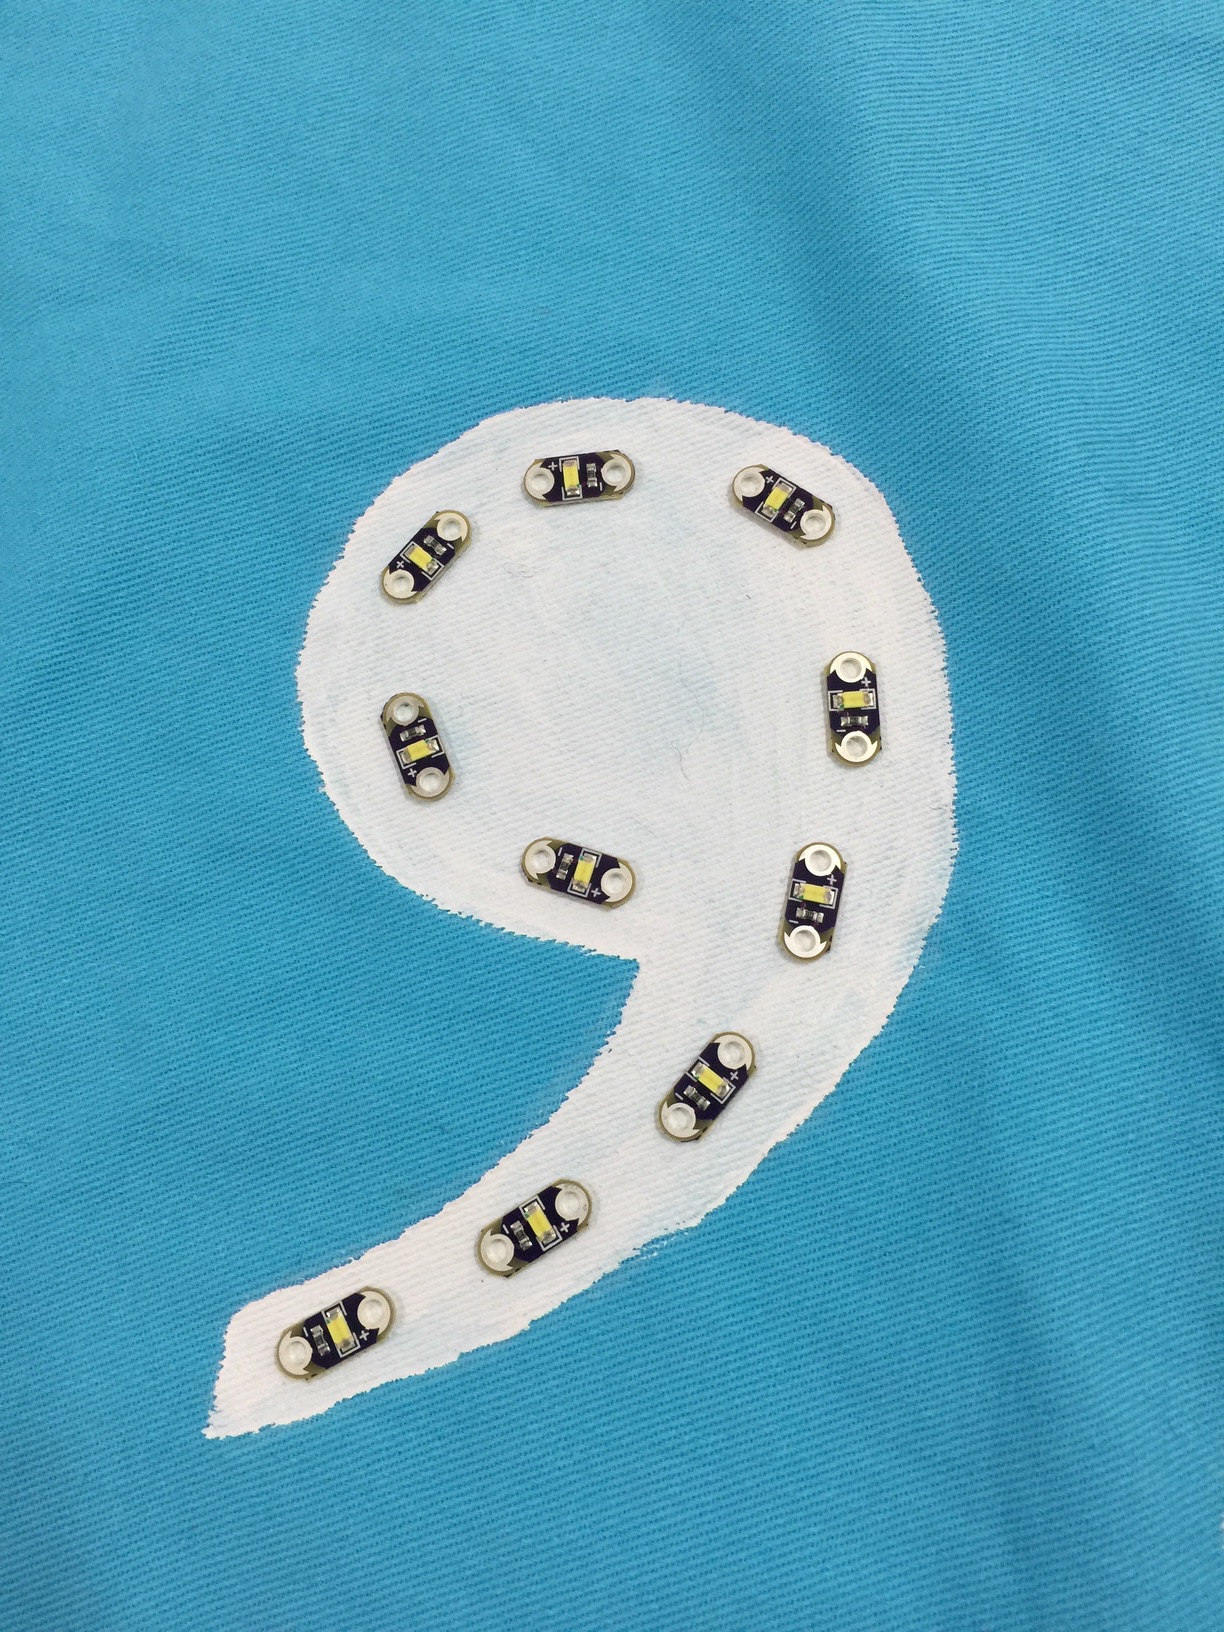
Now it was time for the LEDs. I tried a few different arrangements before I found one I liked. Then I spent the rest of the night laboriously sewing them in and connecting them up to the LilyPad petals. I managed to get two of them done by the time I left at 1am. I came back at 10:30am, rested and ready to finish up. I got right back to work with the sewing. While I was waiting for the glue to try, I wrote the sketch (ie Arduino program) for the lights. Each click of the button lit up another comma, and then another click made them blink on and off. Party mode! A final click turned them all off. You can see a video demo here. (I put the code up on Github if you’re interested.) Once everything was tested, I stuffed in the cushion insert and it was finished!
For the last hour, I put together my presentation. We had a maximum of five minutes to demo our hacks. I started off with: “QUESTION. What’s got two thumbs and three commas? This guy.” You can imagine the rest.
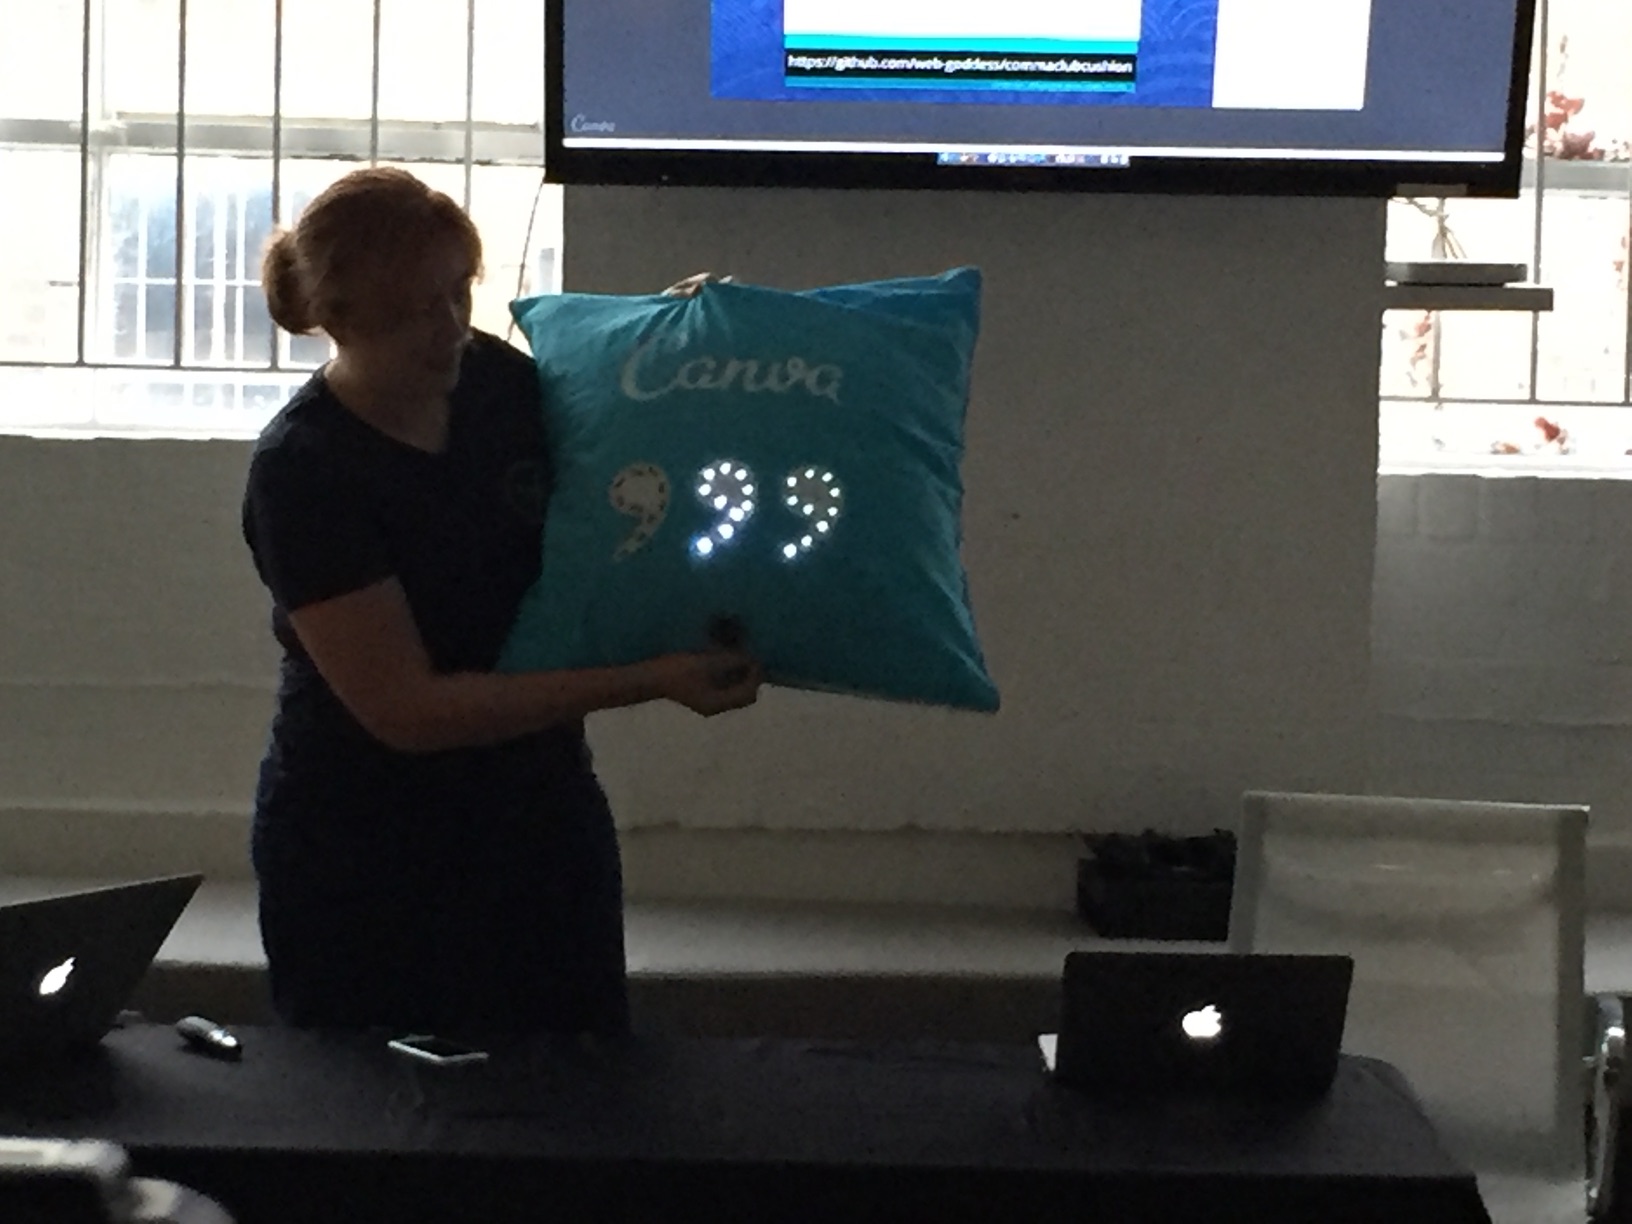
Overall I’m thrilled with how this turned out. I’d originally wanted to add a Bluetooth module so I could control the LEDs remotely, but I only just finished within the 24 hours as it was so I’m glad I cut that bit. Other than that, it’s exactly as I envisioned. My colleagues all loved it too! Massive thanks to The Snook, who helped with refining the design, taught me to use his multimeter, and even did a spot of code review. (That’s true love, I tell you.)
The other Hackathon projects were all AMAZING. The engineers prototyped heaps of new features for the Canva editor that made our jaws drop. Nic made an iOS app for Chef Song that lets him send us all a notification when lunch is ready (complete with “FOOD READY!” sound effect). We had several non-code projects too: Didier created a stunning graffiti artwork in the stairwell up to the office. Zach and Poppie put together a joke brand guide that had us rolling. Anna and Mick took photos and interviewed everyone for a new “Humans of Canva” website. Mel created a new Facebook page with heaps of old Canva photos. And the Vibe team unveiled a new line of Canva swag including HOODIES! We had twenty projects out of an office of only forty people. I couldn’t believe it. Well done, Canva. You make me proud to work with you!
Comments
3 responses to “Canva Comma Club Cushion”
Looks like you all had a ball.
the Vibe team?
The team that run the office and make sure everything stays… vibey!