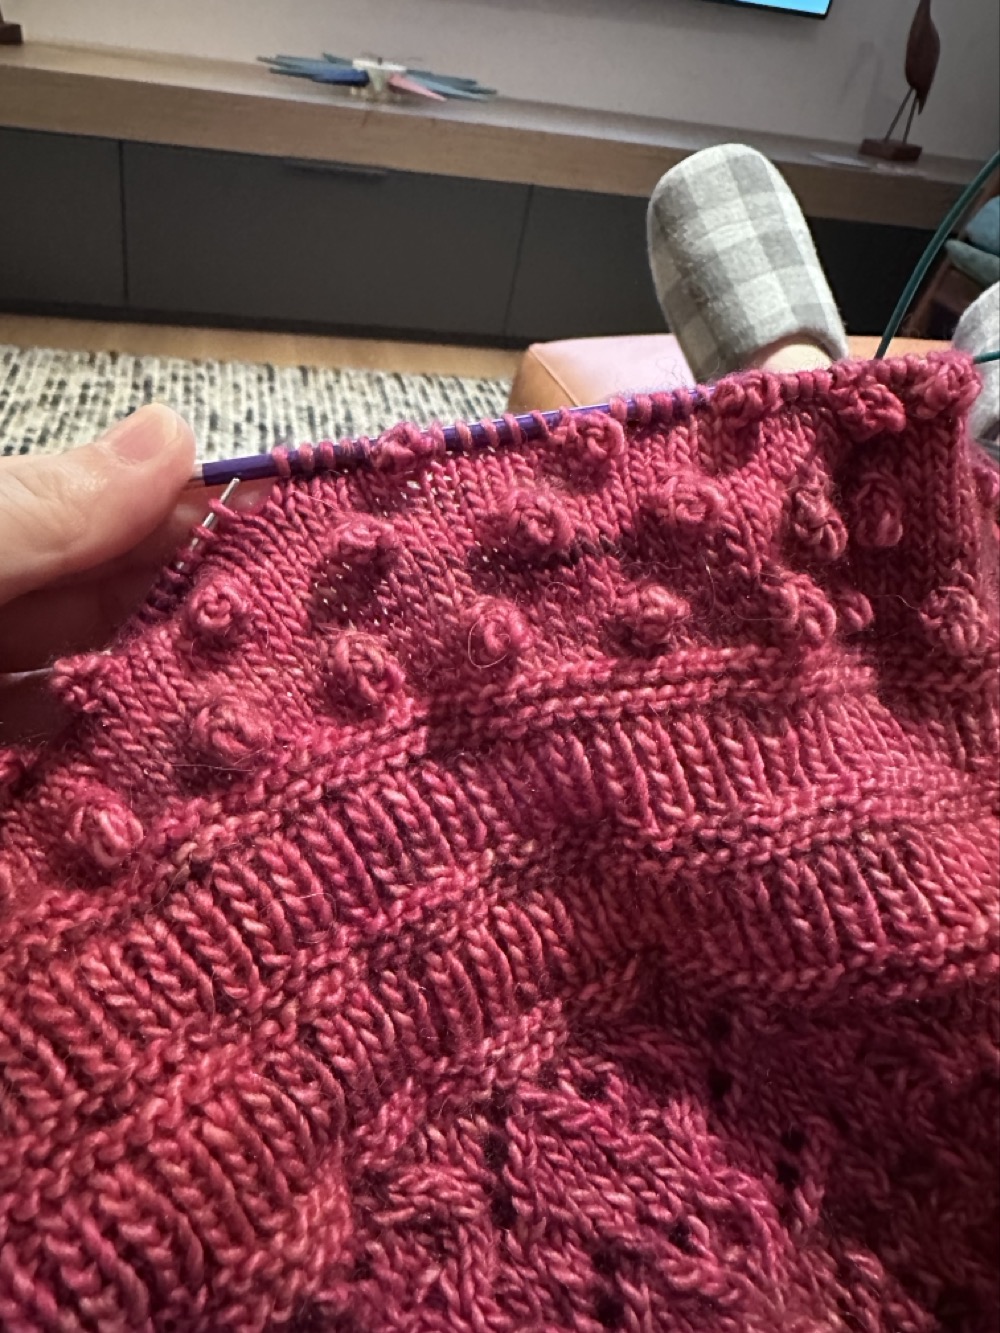
At the Arts Preview last week, I took a lot of photos of all the Arts & Crafts entries that caught my eye. Sometimes because they were beautiful or clever, and sometimes because they were METAL AF. They’re mostly in the order I saw them, so you get the full “meandering around the display cases while pounding drinks” effect.
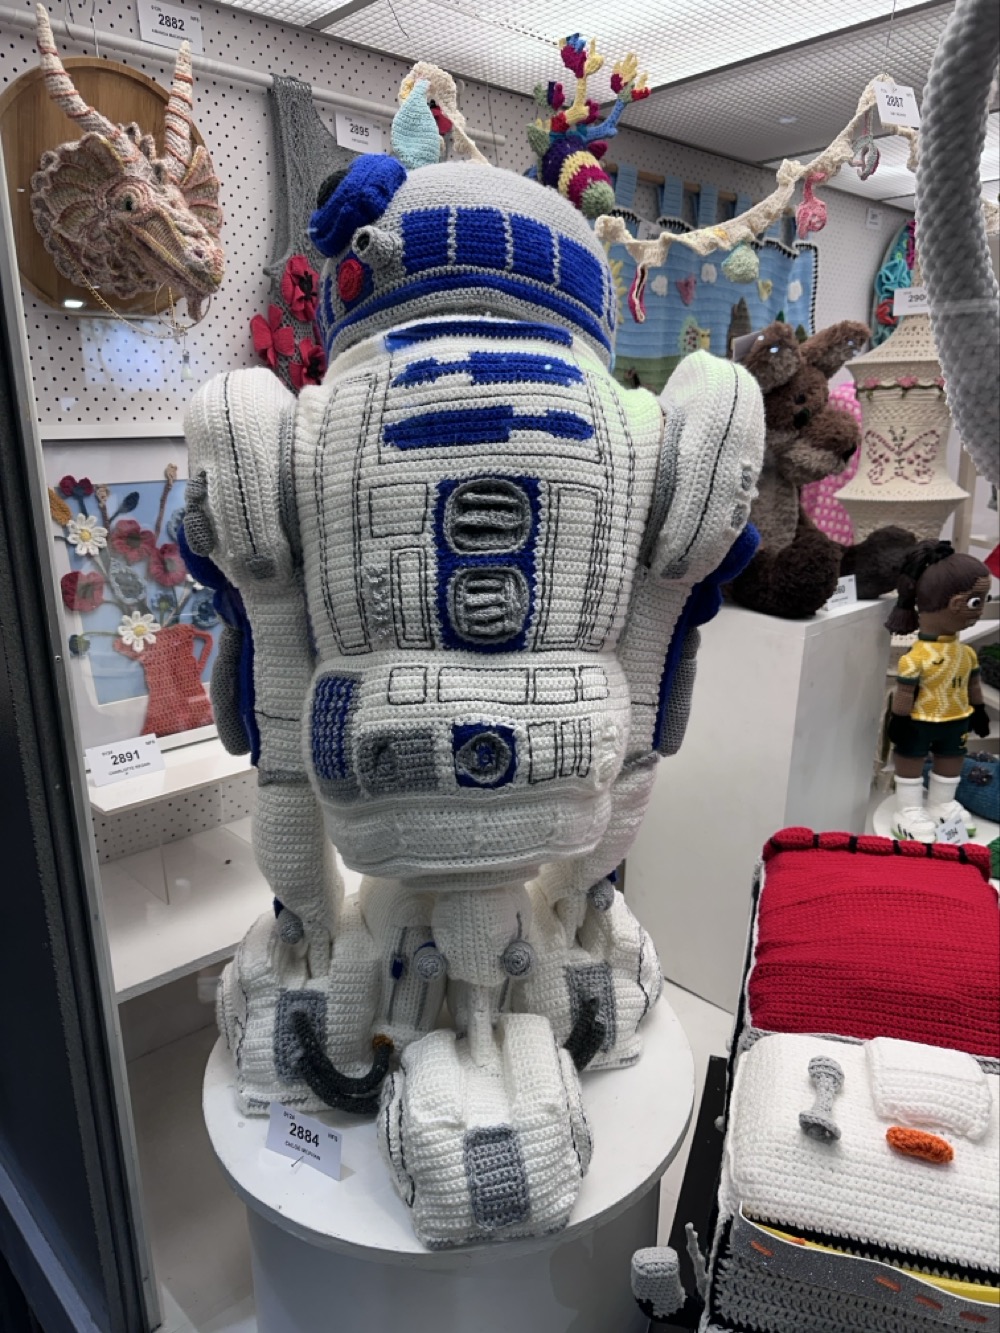
This crochet R2-D2 was fully life-size, and it was a big hit with the viewers. I like it, but he looks a little oddly muscular and organic to me for a robot! (And what’s with that crocheted, mounted dinosaur head?!)
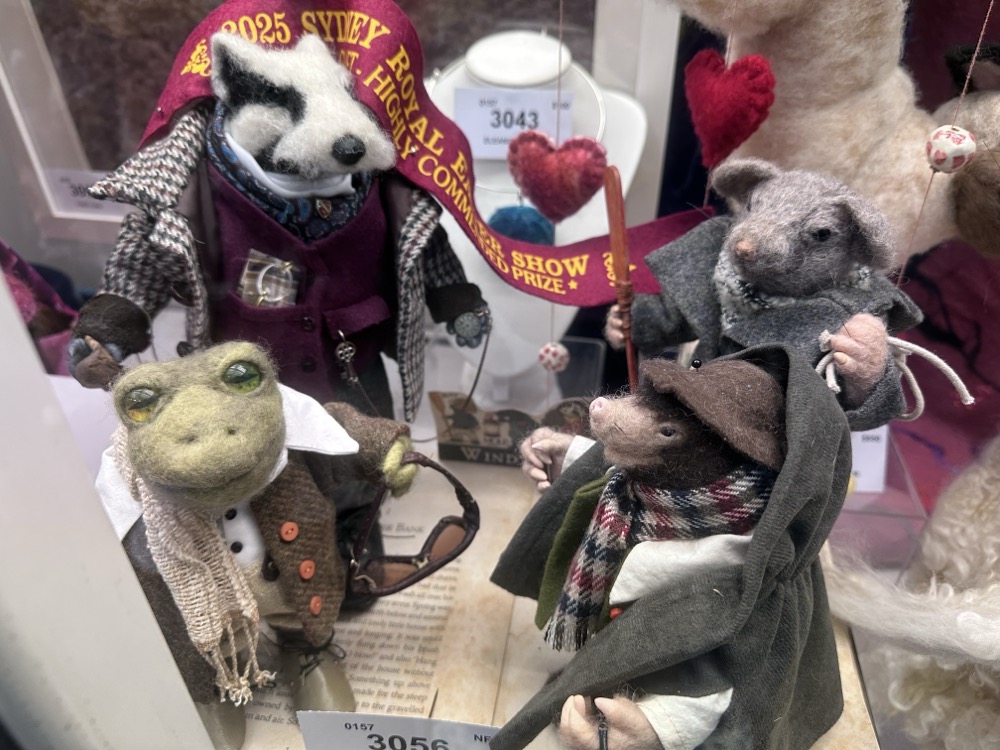
I loved these needle-felted Wind in the Willows characters. Mr. Toad even has his driving goggles!
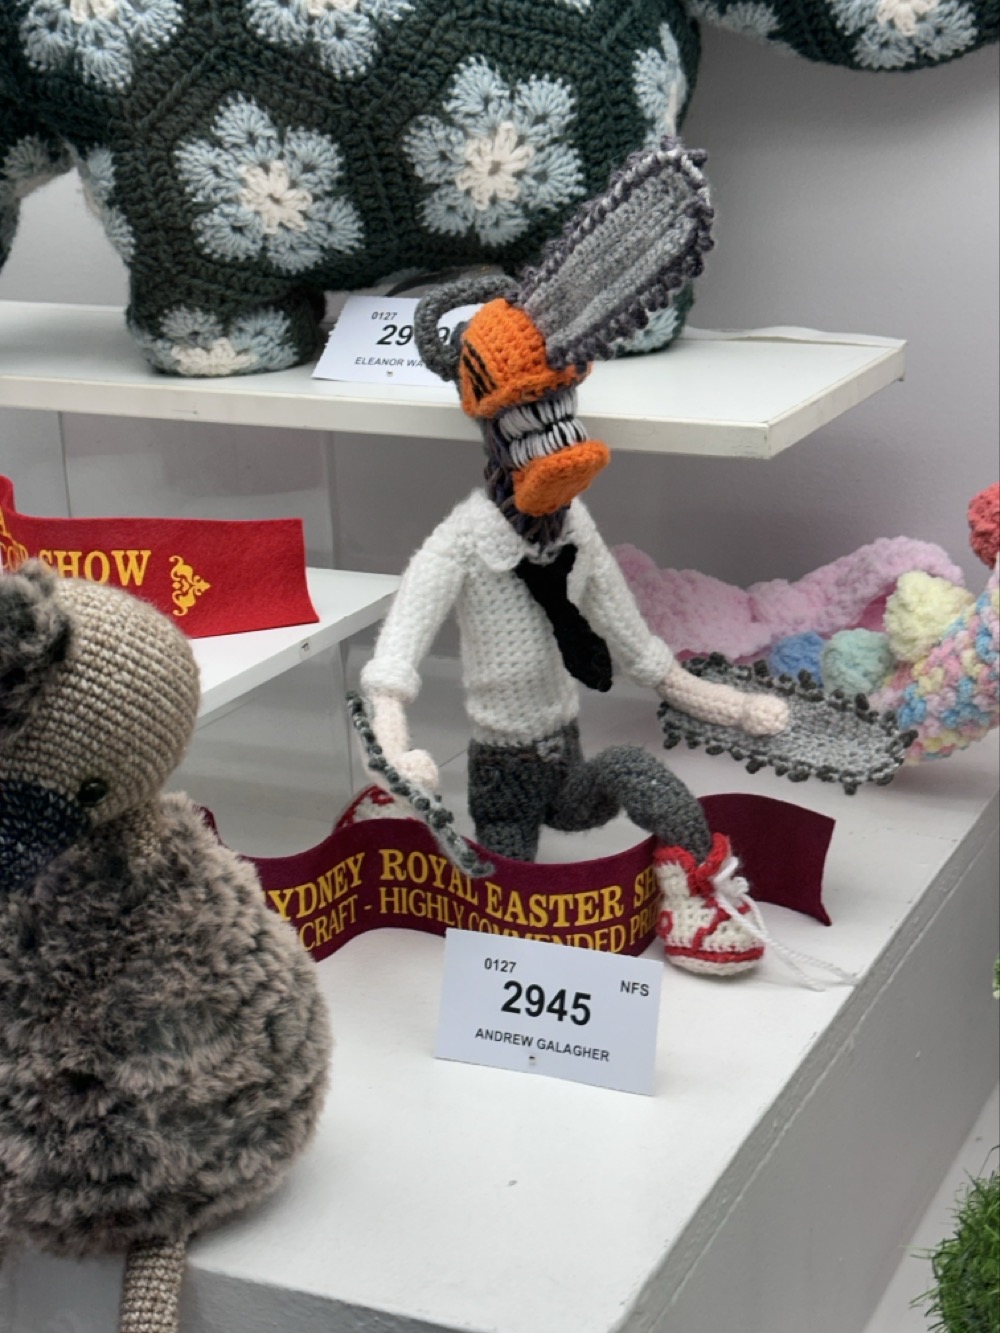
I mean, who is this little crochet guy with a chainsaw head and hands, and sweet red high-tops? Kudos to Andrew Galagher on the ribbon!
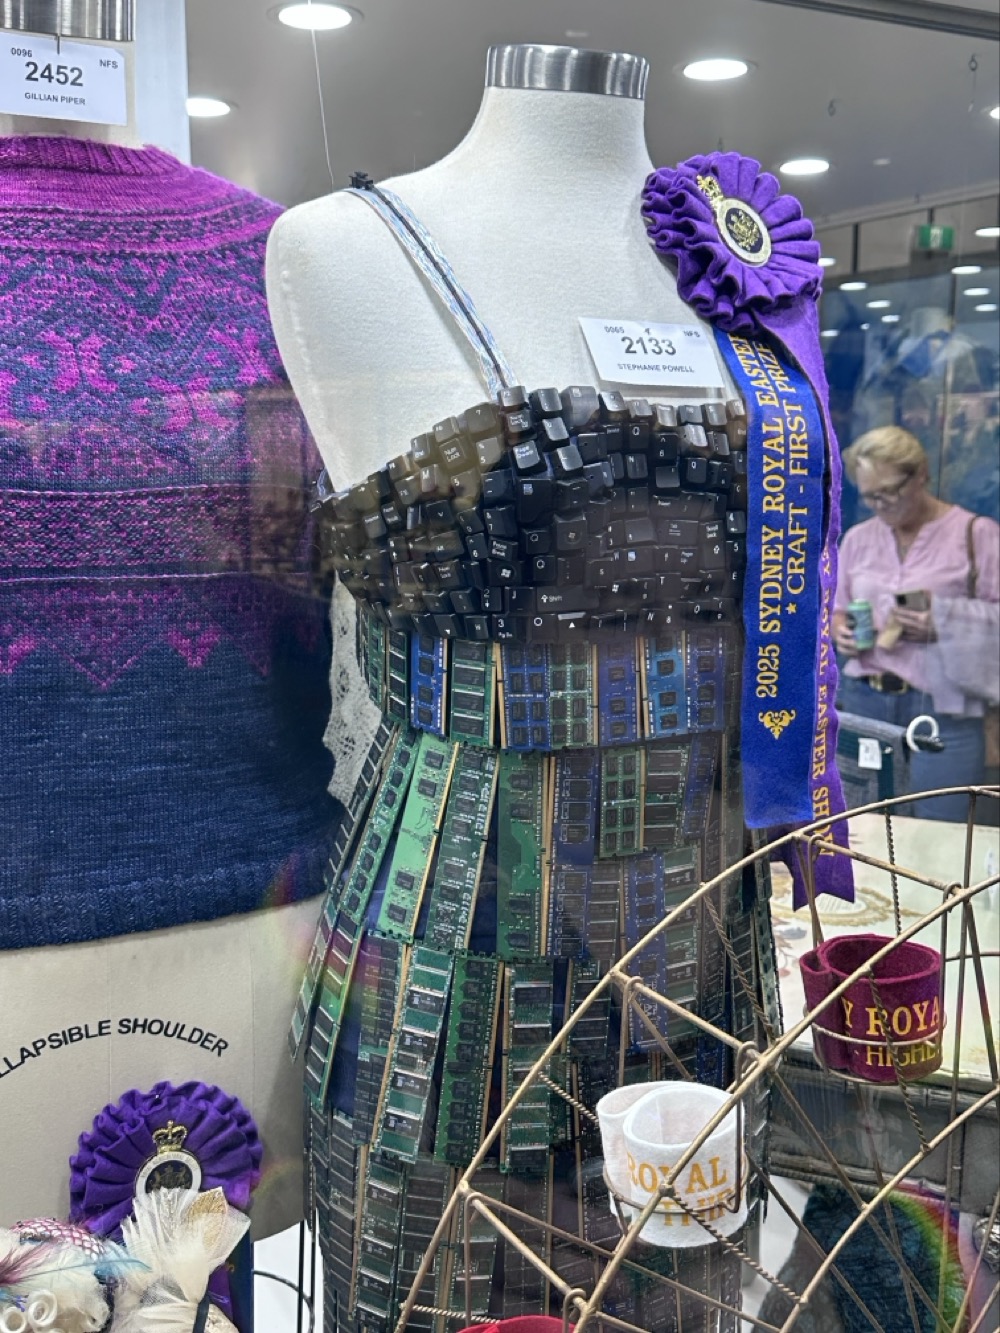
I gasped when I saw this “Byte Couture” dress in the Cabinet of Excellence. It was in the “Recycled Garment” category and used computer keys, RAM, and cables to fashion a dress. Well done, Stephanie Powell!
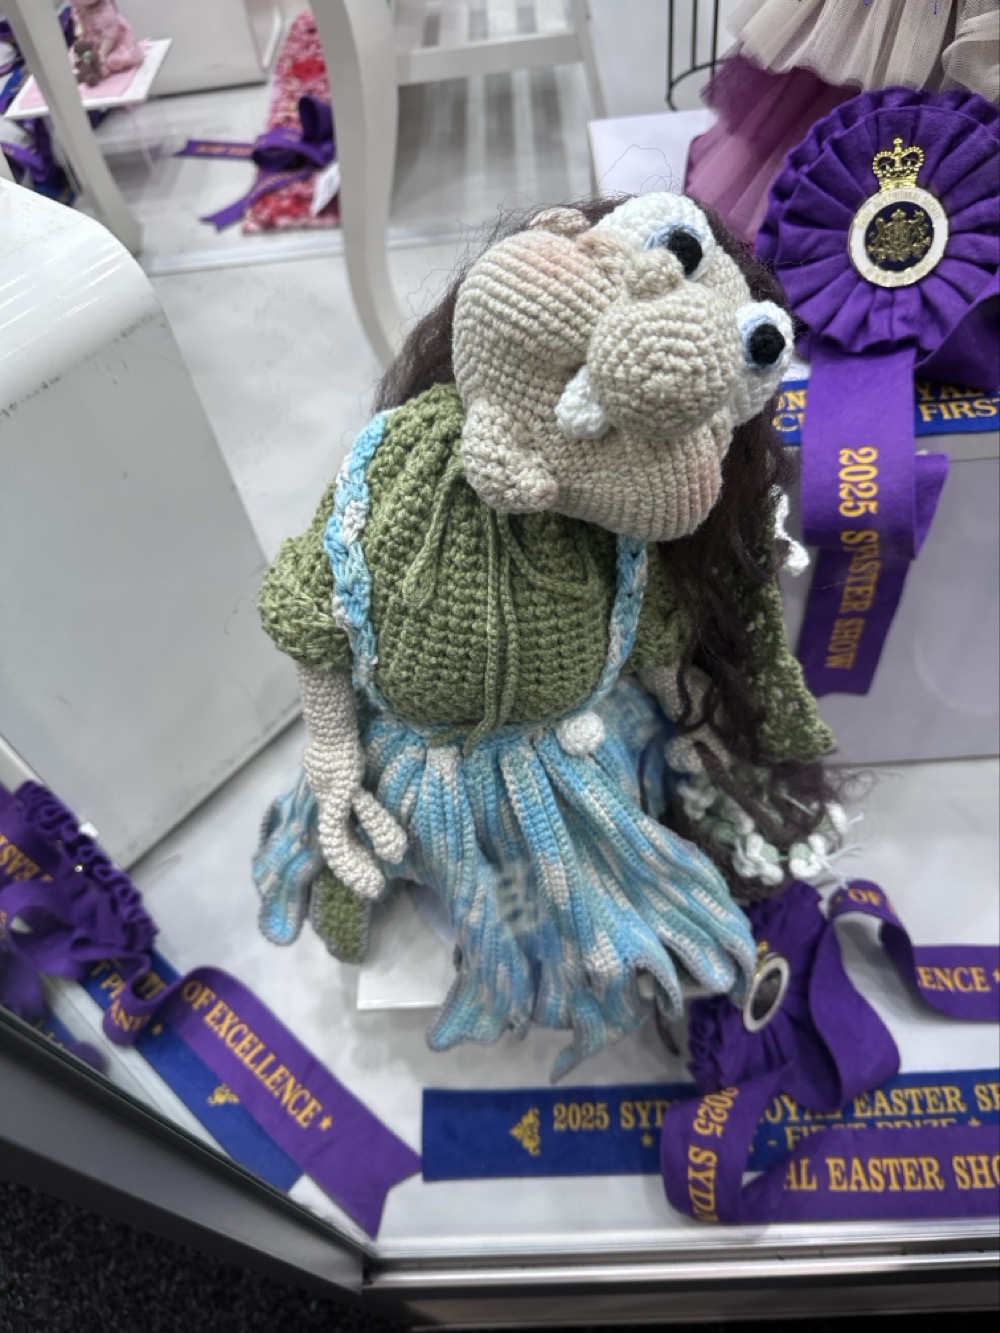
This crocheted doll is very expressive, but it freaks me out a little bit. It reminds me of the podlings from The Dark Crystal somehow.
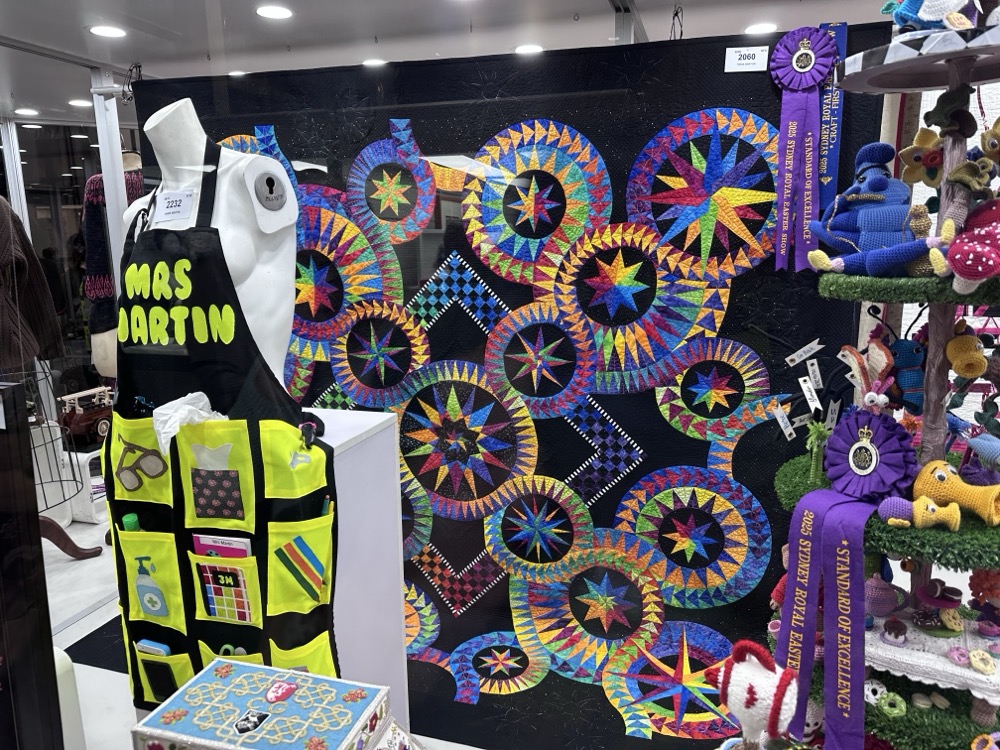
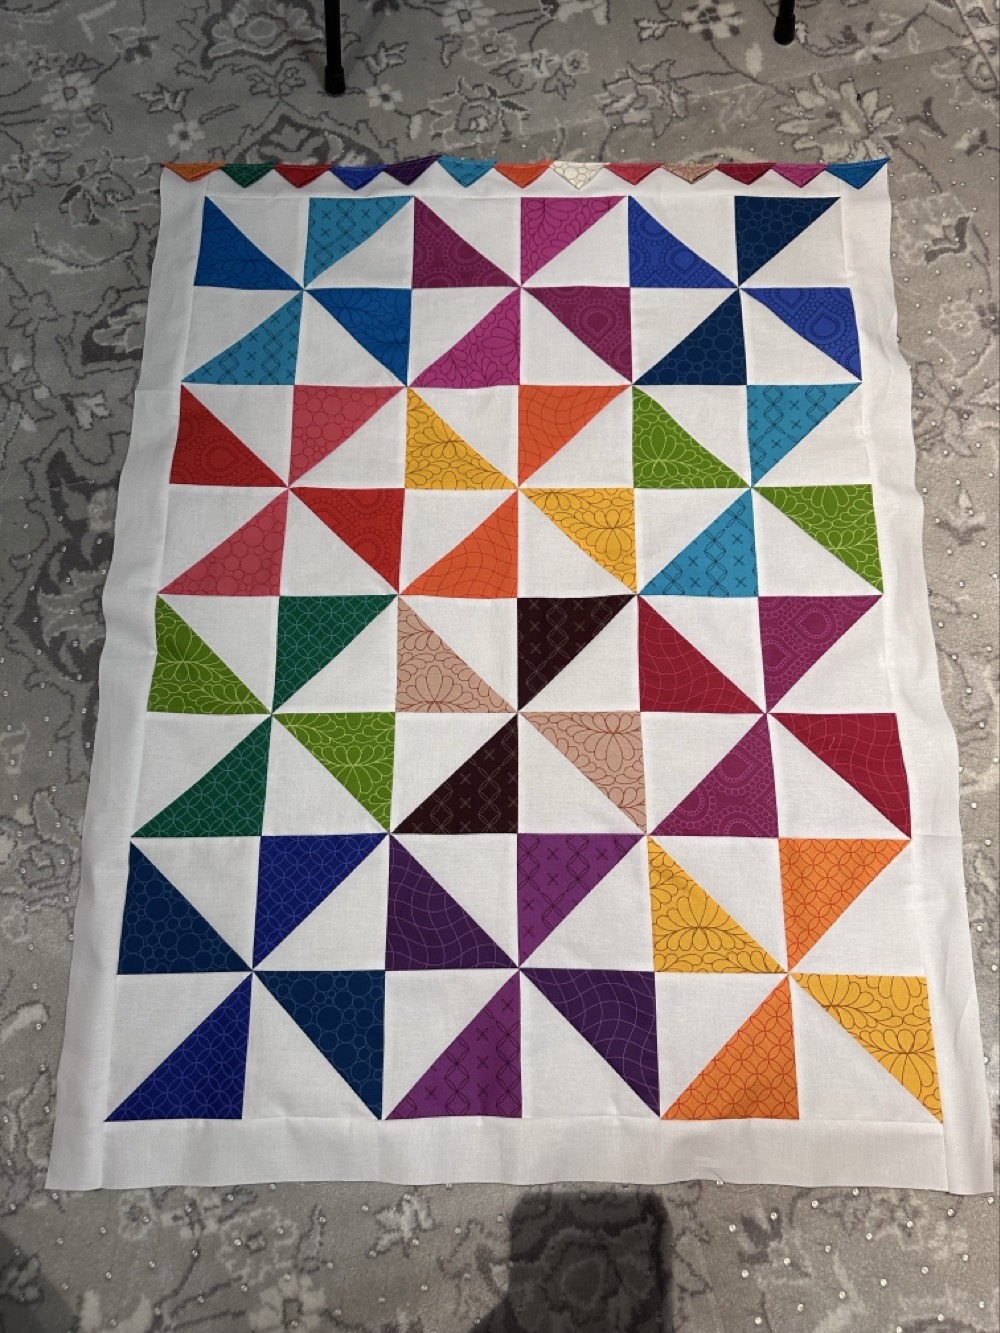
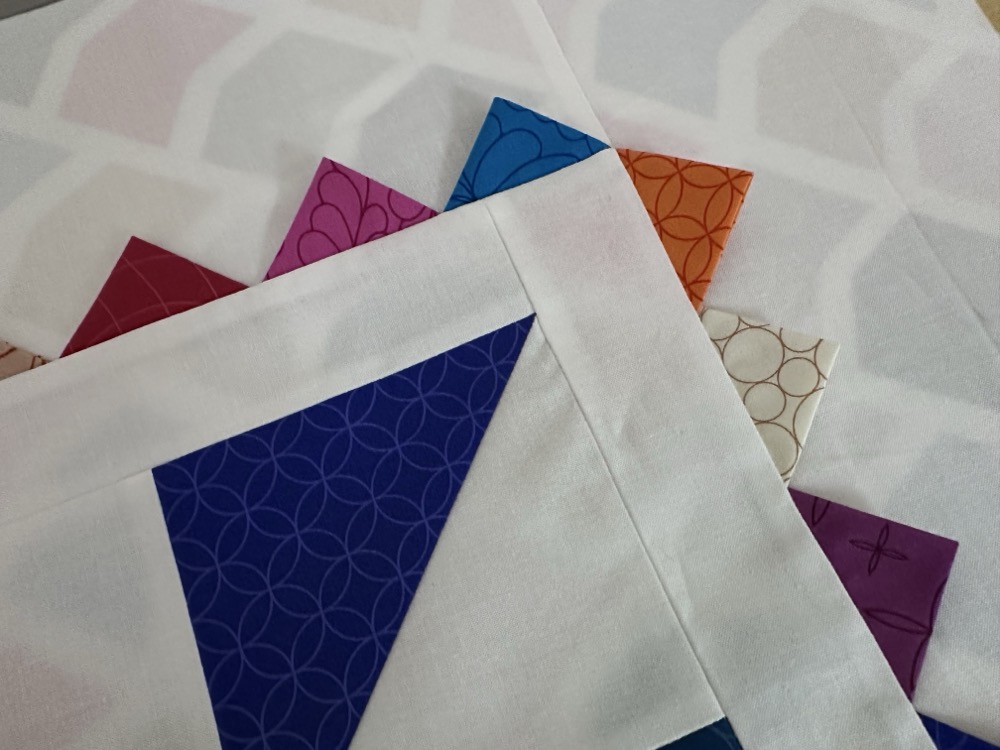
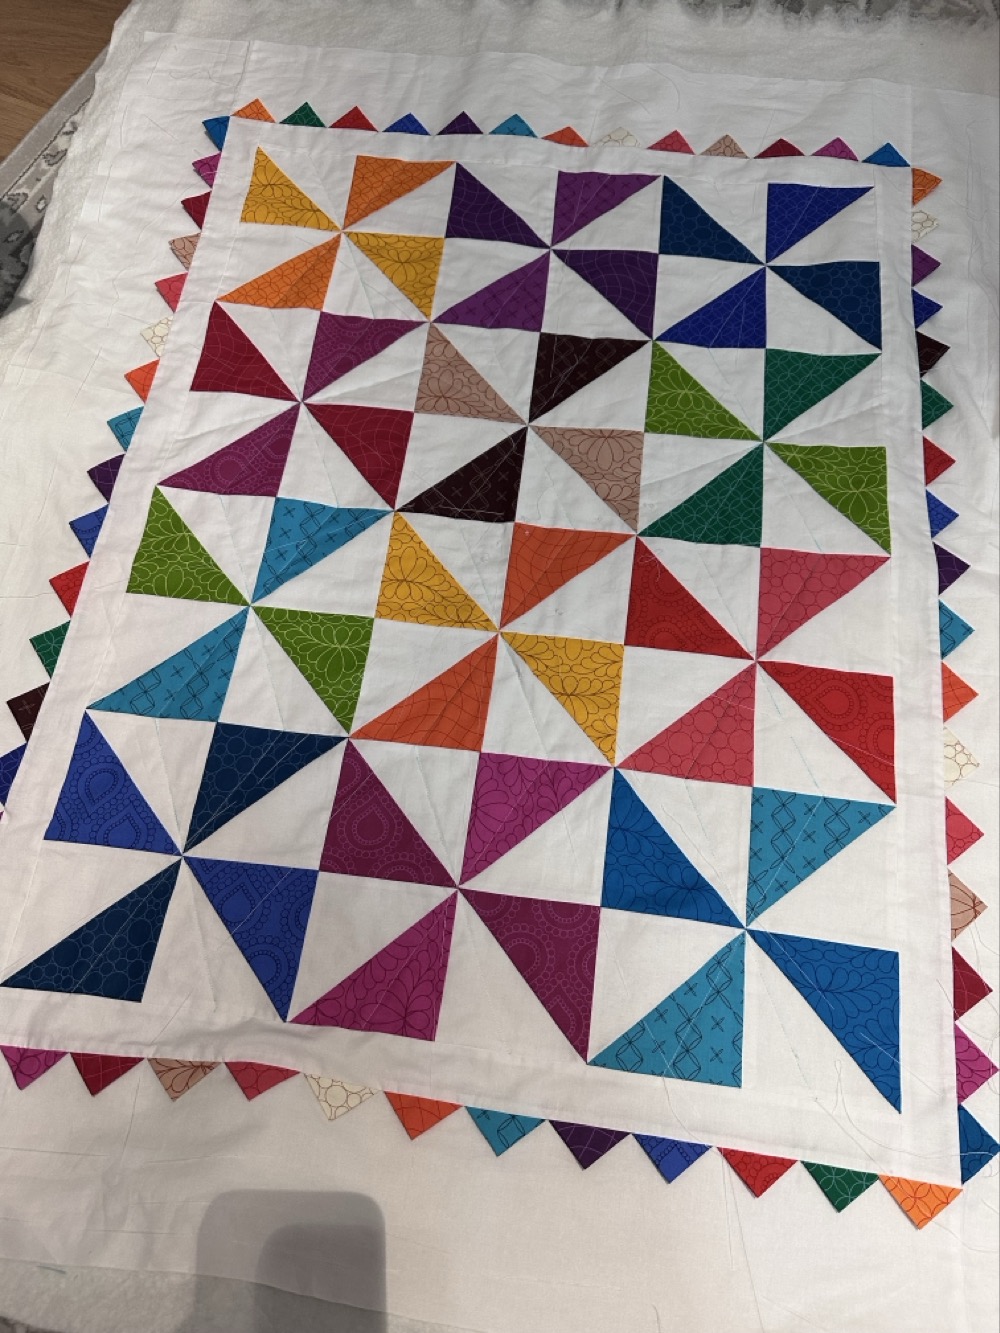
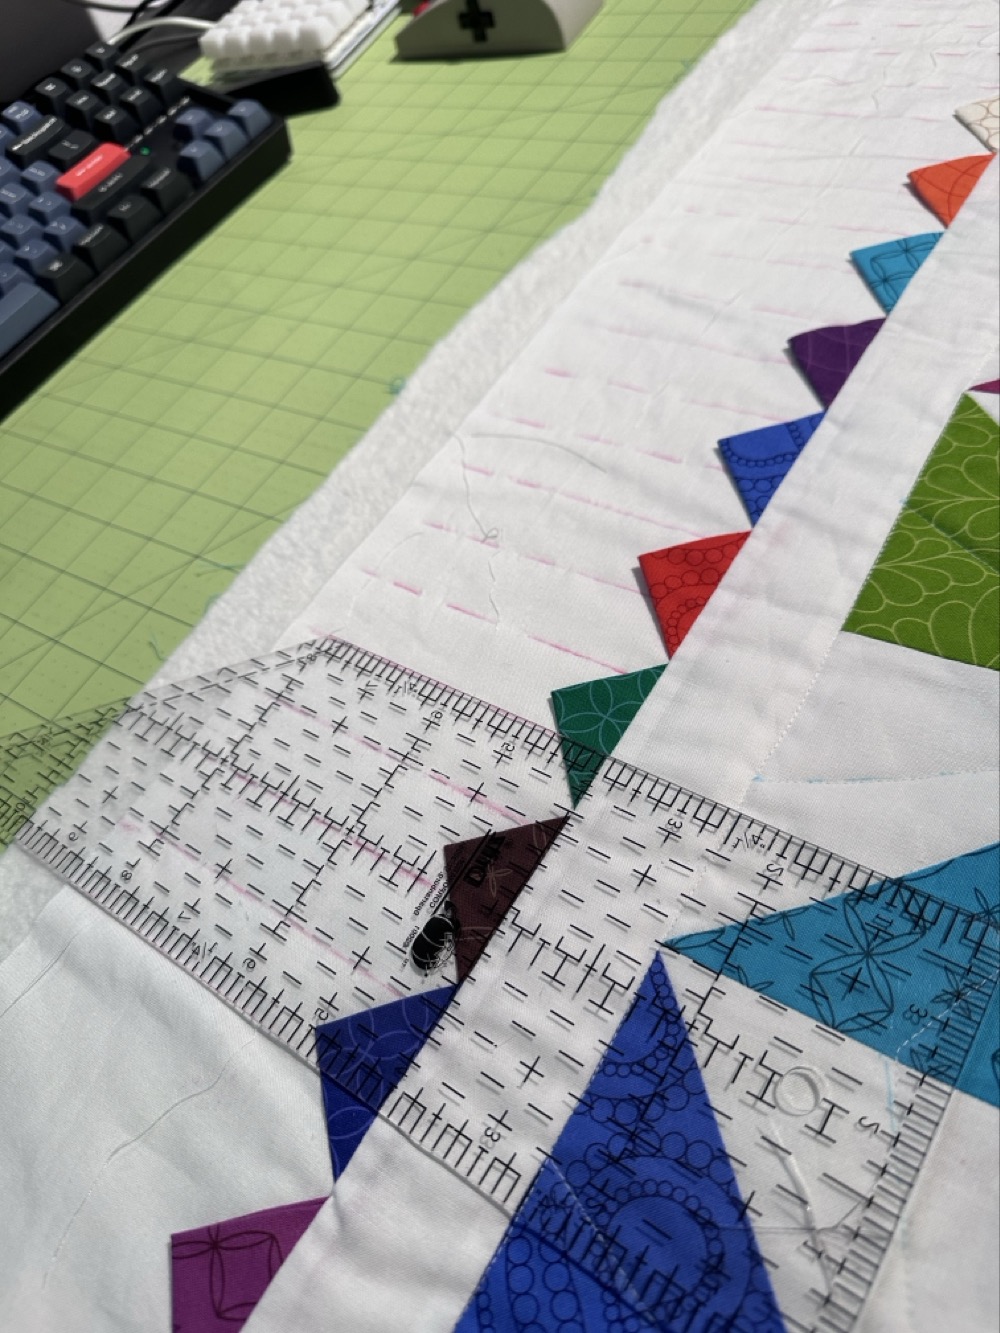
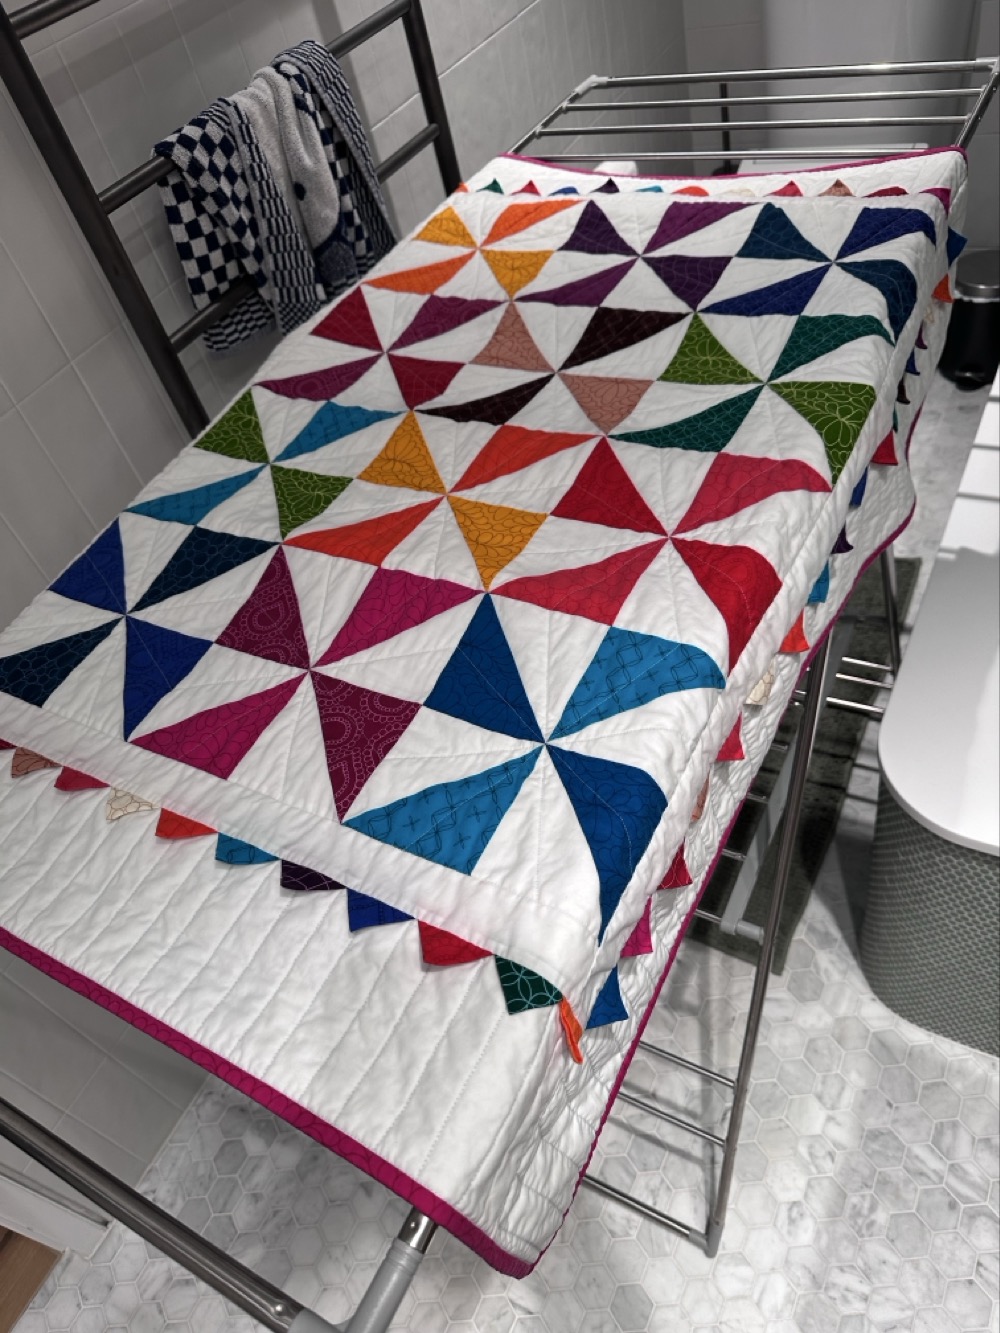
This quilt is why I was not particularly surprised or disappointed to miss out on a ribbon, as it was competing in the same category as mine. 😳 Amazing work, Tonia Barton!
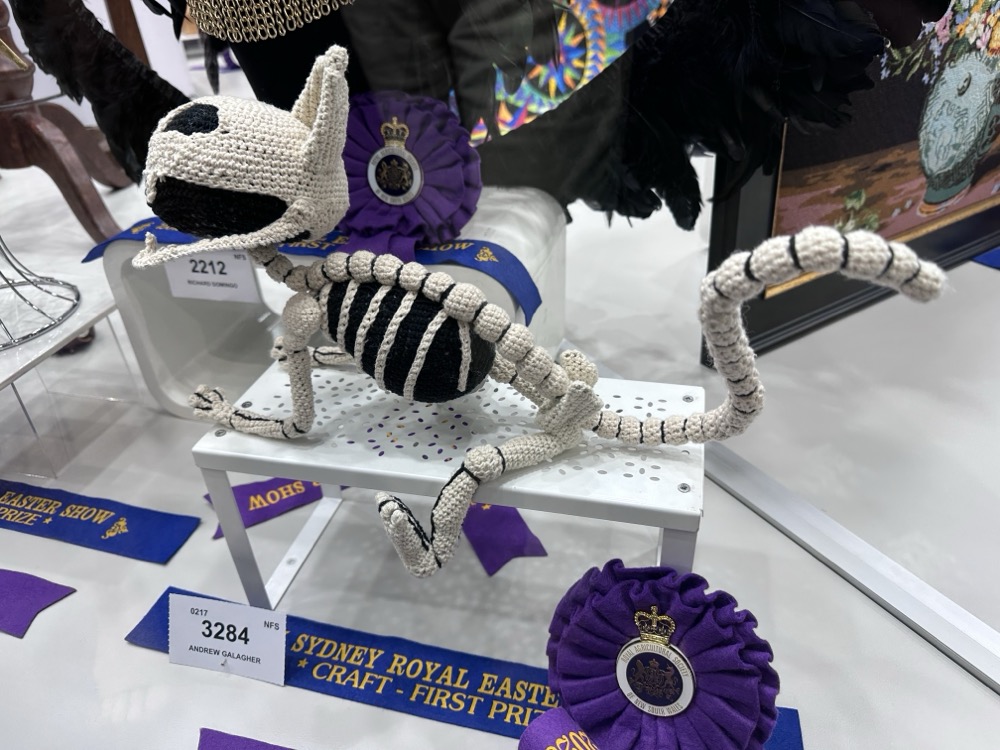
Andrew Galagher strikes again! This “Cat Skellington” won the blue ribbon in soft toys or dolls.
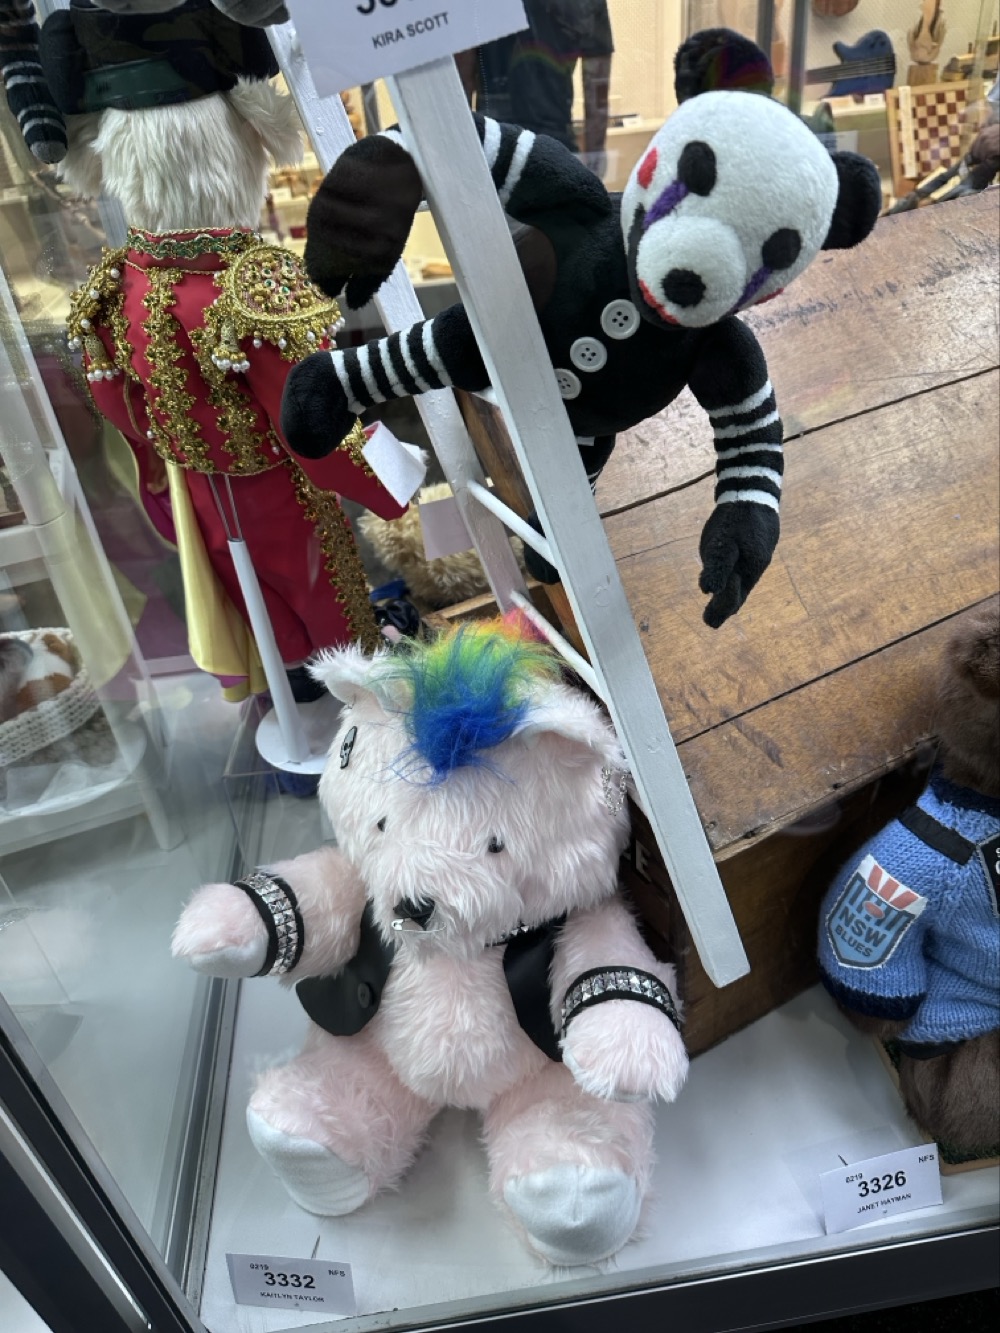
Loved the punk teddy bear! I didn’t even realise he has a safety pin through his nose.
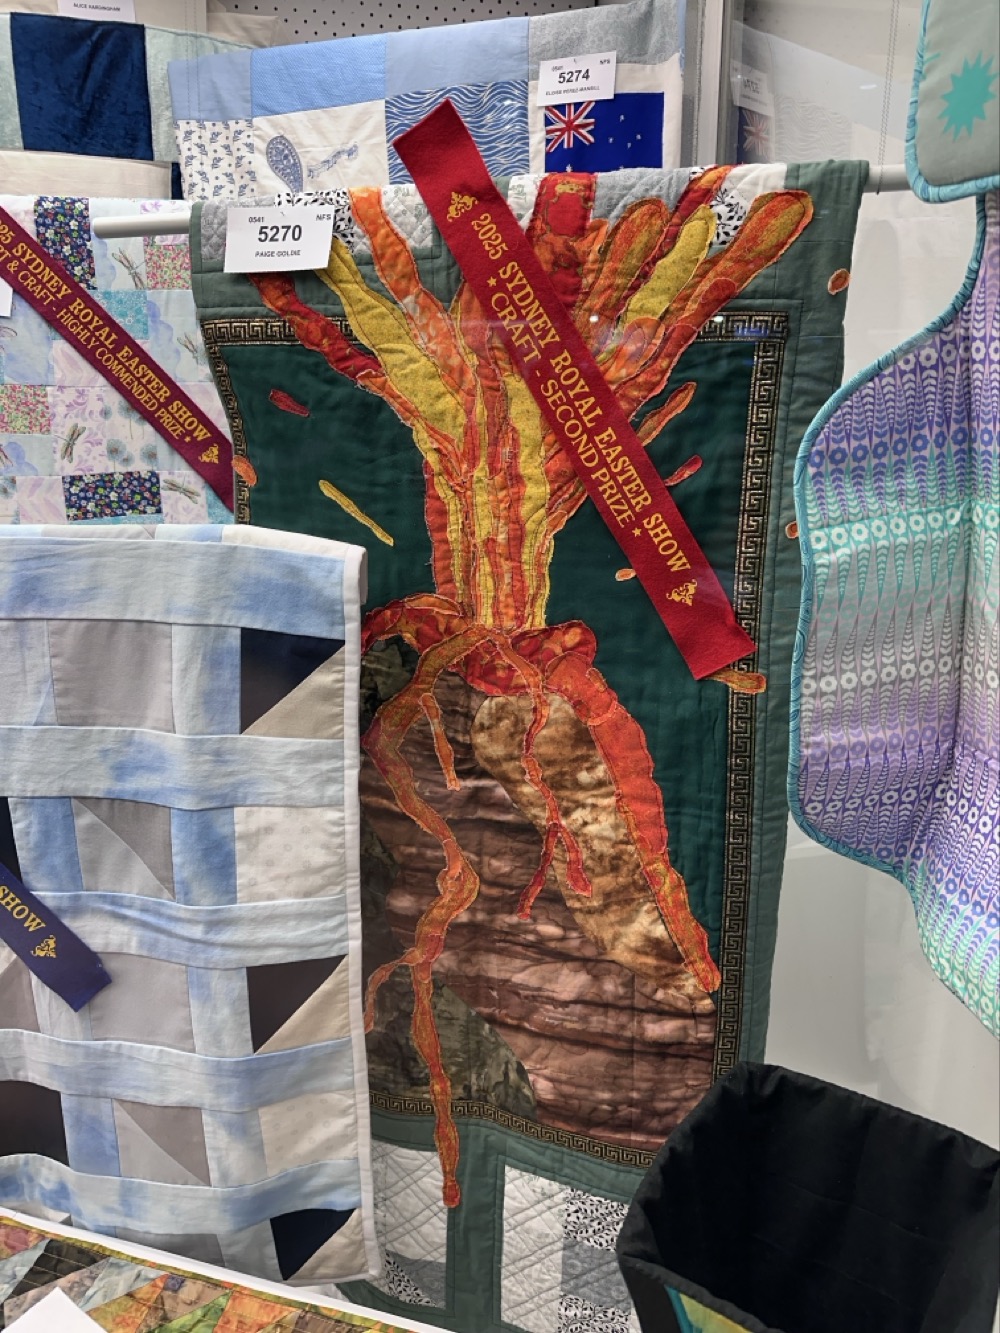
How cool is this volcano quilt? The artist is a teenager!
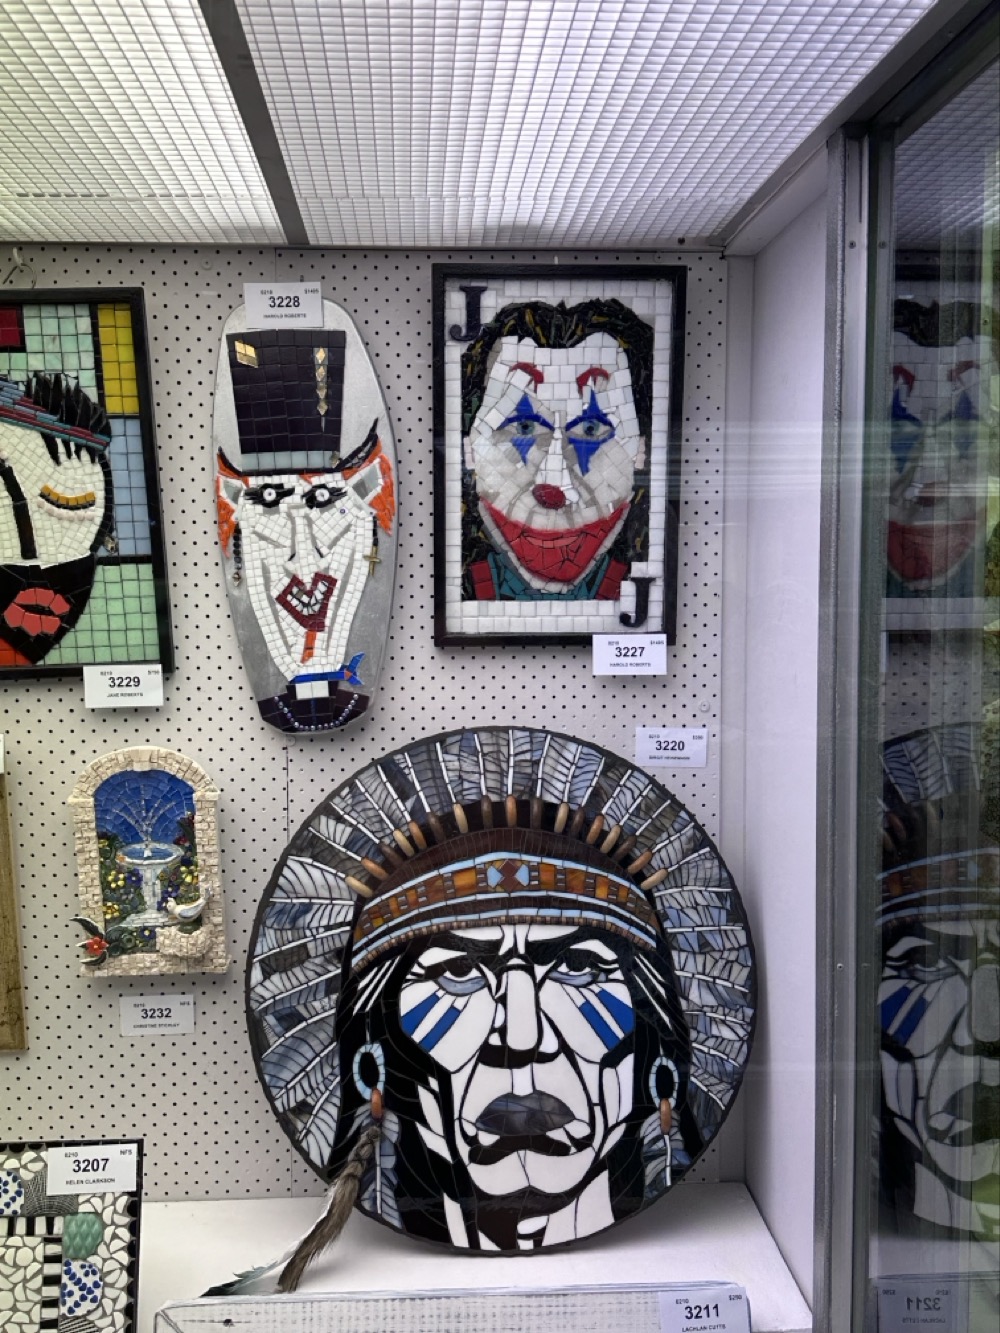
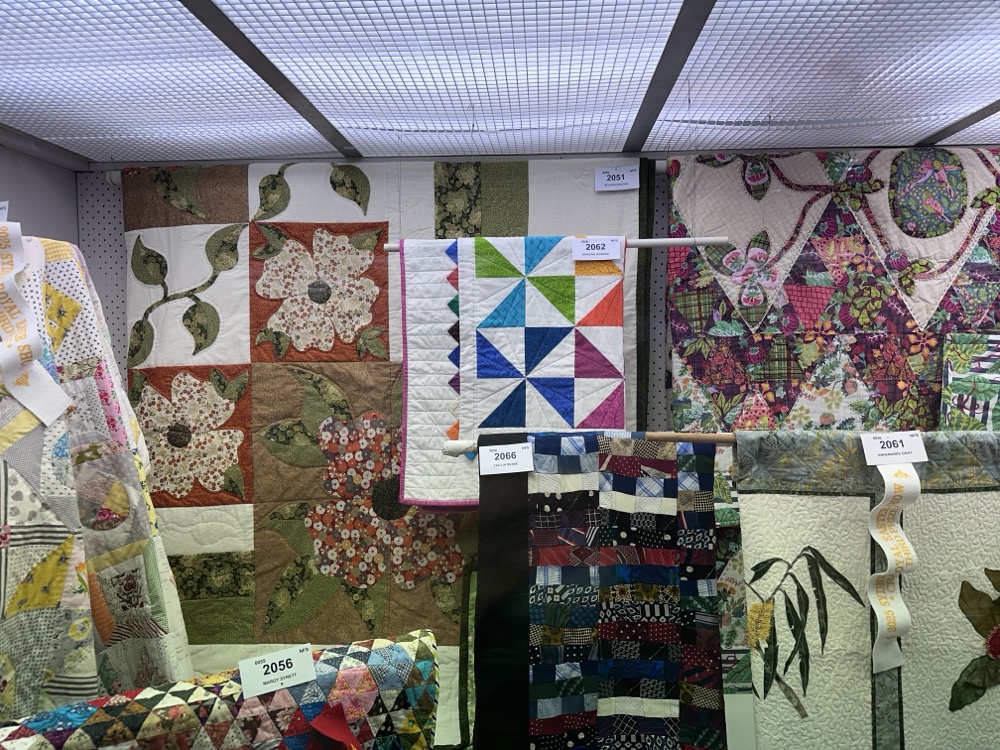
This was the point where I started to appreciate how the folks doing the displays had sometimes grouped together thematically or visually similar items. That mosaic of the Joker stopped me dead in my tracks, and then I was able to appreciate the other two next to it.
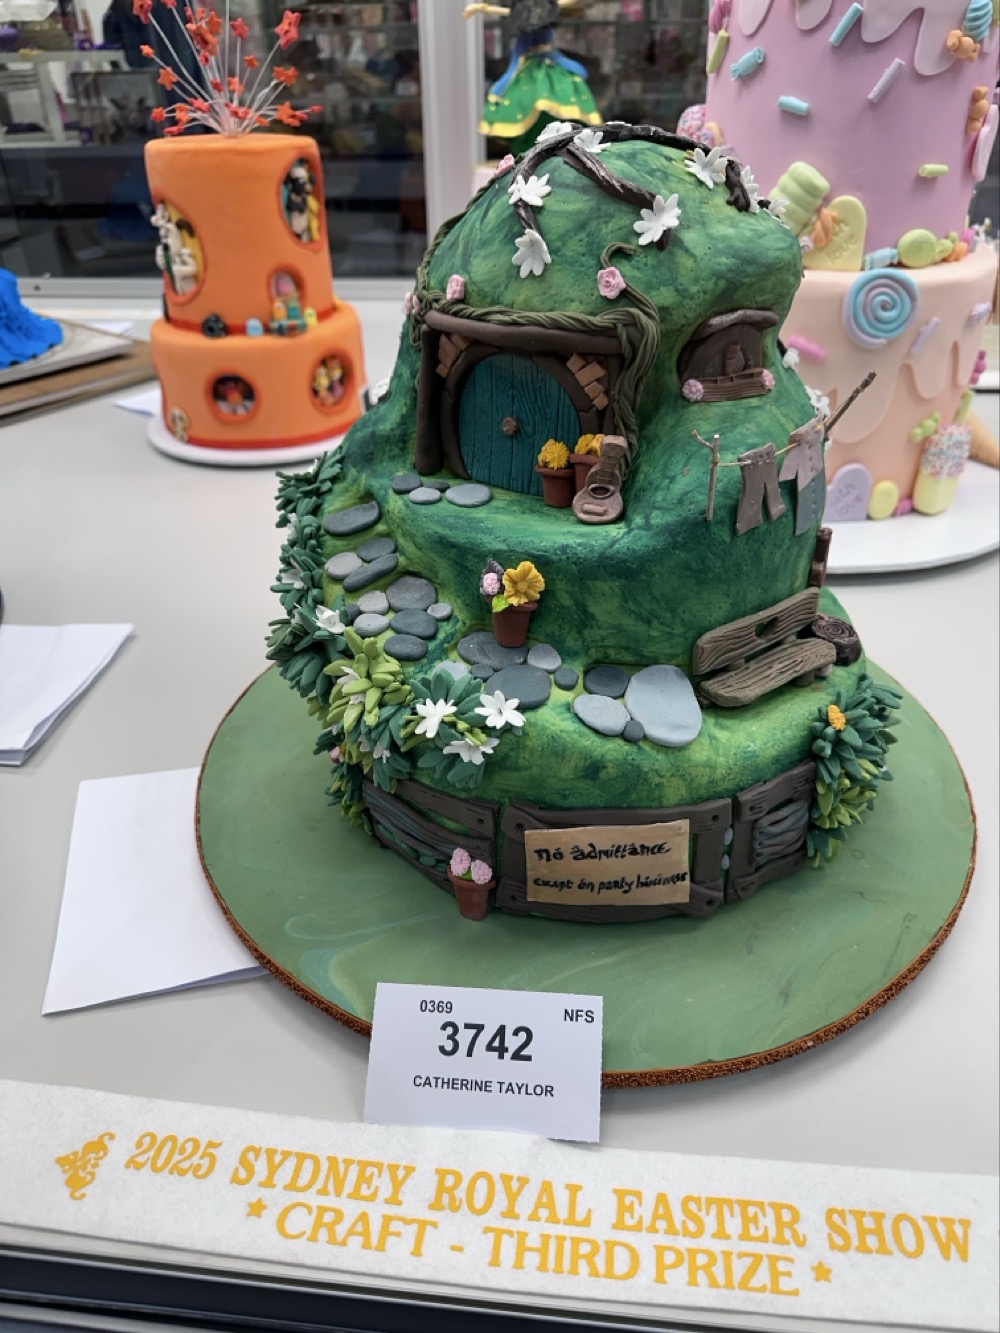
This Bag End cake won an award in the “Most Creative Cake” category. Very cute!
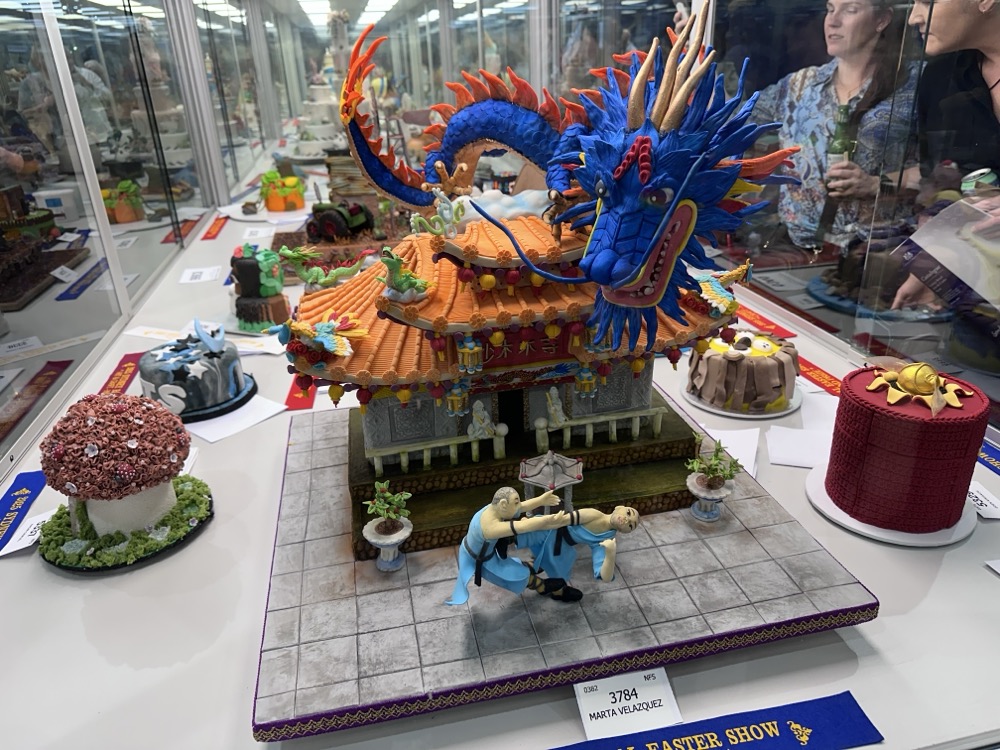
And this one won in the “Gravity Defying” category. I love the little Shaolin monks in front of the temple!
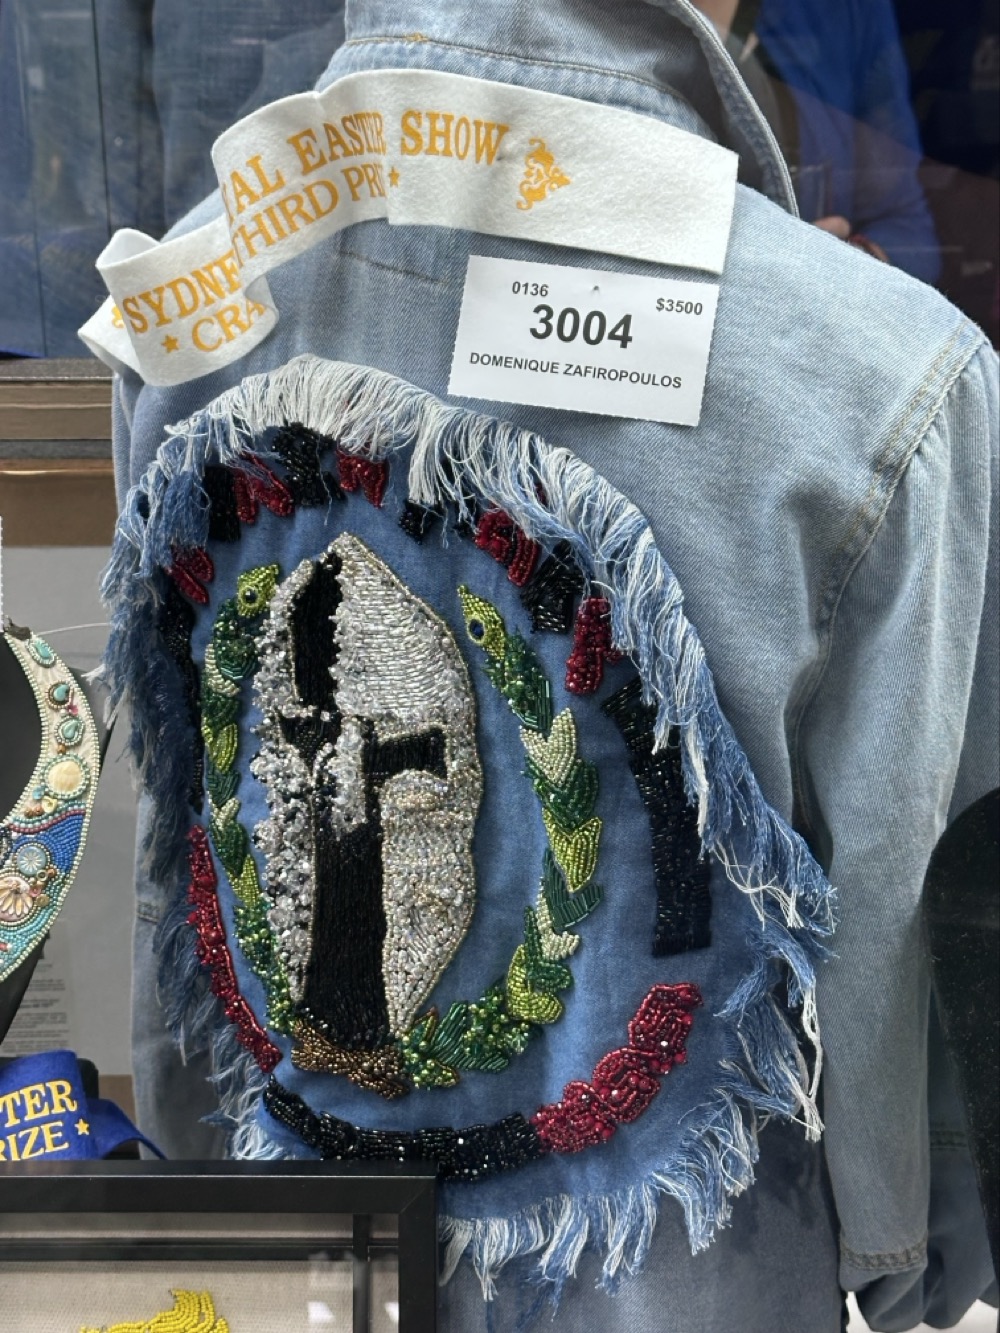
SPARTA! This beaded denim jacket was insane.
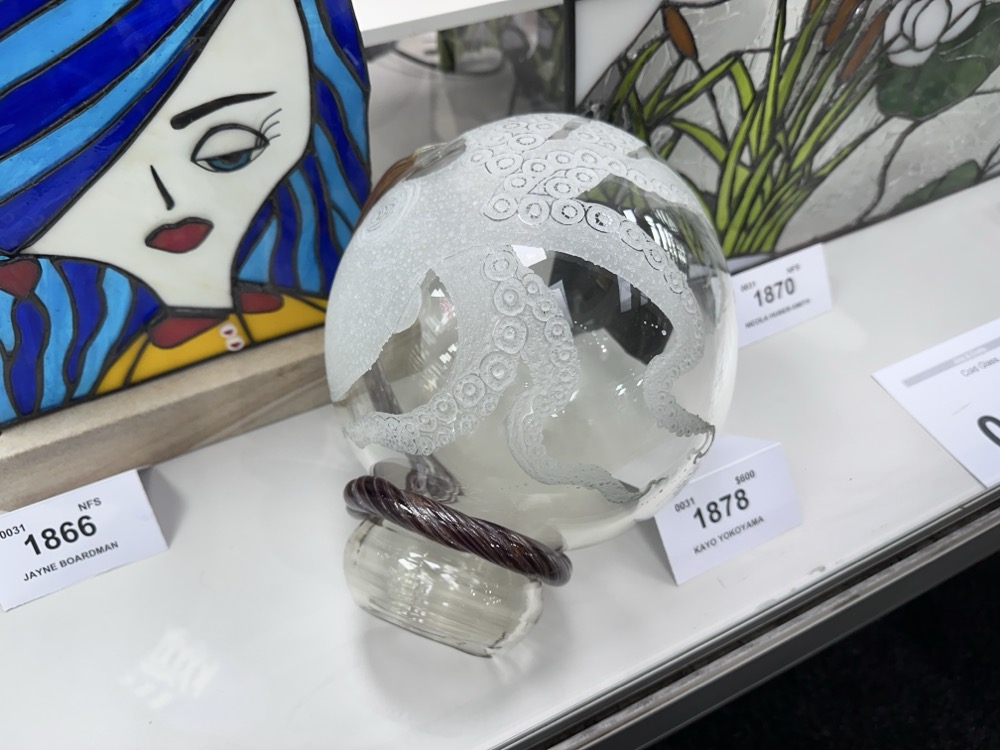
I thought this octopus glass sculpture was lovely. It reminded me of The Dream of the Fisherman’s Wife and some of the Minoan vessels we saw in Crete last year.

The creepiest thing about that rabbit sculpture is how the eyes were set back inside the head so the damn thing seemed to track you as you walked past.
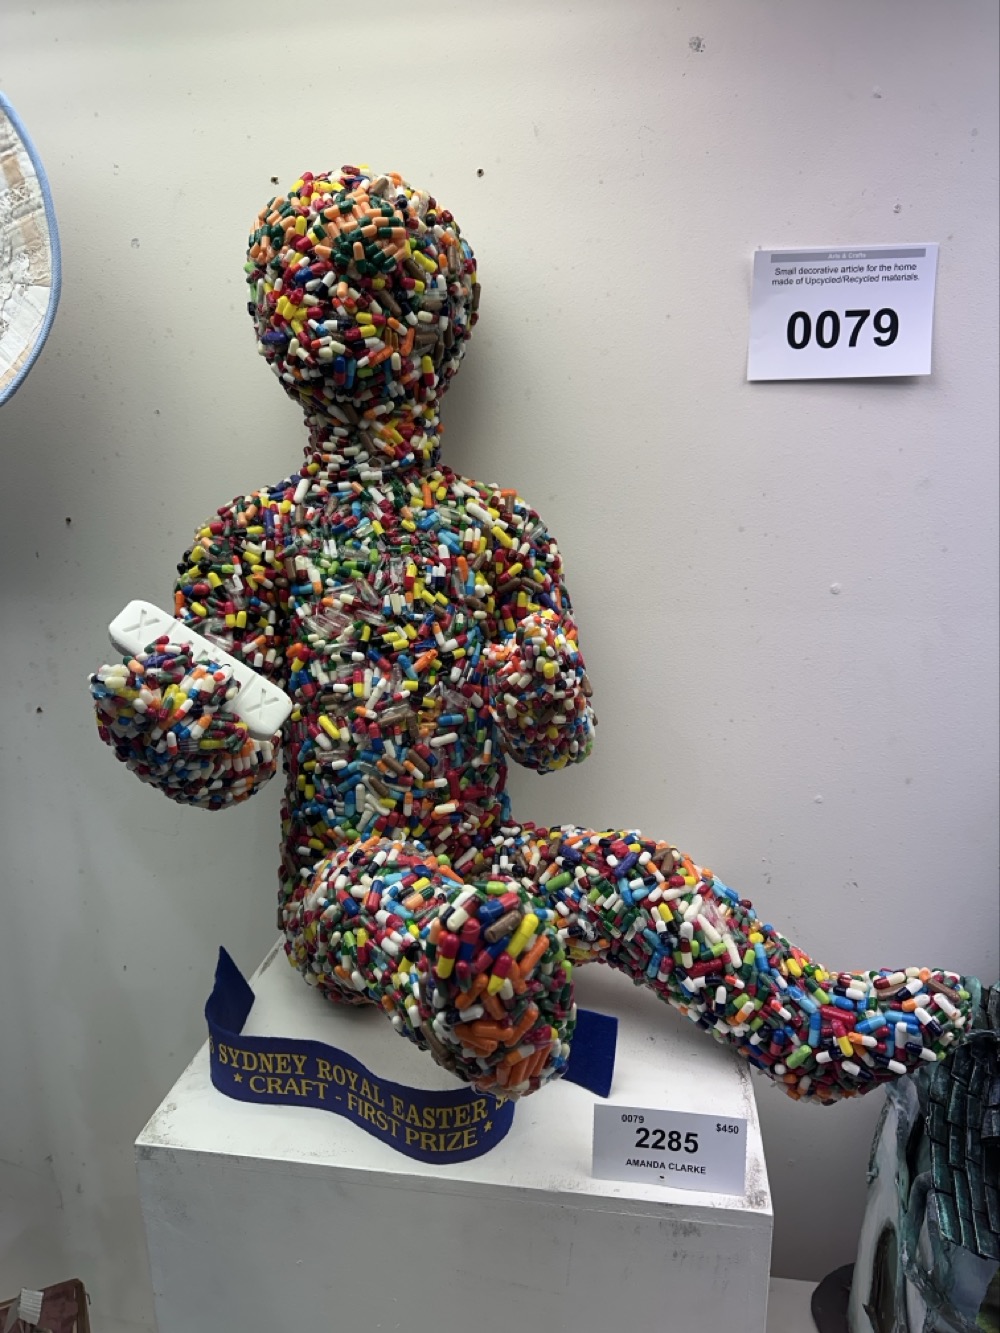
At first I thought this PILL BABY was creepy, but then I discovered that A) the artist is a doctor, and B) she titled it “A self portrait of the younger me.” Now I think it’s amazing.
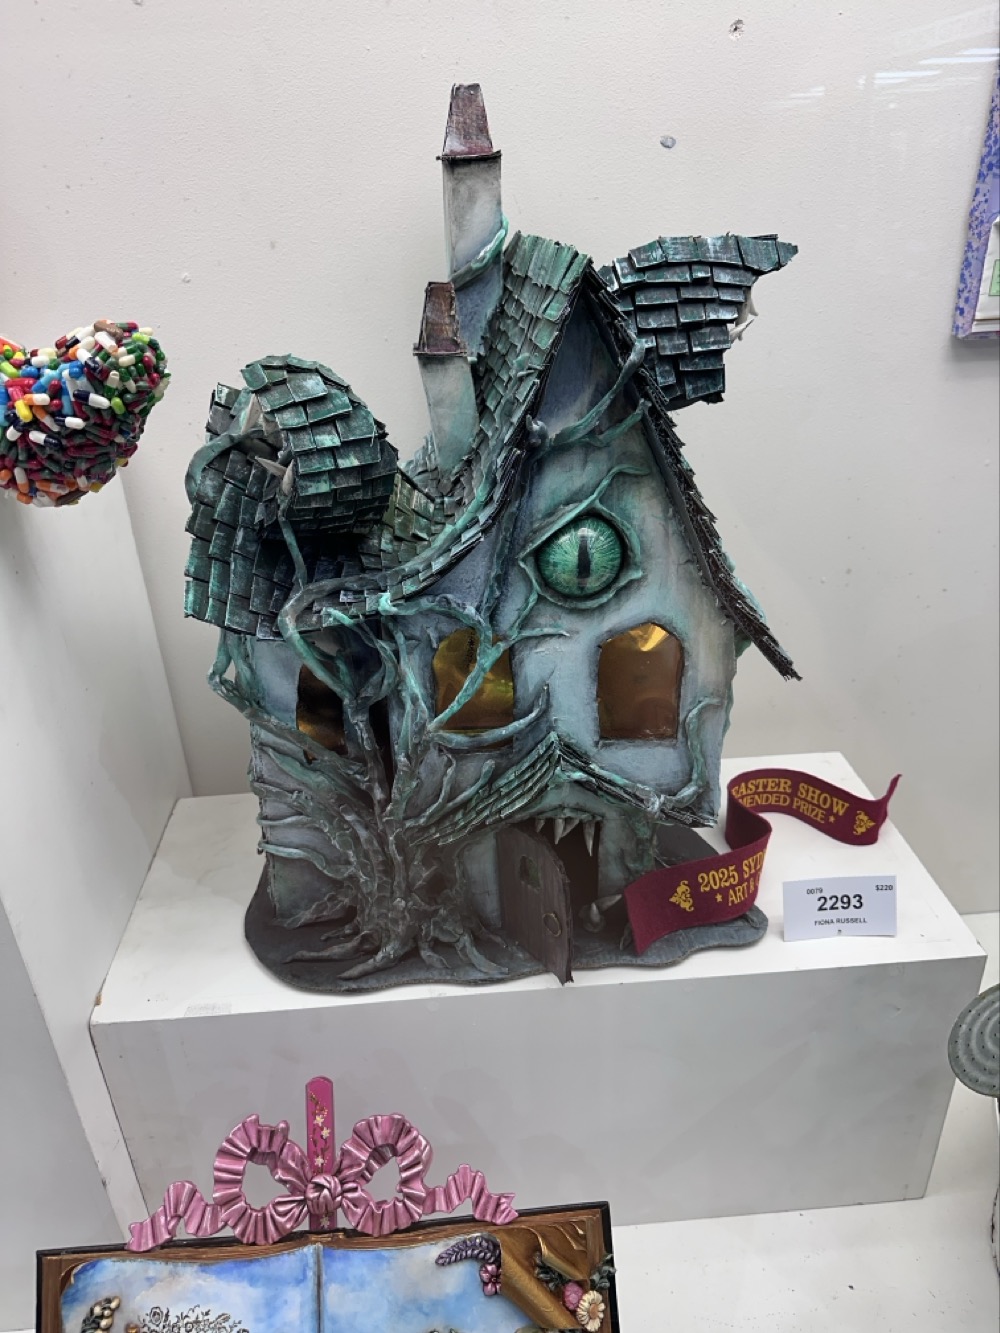
This is entitled “Fairy House Light,” so I think maybe it lights up? That would be the scariest night light ever.
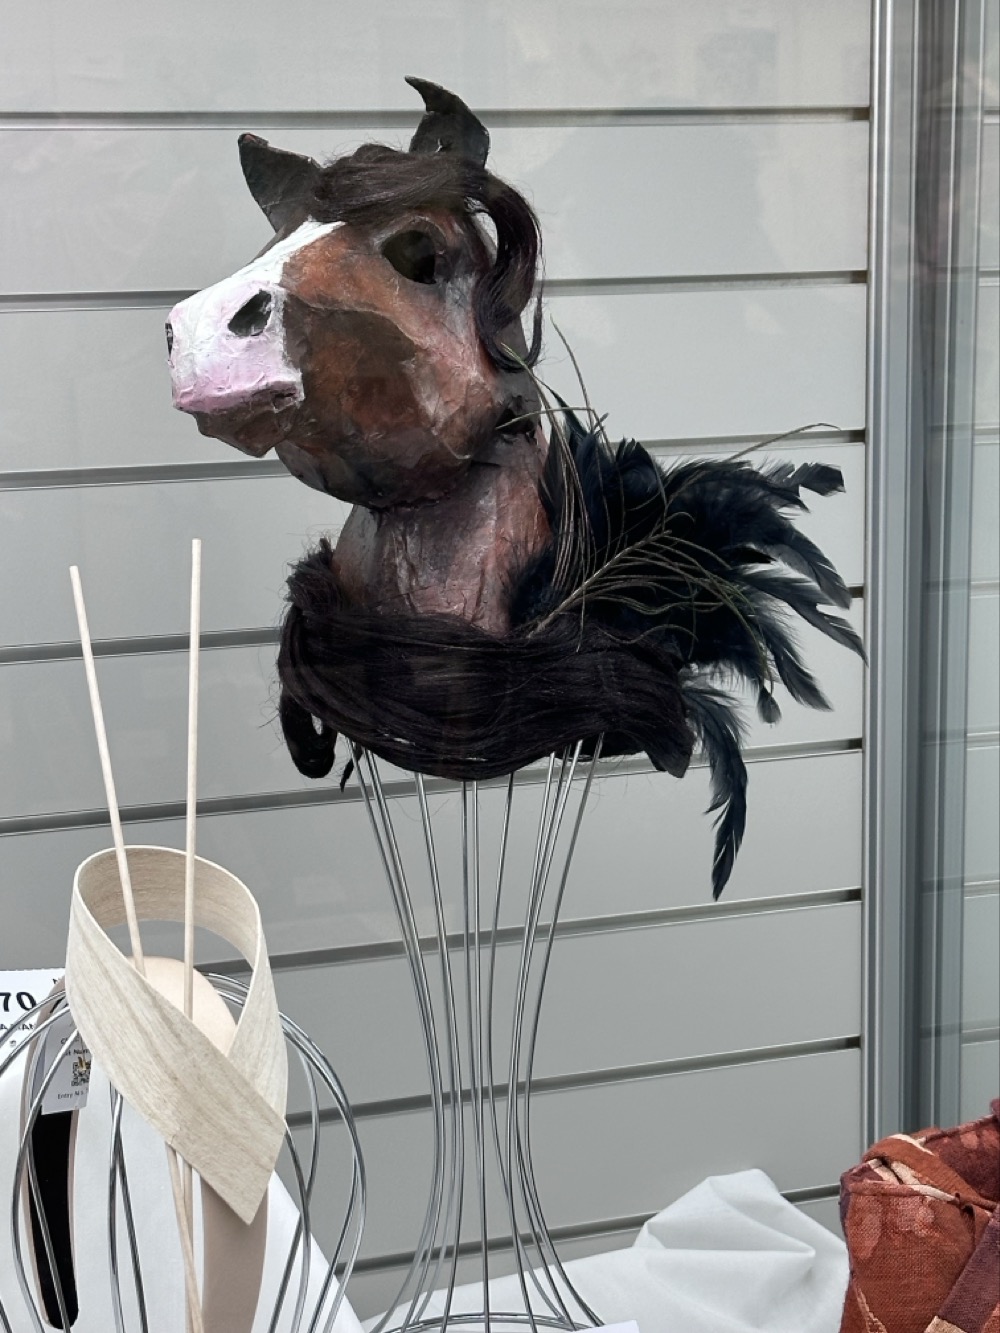
I loved this horse head fascinator mixed in among the fancy lady hats. Hell yeah! This would be amazing to wear to Melbourne Cup Day. (You know, if one supported such barbarism.)
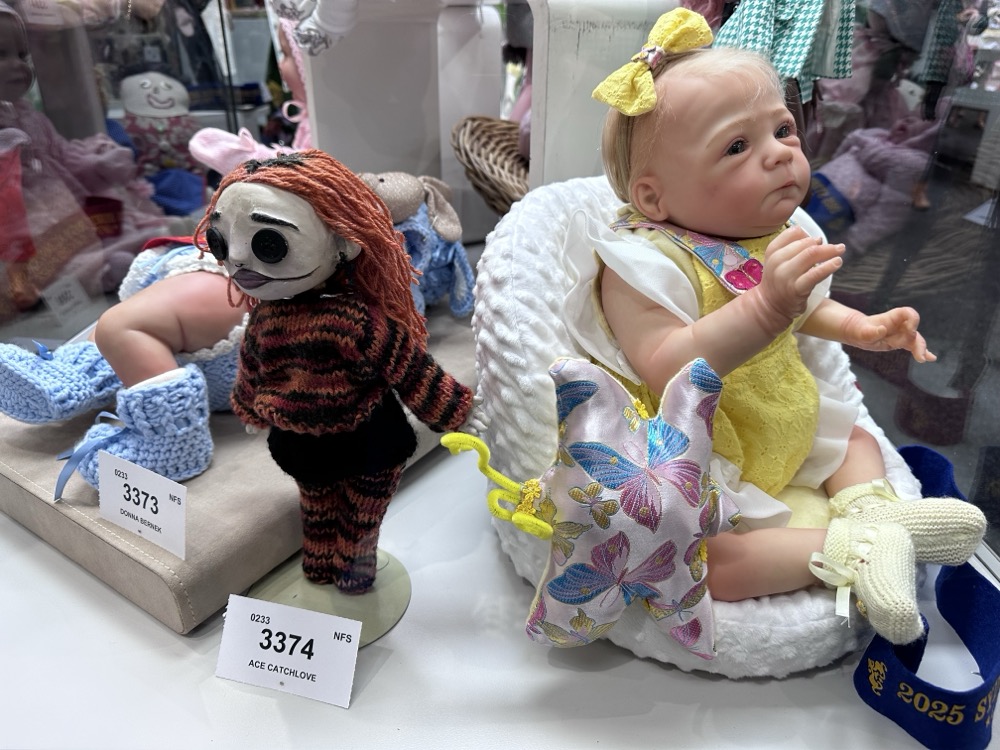
I think we can all agree that, of the “Dressed modern dolls,” the one on the right is actually way scarier.
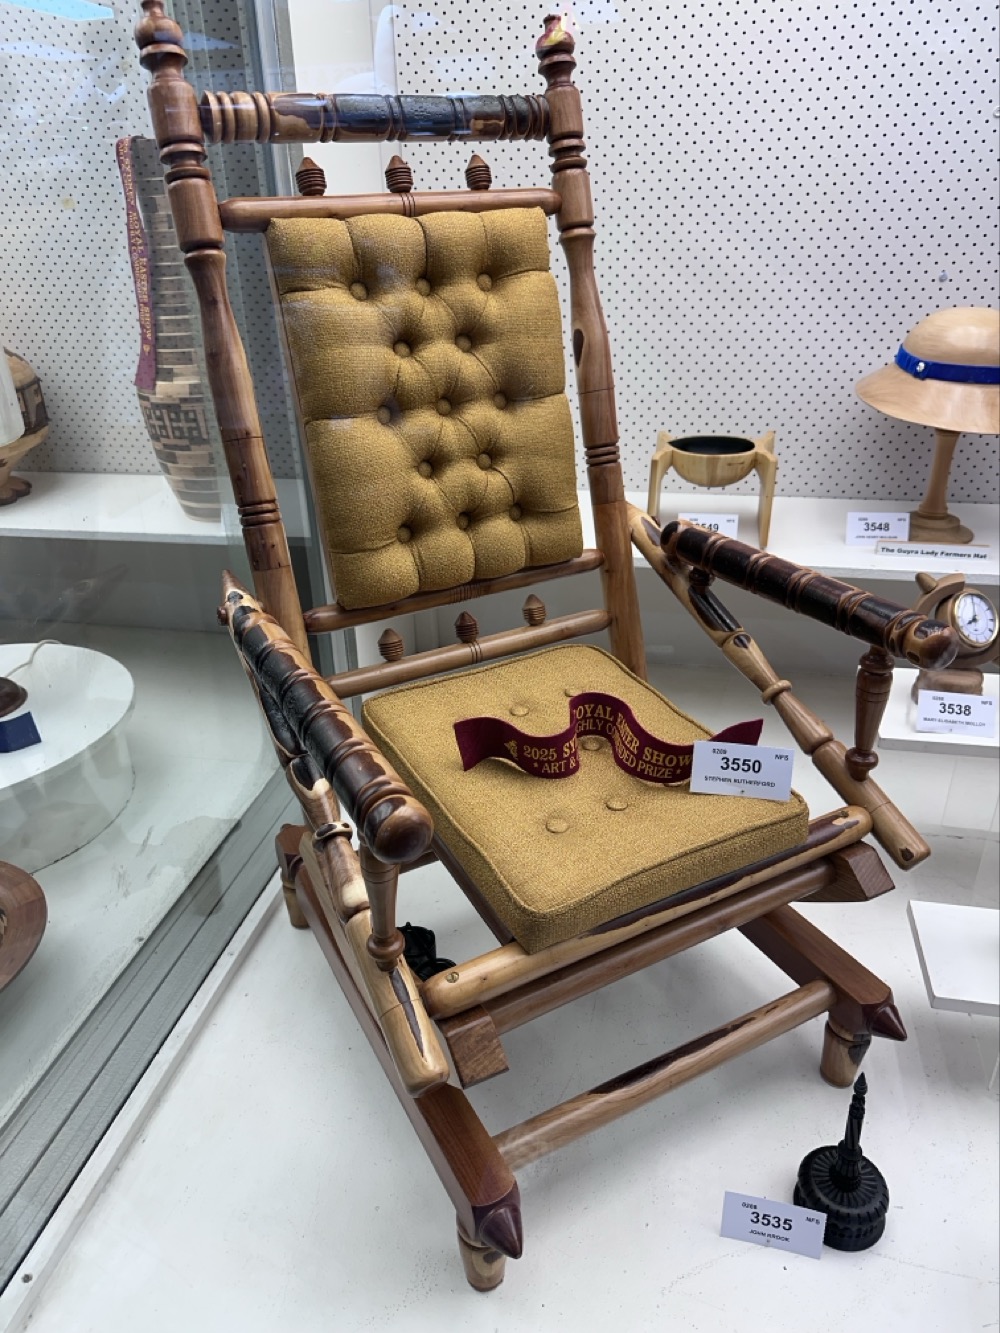
Stephen Rutherford was in the queue right in front of us with this rocking chair at the Drop-off Day a couple weeks ago. Rodd and I both admired it, especially the way it looks like he’s incorporated some recycled pieces. I was happy to see he won a ribbon in the “Innovative” woodwork category!
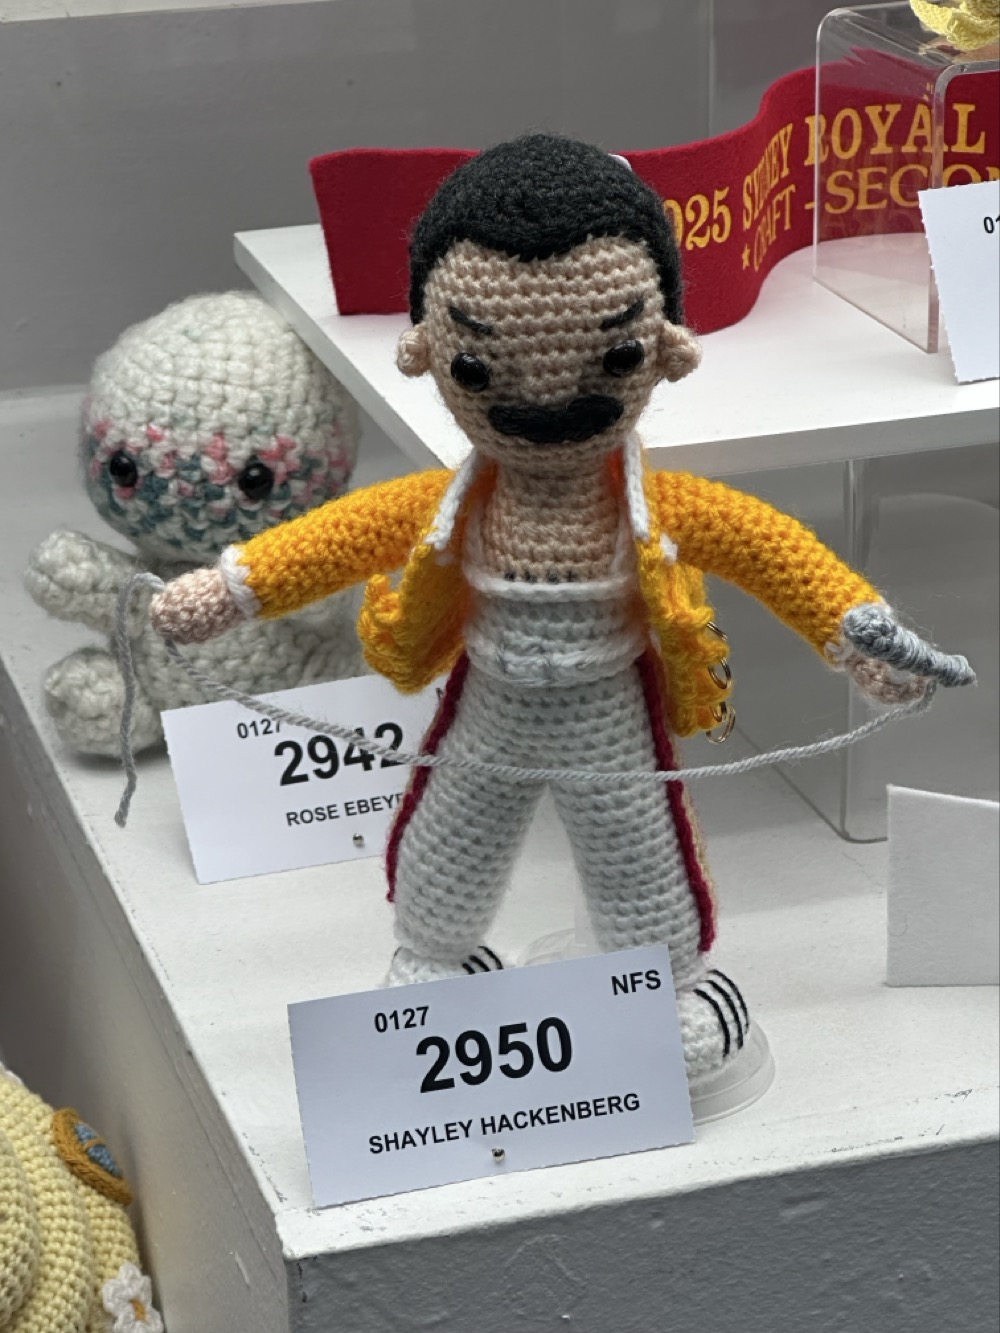
Crochet Freddie Mercury, of course. Nice.
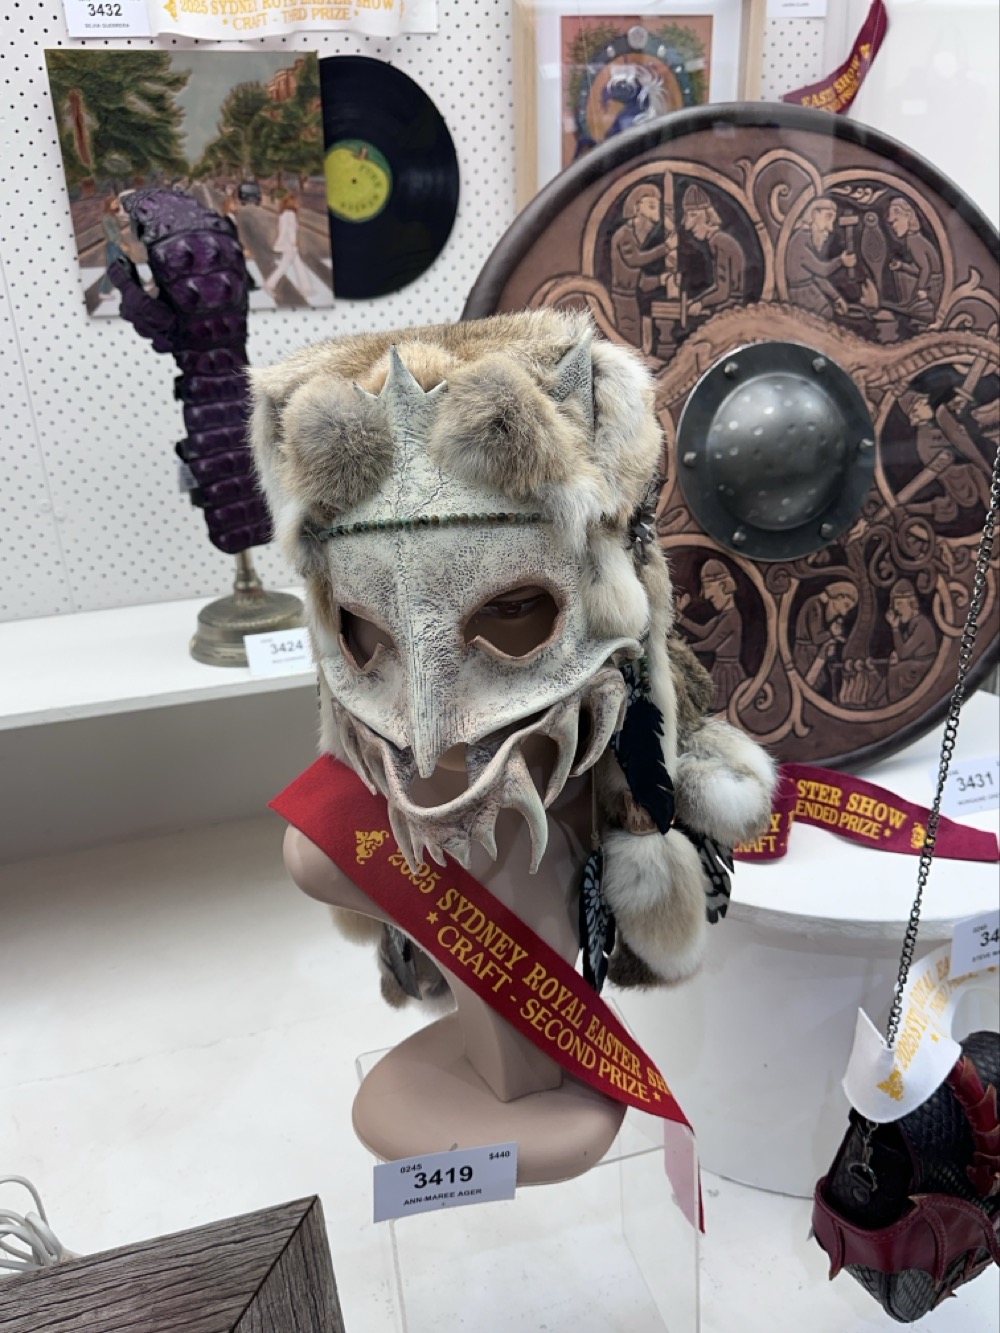
Another badass thematic display of an “animal skull headdress,” decorated medieval shield, and what appears to be a DRAGONSKIN GAUNTLET in the background.
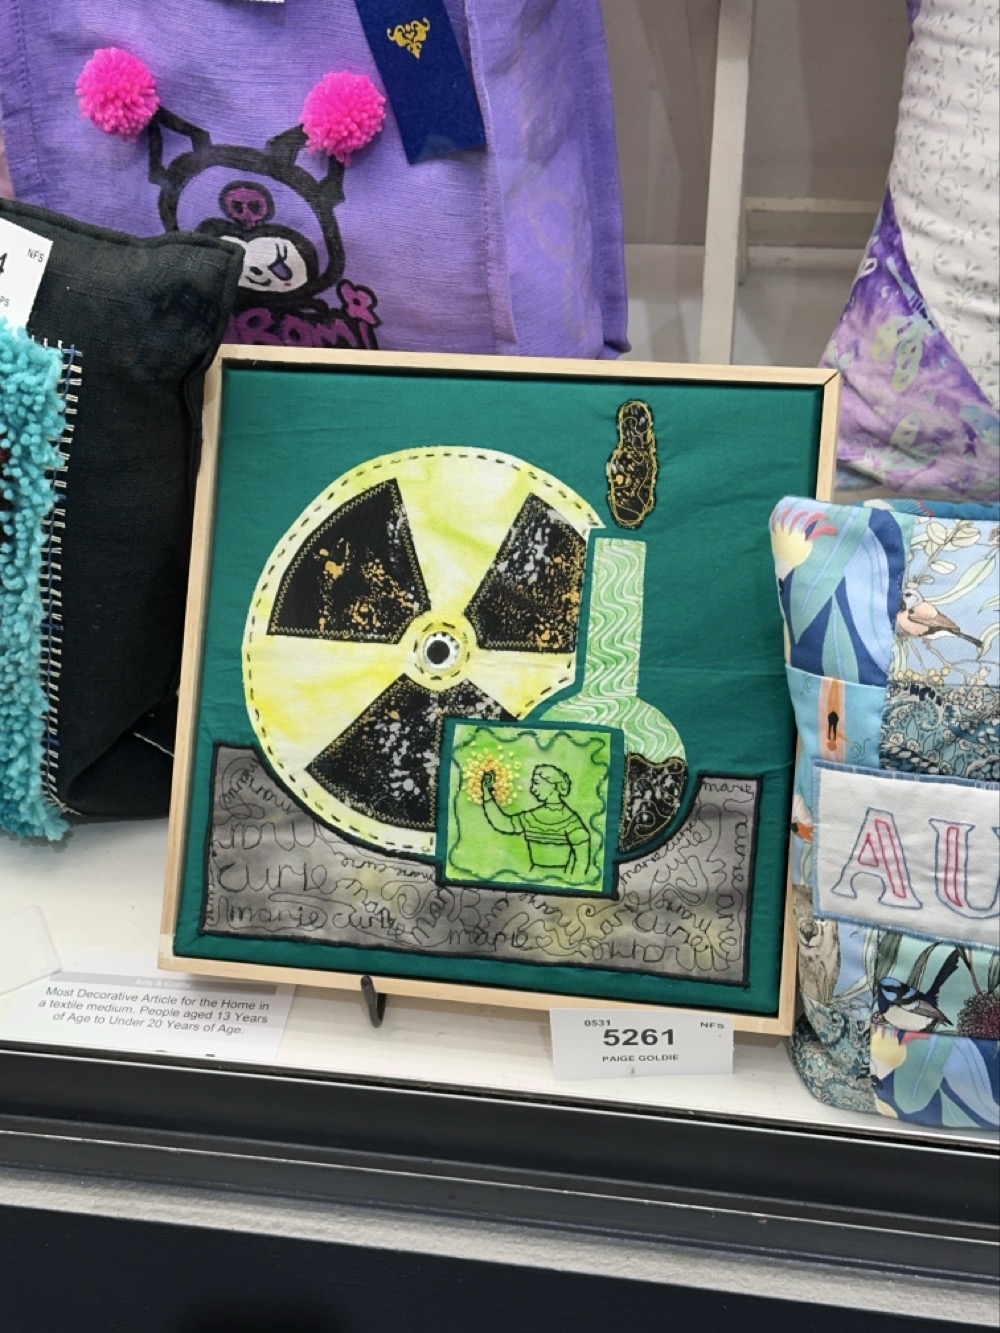
This Marie Curie themed textile artwork was done by the same teenager who did the volcano quilt. Very cool!

What a cuddly looking armadillo!
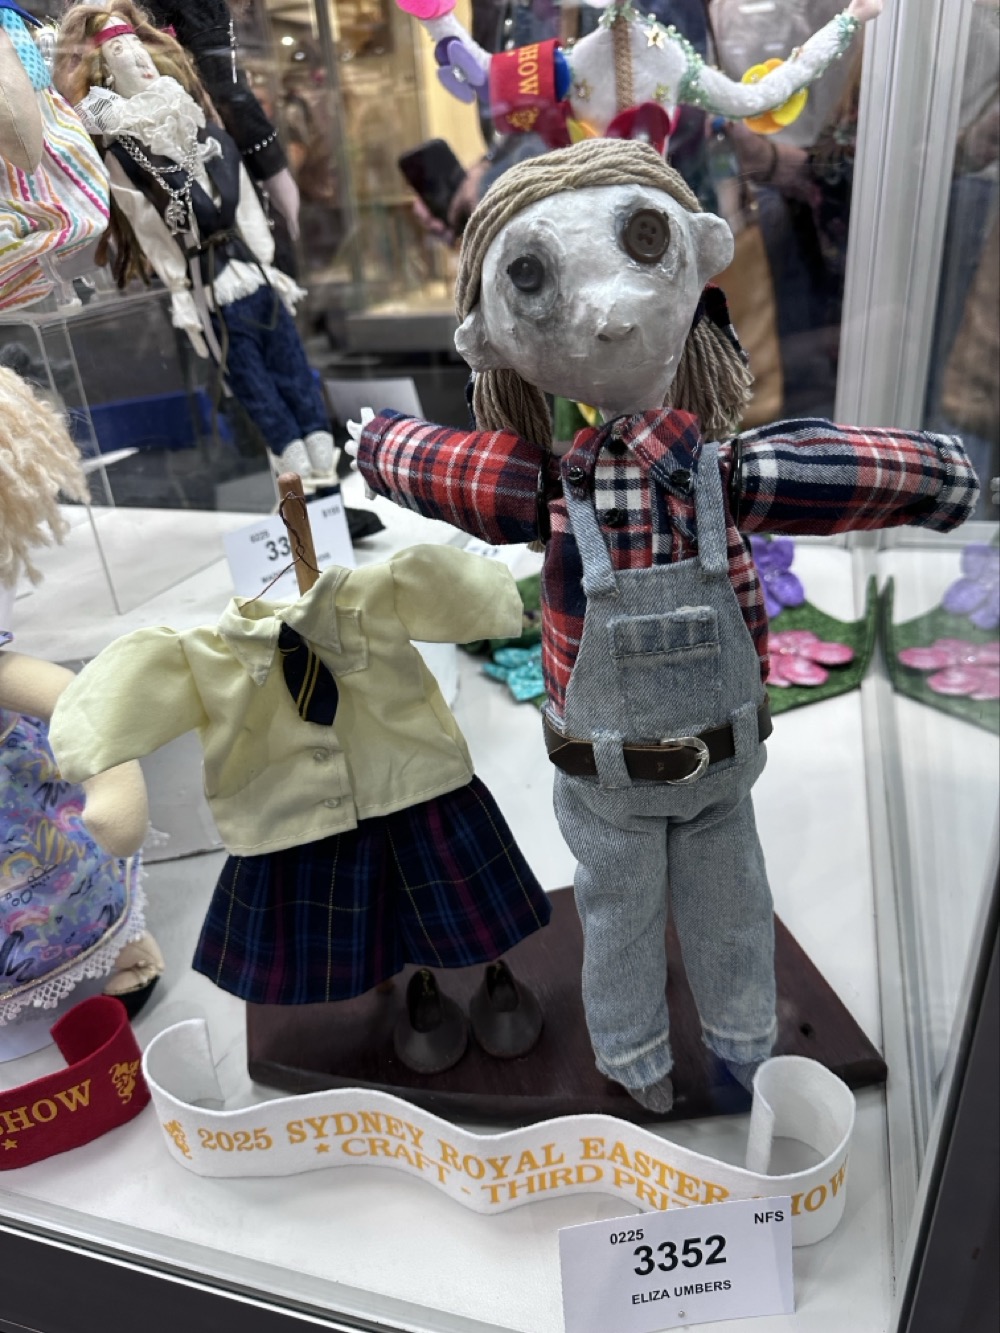
I can appreciate the skill required to make this papier-mâché doll while also worrying that it comes to life in the night to kill people.
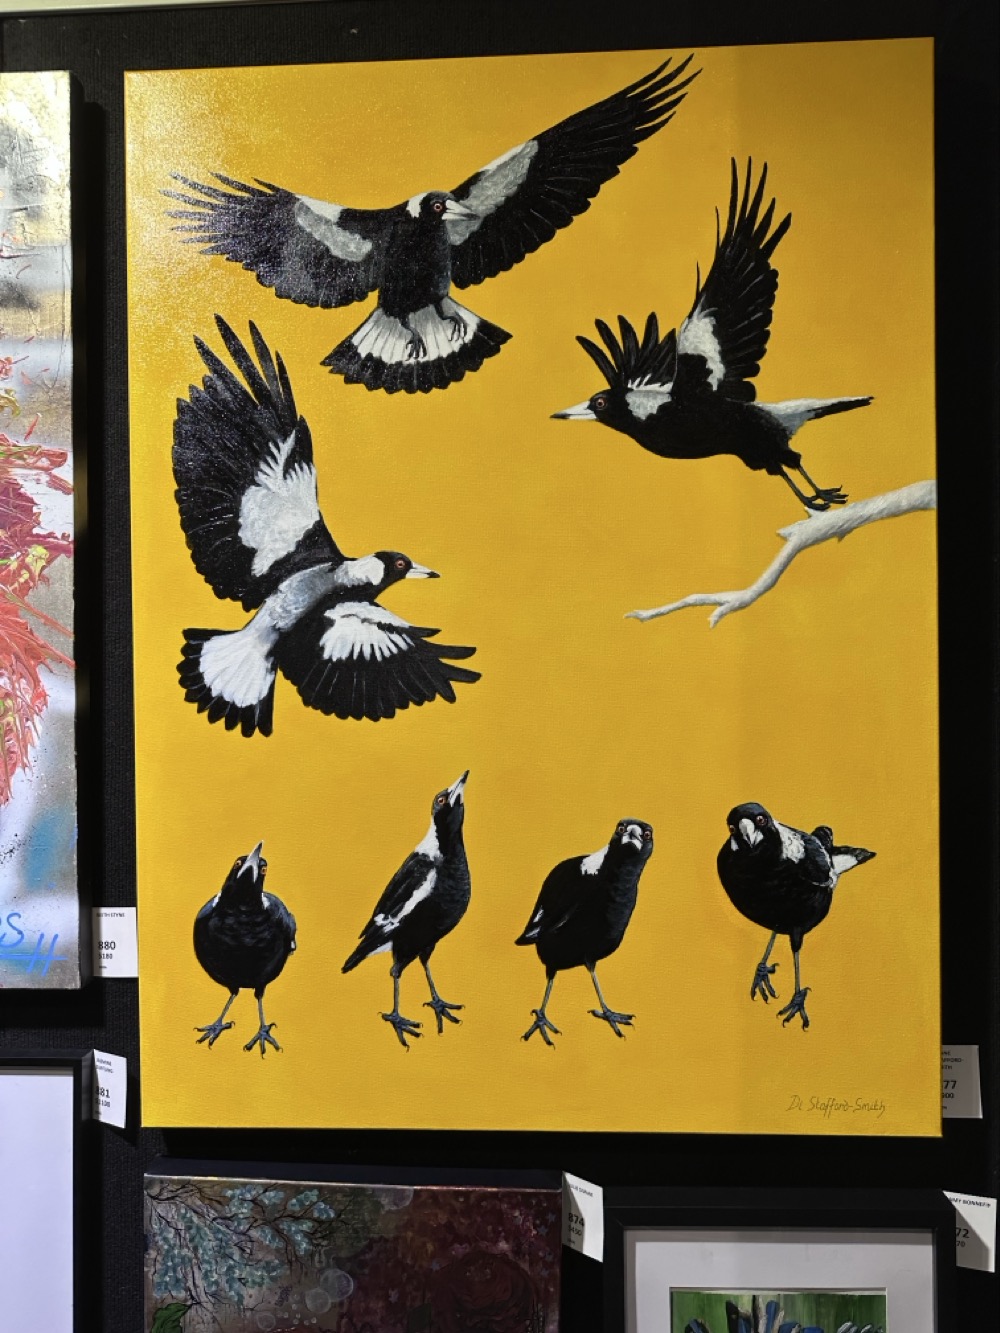
I really liked the bold graphic qualities of this painting of magpies.
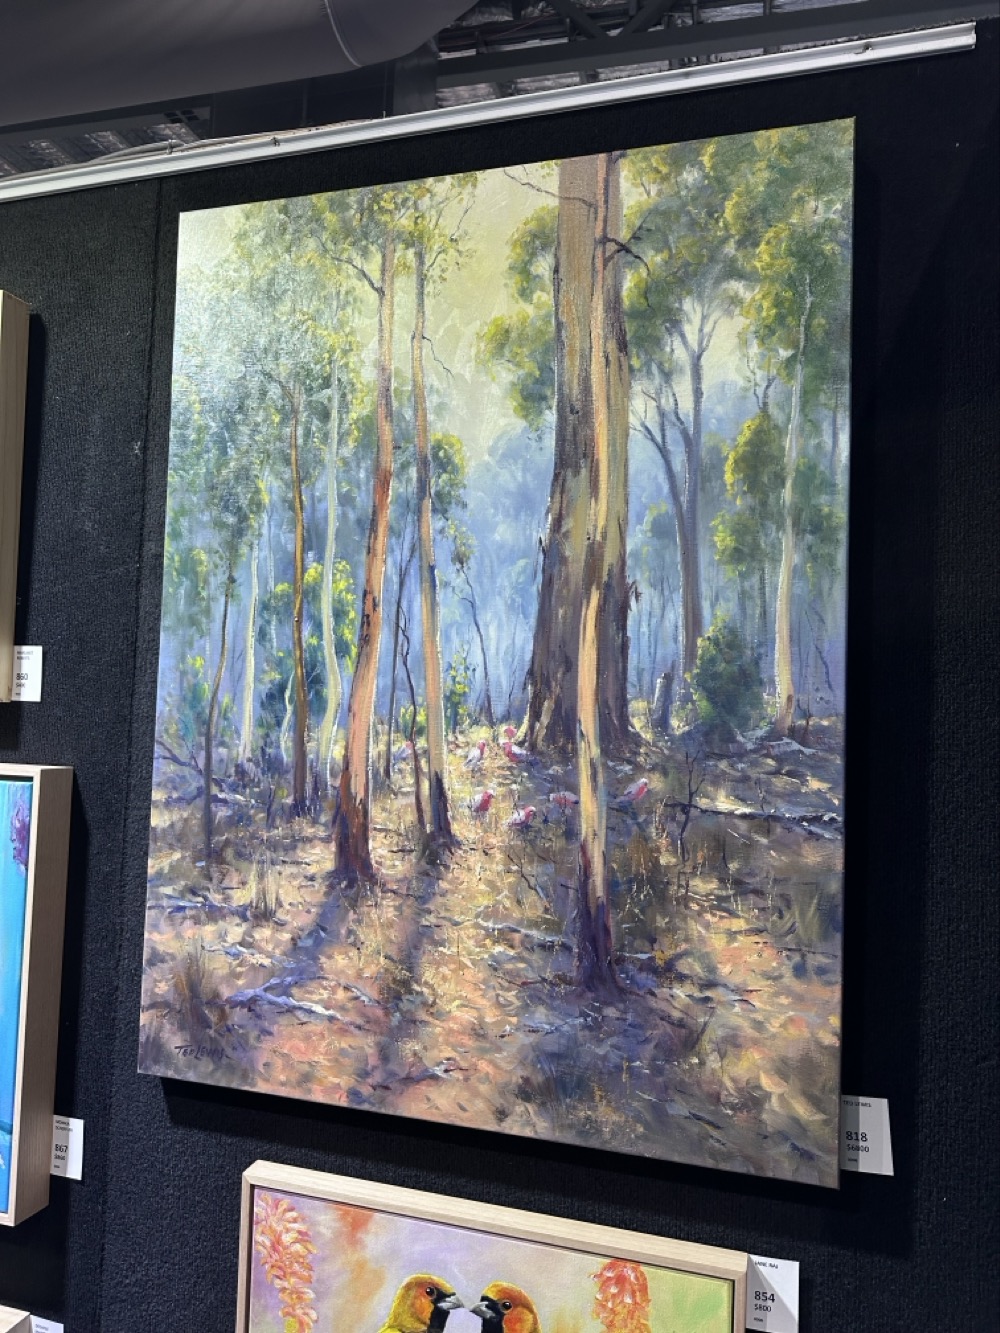
I recognised the style of this piece immediately and was pleased to verify it was by Ted Lewis. We very, very nearly bought one of his paintings a few months ago, and I’m still thinking about it. I love in this one how you don’t notice the galahs at first.
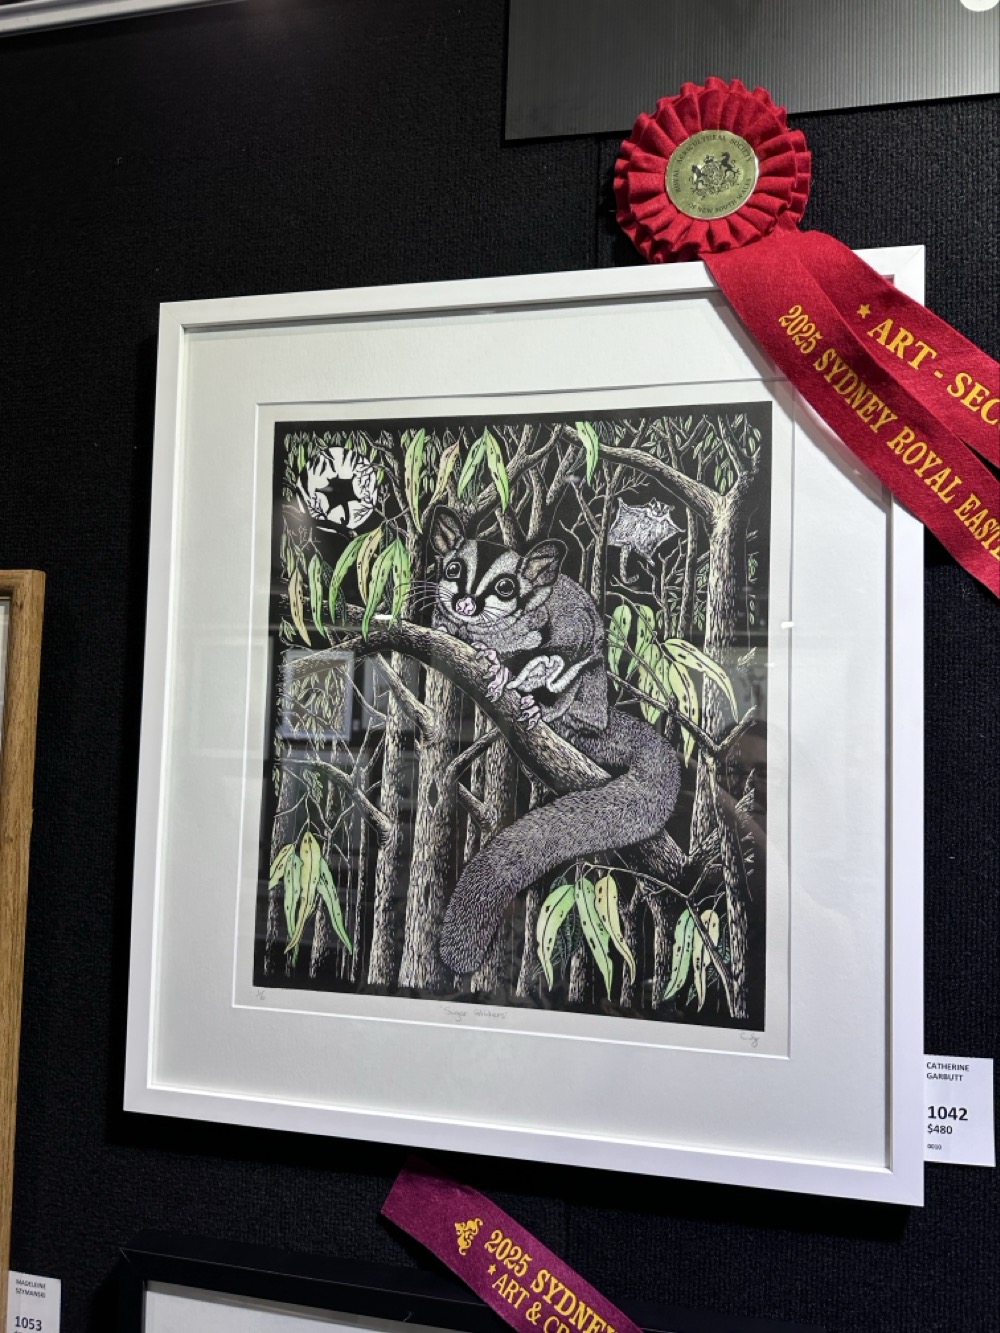
This print of sugar gliders was so intricate and so beautiful!
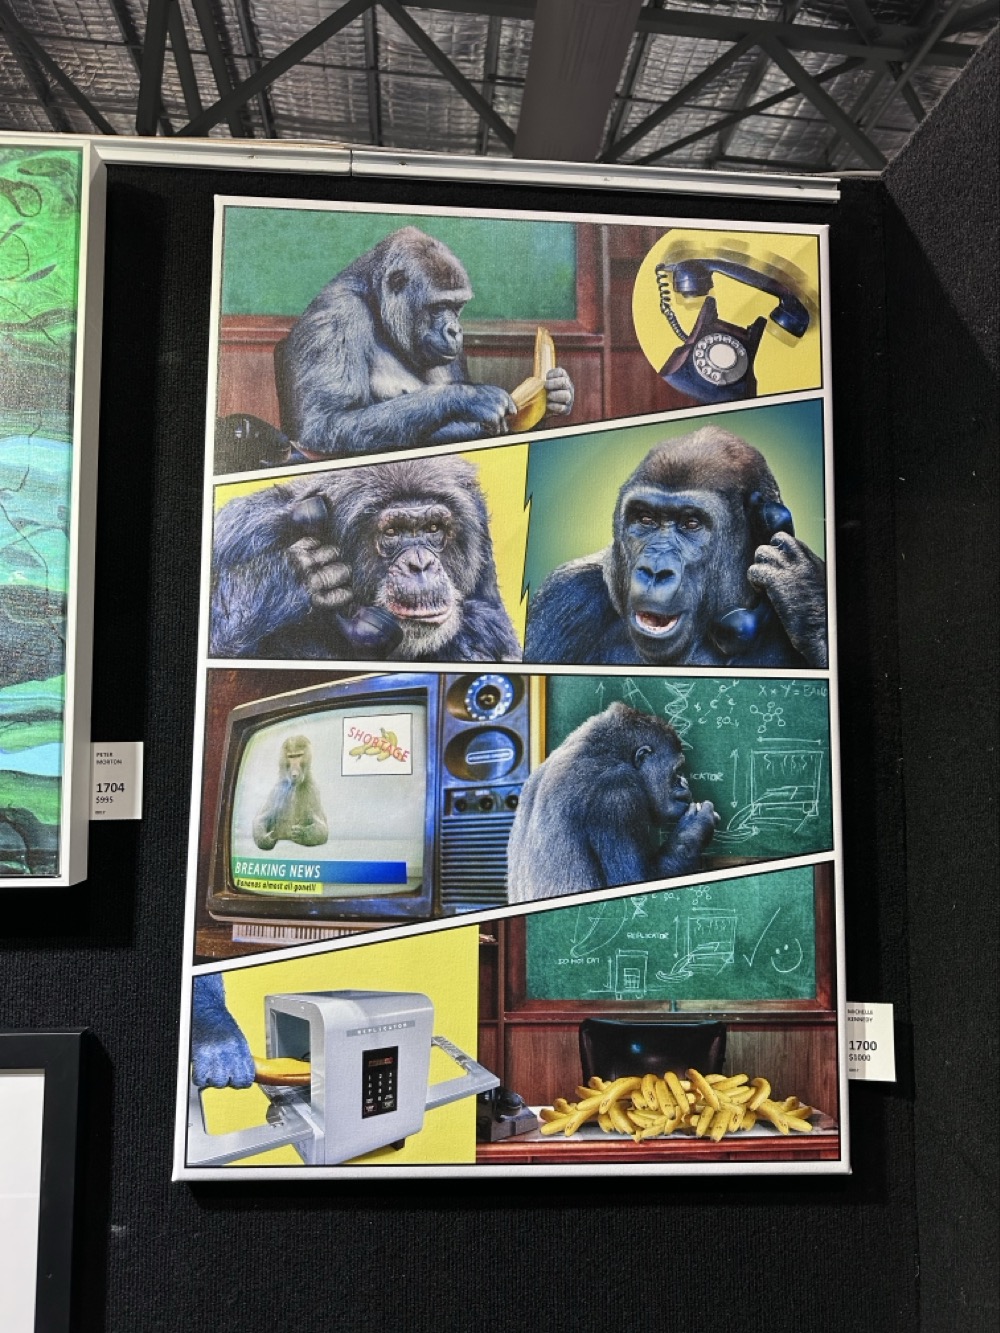
Banana replicator! This amused the hell out of me. It was in the “raster artwork” category, and I had to look it up in the schedule to see what that actually means: “The image must have originated from an original photograph, including photographs purchased within Copyright or acquired after Copyright has expired. The image may be significantly manipulated or enhanced using Photoshop or equivalent computer software.”
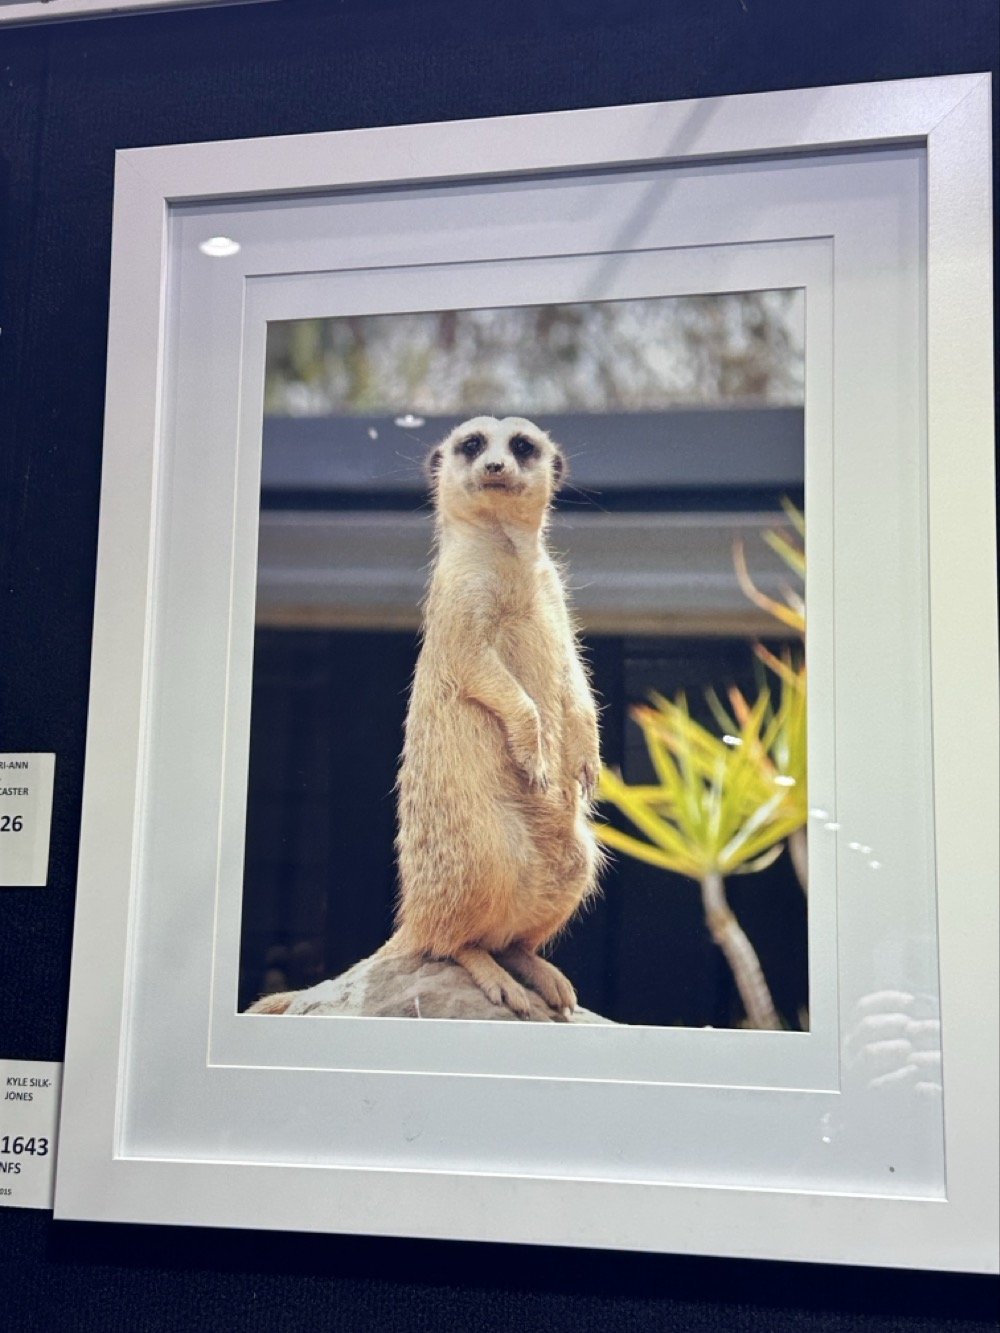
Meerkat! Mr. Snook is a big fan. We were delighted to discover that the German word for meerkat is “Erdmännchen,” which means “little earth man.”
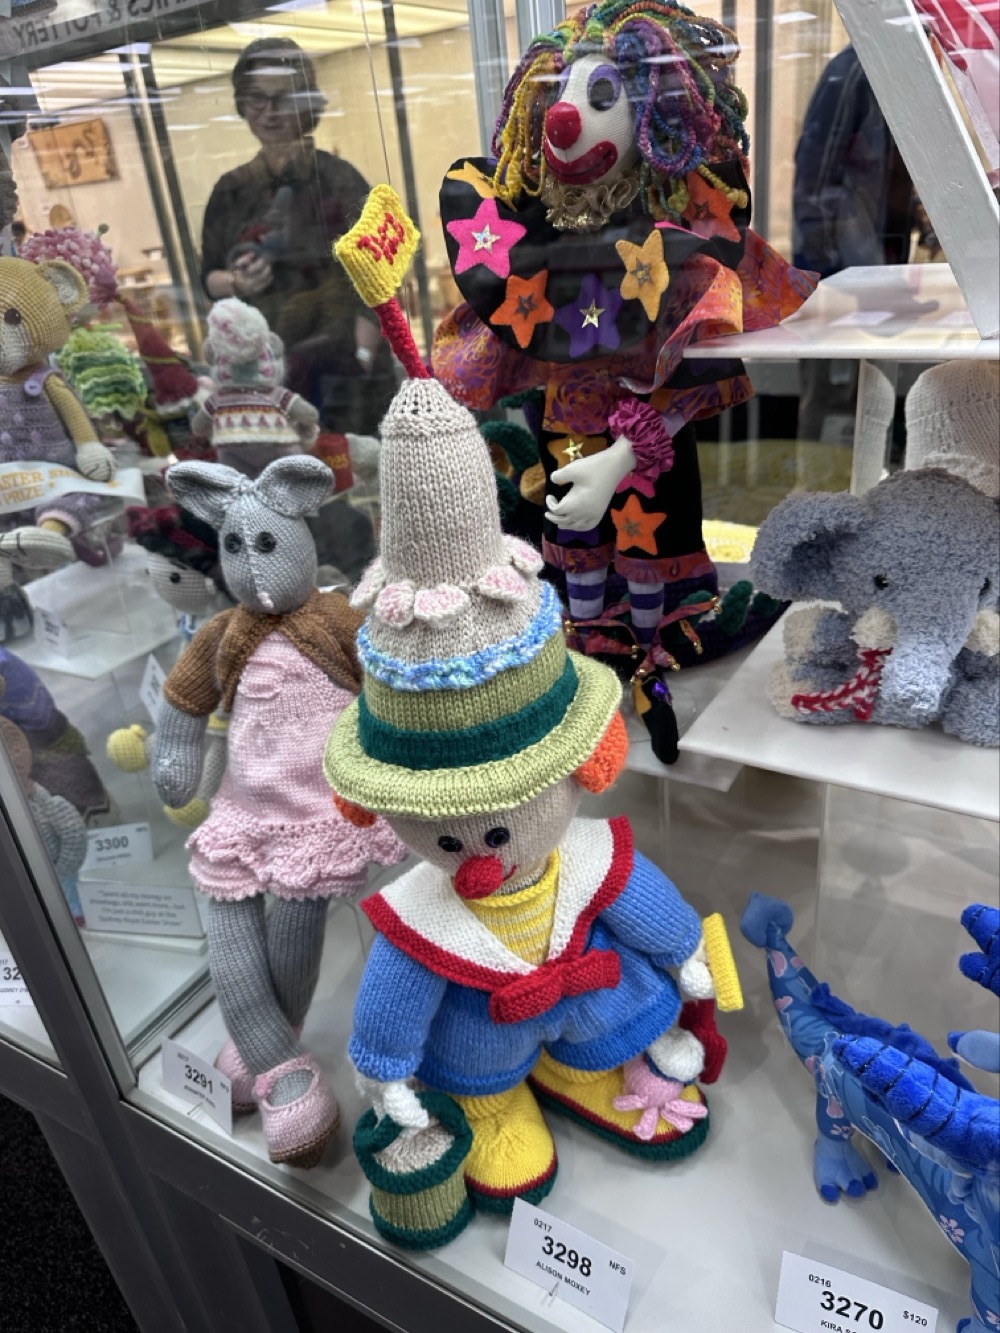
I almost thought I’d escaped—that as a society we’d moved past this particular brand of evil—but of course, there’s gotta be a goddamn Jean Greenhowe clown. I kid, but not really. It’s not an Easter Show without someone knitting a Greenhowe clown.