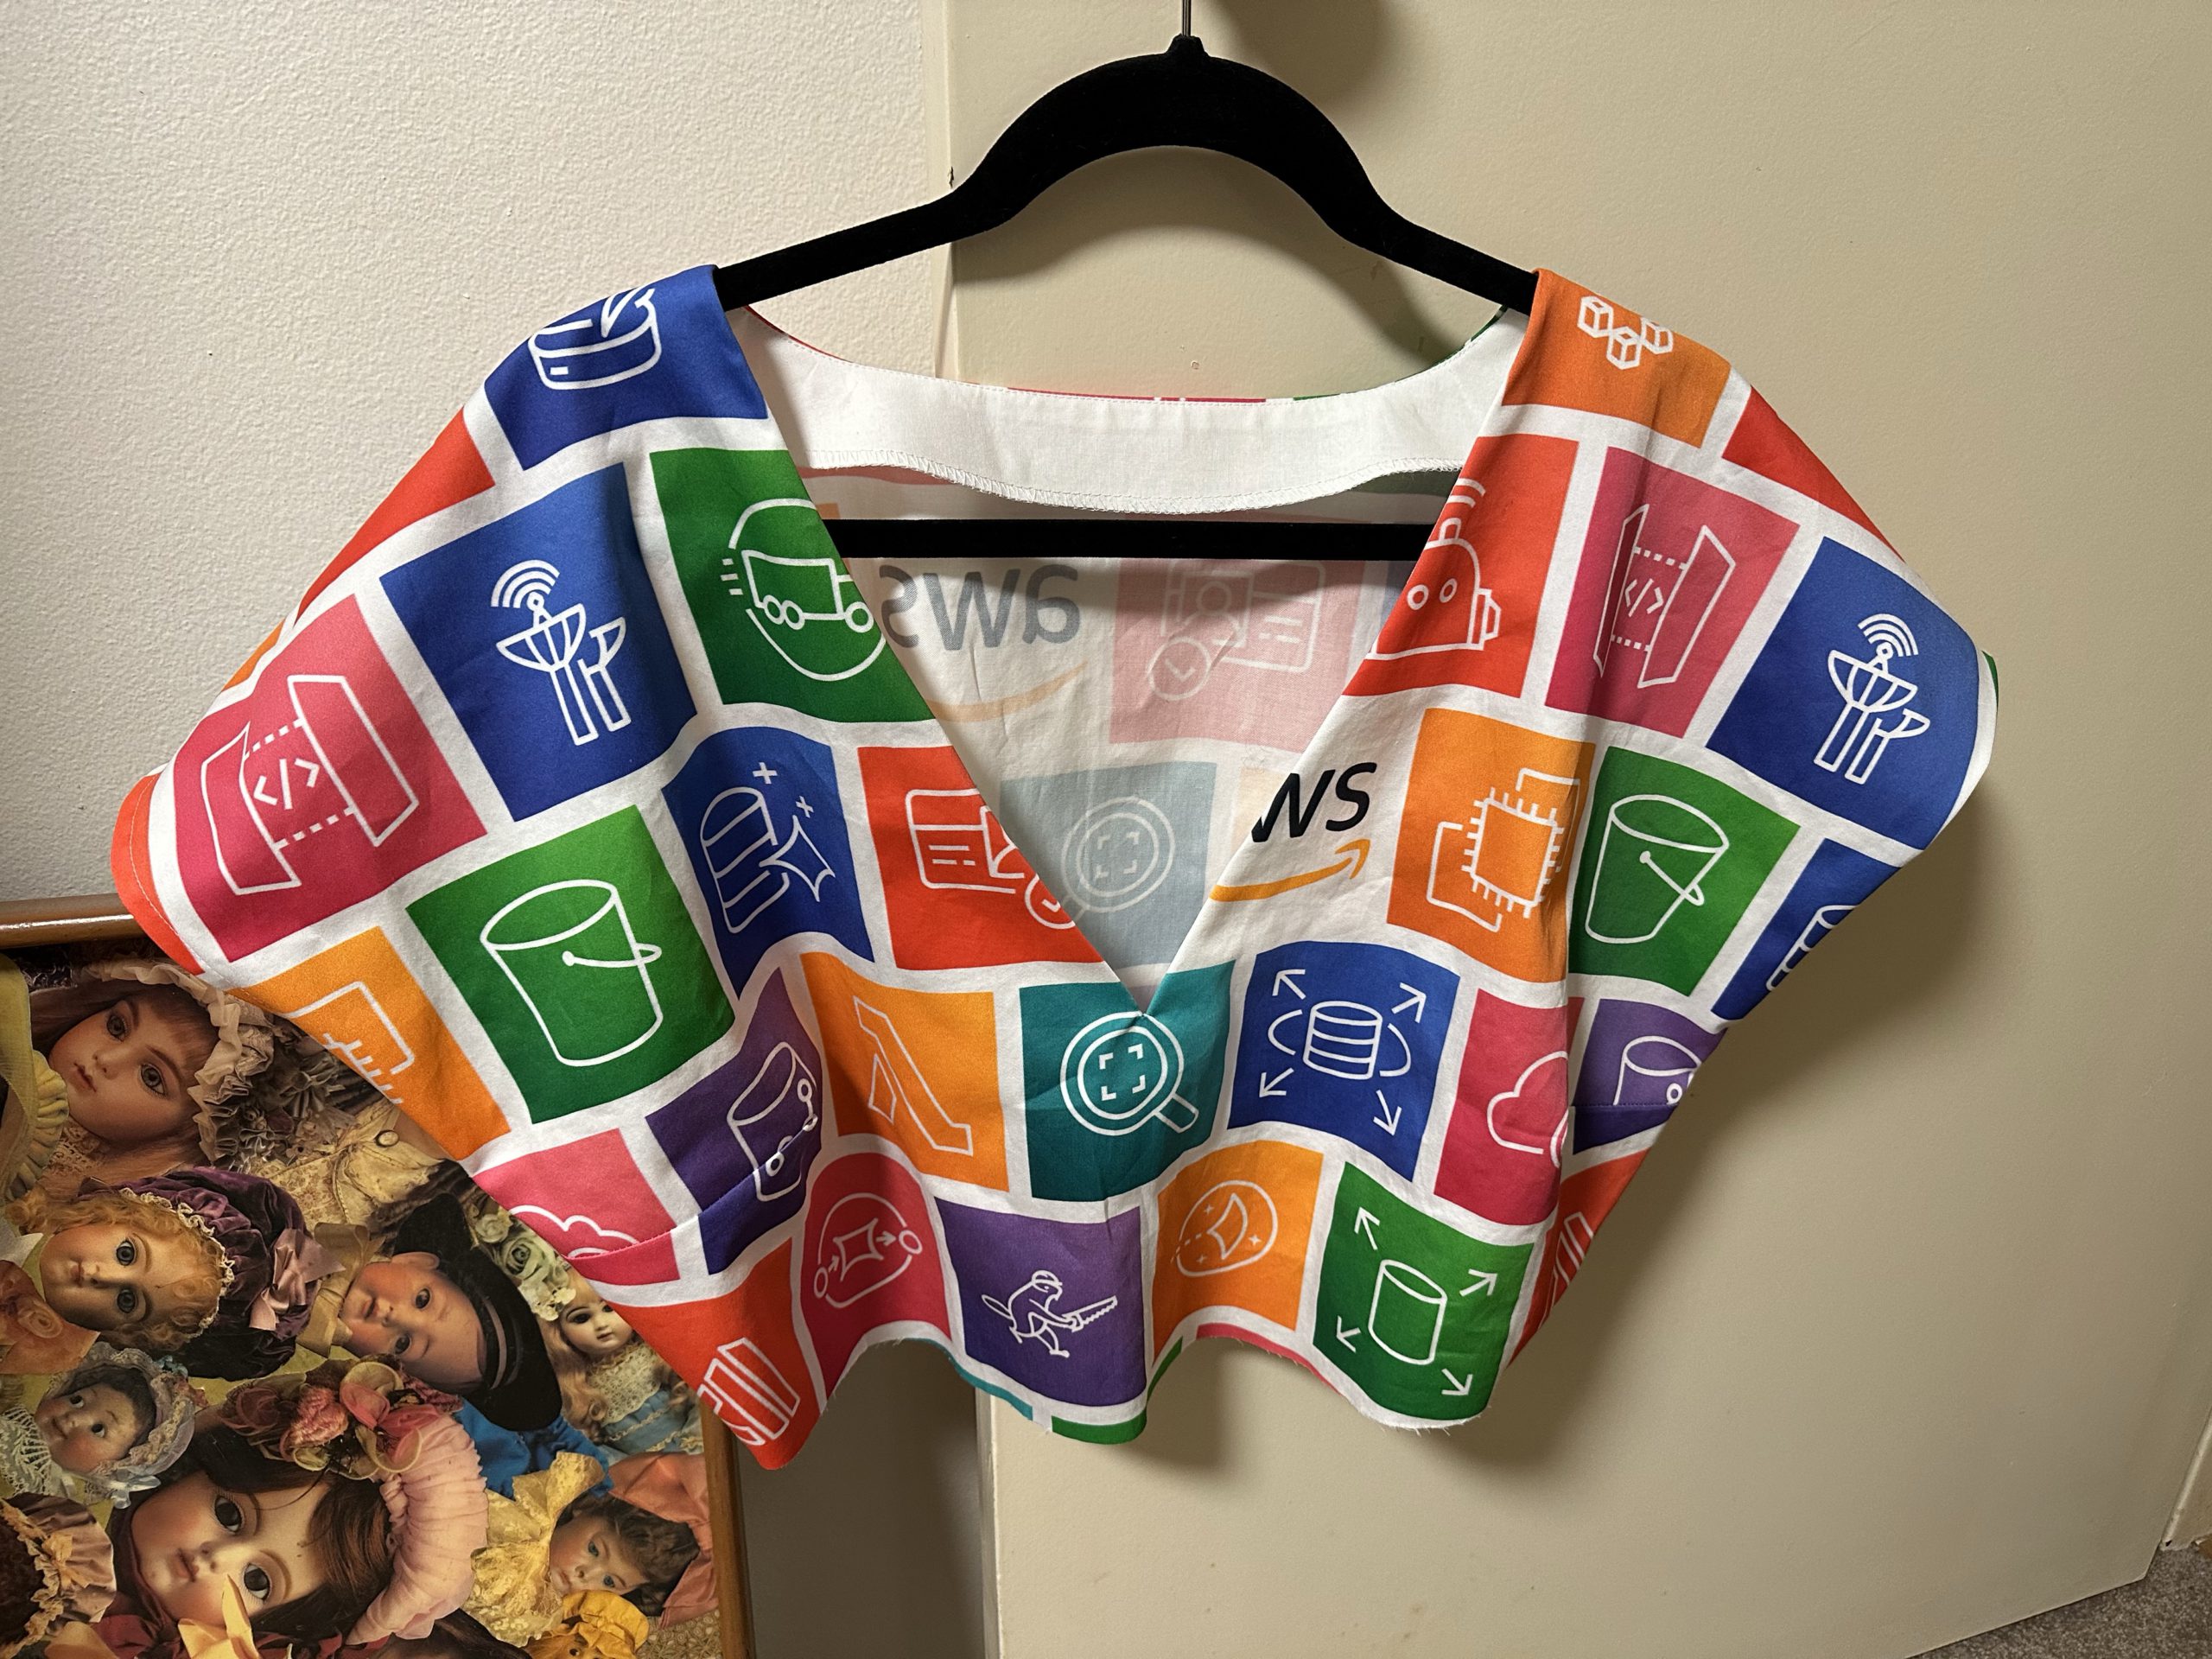
If you’ve met me at a tech event in the past 5 years, there’s a good chance that I was wearing my AWS dress.

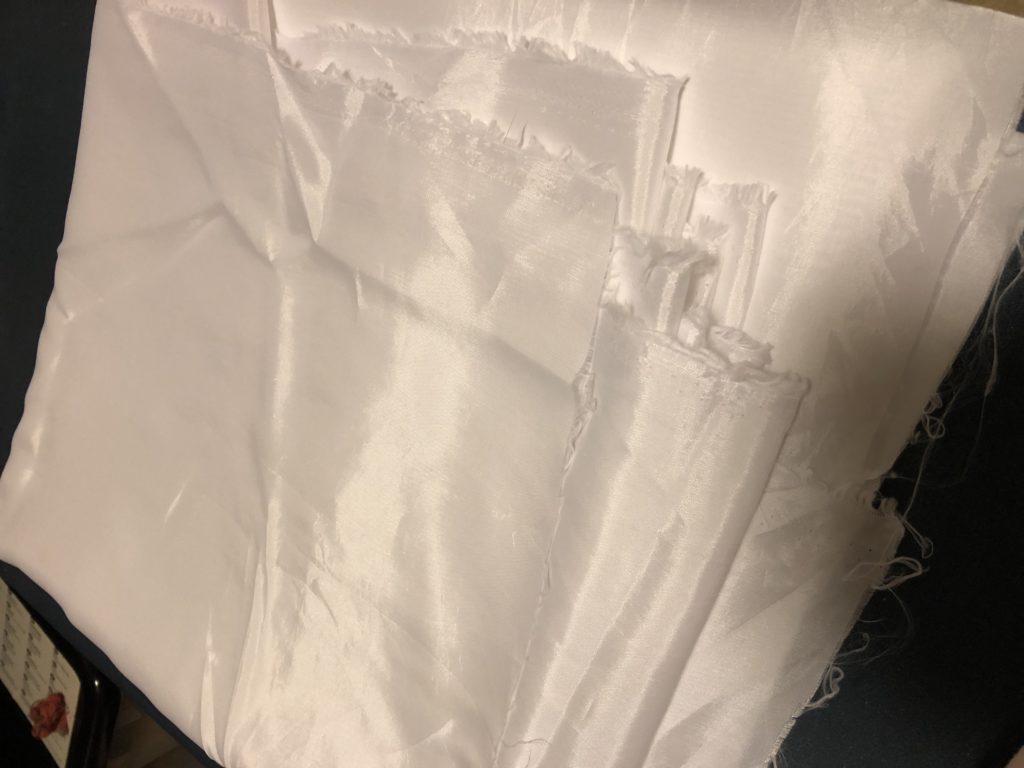
This was something I made in 2018 to celebrate and thank everyone that donated to Frocktober that year. The fabric was designed by me and printed by Spoonflower (4yds of Cotton Poplin Ultra), and the dress itself was a Colette Rue. I made my own piping for the waist panels. The fit on the Rue is/was notoriously weird though, and I struggled to get a version that fit me and would sit where I wanted it to. In the end, the bust is rather baggy and the shoulders are so wide I have to use fashion tape to stick them to my bra straps. (And I have wide shoulders!) I also wasn’t thrilled with the fabric, which wrinkles easily and looks a bit like bedsheets. But everybody seemed to get a big kick out of it, so I continued to break it out for AWS events over the subsequent years. I even got a selfie in it with Amazon CTO Dr. Werner Vogels!
 This past February, I went to Singapore to co-present a big keynote for one of our AWS Innovate events. To my surprise and delight, my colleague Ethan handed me a special t-shirt to wear. How cute is that? It’s got a little illustration of me in the dress! I later asked him for the original image file, and I had some stickers made up to hand out at events. This thing was really taking on a life of its own.
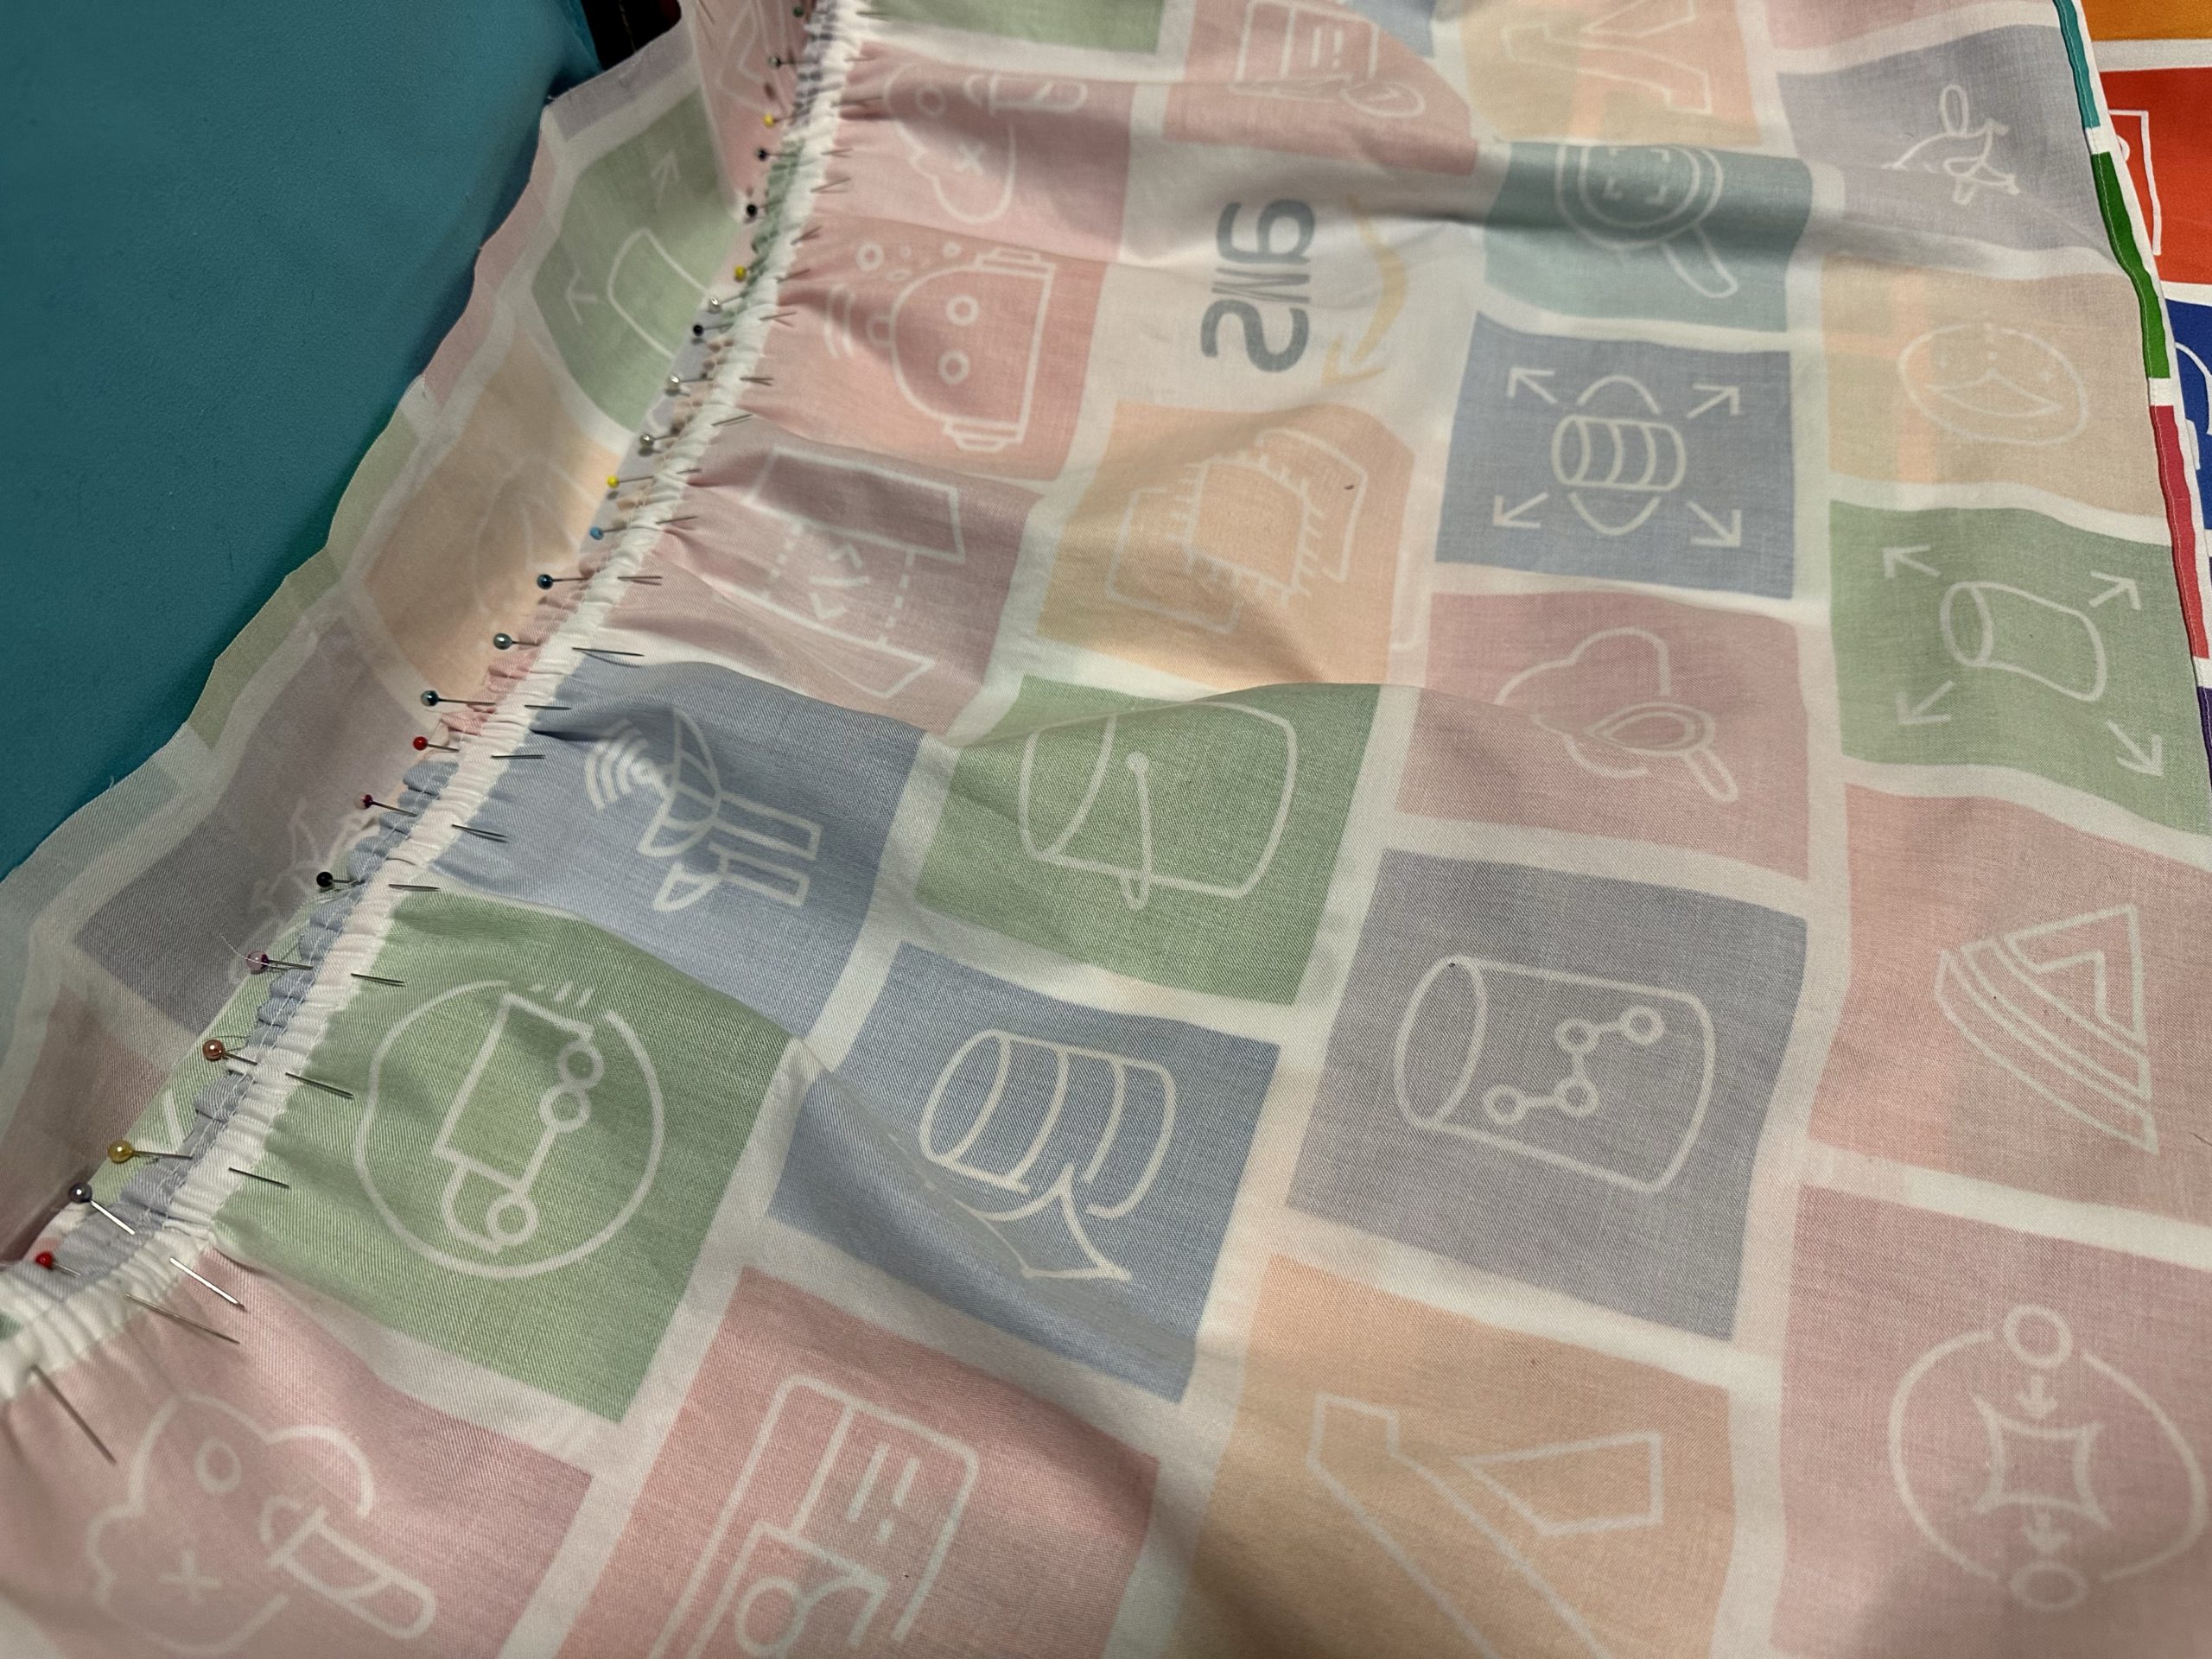
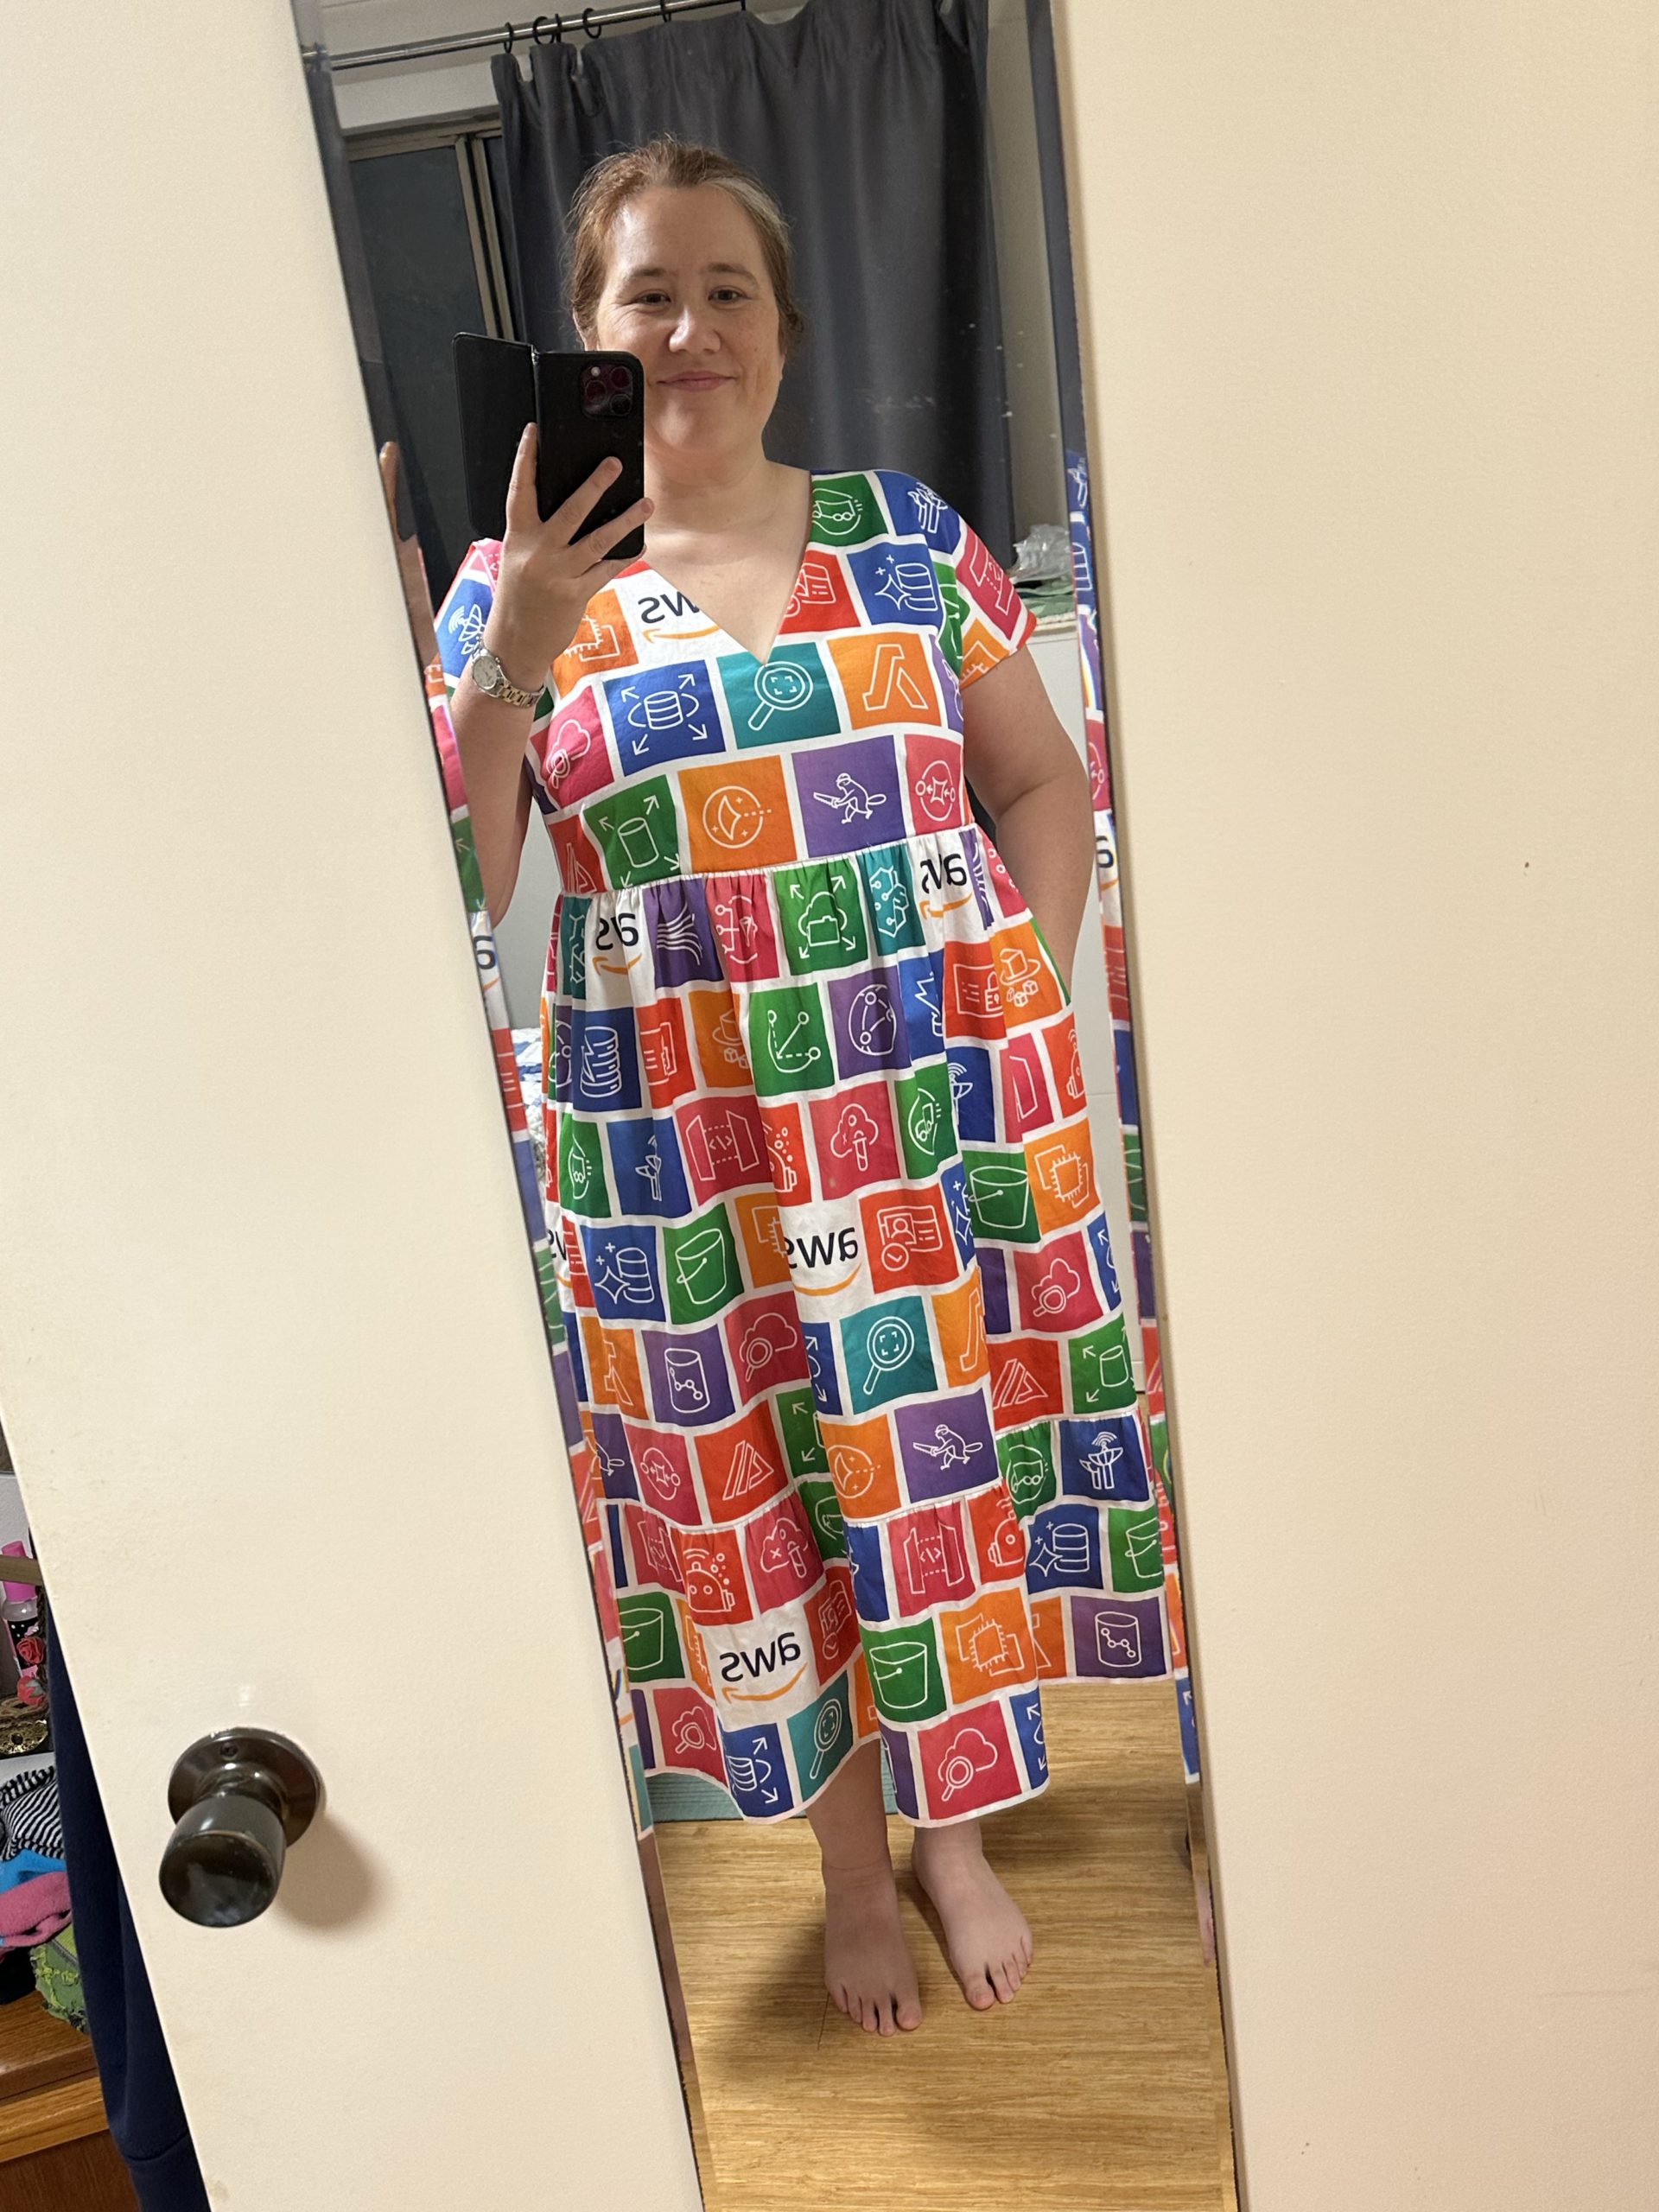
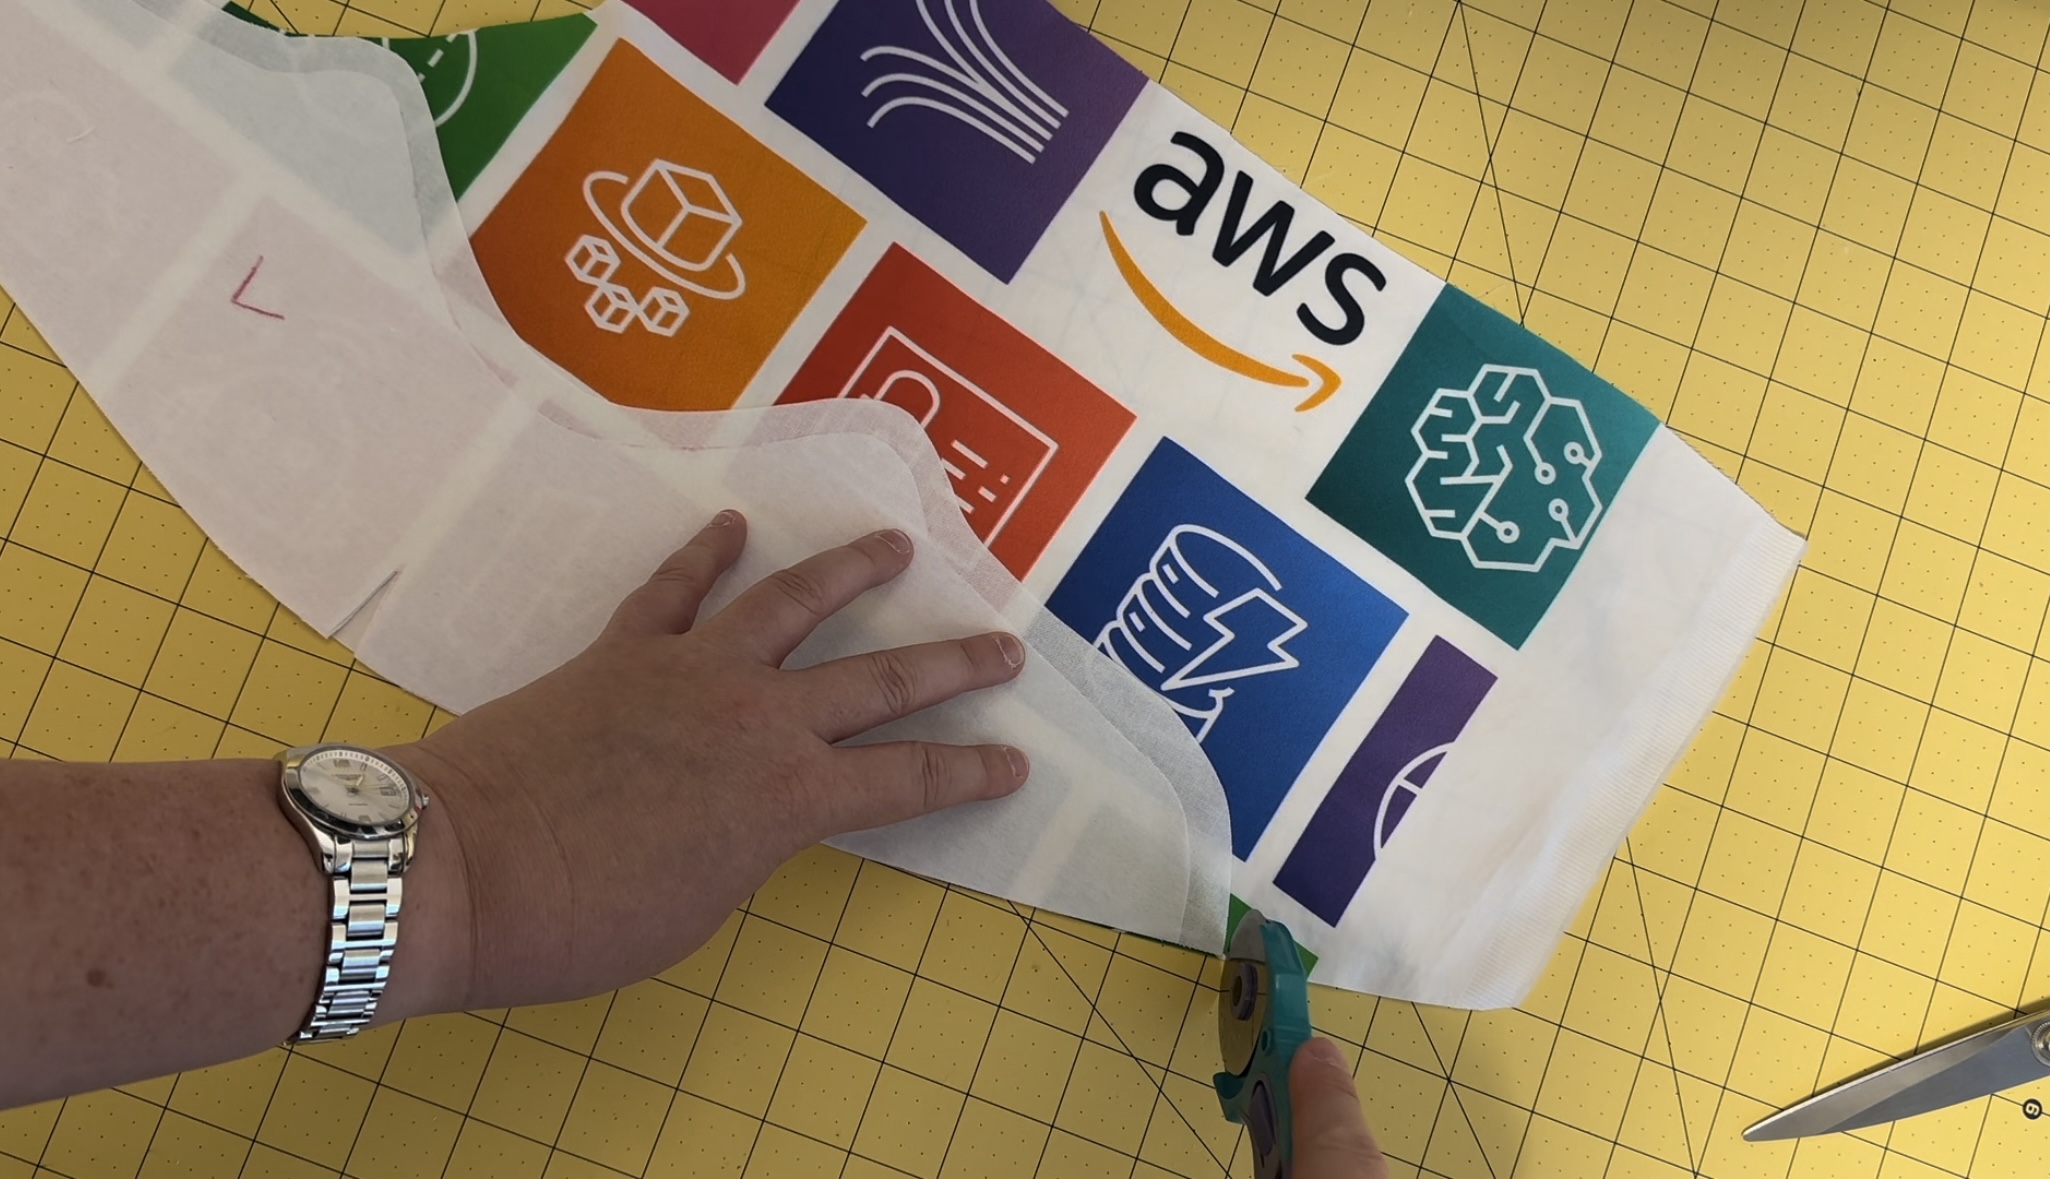
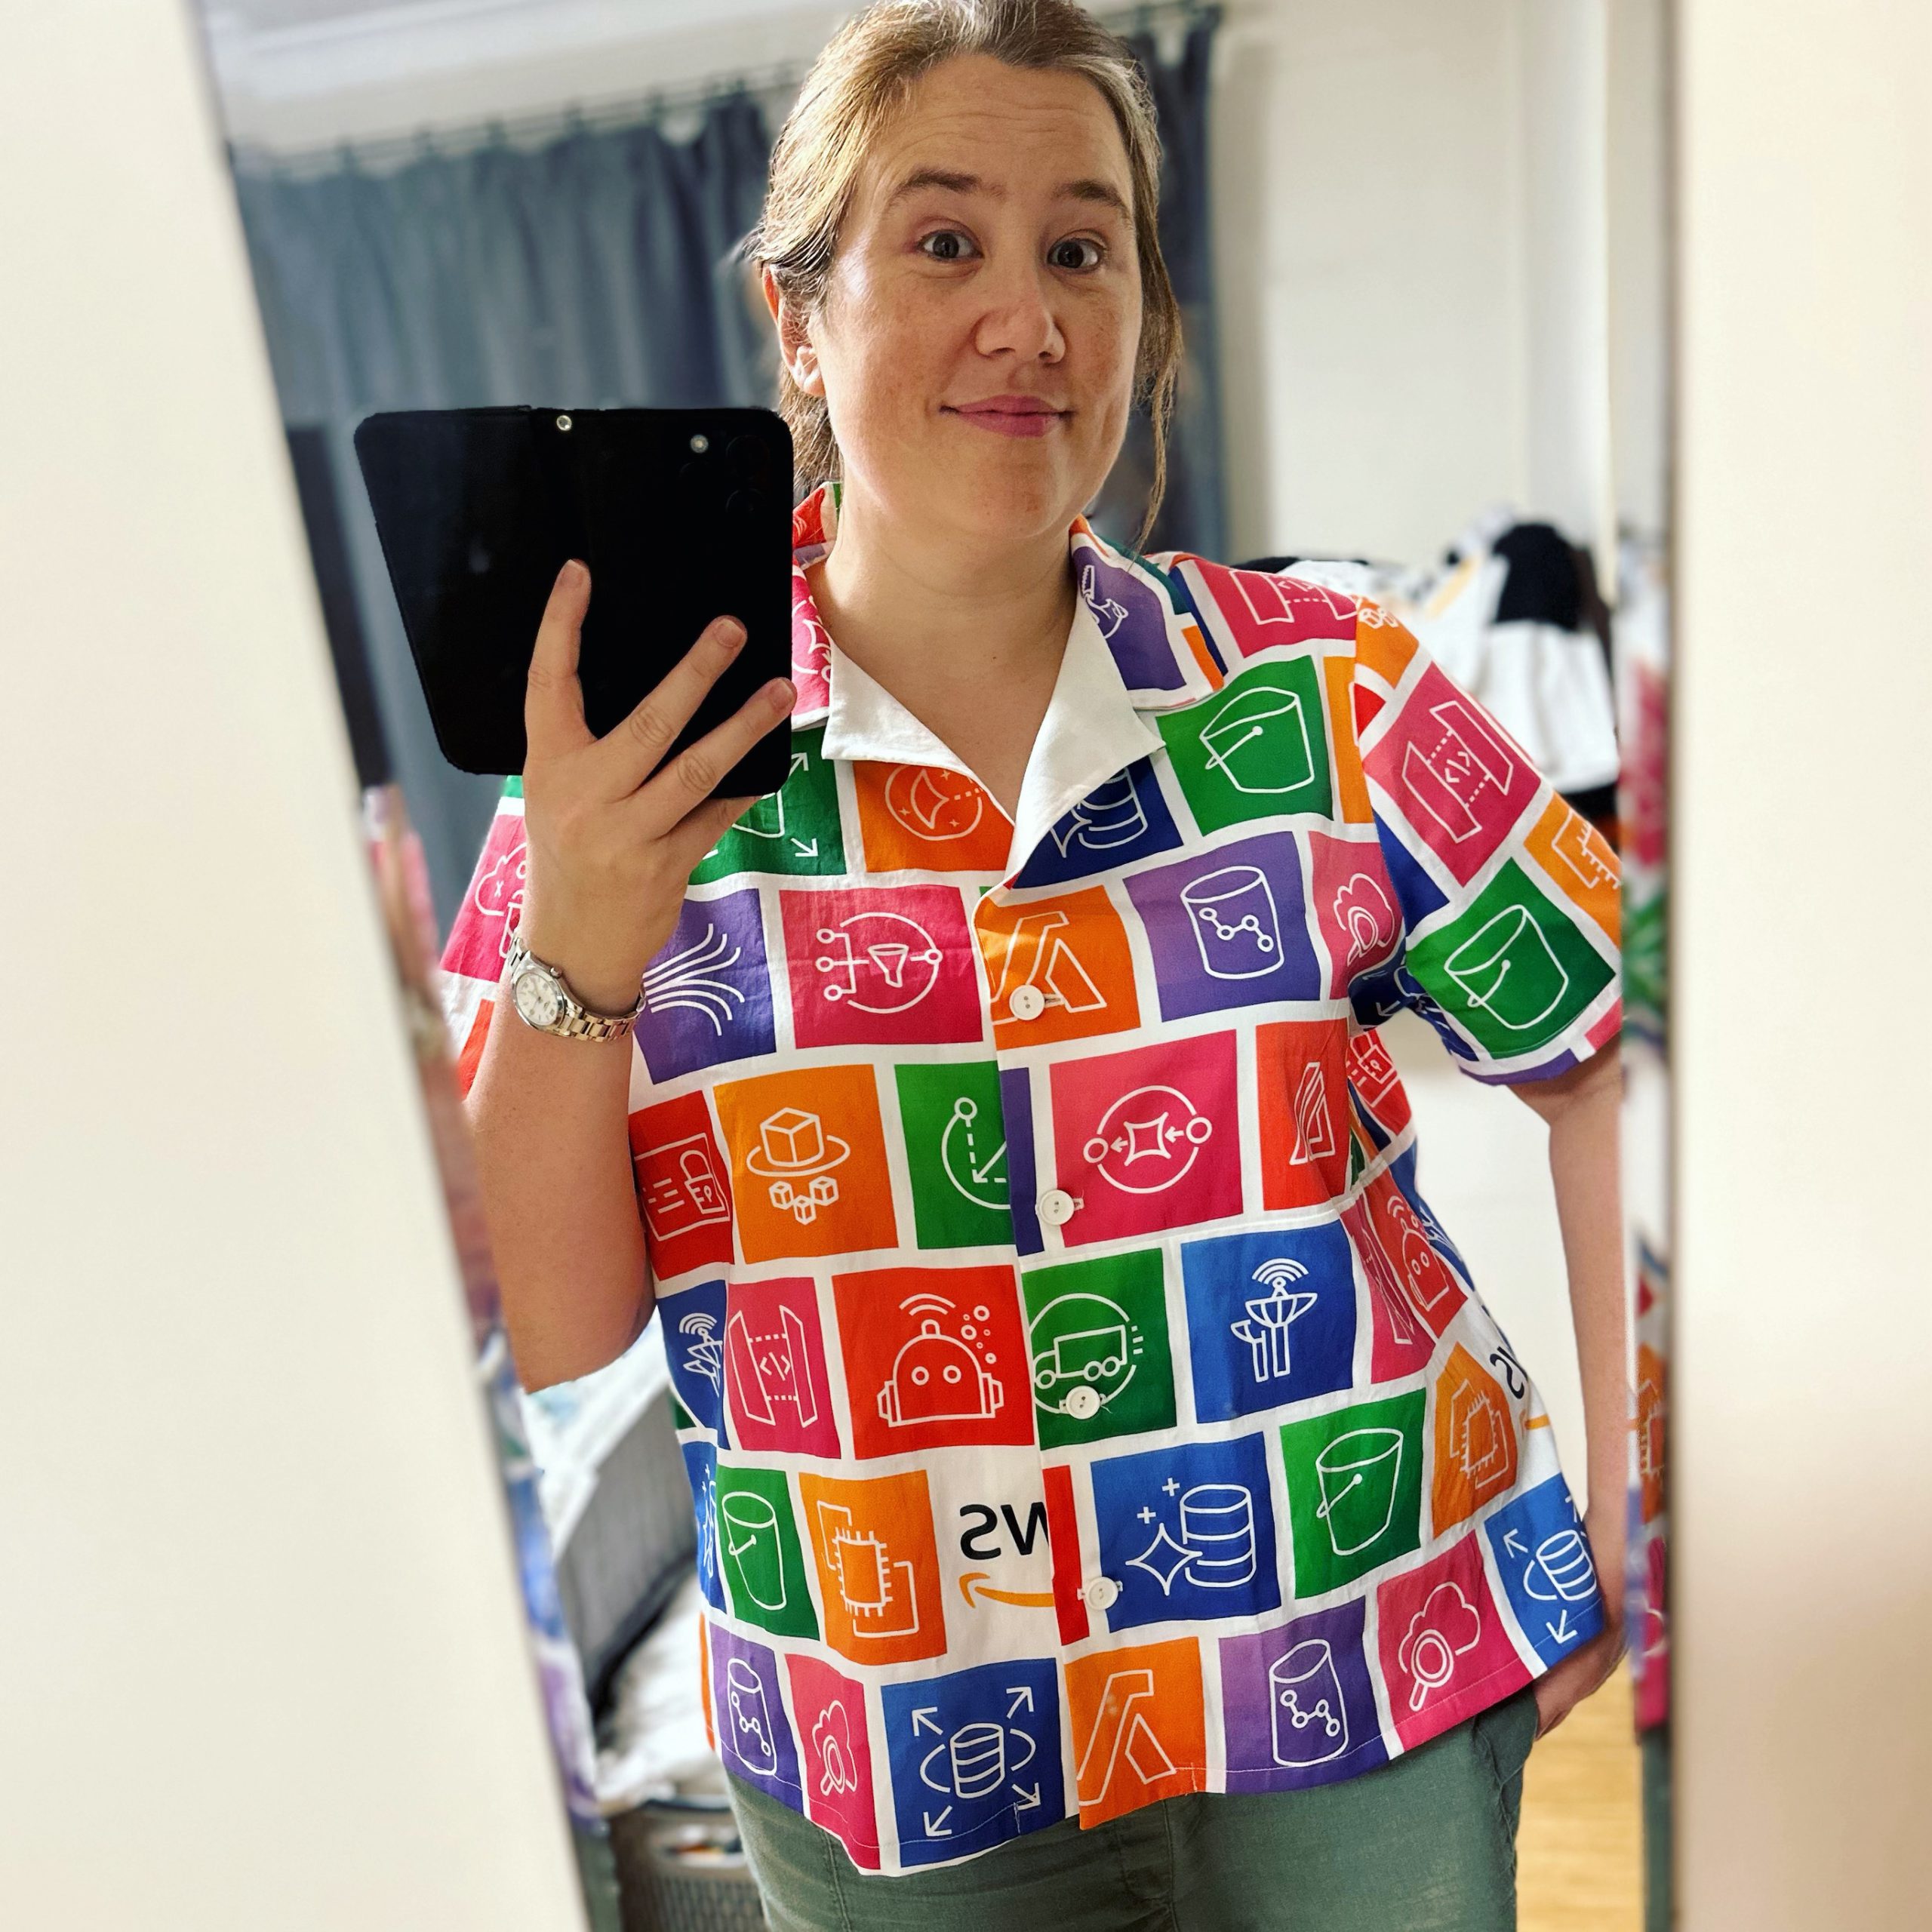
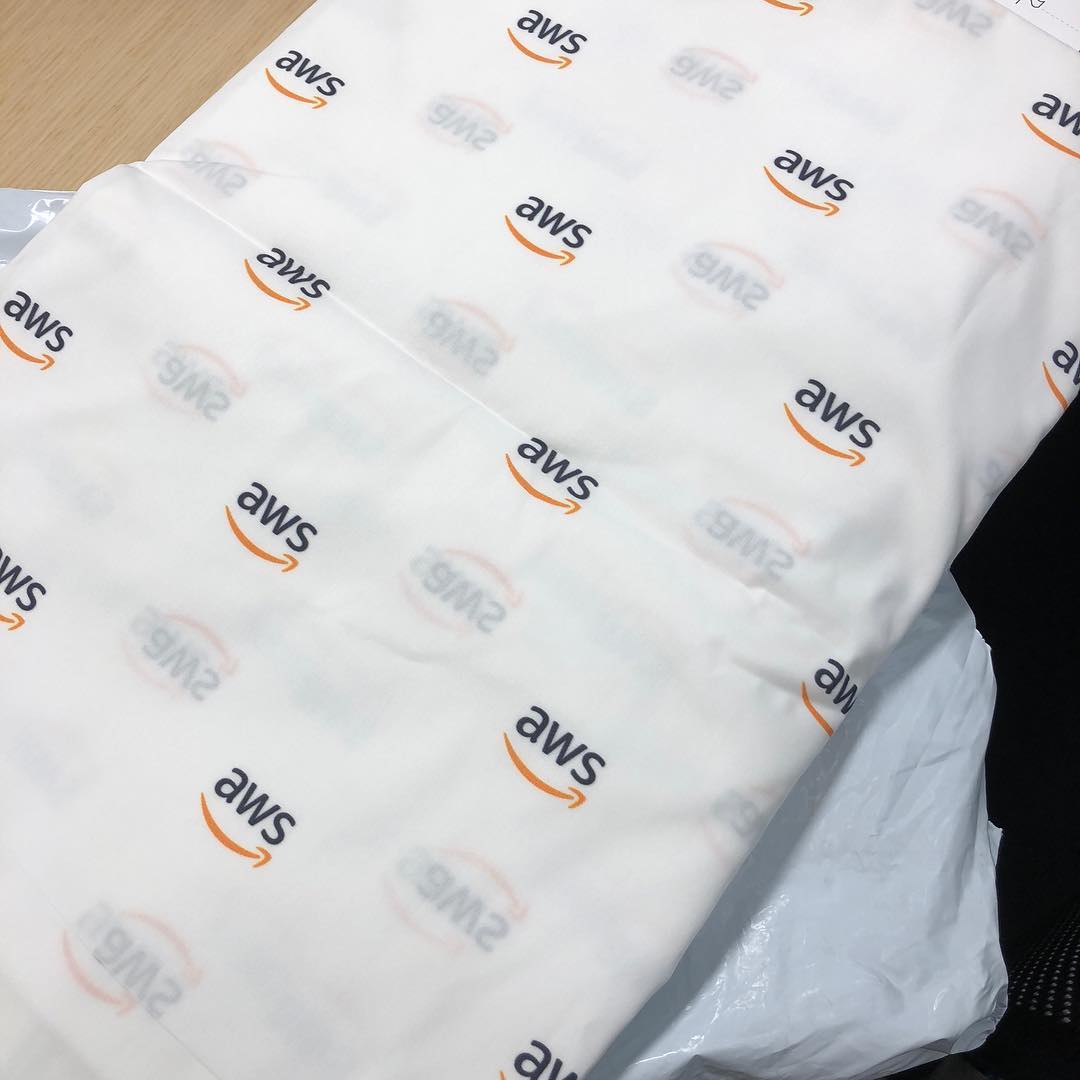
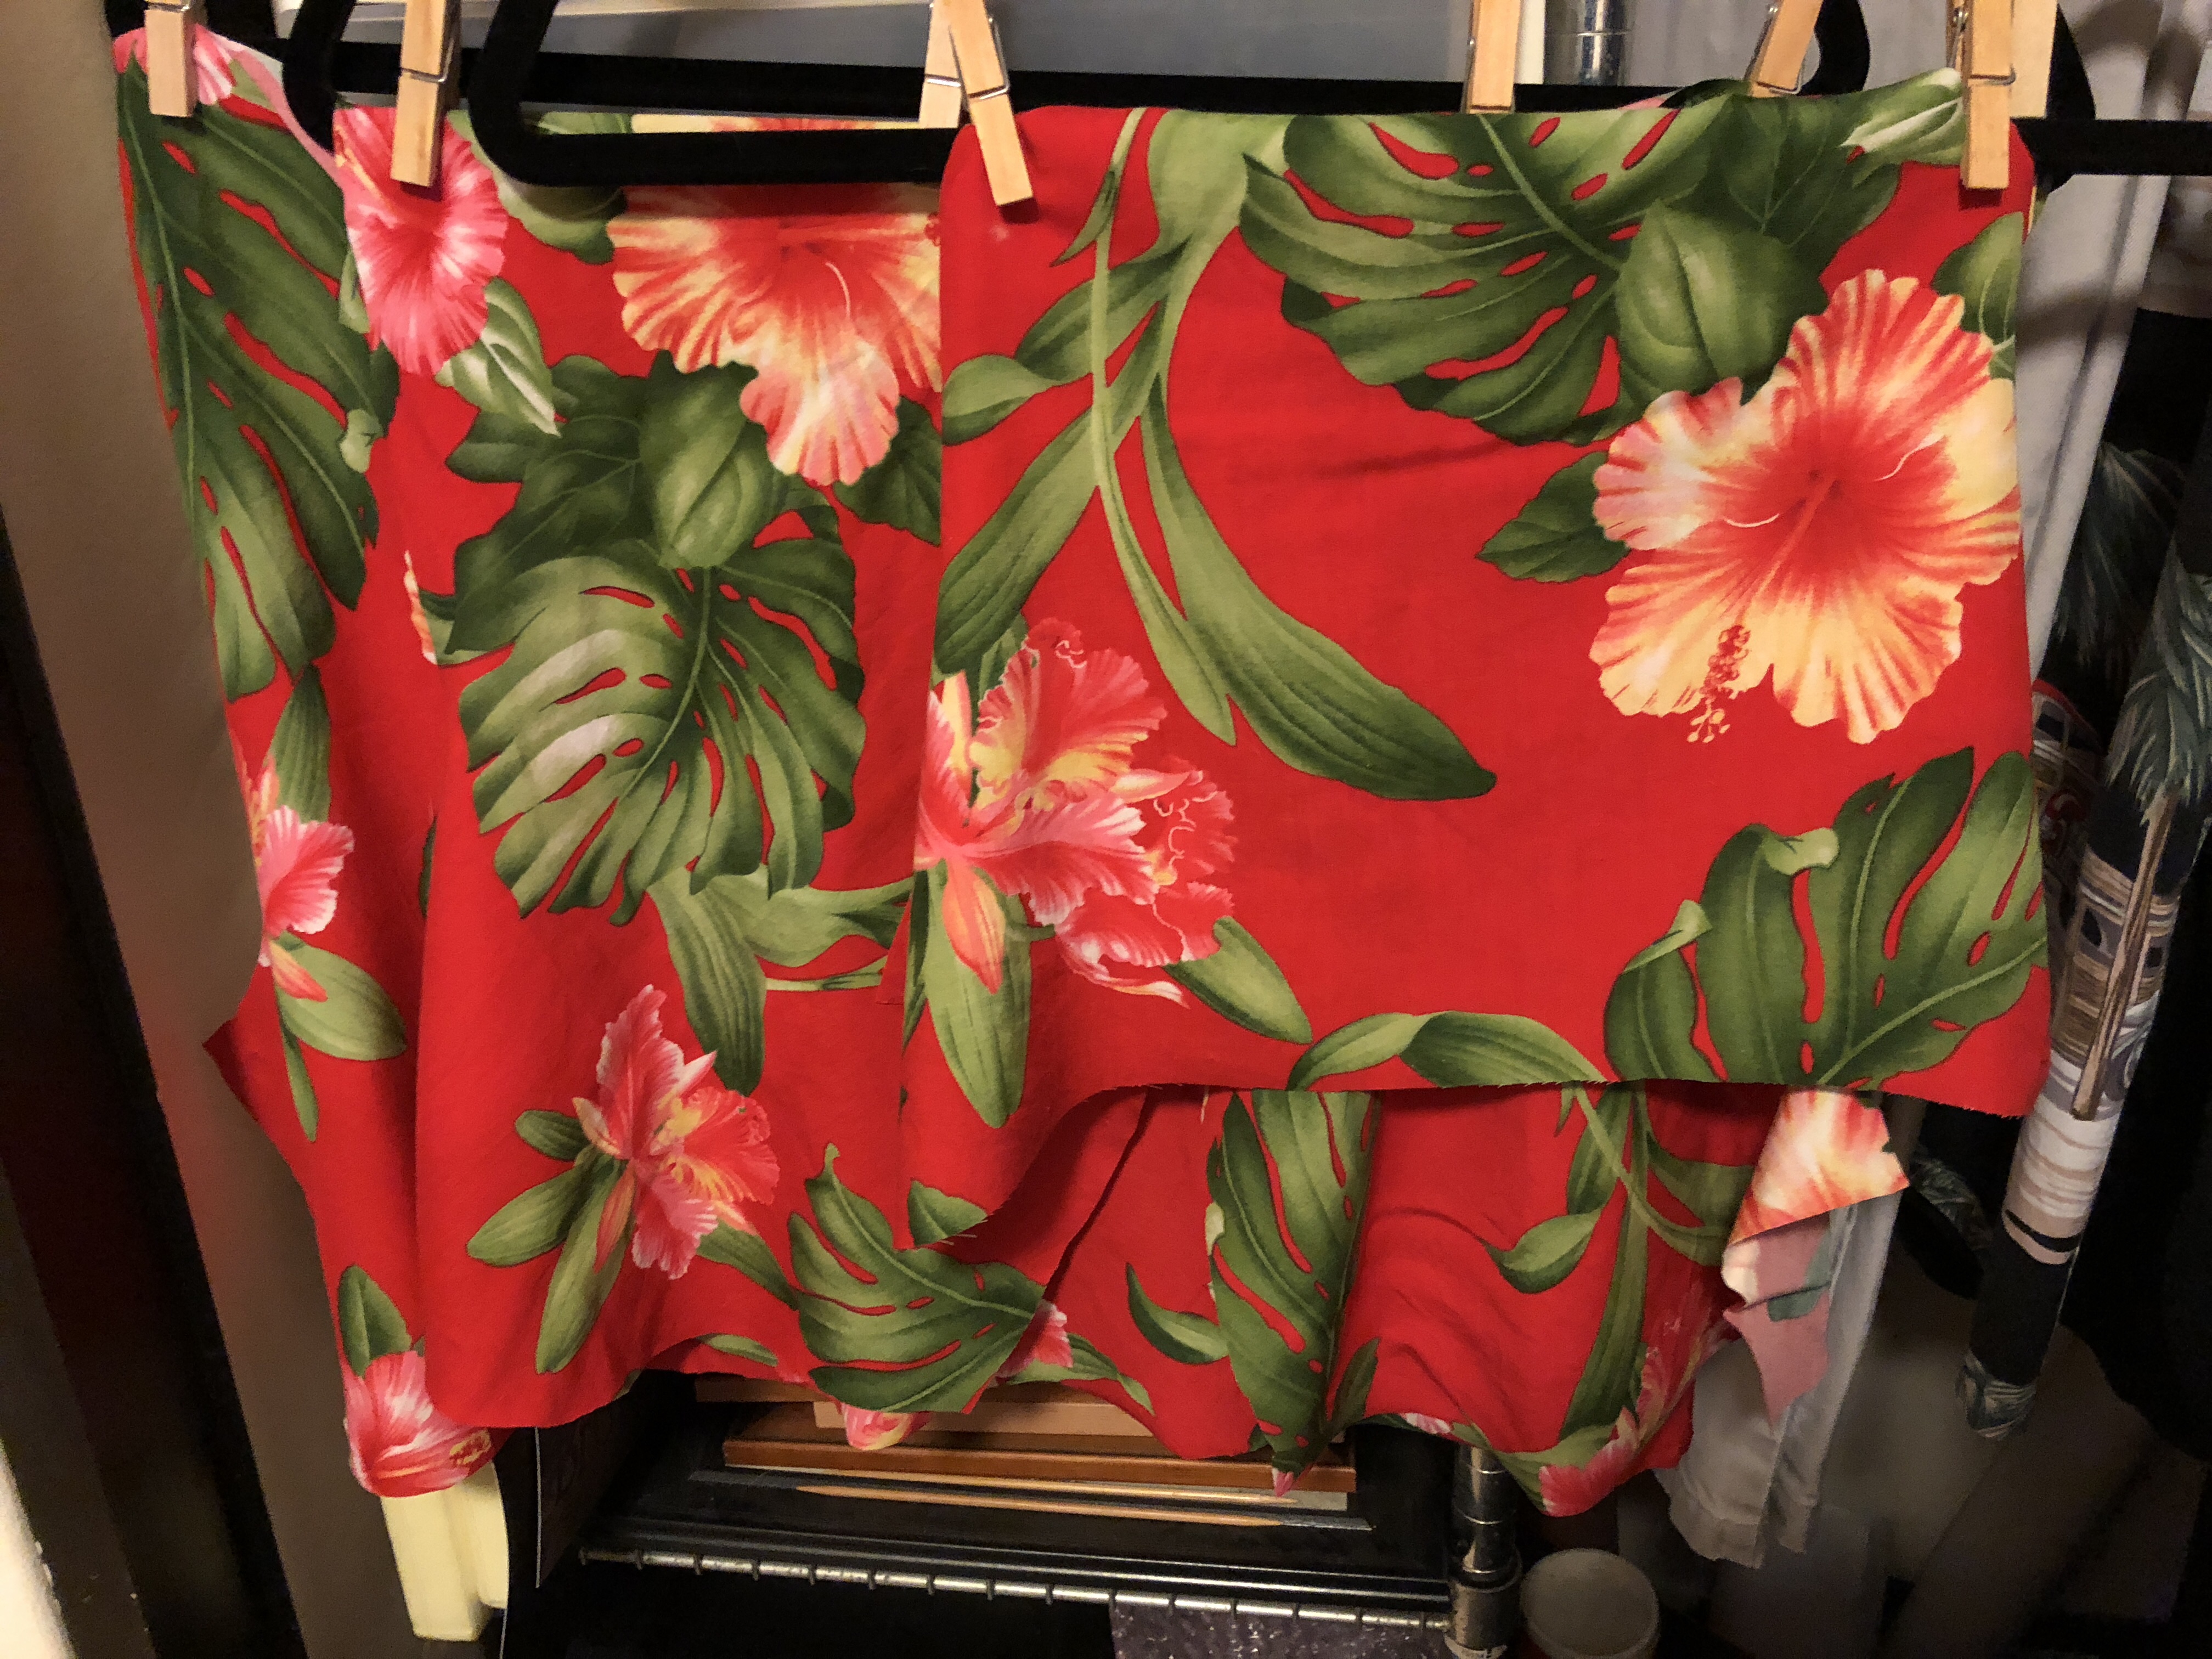
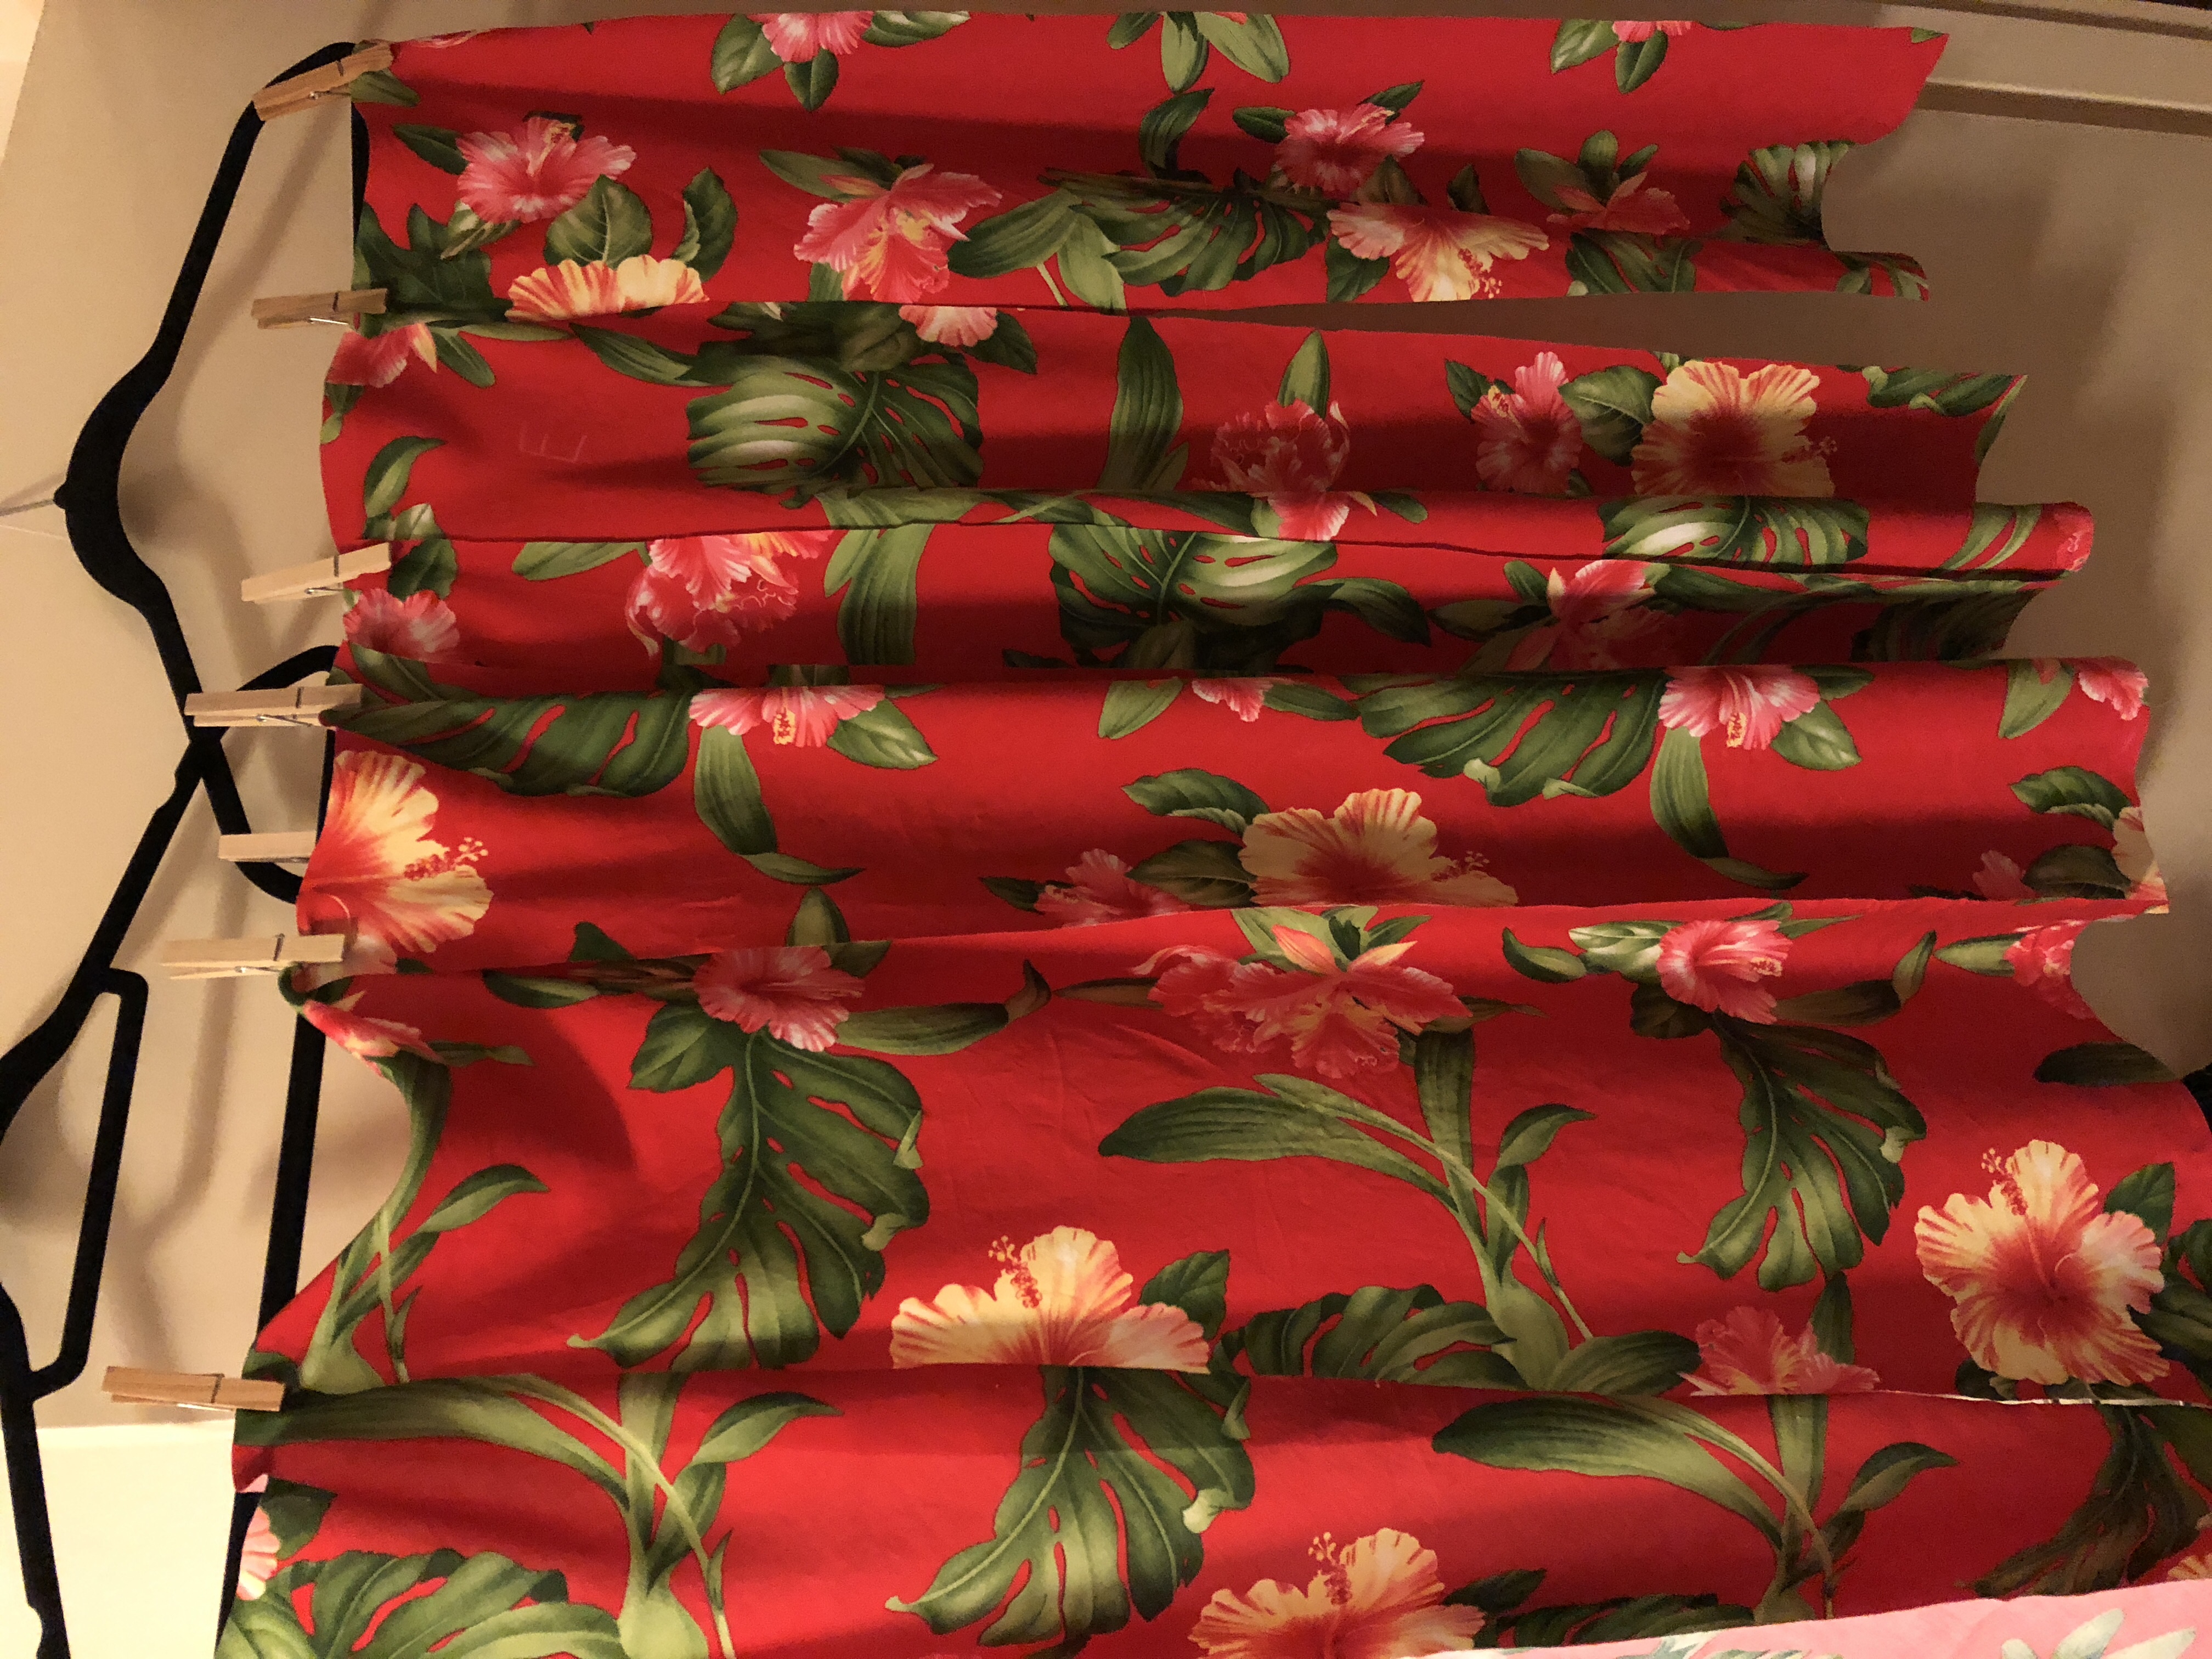
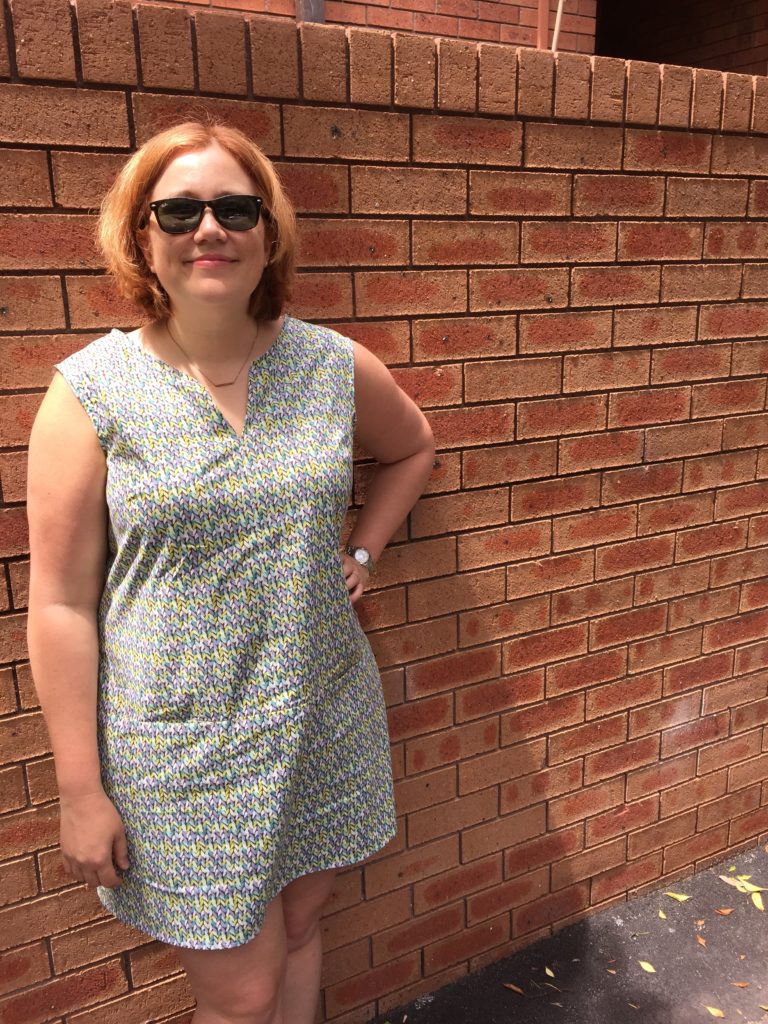
That said – I was tired of the white, and I felt like it was past time for a new version. So I created a new design using 28 AWS service icons, arranged in a brick formation along with the AWS logo. I picked icons for my favourite services as well as ones that I thought just looked cool, and with a goal of getting a nice range of colours. Then I sent it off to Spoonflower to get printed onto 5 meters of their Organic Cotton Sateen fabric. It’s a heavier weight with almost a shine to it, thanks to the thicker weave. (Note: I found though that it’s very easy to create a visible snag when pinning, so I tried to only pin through the white bits where it’s less noticeable. Using better pins would probably help too, I think.)
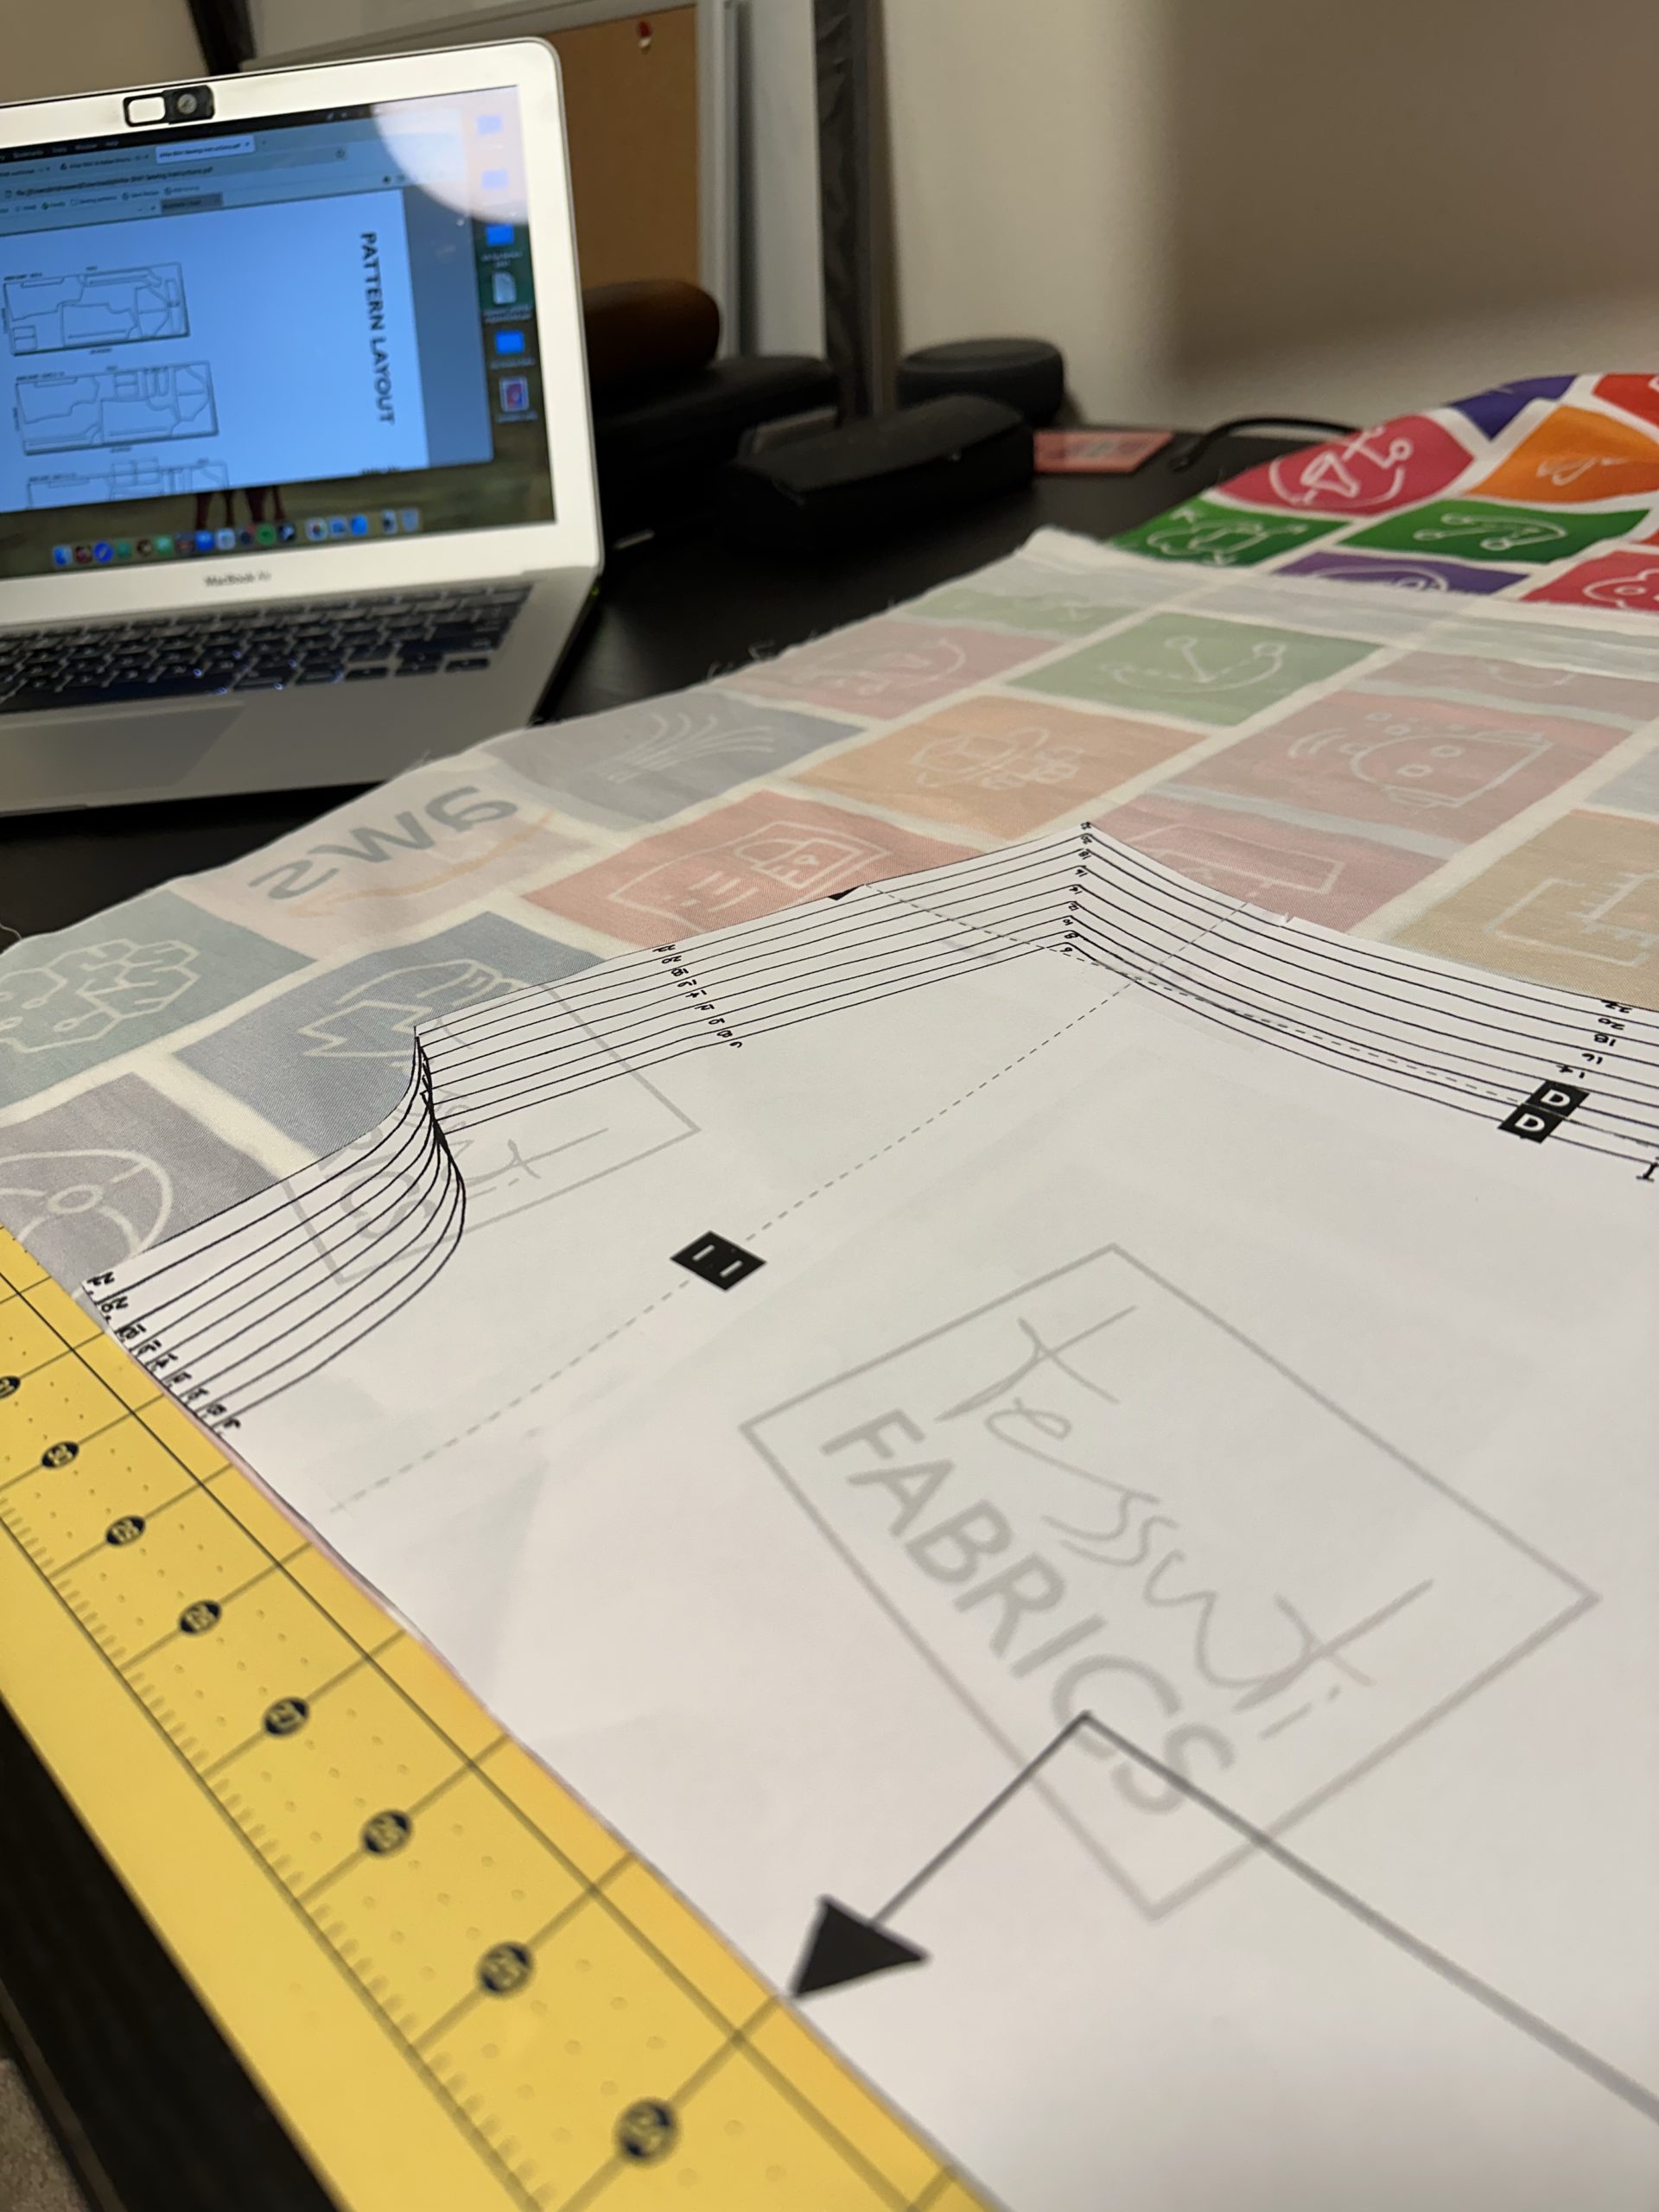
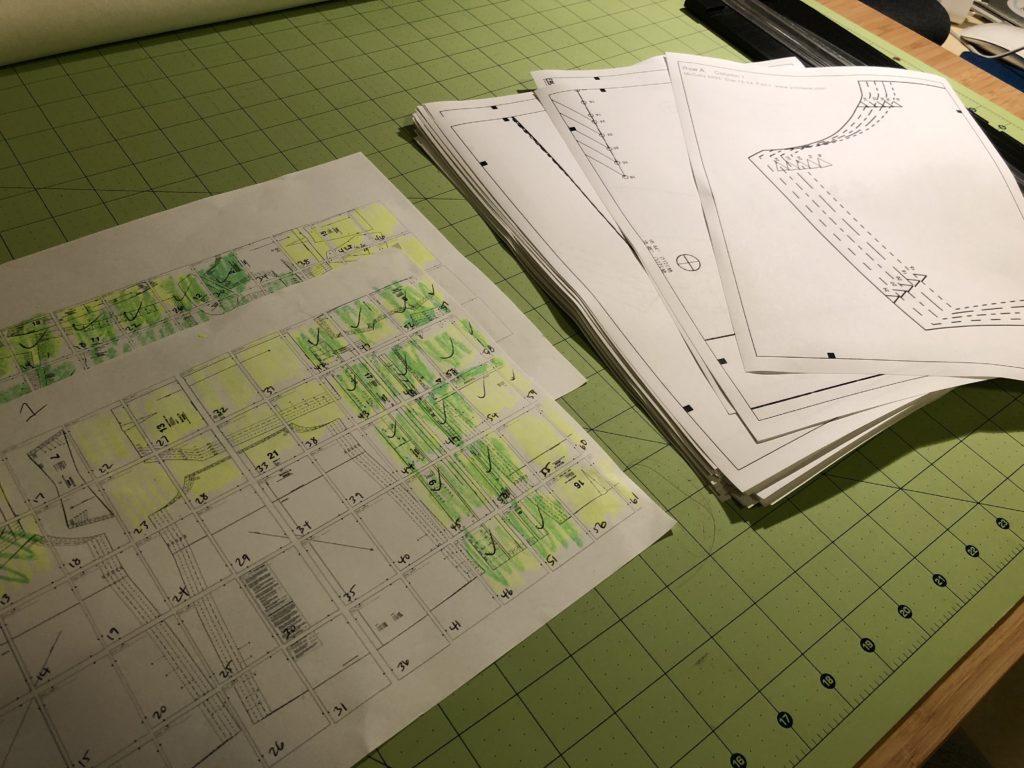
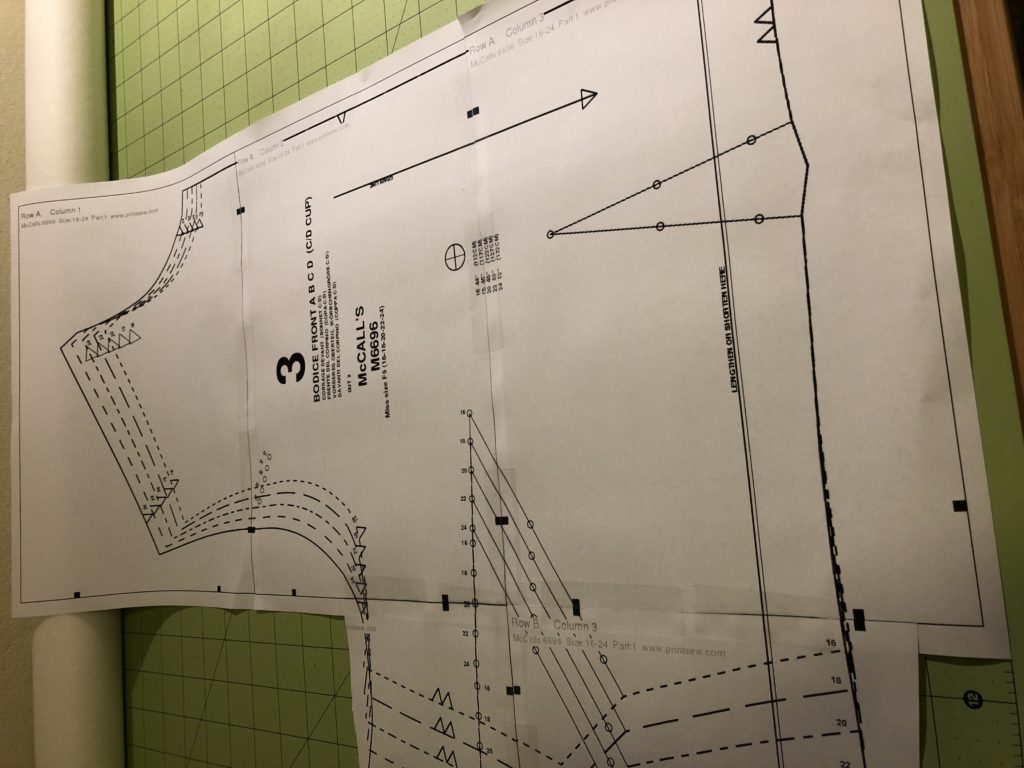
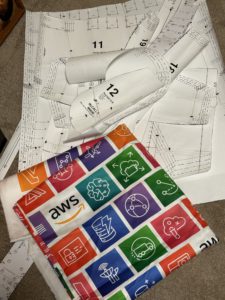 Once I had the fabric, it was time to choose a design. I had deliberately purchased enough to make a full skirt if I wanted, and I thought for a while about doing some sort of retro style shirt dress. (I’ve had my eye on McCalls 6696 for a long time now.) But once I had all the pattern pieces printed out*, I realised that it was a bad choice. Any style that involved lots of seaming or shaping would either distort the printed icons, or result in me spending hours trying to line things up perfectly. I needed a simpler design that would show off the print to maximum effect. After a lot of research, I landed on the Seamwork Benning. It’s a loose and comfortable fit, with a simple shape (mostly rectangles) and not too many seams. No need for a zipper, and YAY RUFFLES!
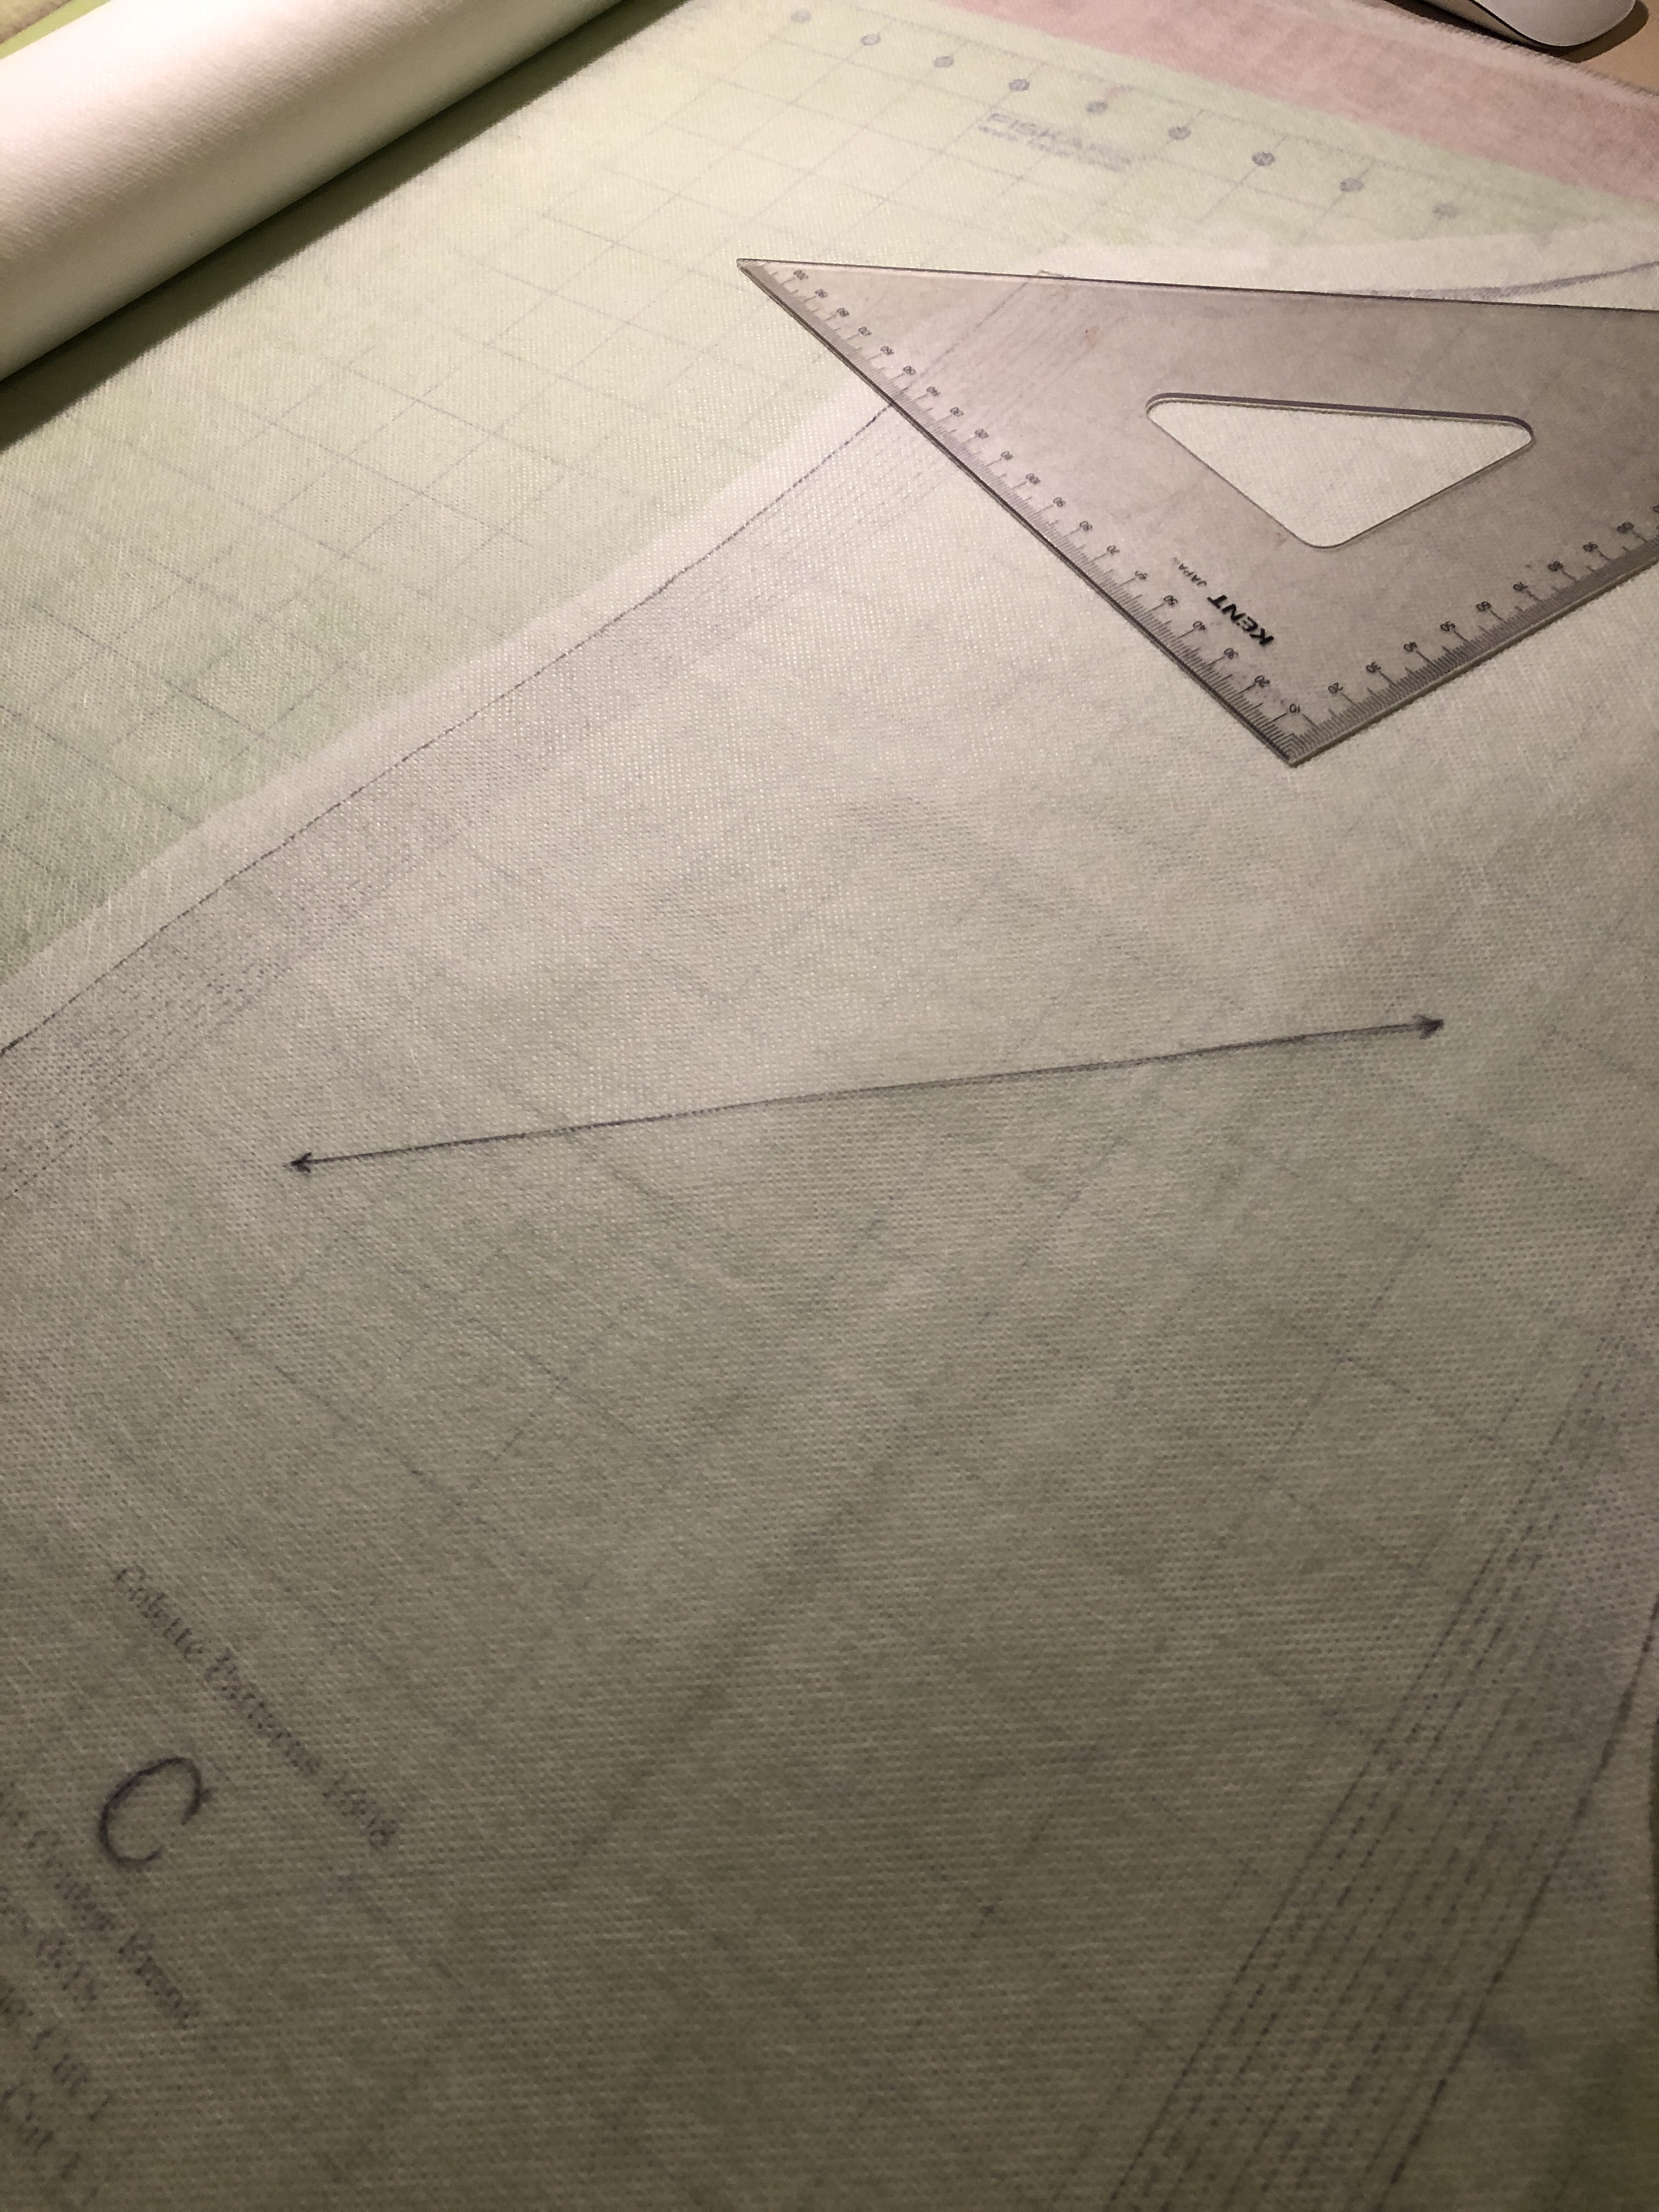
*If you don’t sew or haven’t bought a pattern in decades, you might not realise that you can now buy patterns as PDFs! I’m a big fan, though it does mean you have to spend the first hour gluing all the pages together…
I wisely decided to create a prototype first to make sure I had the size correct, and that I understood all the steps. I used some random tropical light cotton fabric I had in my stash. I didn’t have quite enough meterage for the full version so I shortened the bottom ruffle. It was a quick project… but the shape ended up pretty sack-like on me. It looked better with a belt for waist definition, but the style isn’t actually meant to be belted. This showed me that I definitely needed to go down a size in the real version!
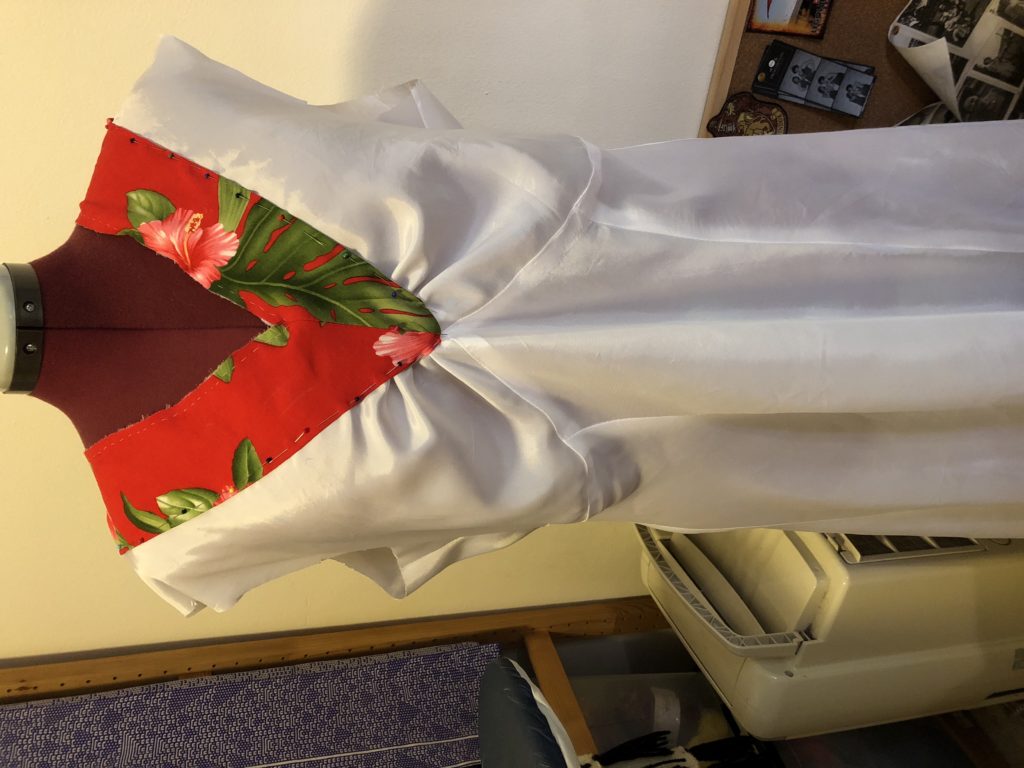
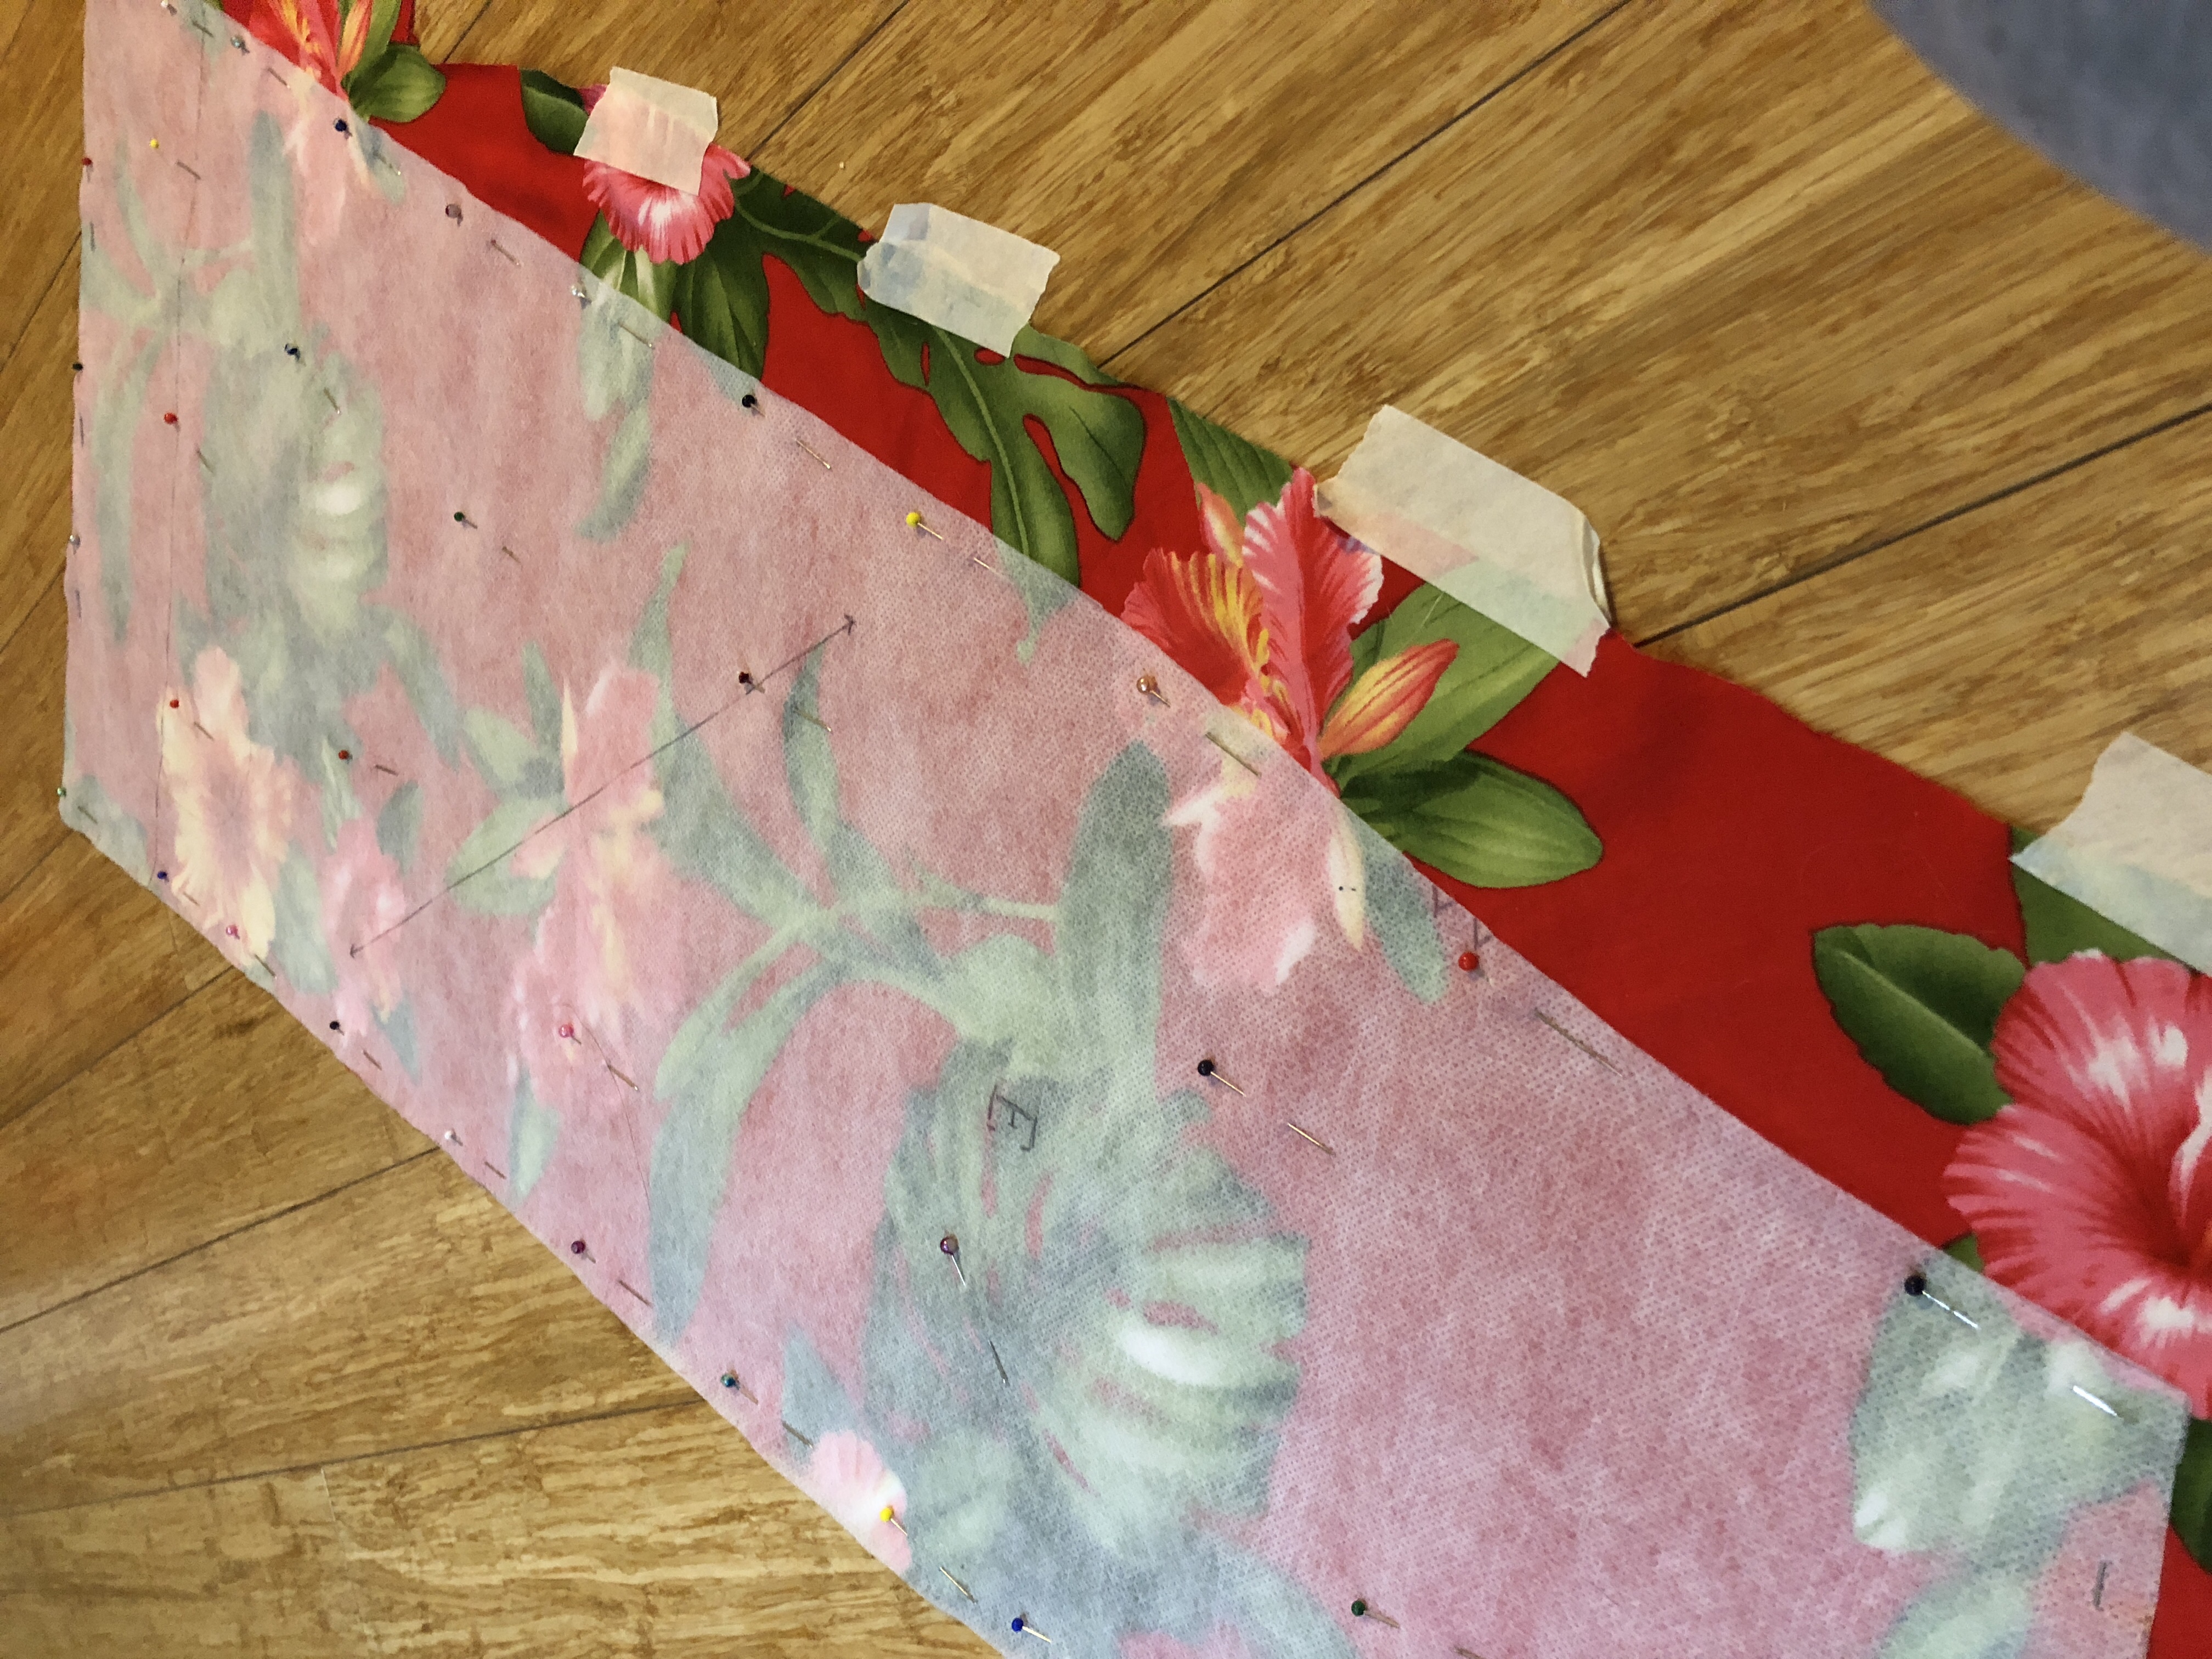
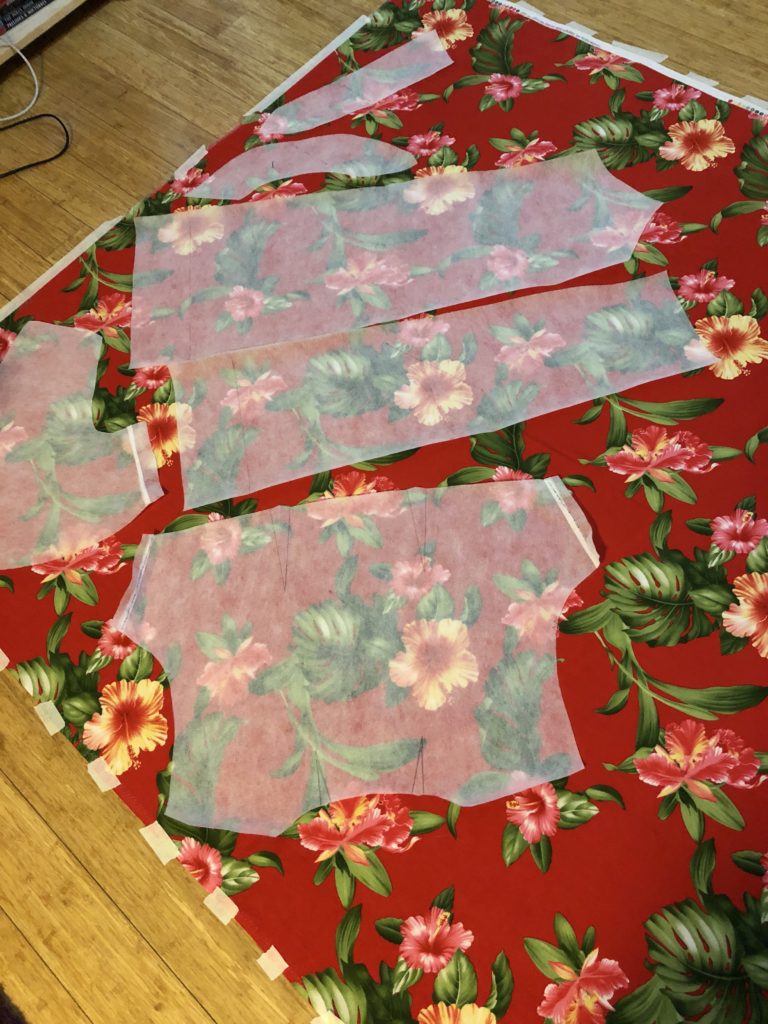
So finally it was time to start the real version. I spent a lot of time laying out the pattern pieces. I needed to make sure the icons weren’t upside-down, and I carefully adjusted the placement so that the two horizontal seams (at the waist and the second ruffle) would fall between rows of icons and thus not cut any in half. I also ensured that the repeat would be properly maintained the whole way down the dress. I actually overthought this a bit, as I also tried to make sure the horizontal pattern would be correct… before realising that the gathers for the ruffles would mess that up regardless.
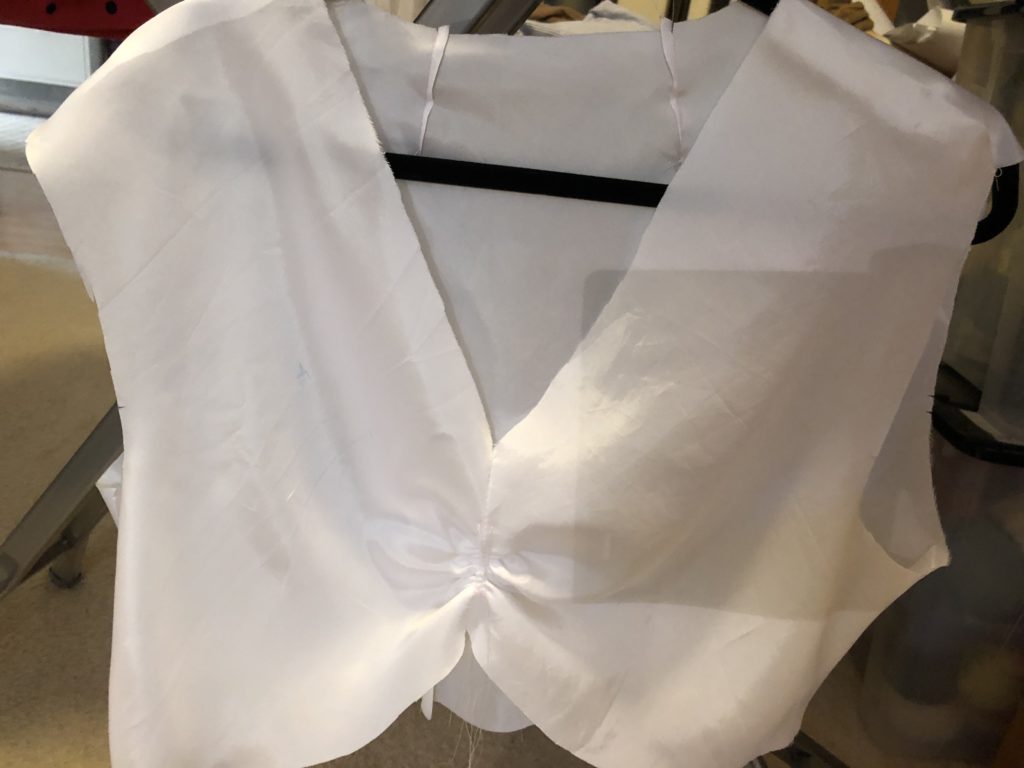
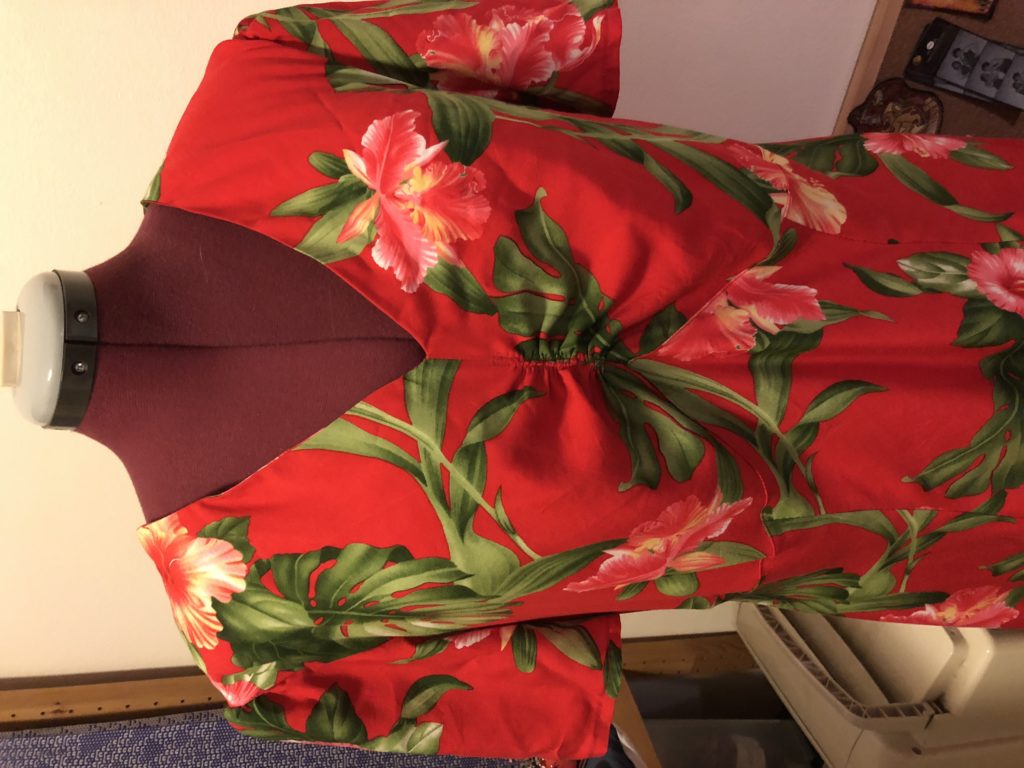
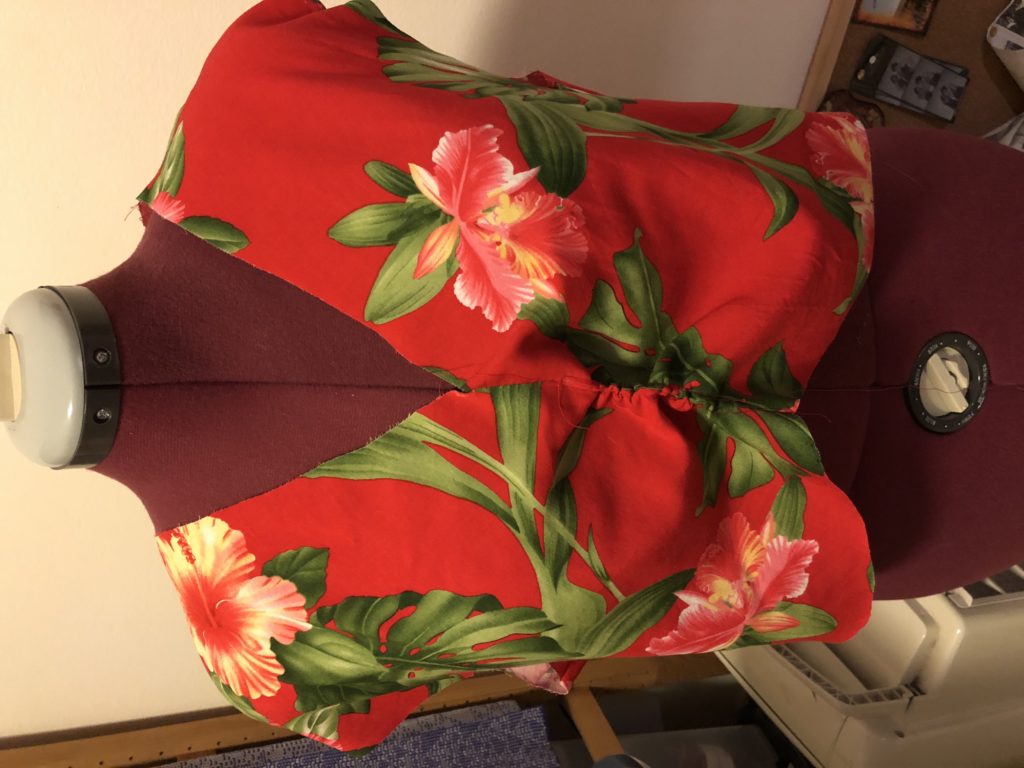
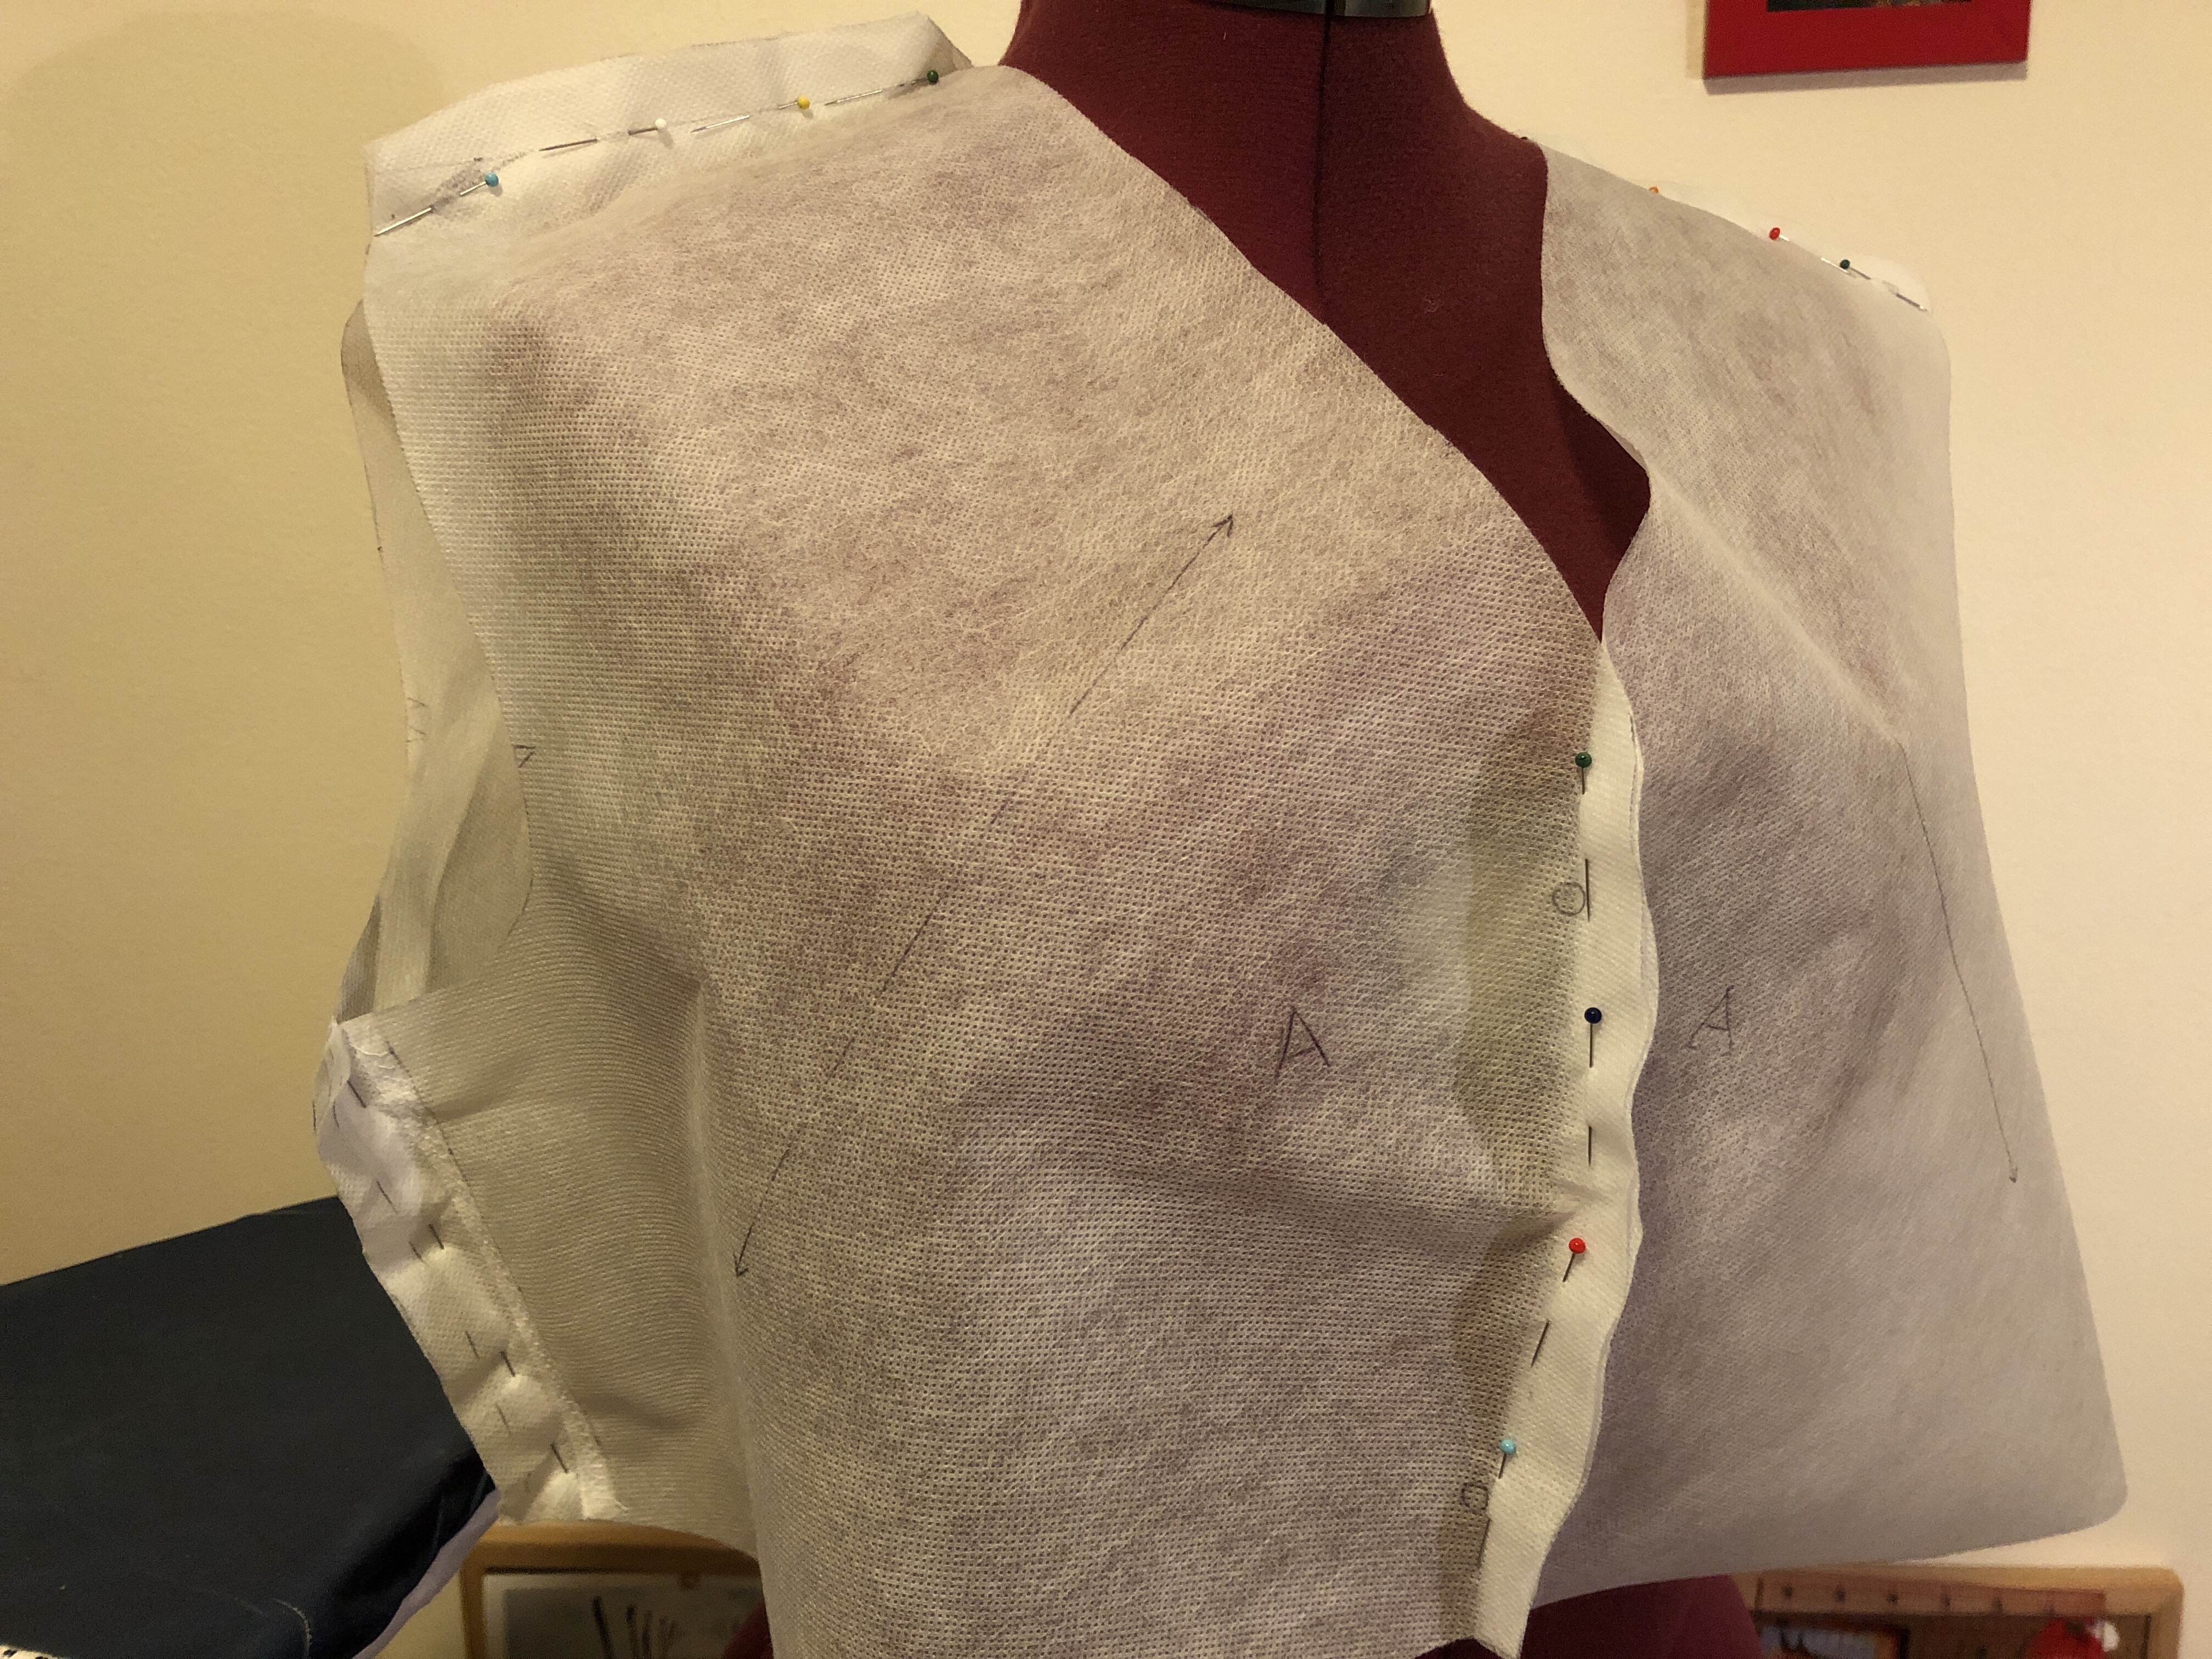
Once I had the fabric cut out, it was time to assemble the bodice. There is a side bust dart to provide a little shaping. This dress is not fully lined, but instead has a simple facing around the neckline. This is like a partial lining, a bit of fabric that is sewn around the neck opening and then flipped to the inside. This gives you a nice finish around the neck and helps the garment to lie flat. I used some white cotton from my stash, along with some iron-on interfacing to give it a little extra weight. As you can see in the photo, I used my overlocker machine to finish the bottom edge of the facing.
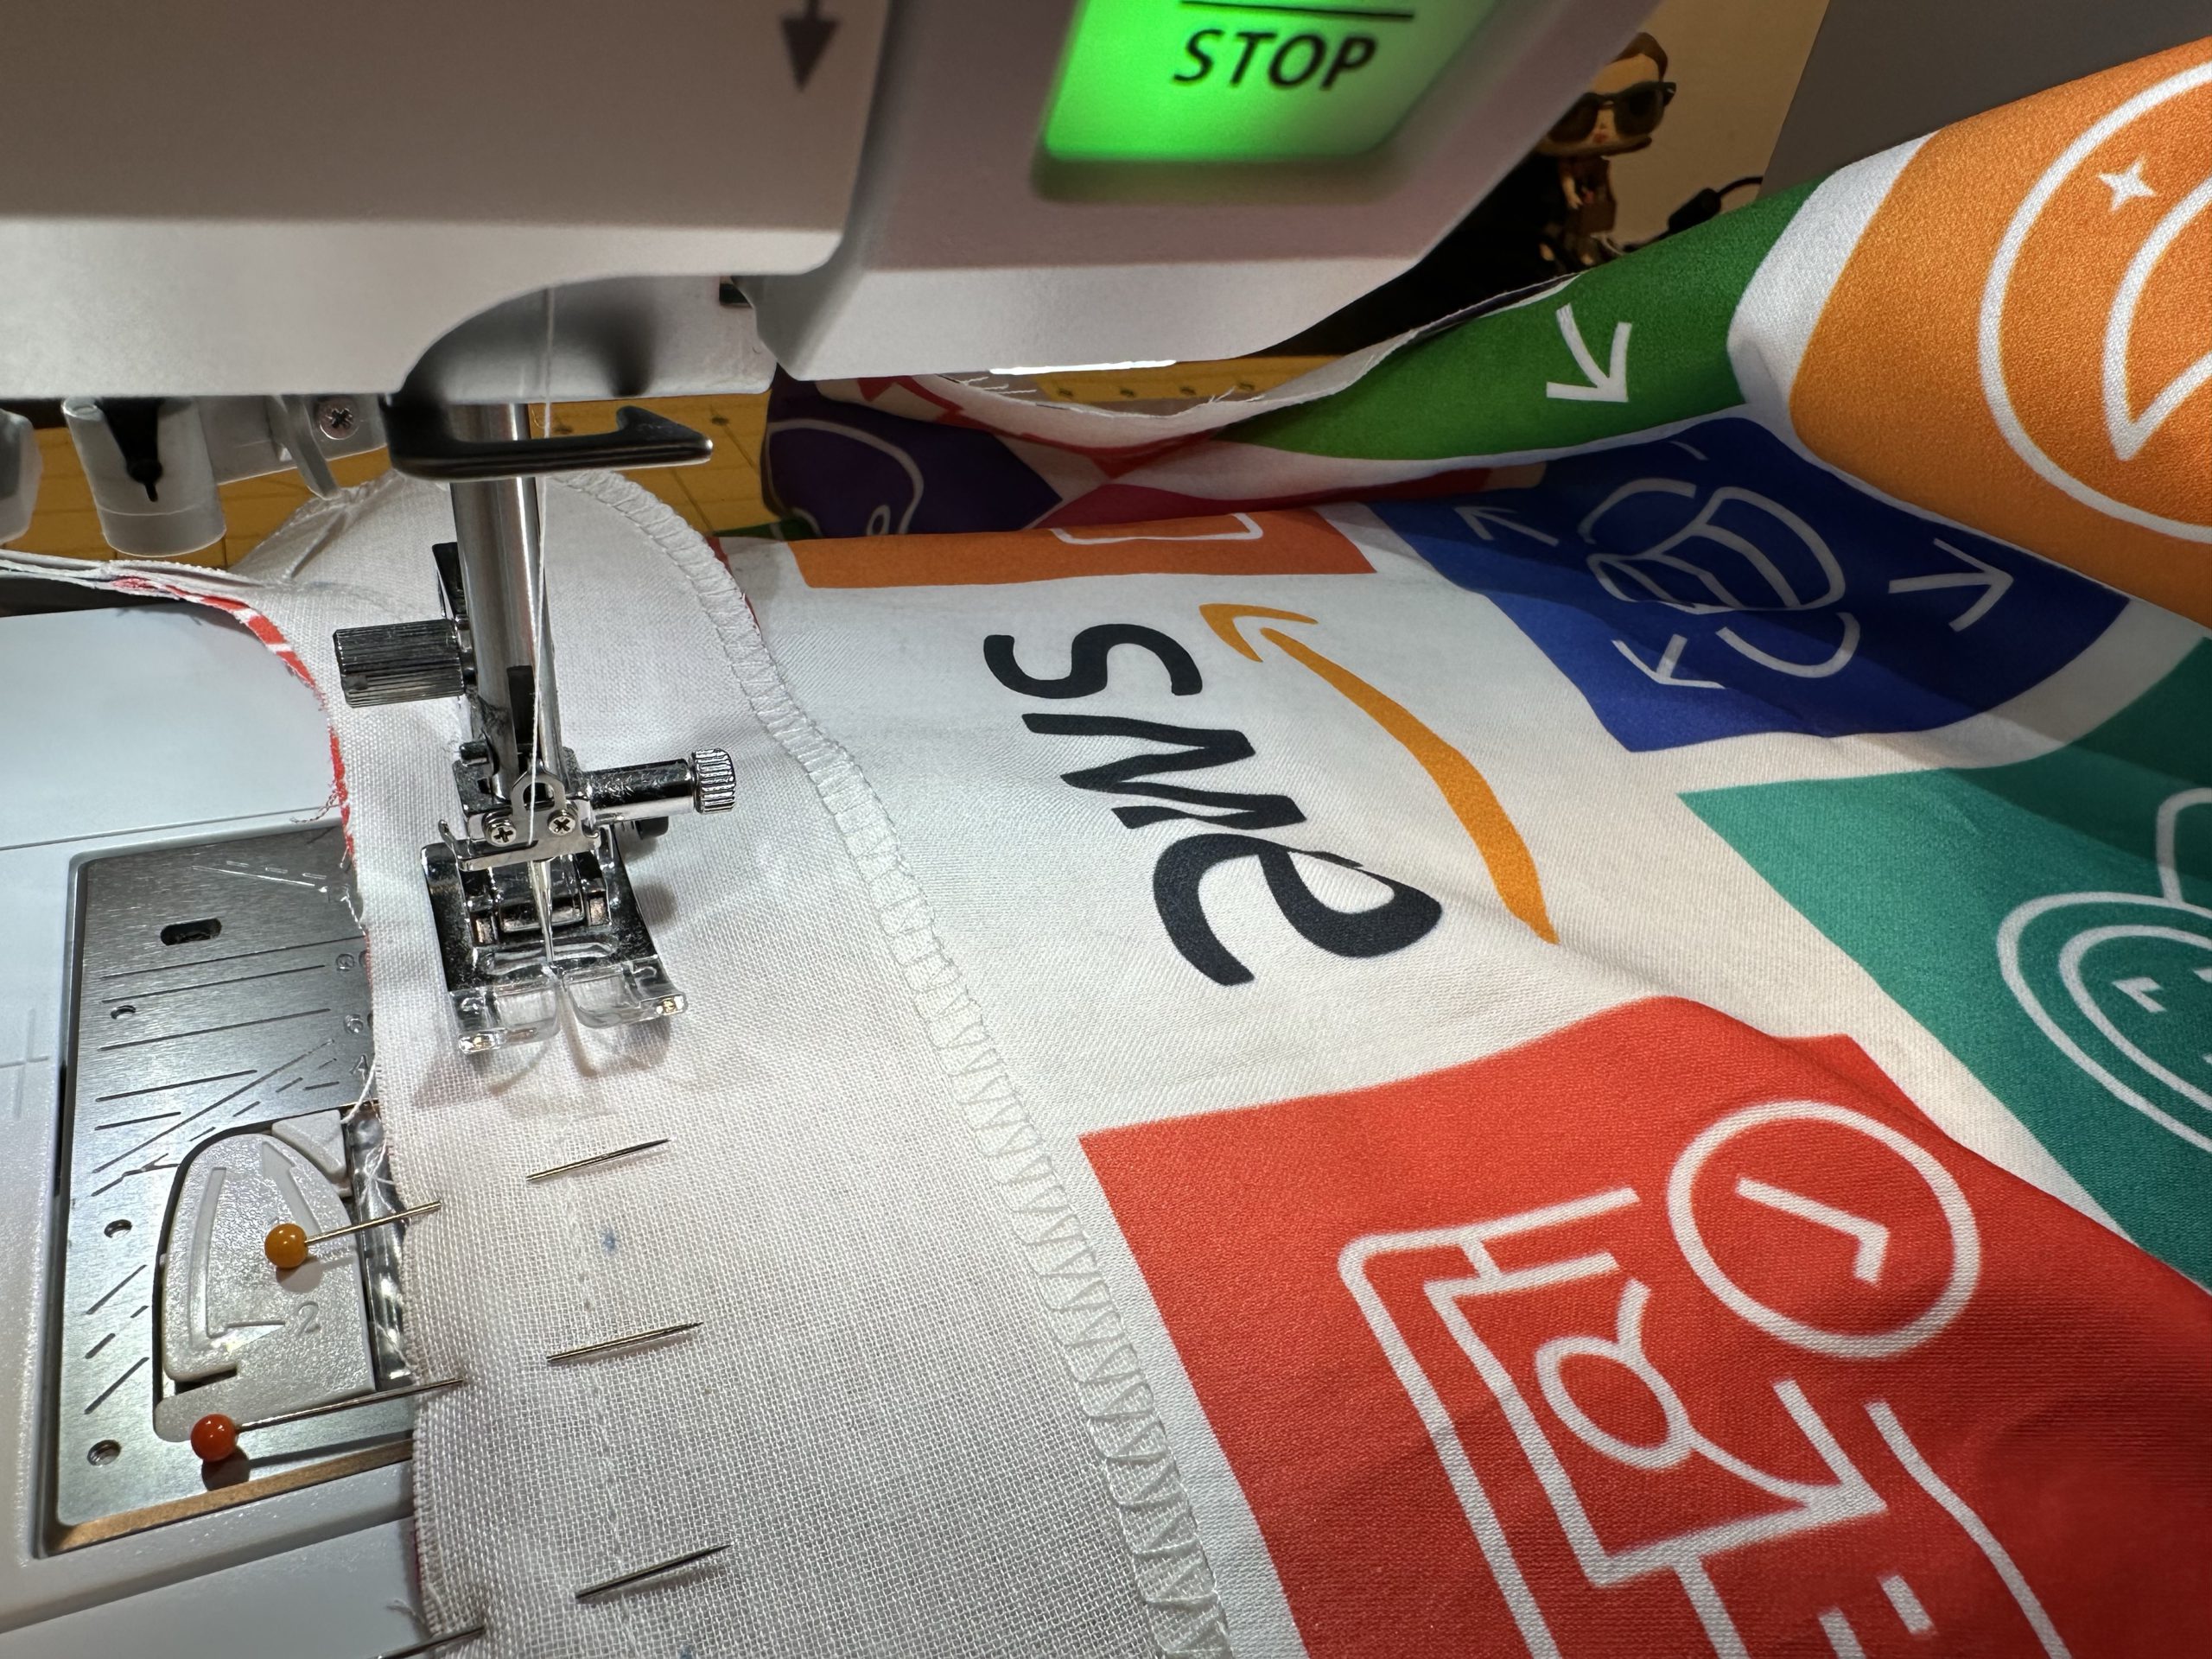
One of the advantages of this design is that the sleeves are “cut-on,” meaning they’re part of the bodice so you don’t have to sew them on separately. So once you’ve sewing the shoulders together and attached the facing, you can go ahead and hem the sleeves and finish the side seams. I decided to be fancy and use French seams, just to challenge myself and to give a nicer finish. This way all the raw edges are fully encased on the inside of the garment.
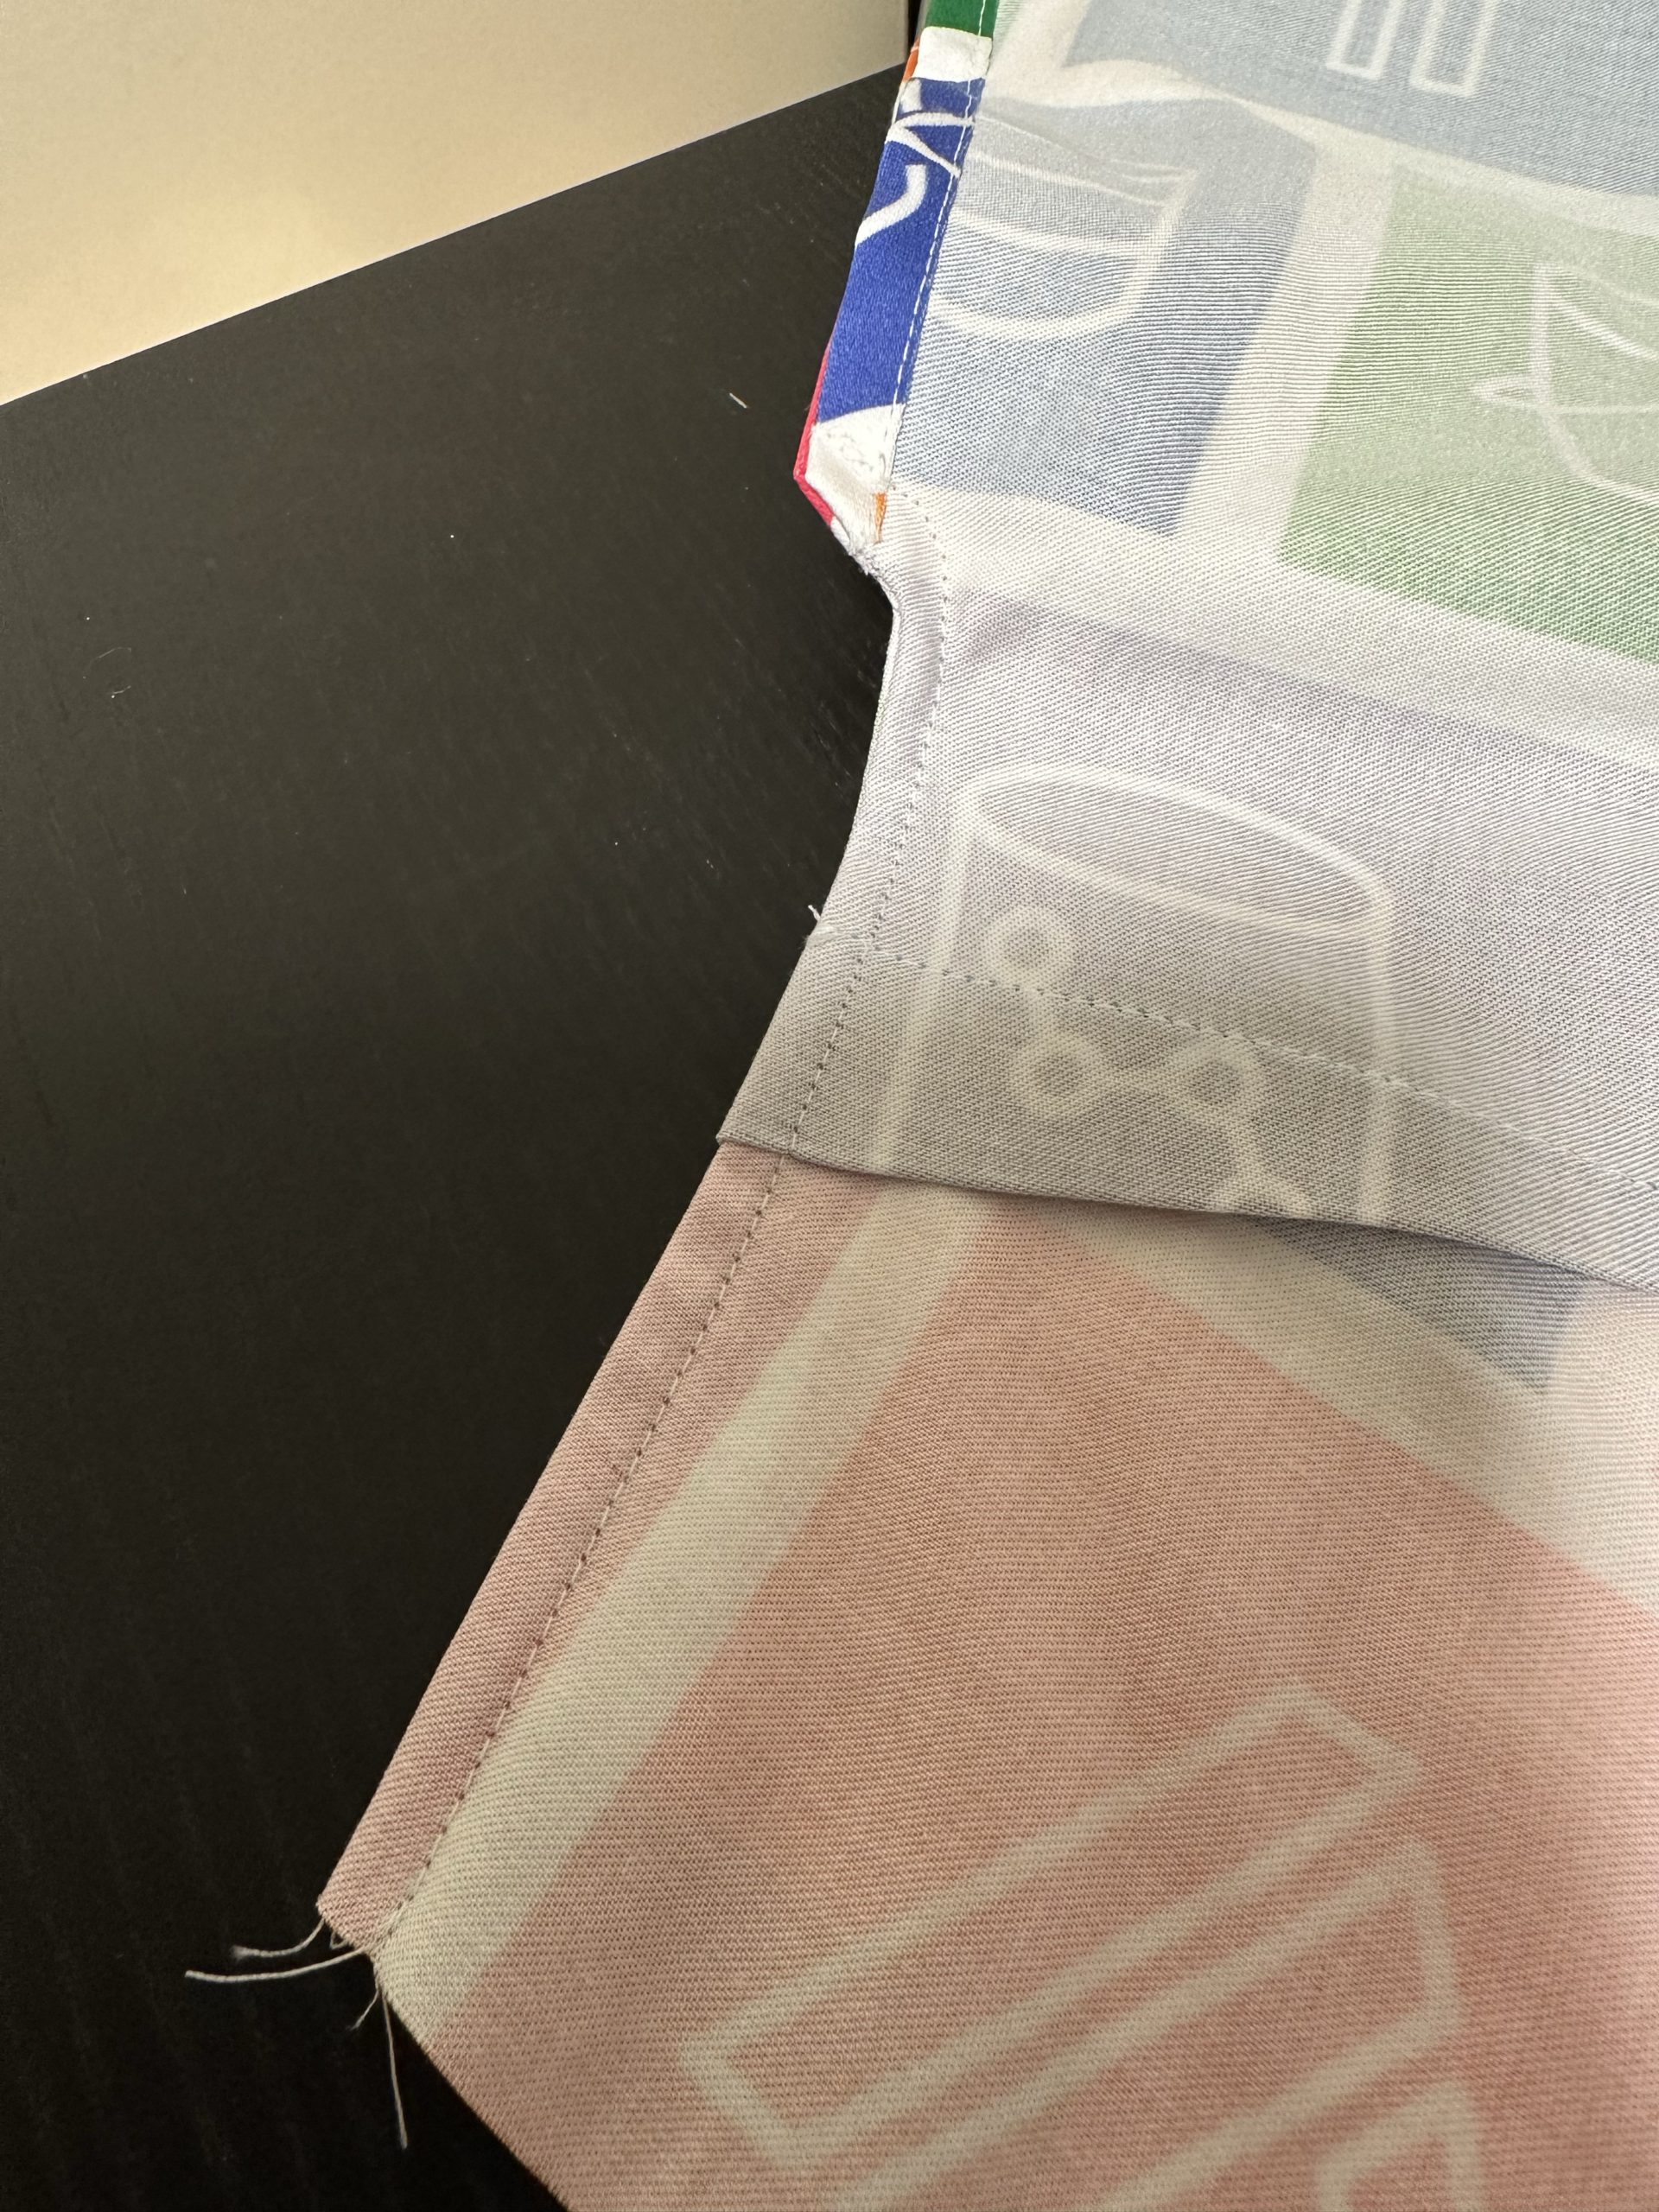
And with that, the bodice is done! You can see that the facing wants to flip out a bit, despite my understitching. I think this is something I just need to practice more.
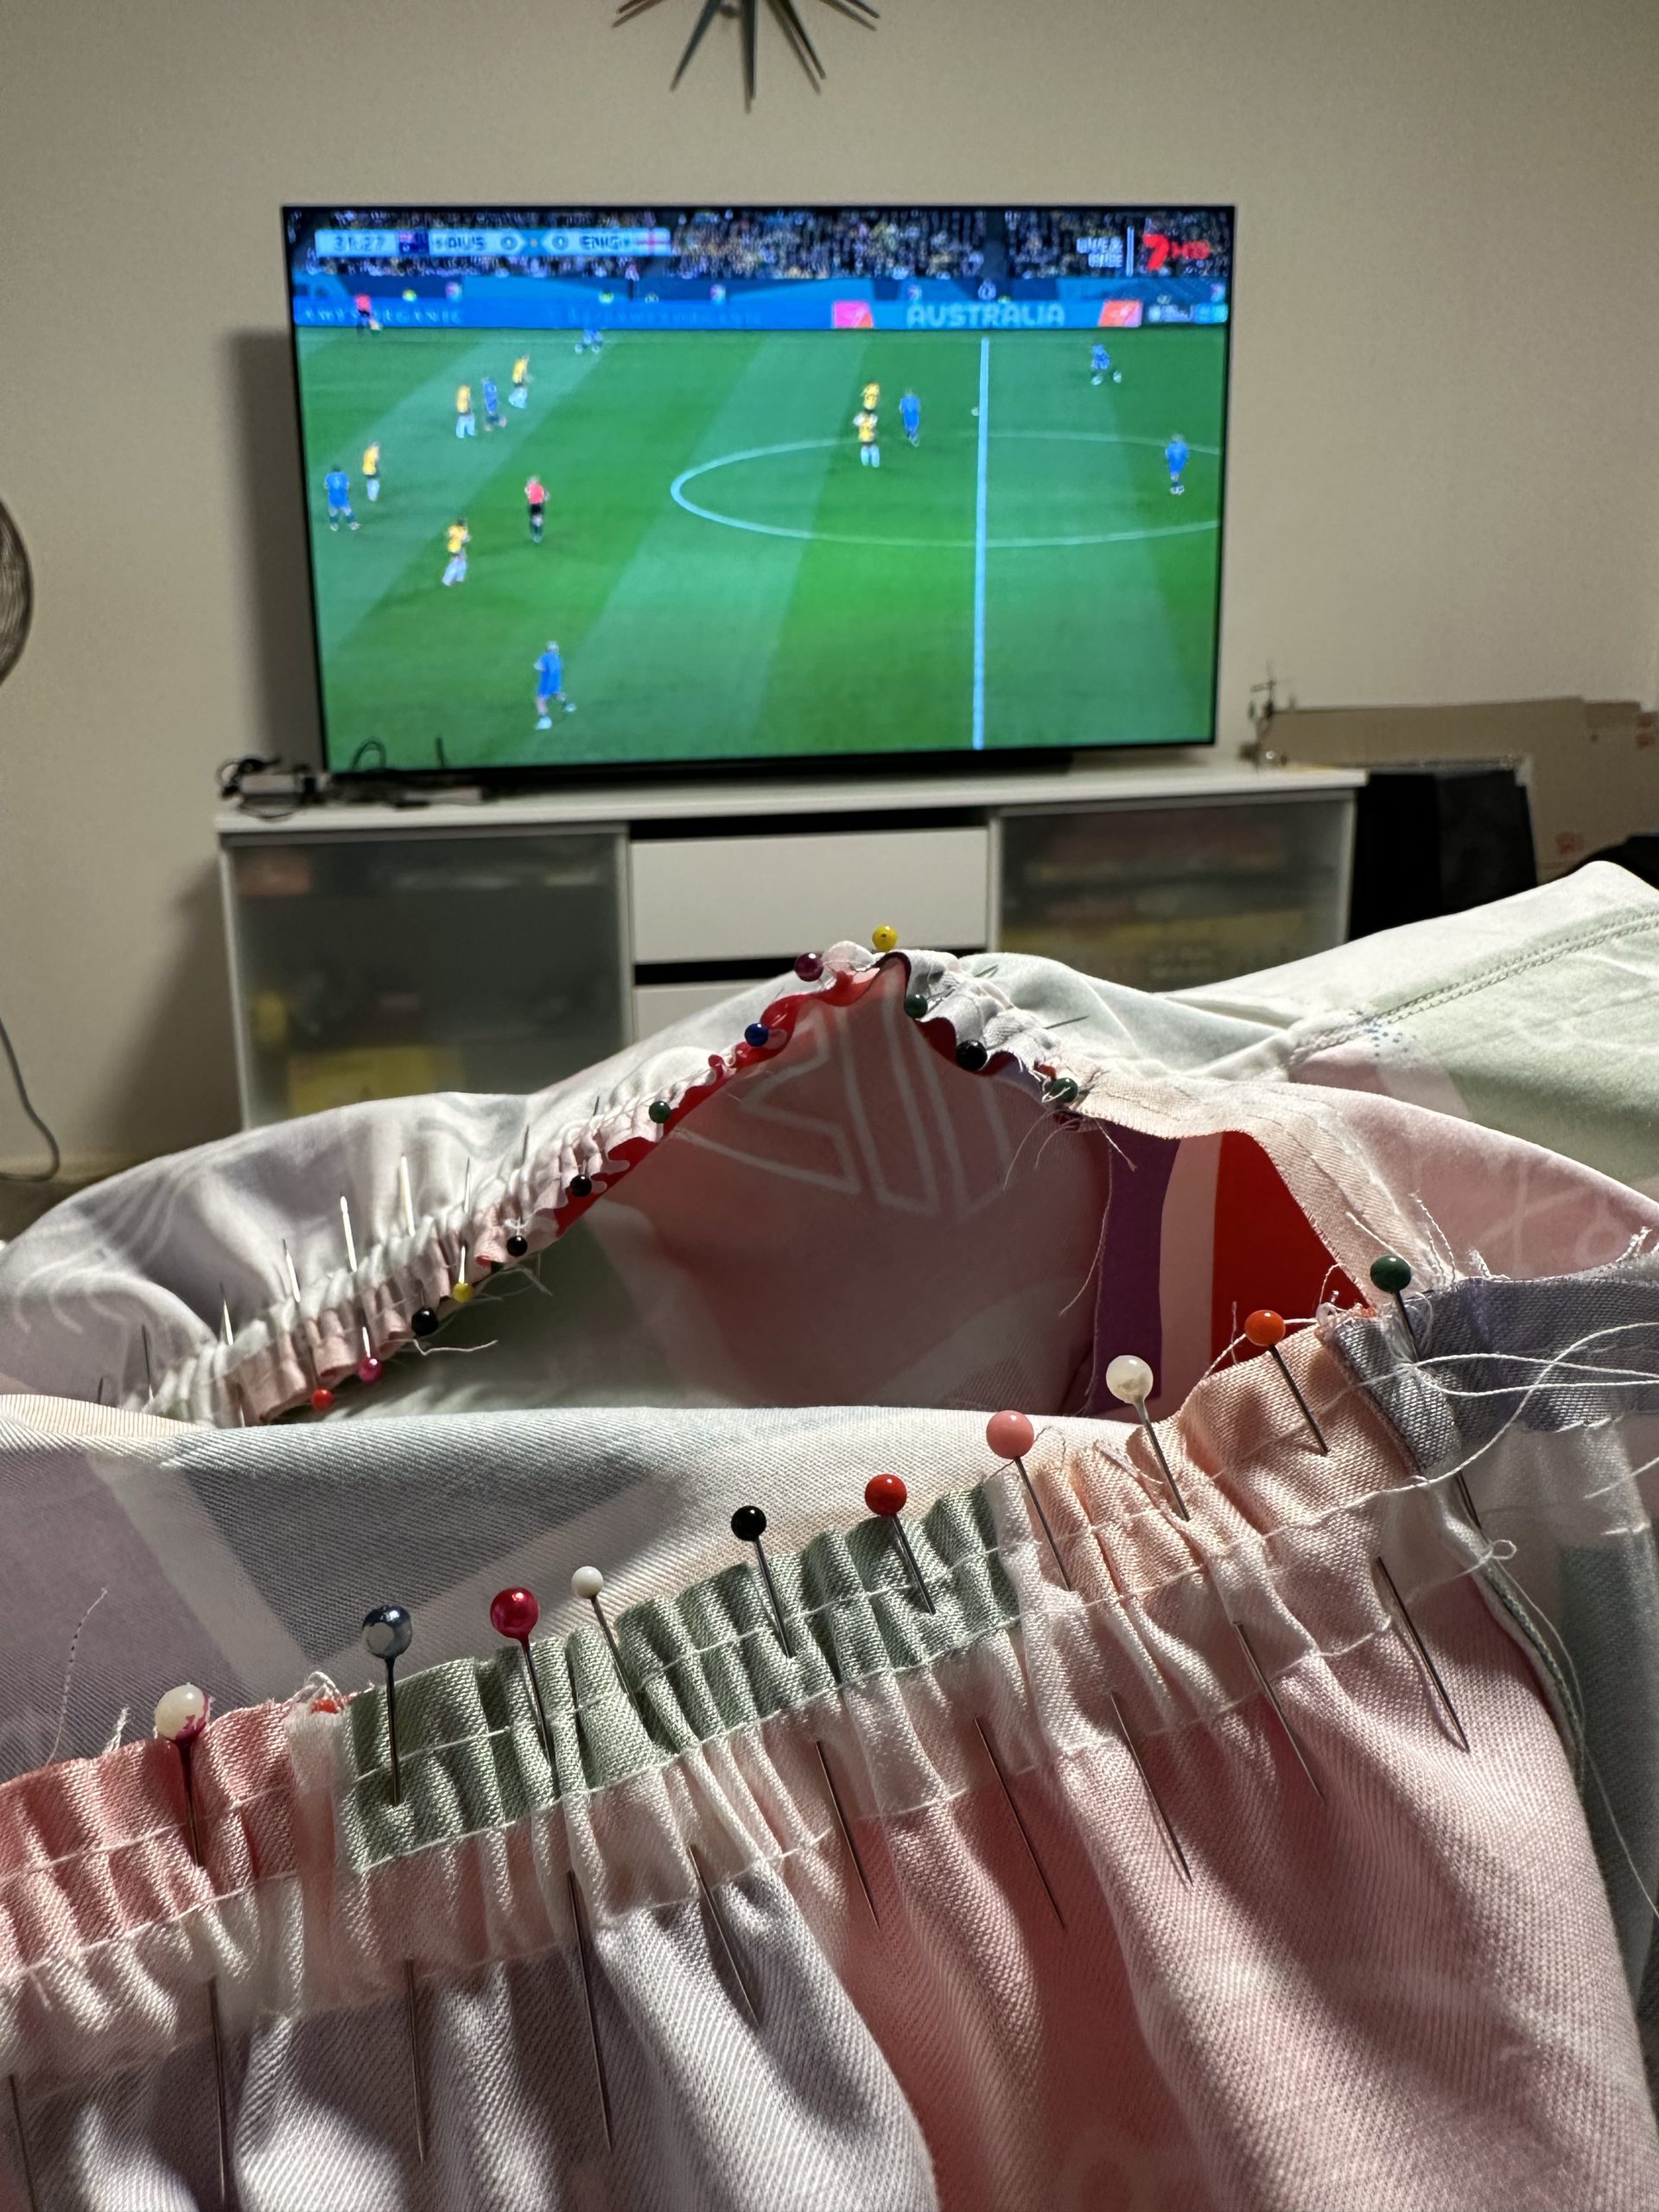
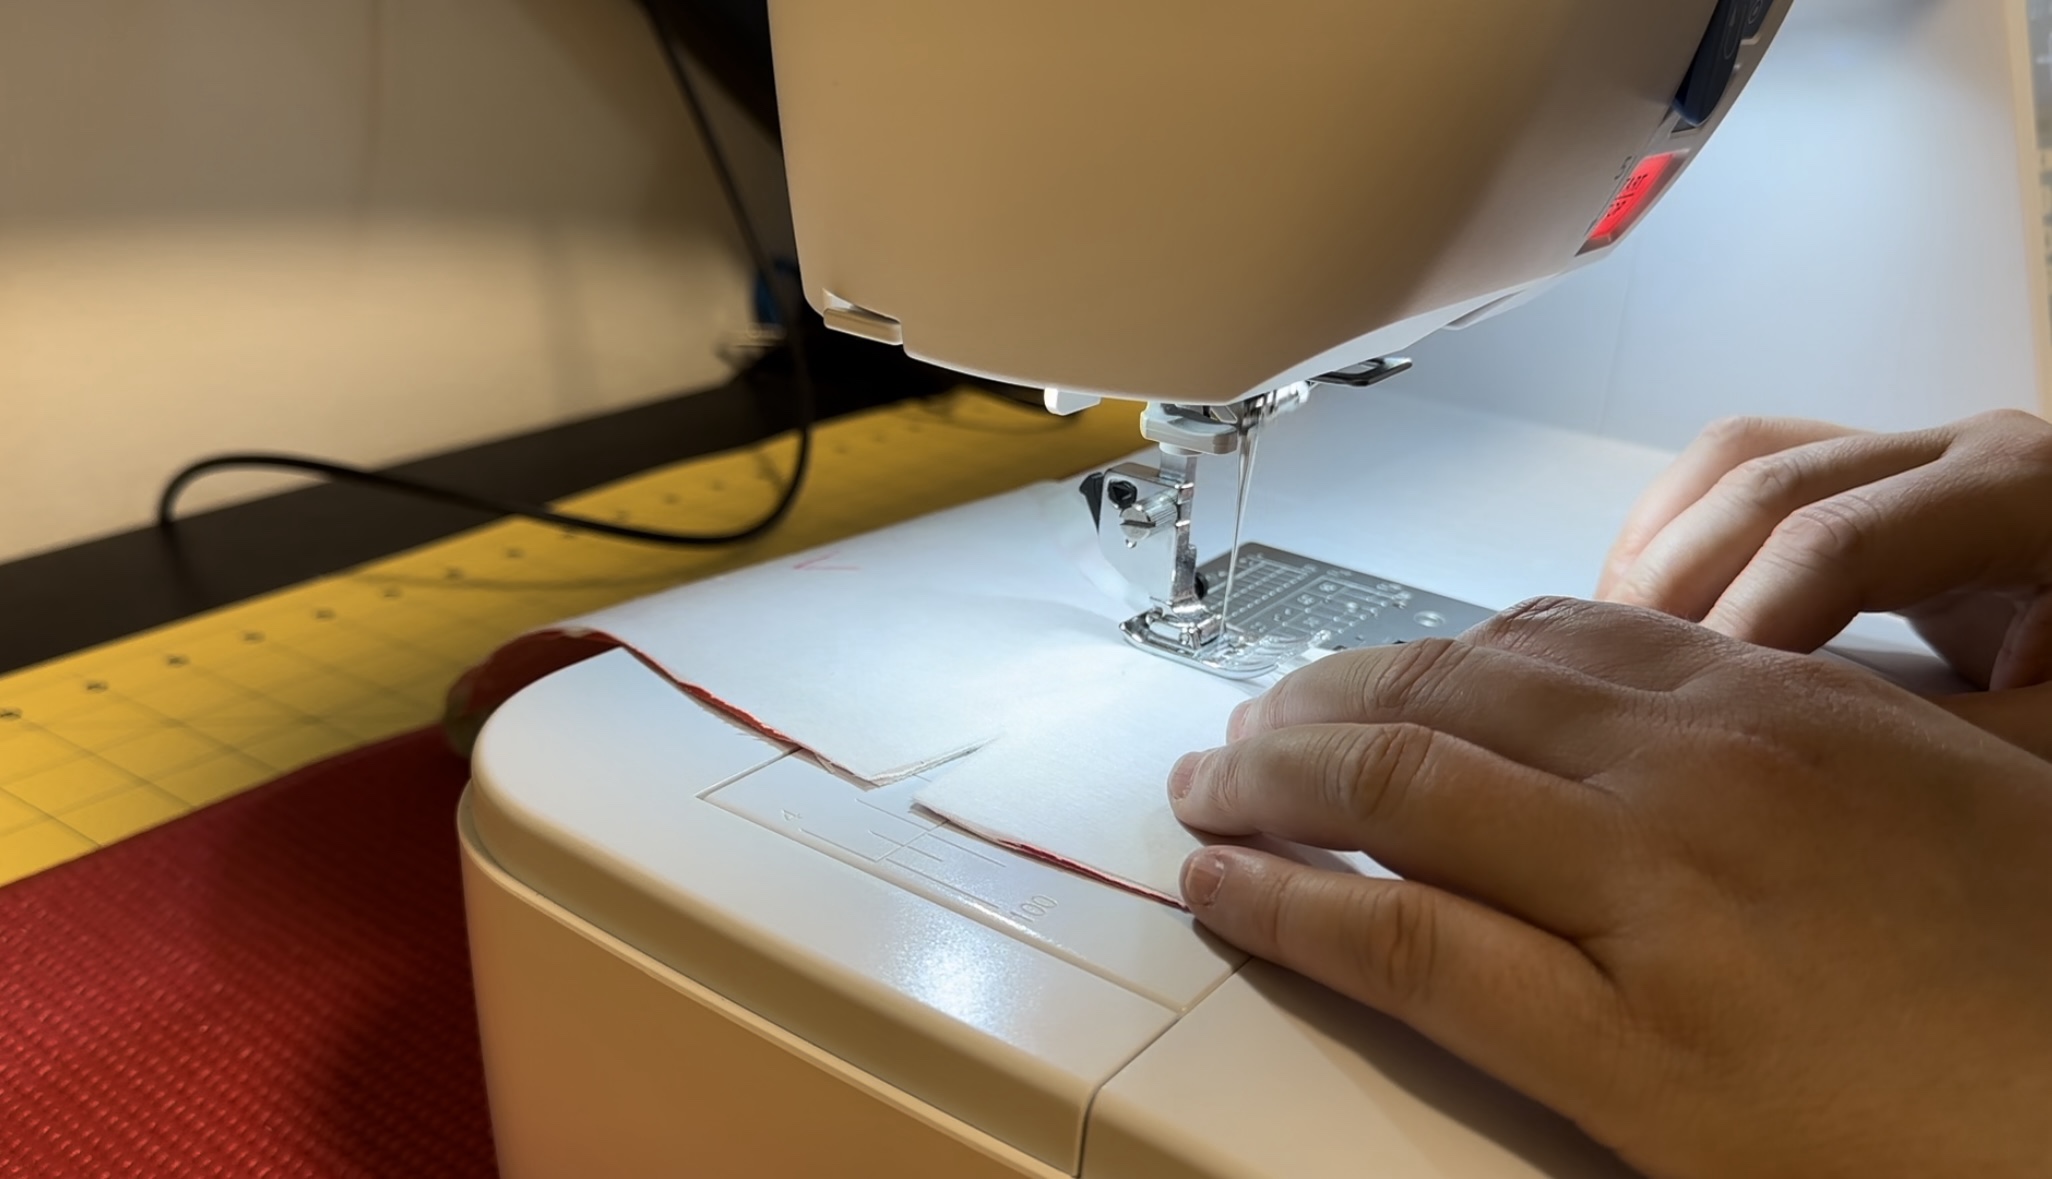
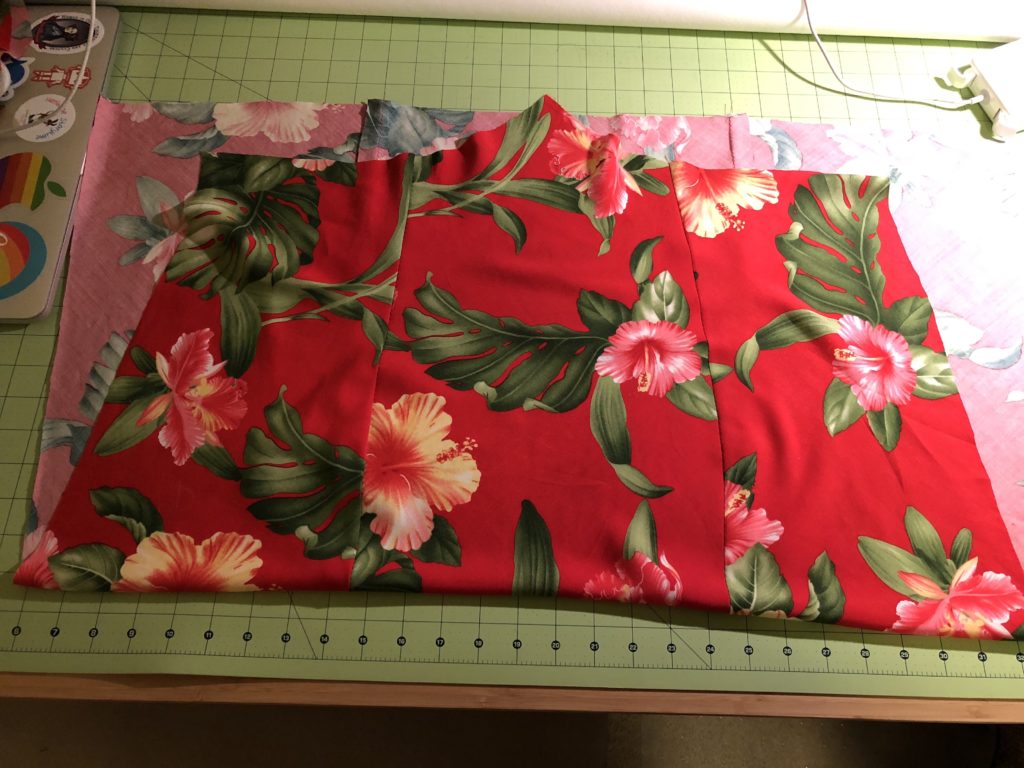
The next step was to assemble the skirt. The middle section has the pockets (of course it has pockets!), so I again French seamed those and inserted into the side seams. For each ruffle, you run a few rows of basting stitches and then pull those tails to create the gathers. I was really paranoid about my gathers being even, so I used a LOT of pins.
Yeah, these seams took a long time to sew. I made a little video.
Once the first ruffle seam was finished, I used the overlocker to finish the raw edges. Then I had to do another even longer one for the bottom ruffle!
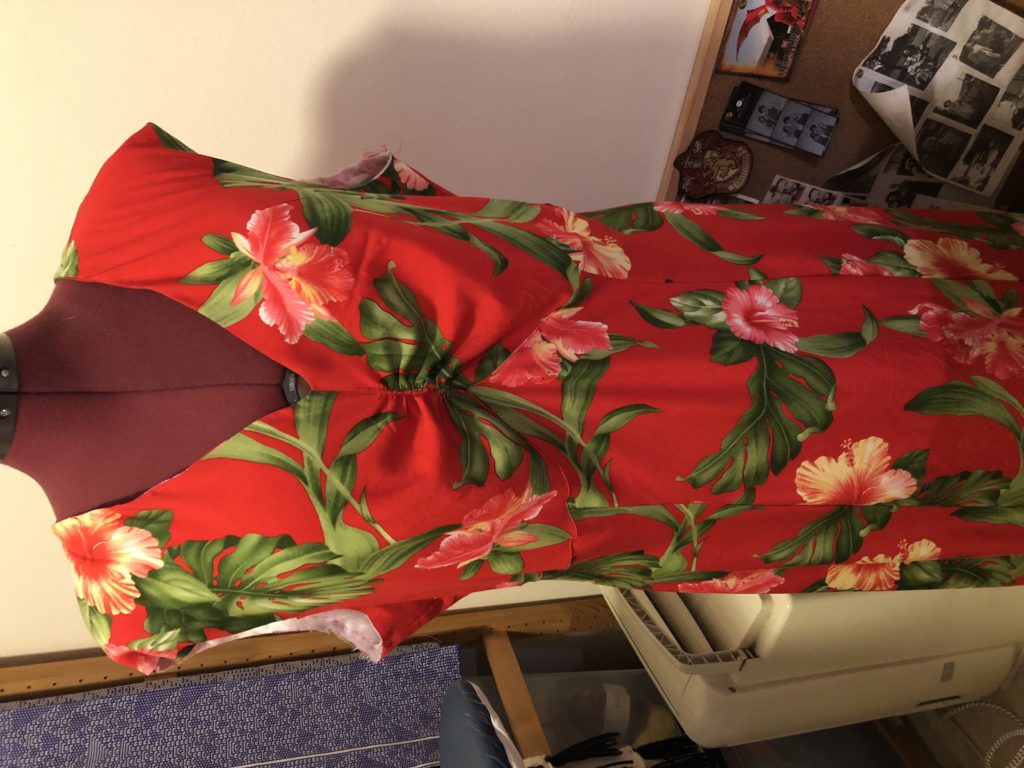
Then all that was left was a quick hem, and it was ready to try on. The moment of truth…
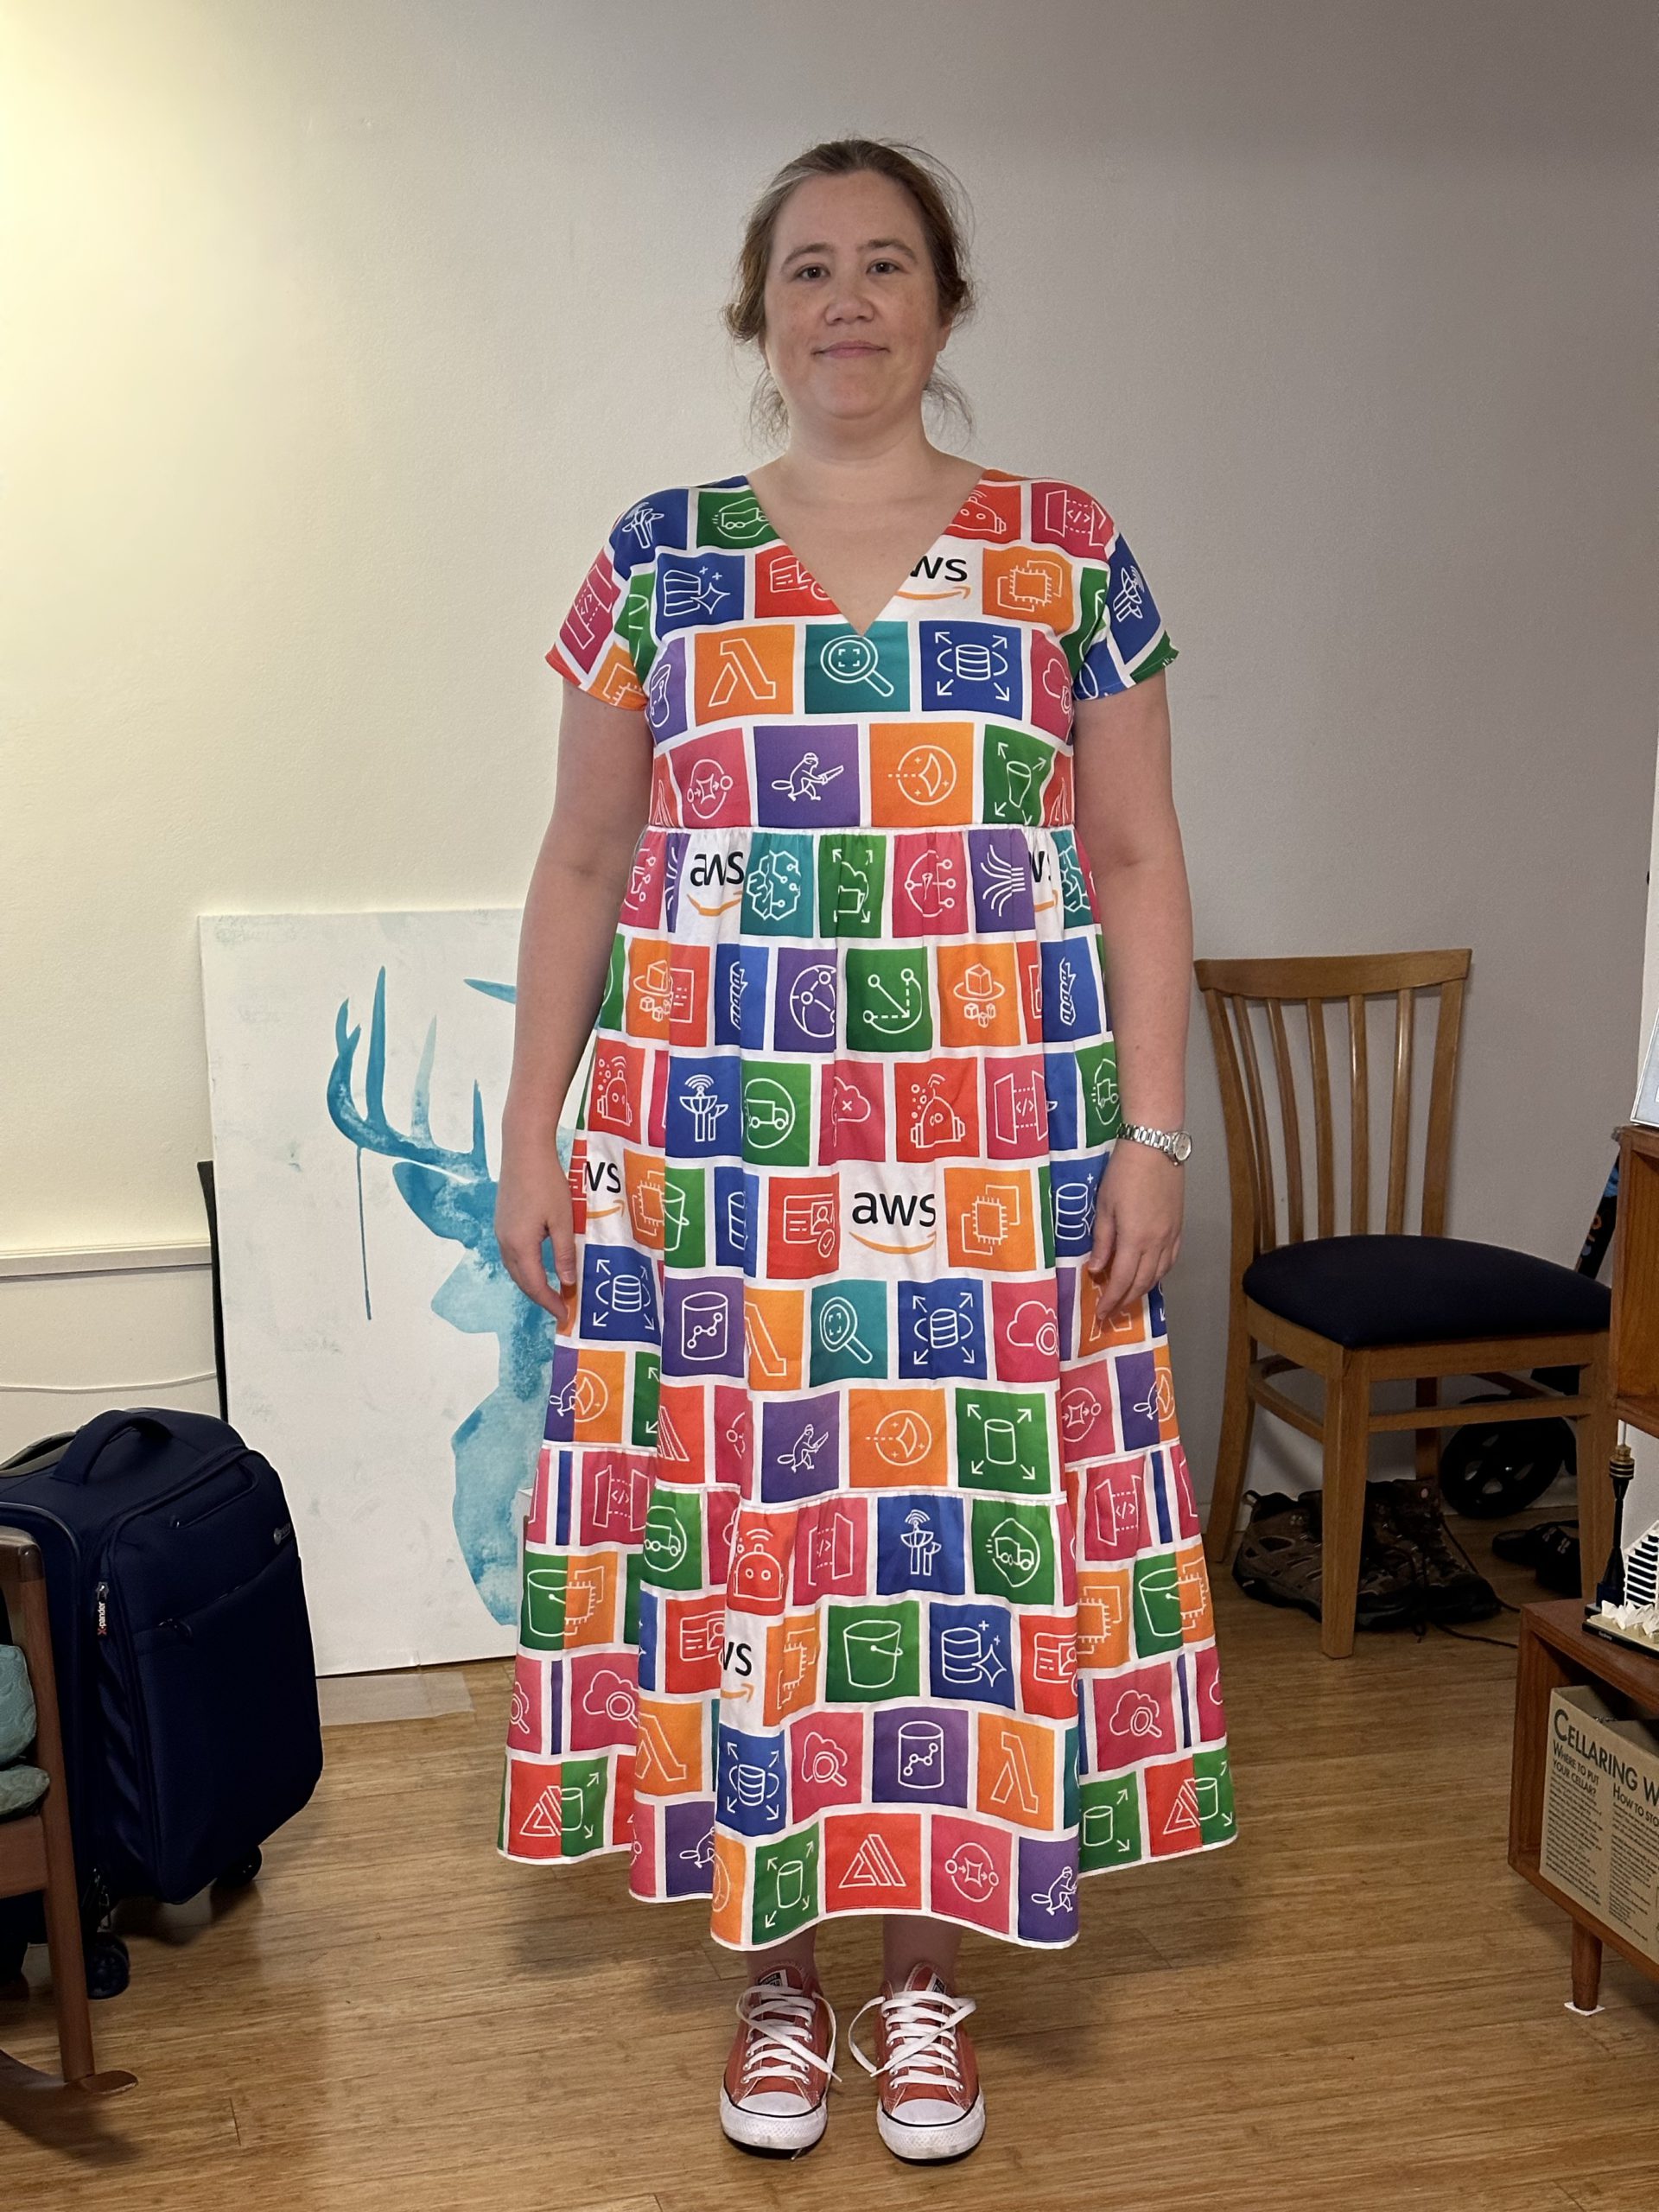
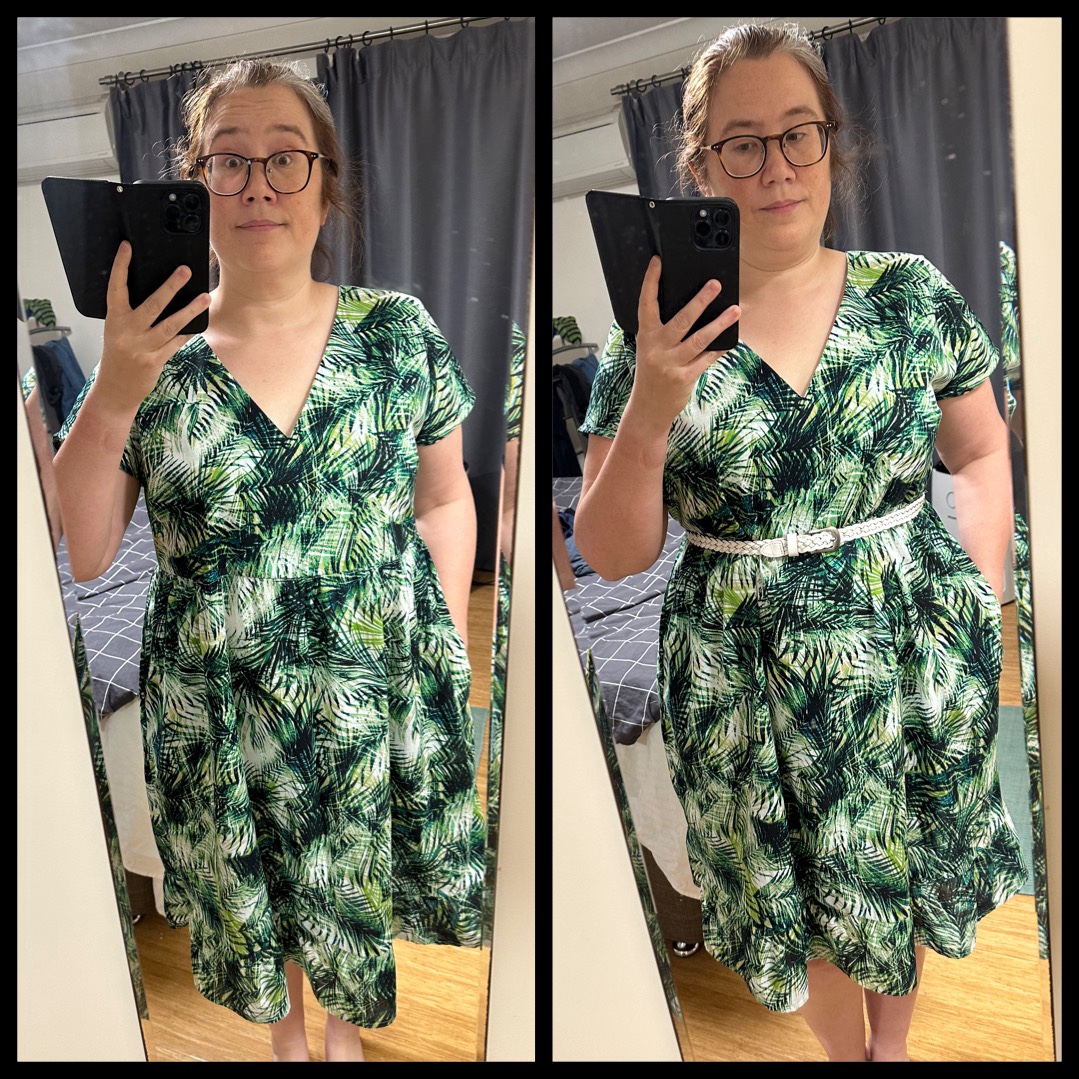
Hm. I was pleased with my sewing and finishing skills, but not so much with the fit. Even going down a size, it was still giving less “breezy summer dress” and more “giant Victorian nightgown.” I decided to shorten the bottom ruffle by chopping off the bottom row of icons. I also performed some very delicate surgery on the waist seam. I carefully unpicked just the center portion of the front waistband and created two small matching vertical darts, each of which took in 1/2″. Then I redistributed the ruffles and resewed the seam. That meant I took out an additional 1″ at the front, which is subtle but really helps it look less like a tent. Much better!
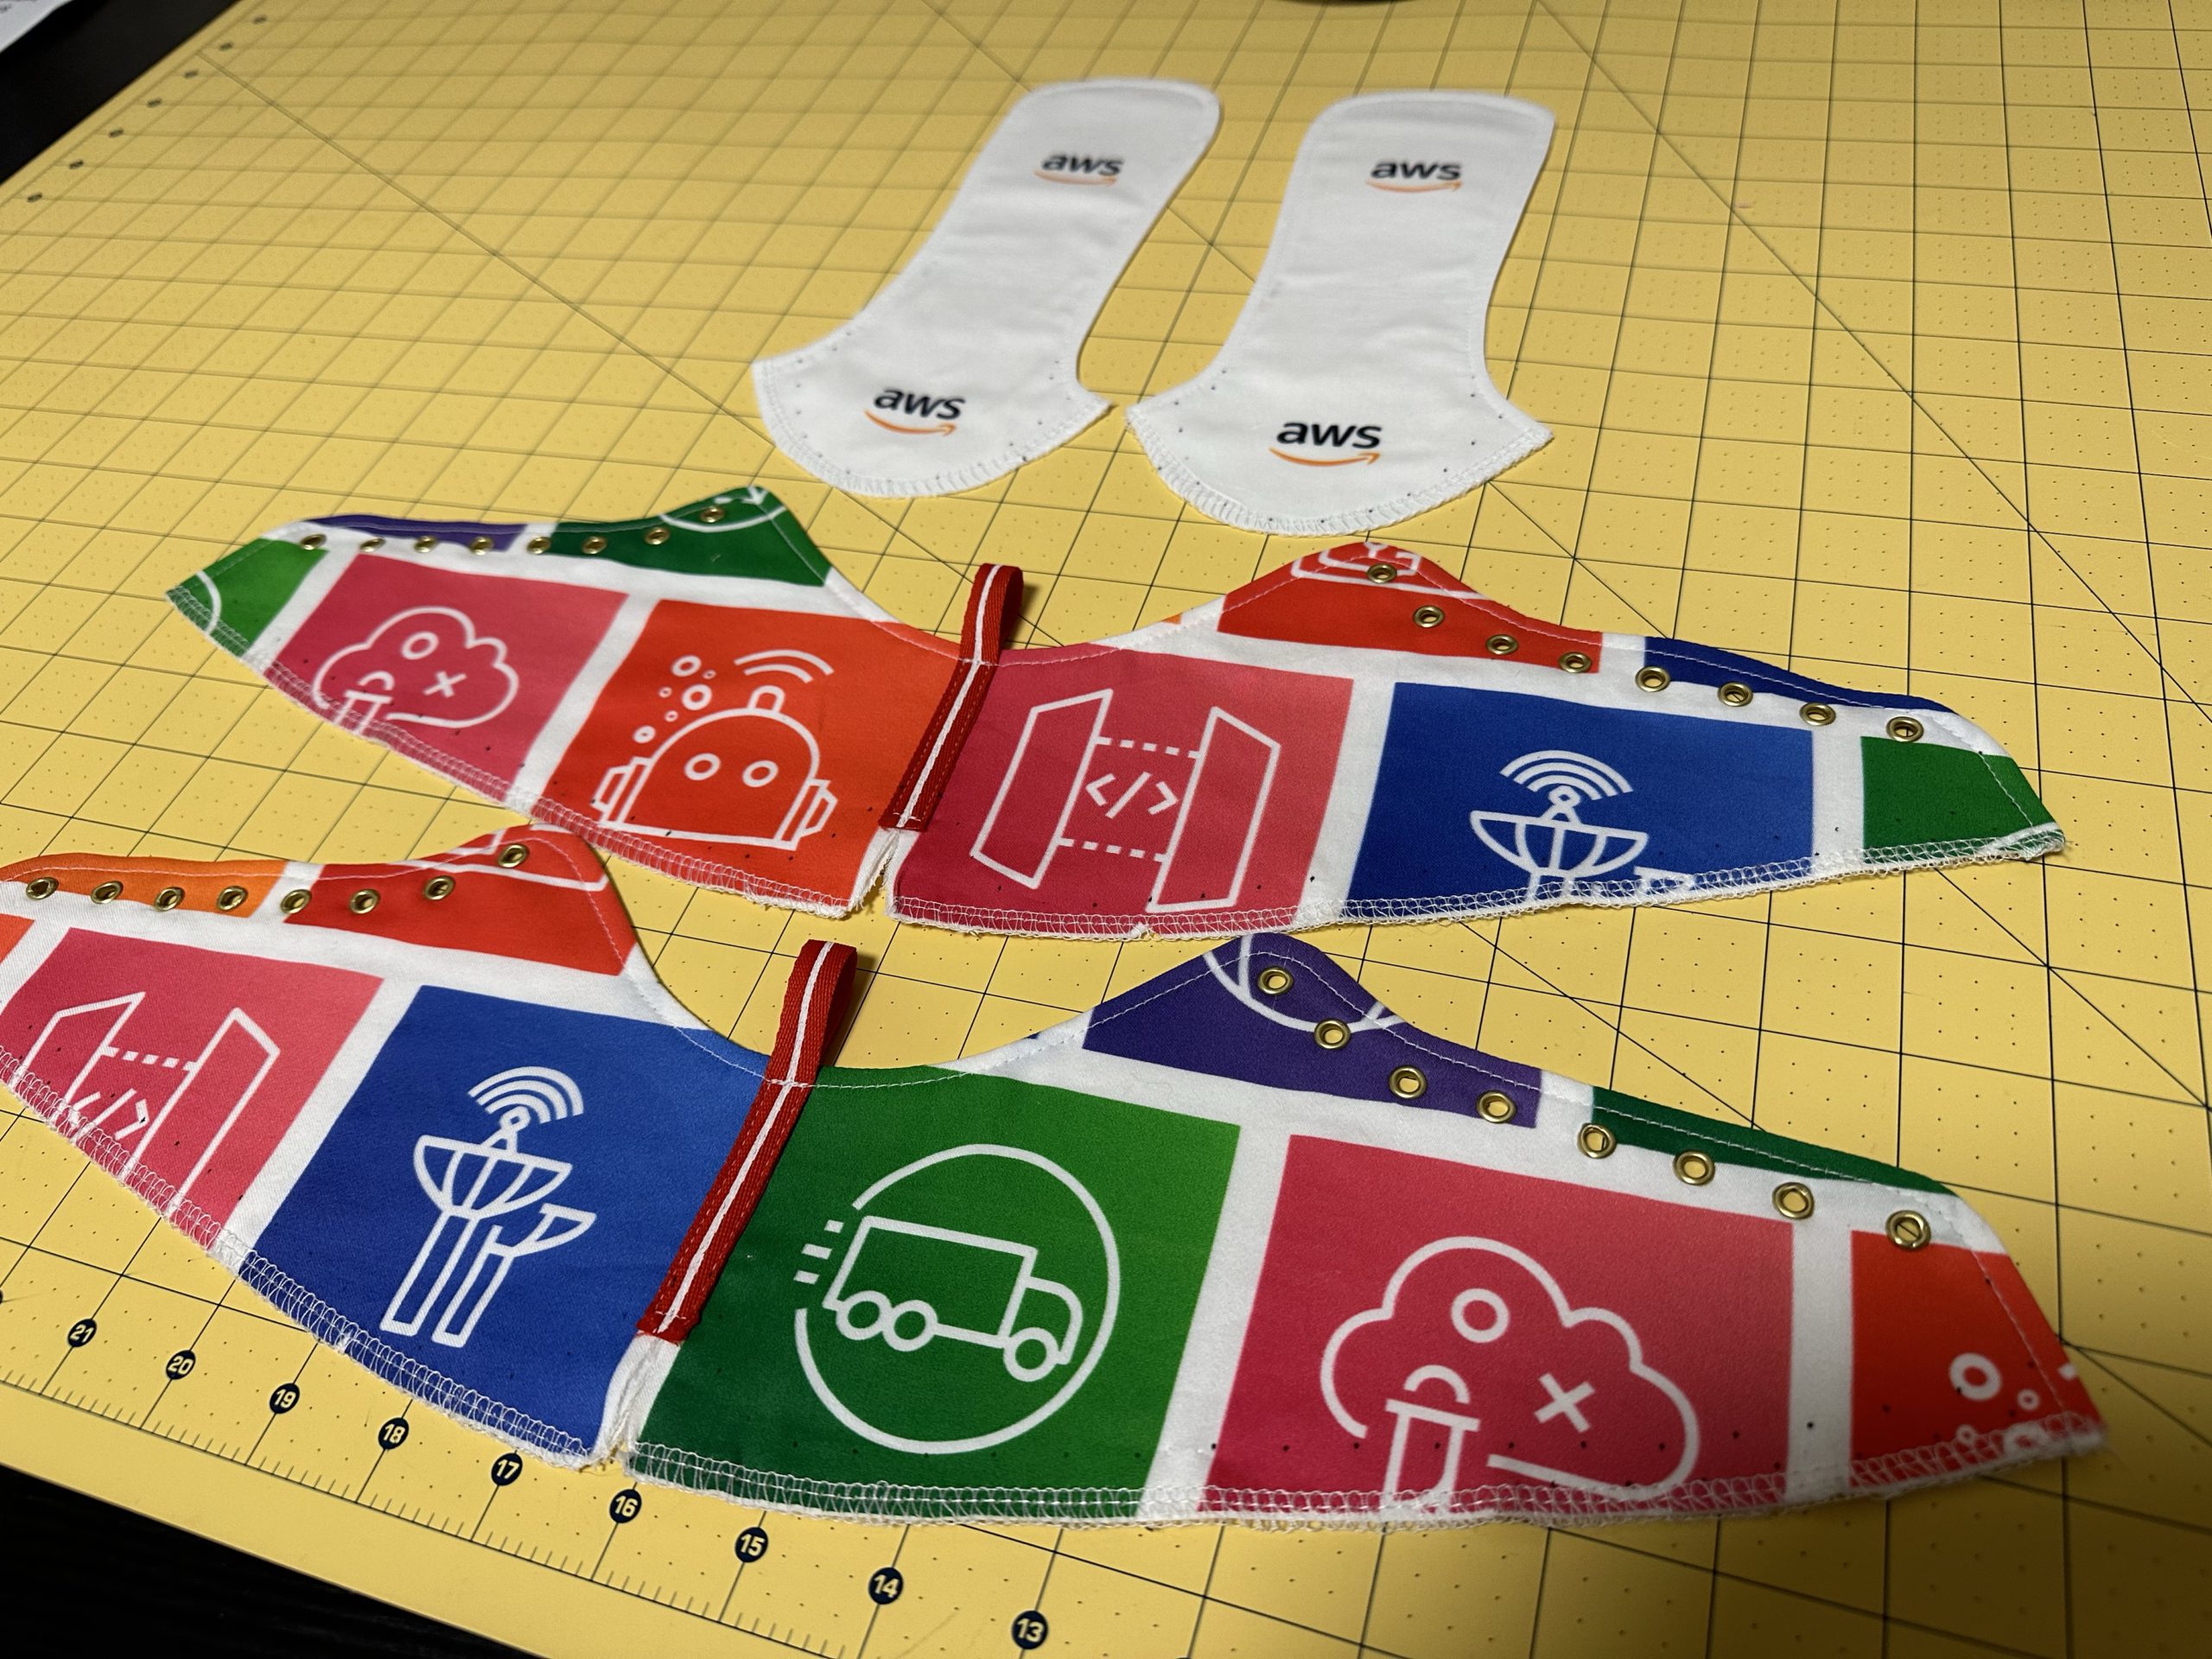
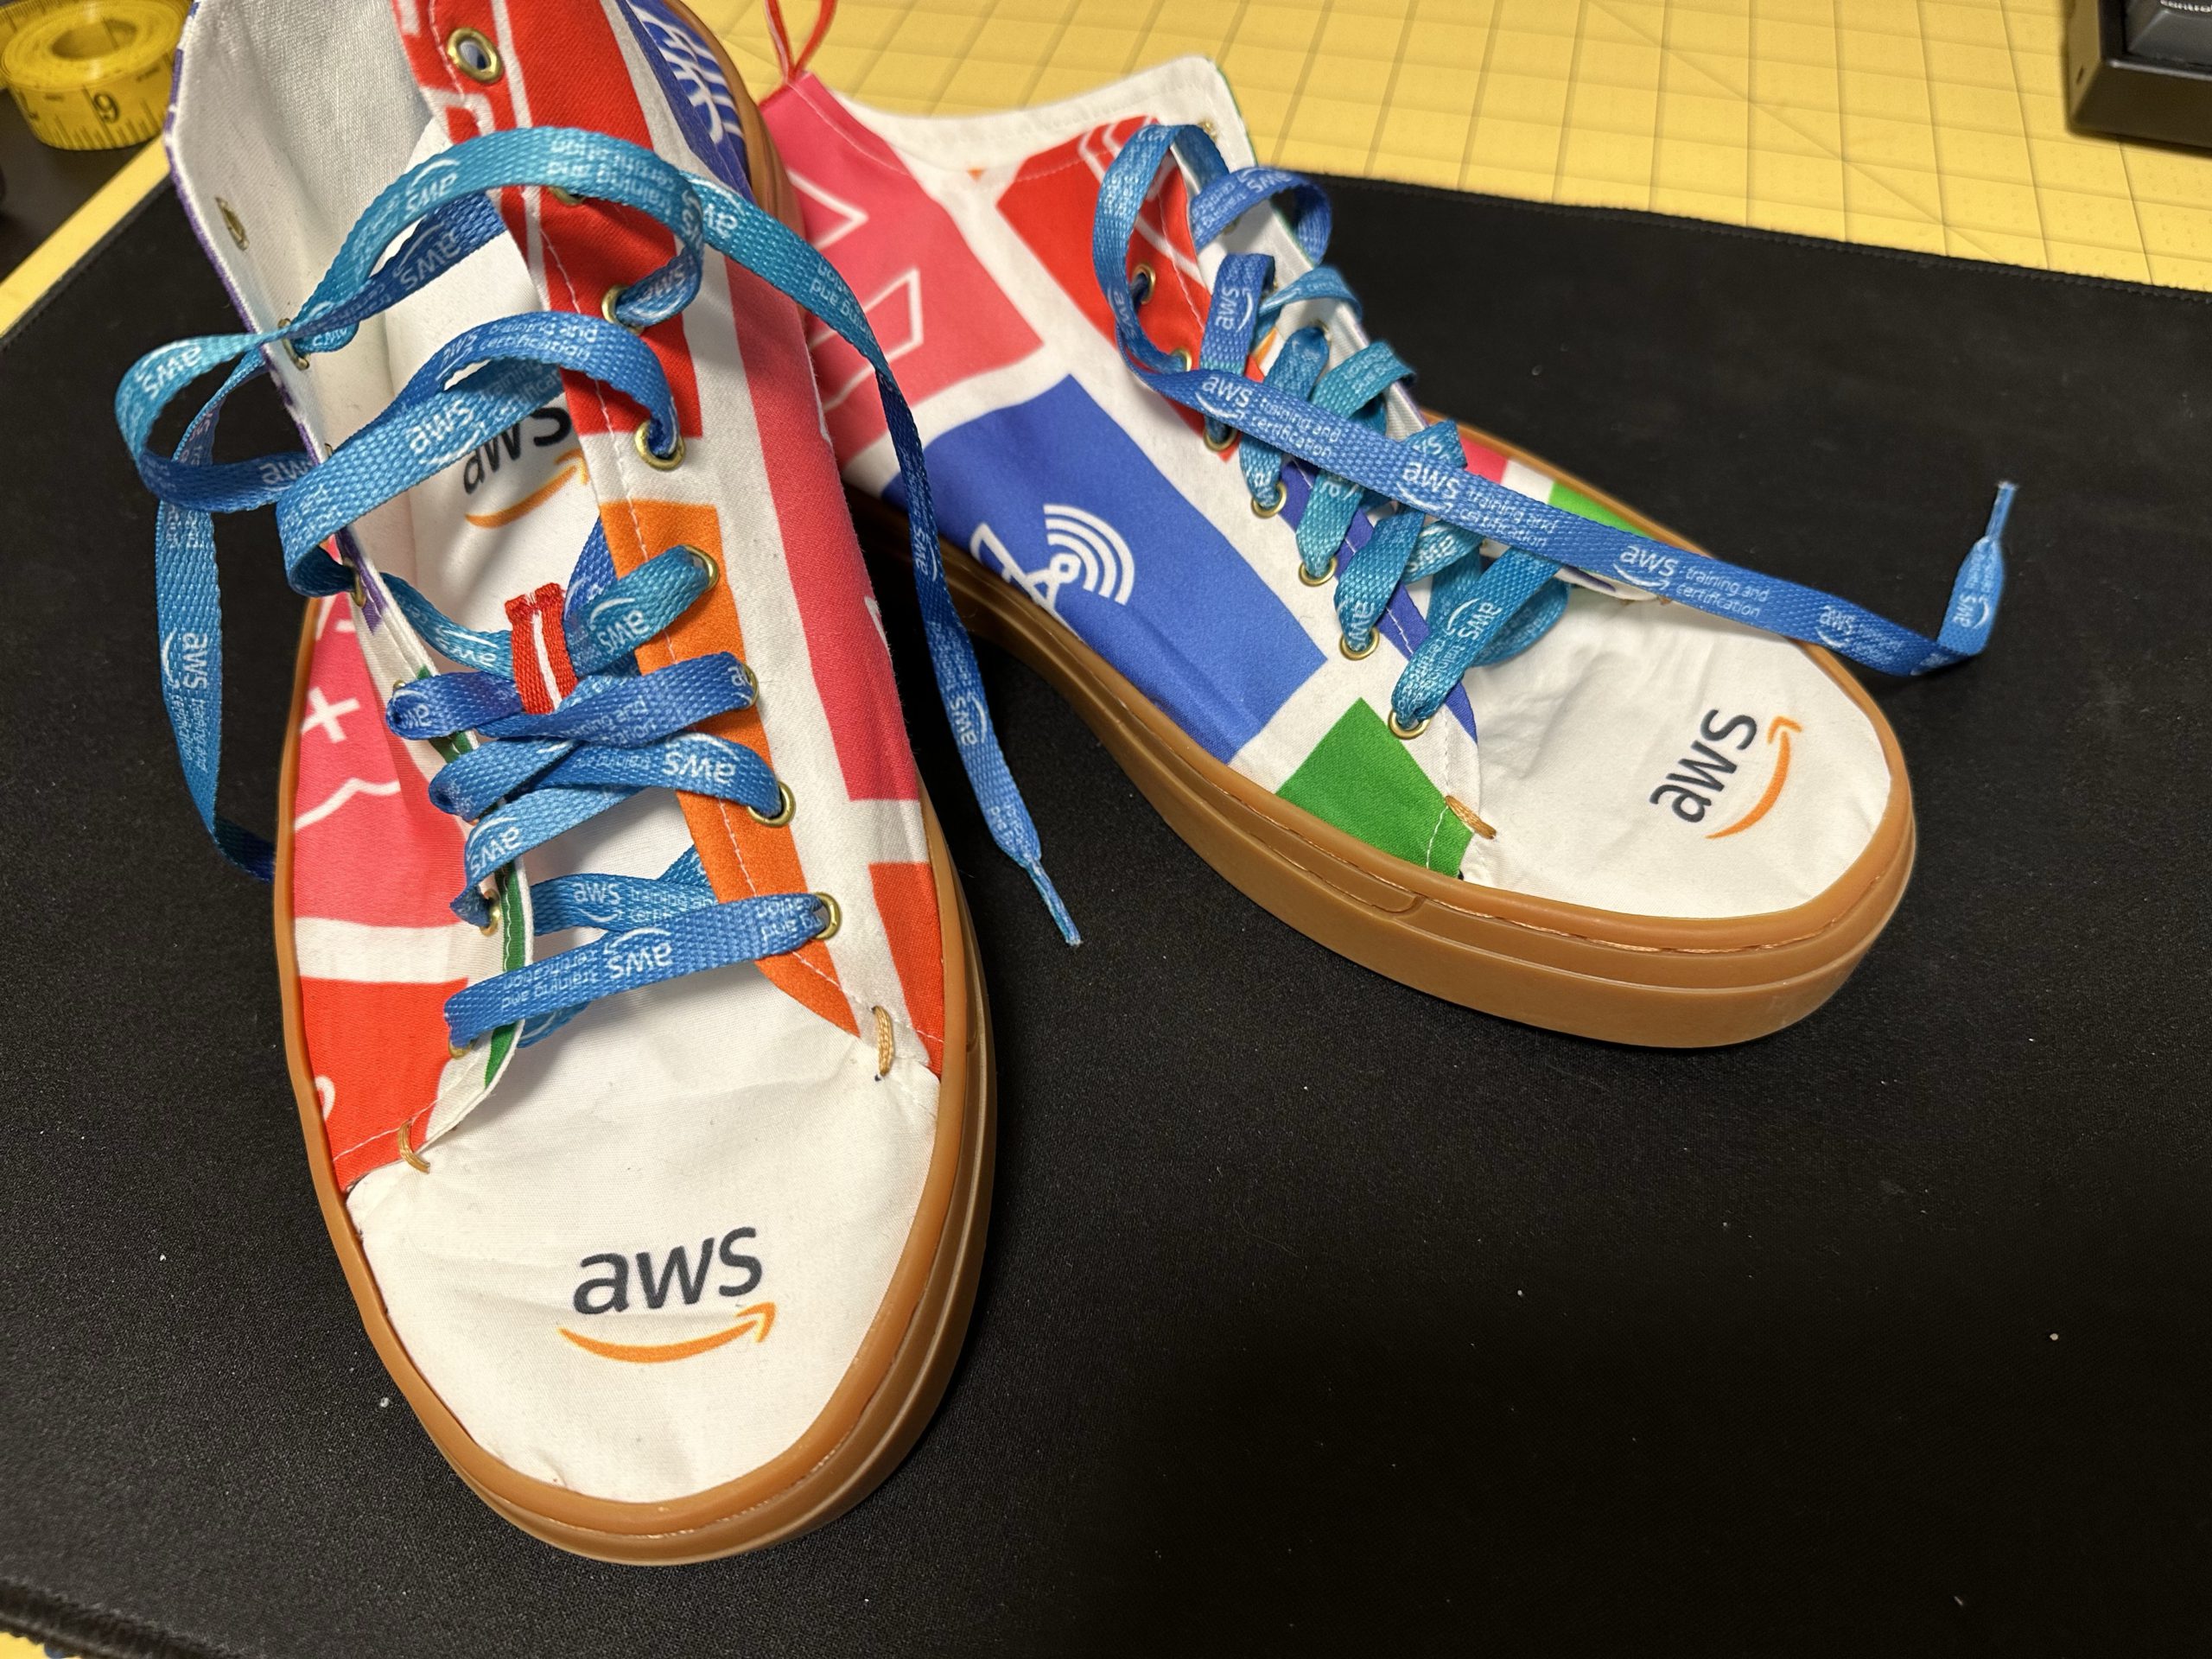
After finishing the dress, I still had a fair bit of the fabric left… and I decided that I needed to craft some accessories. That’s when I discovered SneakerKit. This company will sell you everything you need to make your own pair of shoes! While most folks use them to make leather shoes, I could see on Instagram that many people were also creating fabric shoes. I ordered my kit from Maker’s Leather Supply in Australia, along with a packet of the metal eyelets.
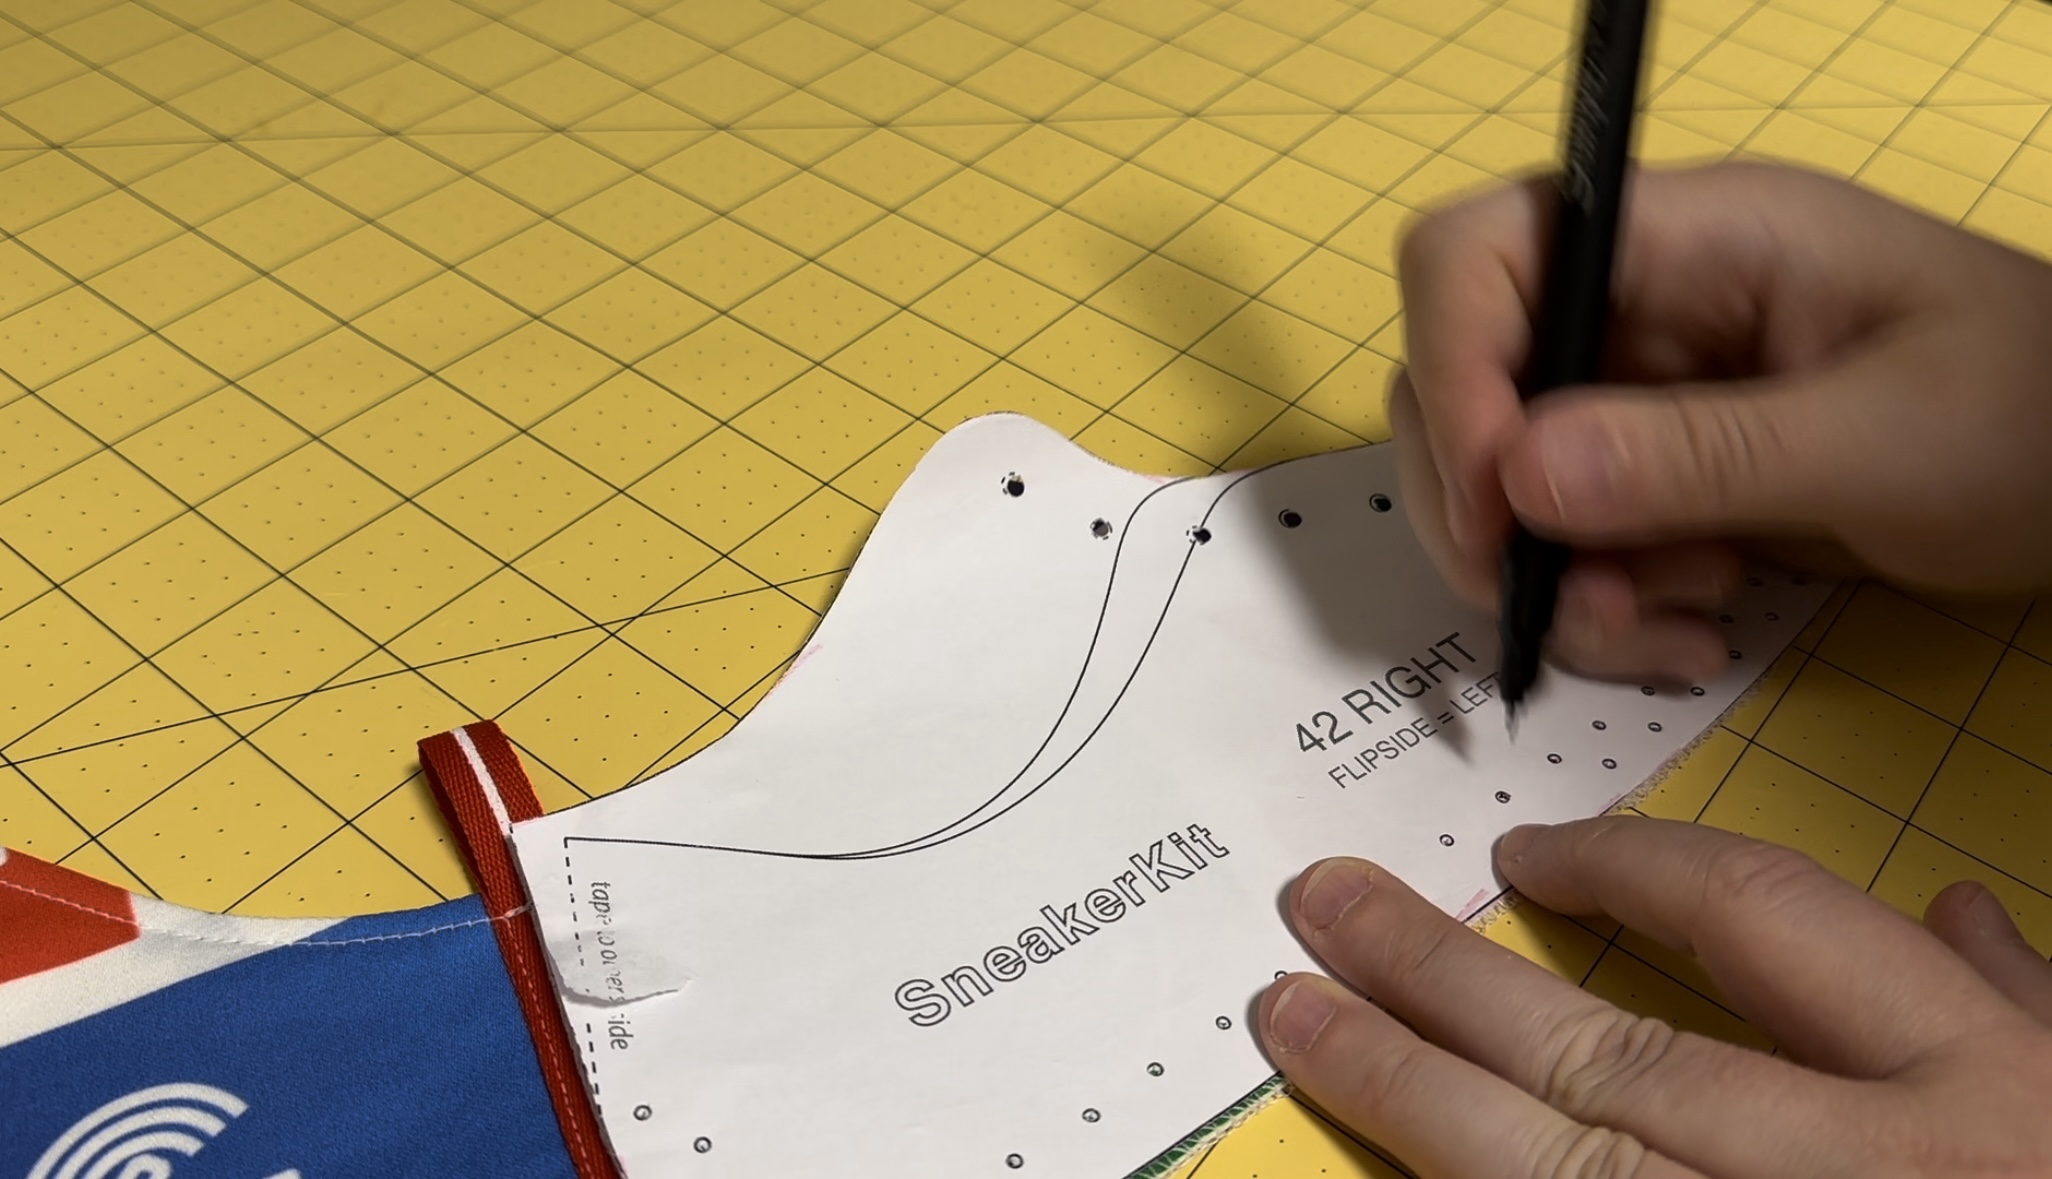
The first step is to prepare your pattern. I downloaded the Classic 3 in 1 and chose the high-top. Then I had to cut out my pieces.
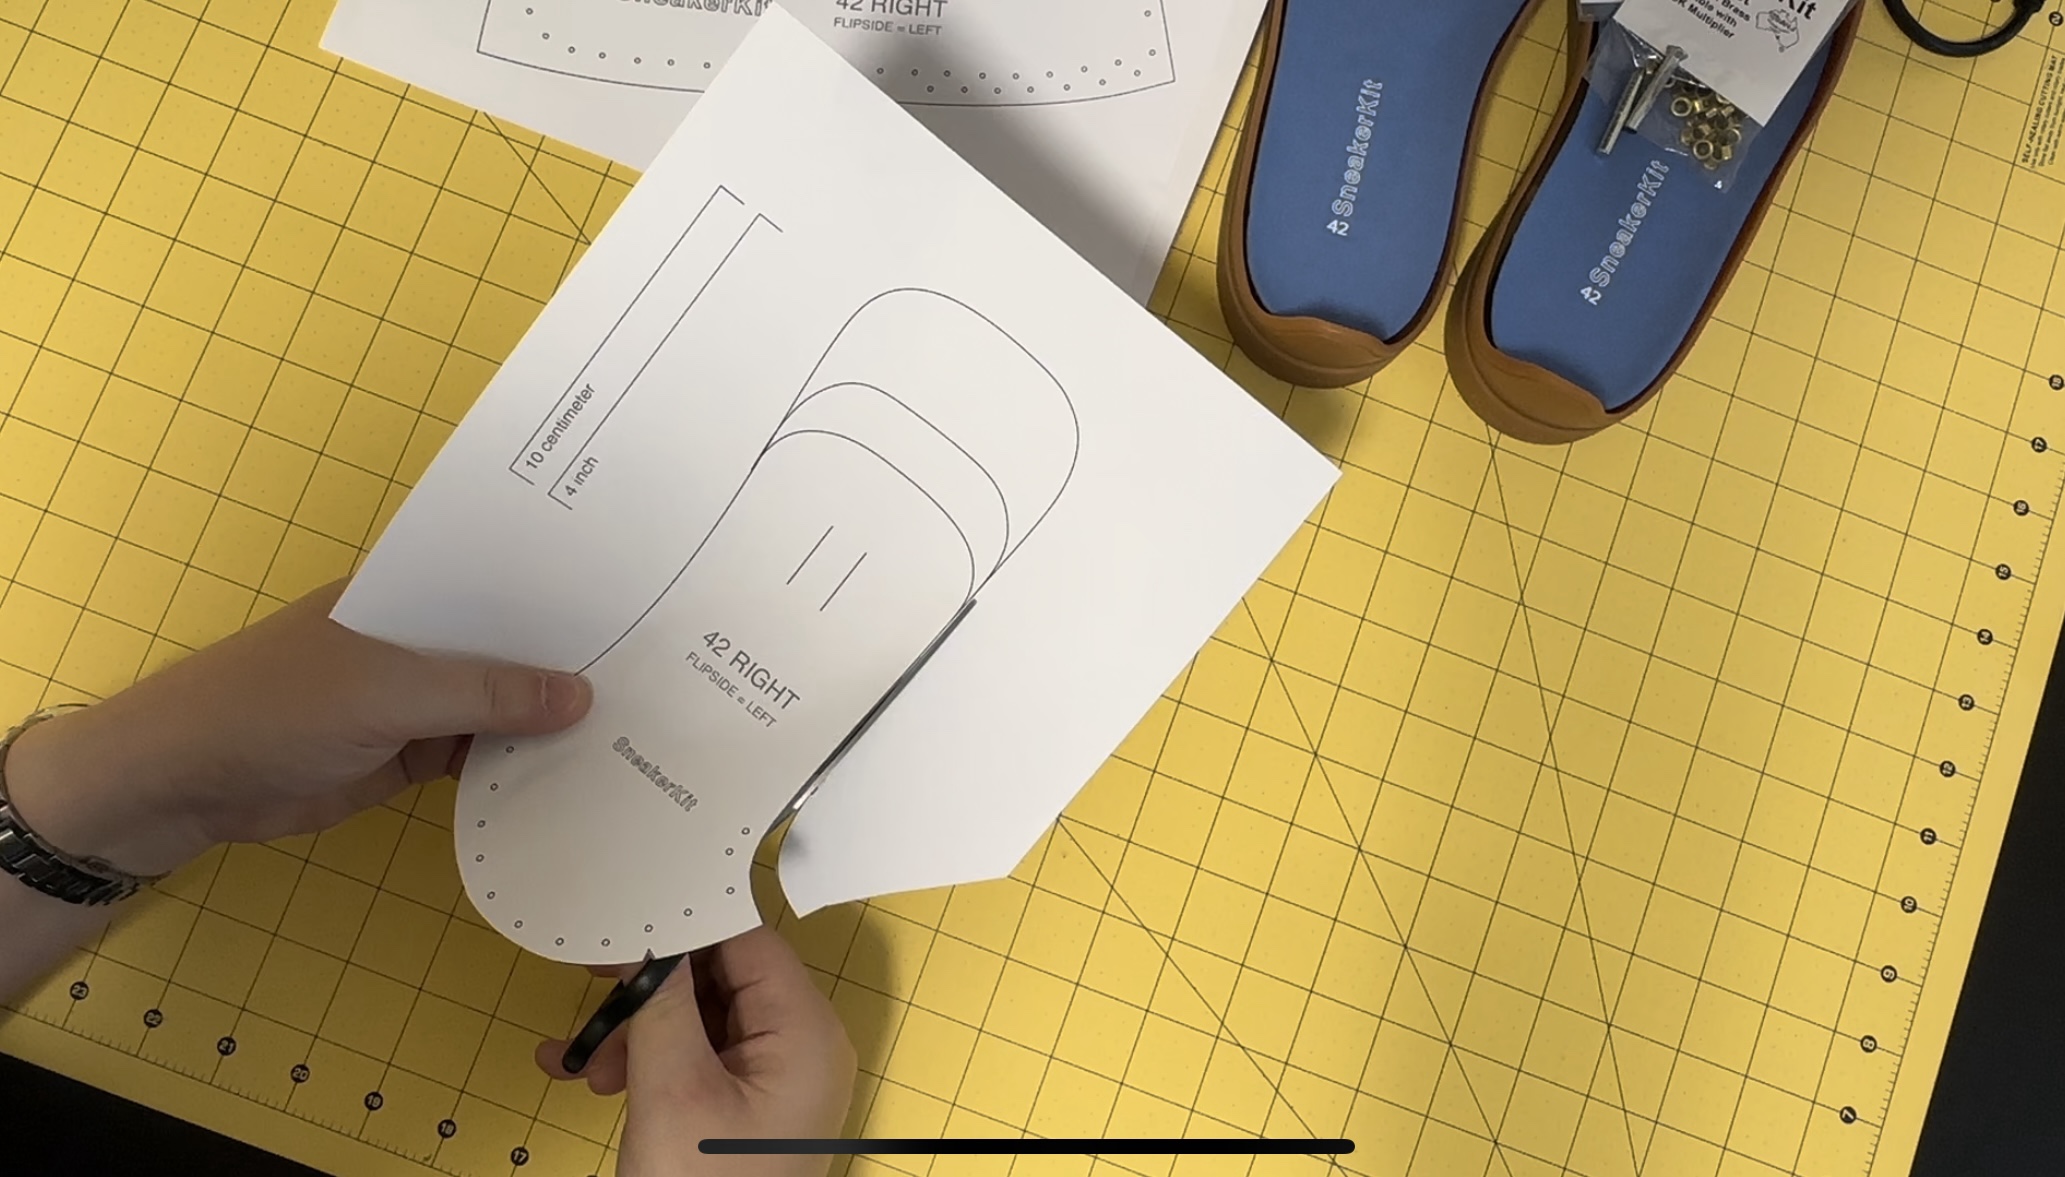
The SneakerKit site has really good instructions, but they’re intended for working with leather. To use fabric, I had to do some research and figure things out myself. Most of the blogs I’d read about making fabric shoes suggested using some very thick interfacing to help stiffen the sides. So my next step was to trace my pieces onto my thick iron-on interfacing. I used a bit of masking tape to join the two side pieces together at the heel. You have to remember to flip each pattern piece over to create the mirror-image piece for the other foot. (I marked mine with L and R to keep track.)
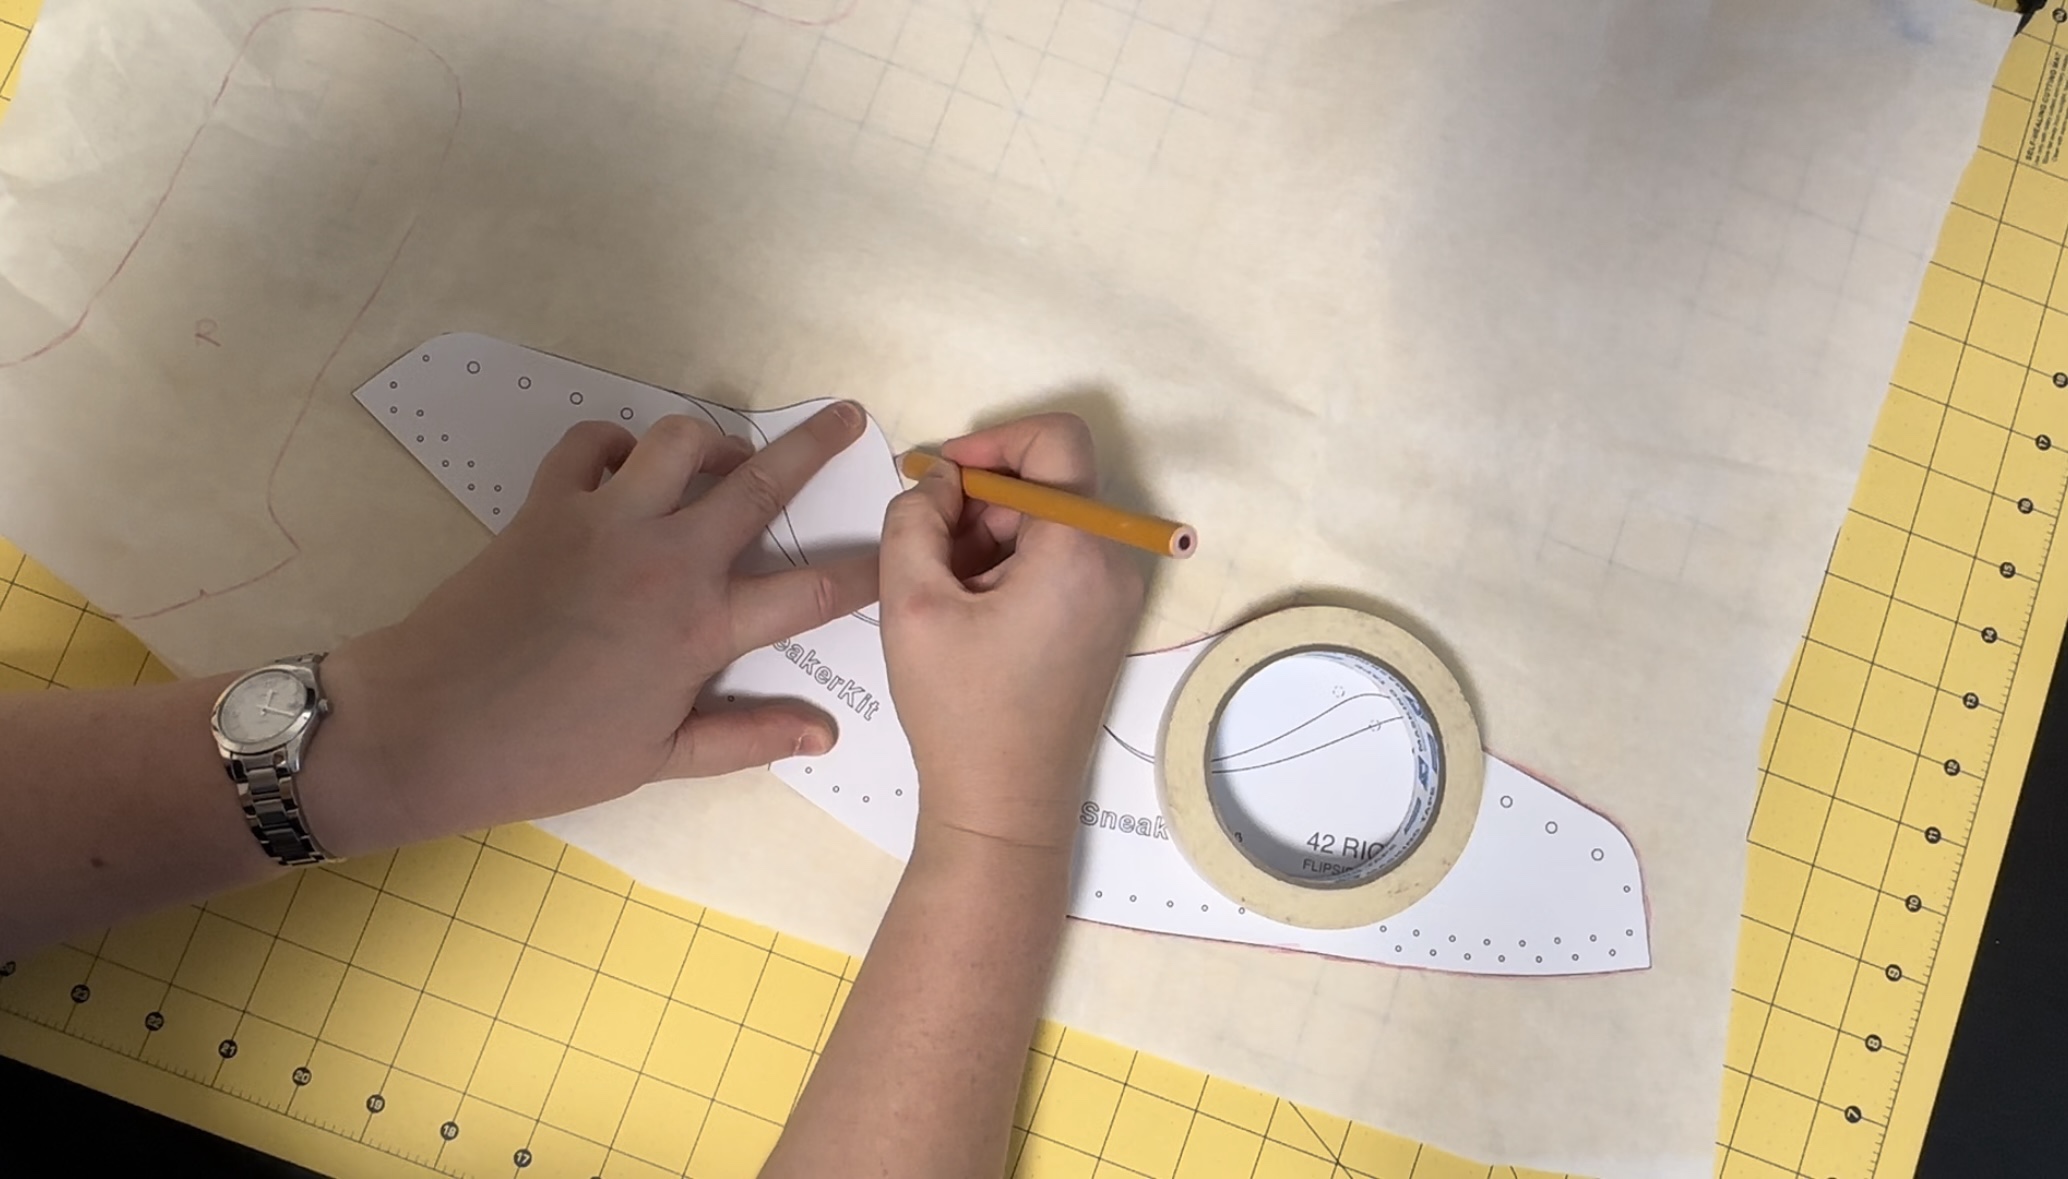
Next I cut out the interfacing pieces.

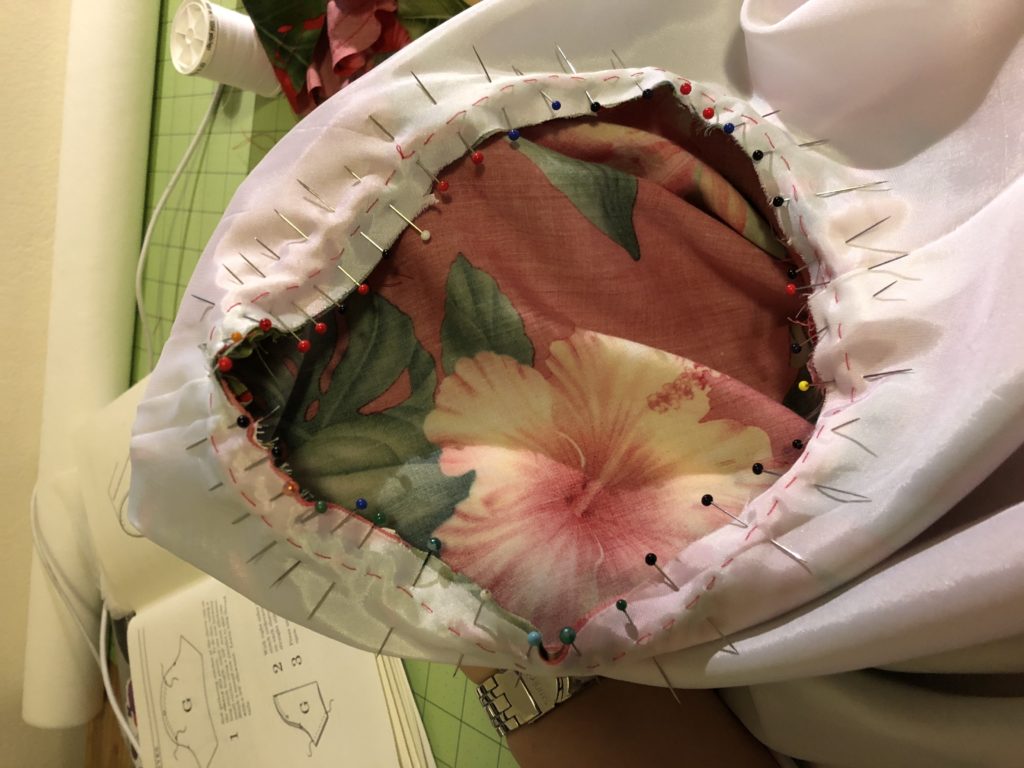
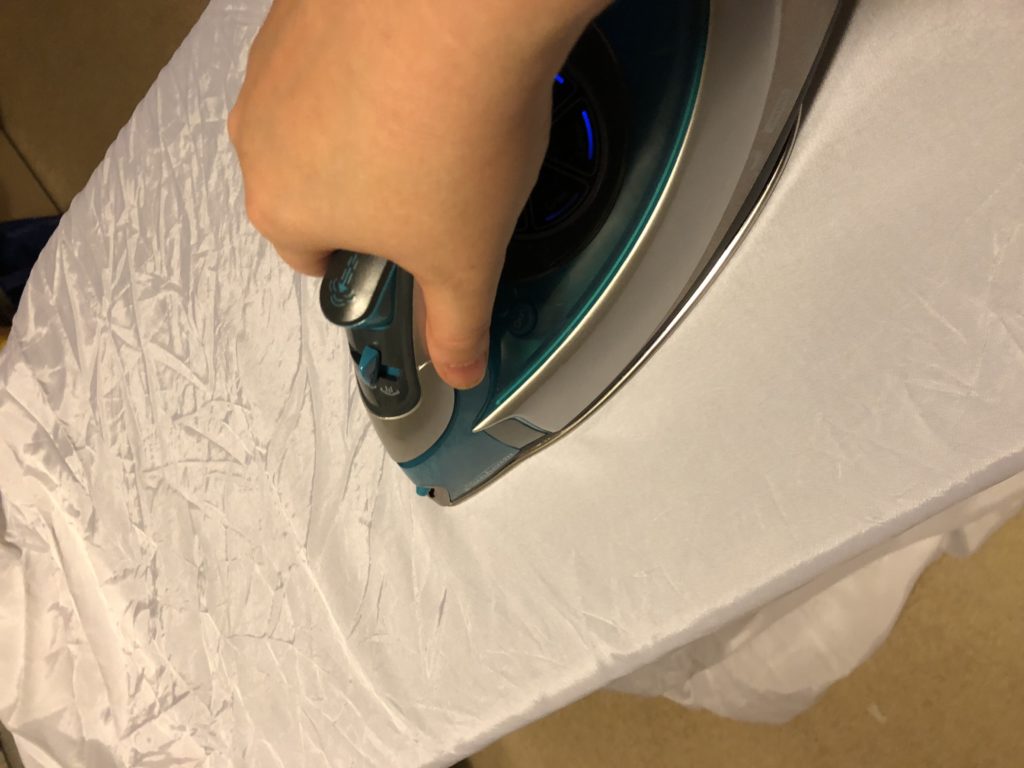
I decided that the insides of my shoes would just be white fabric. So I took the interfacing the ironed it to white cotton, and then cut out around the interfacing. Note: I left 1/4″ excess along every edge that would be sewn to use as seam allowance. (You can see this better on subsequent photos.)
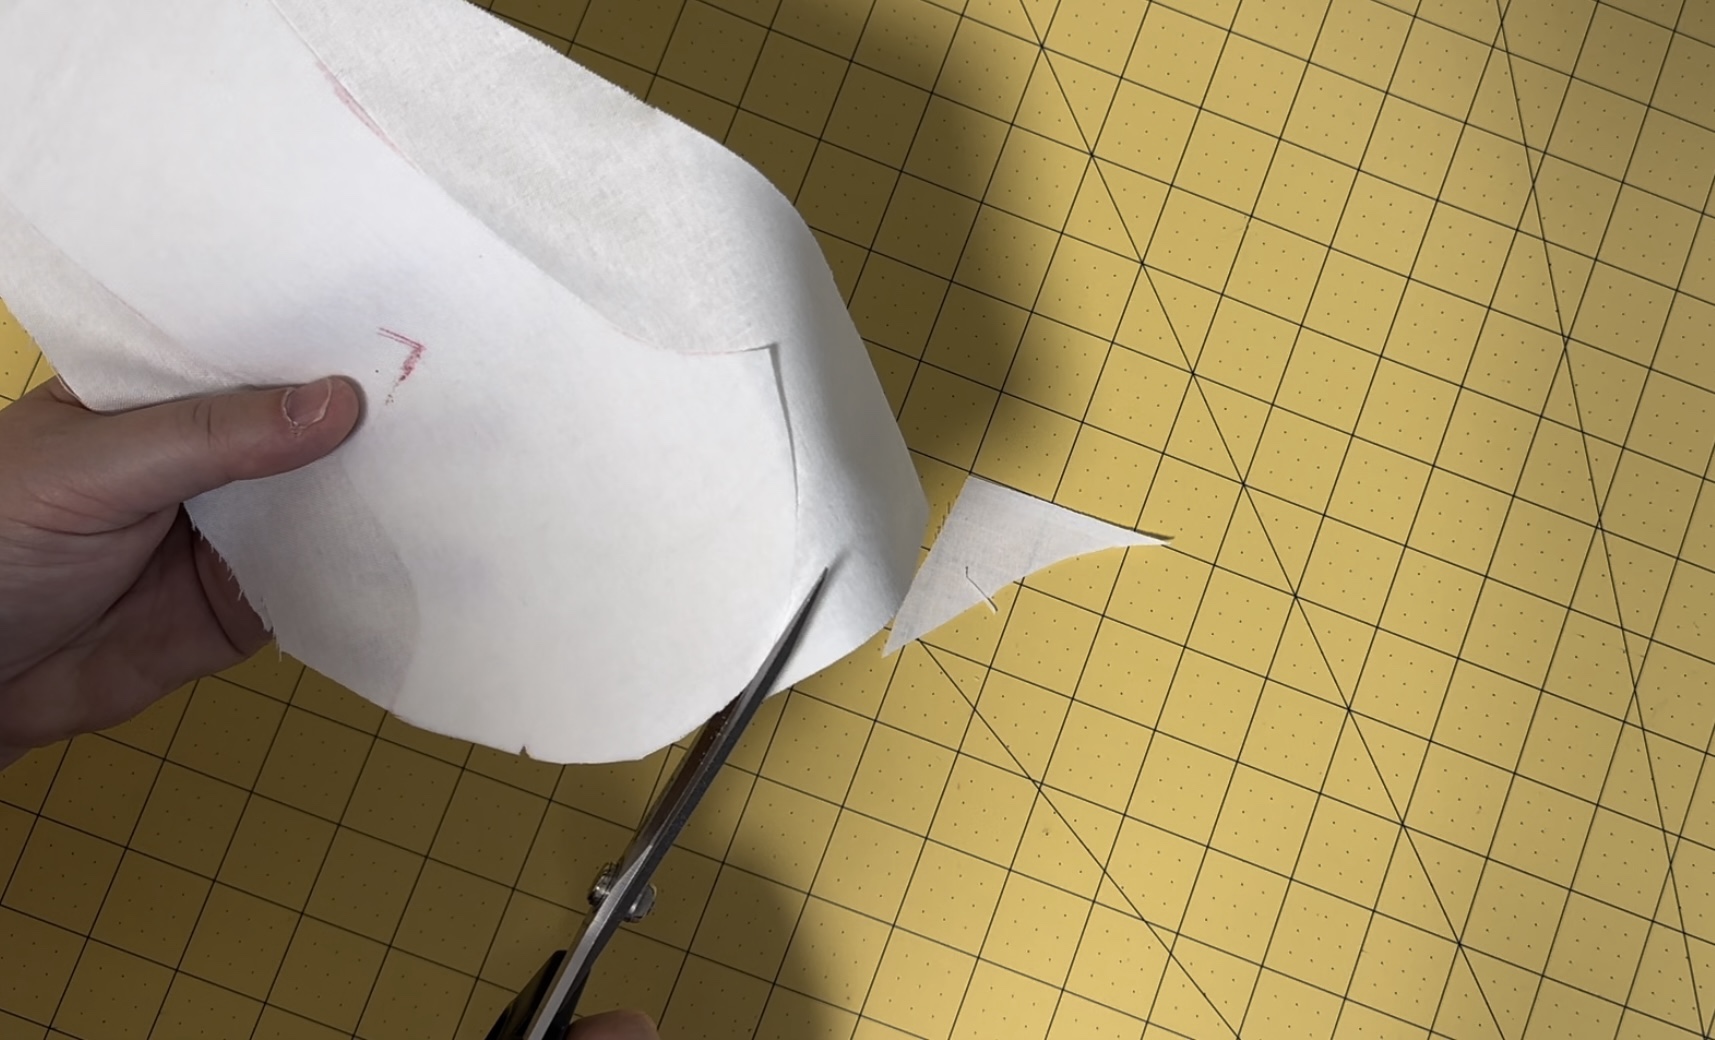
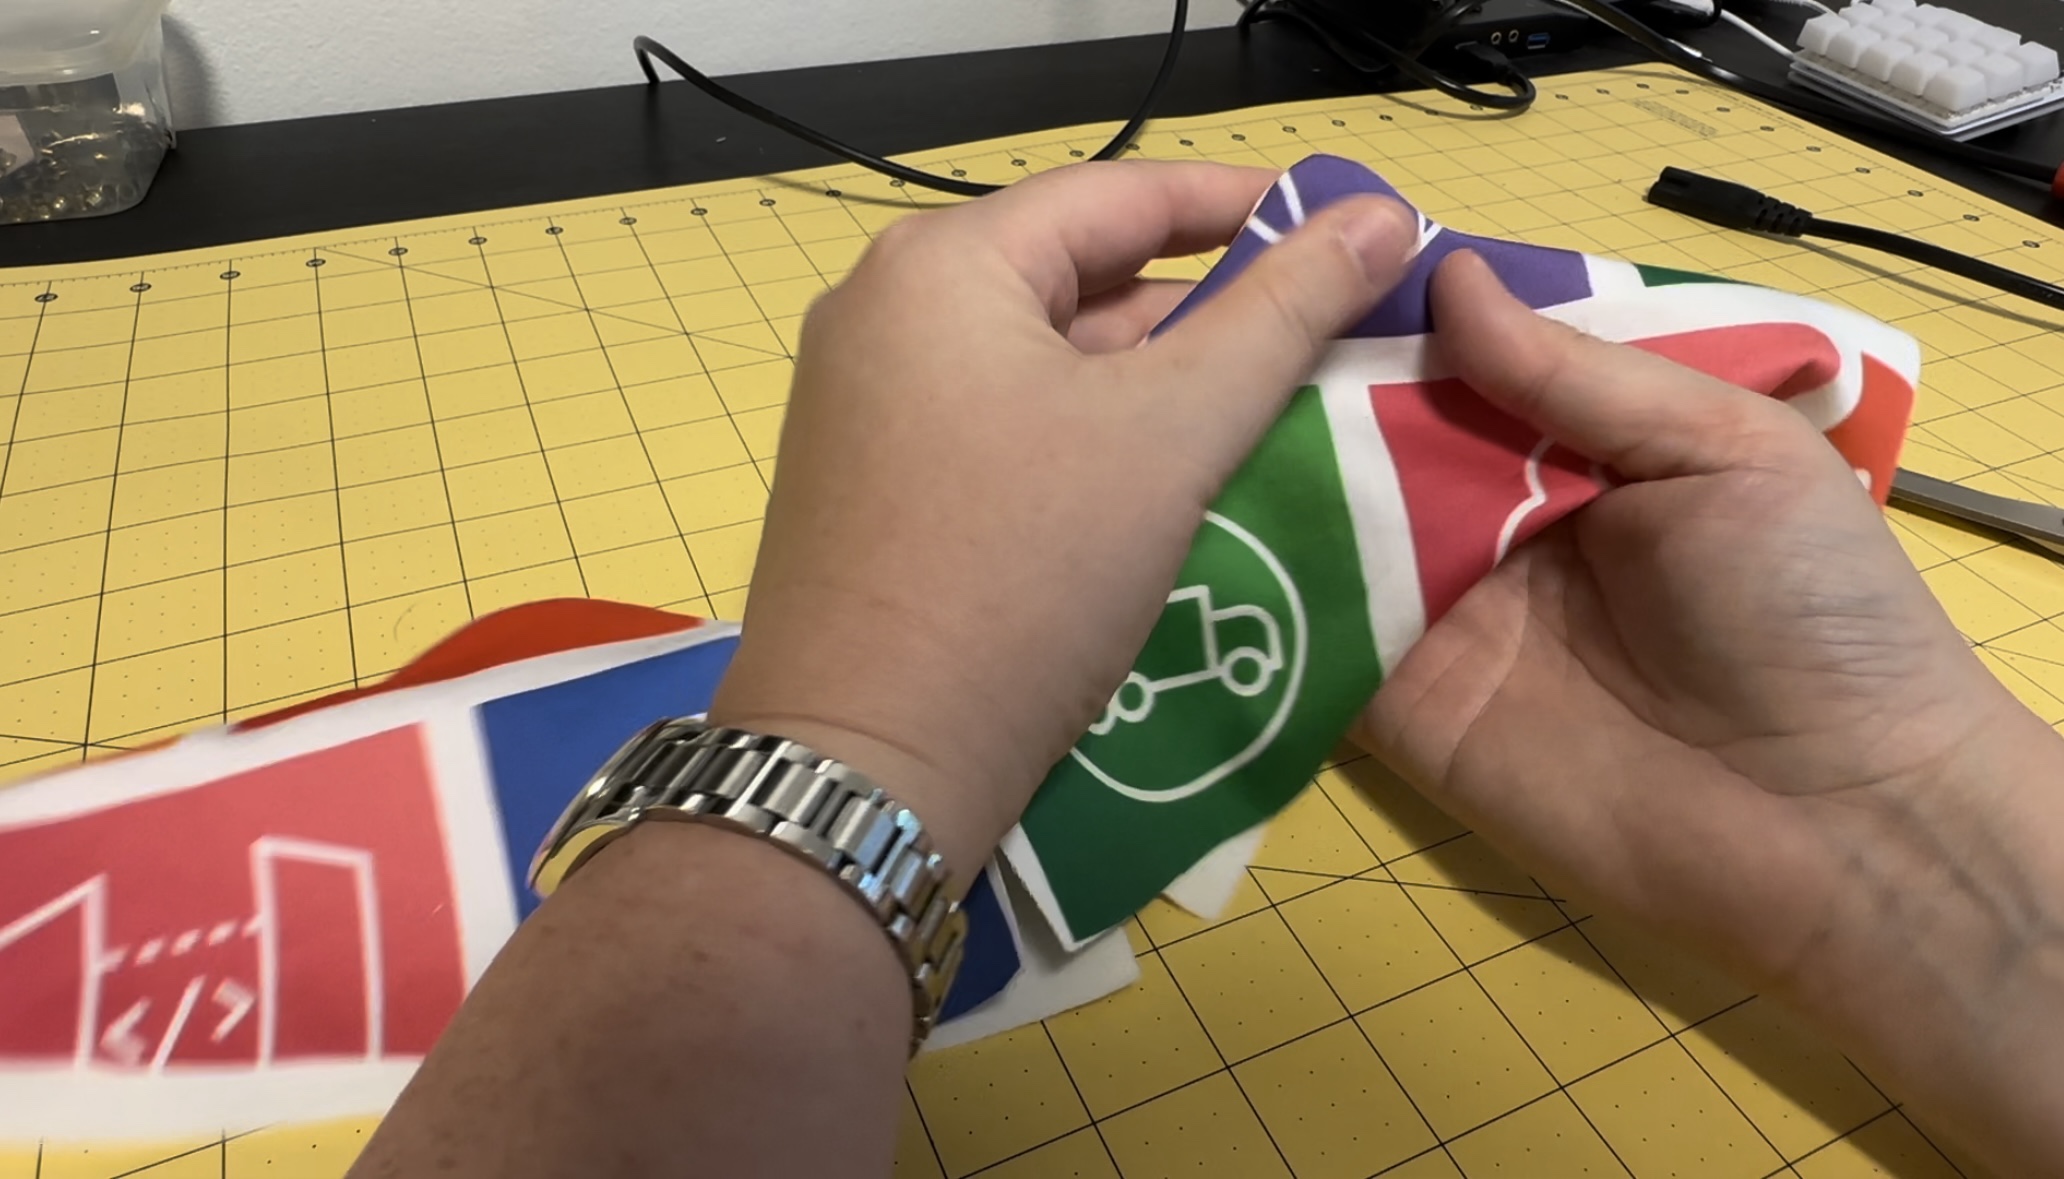
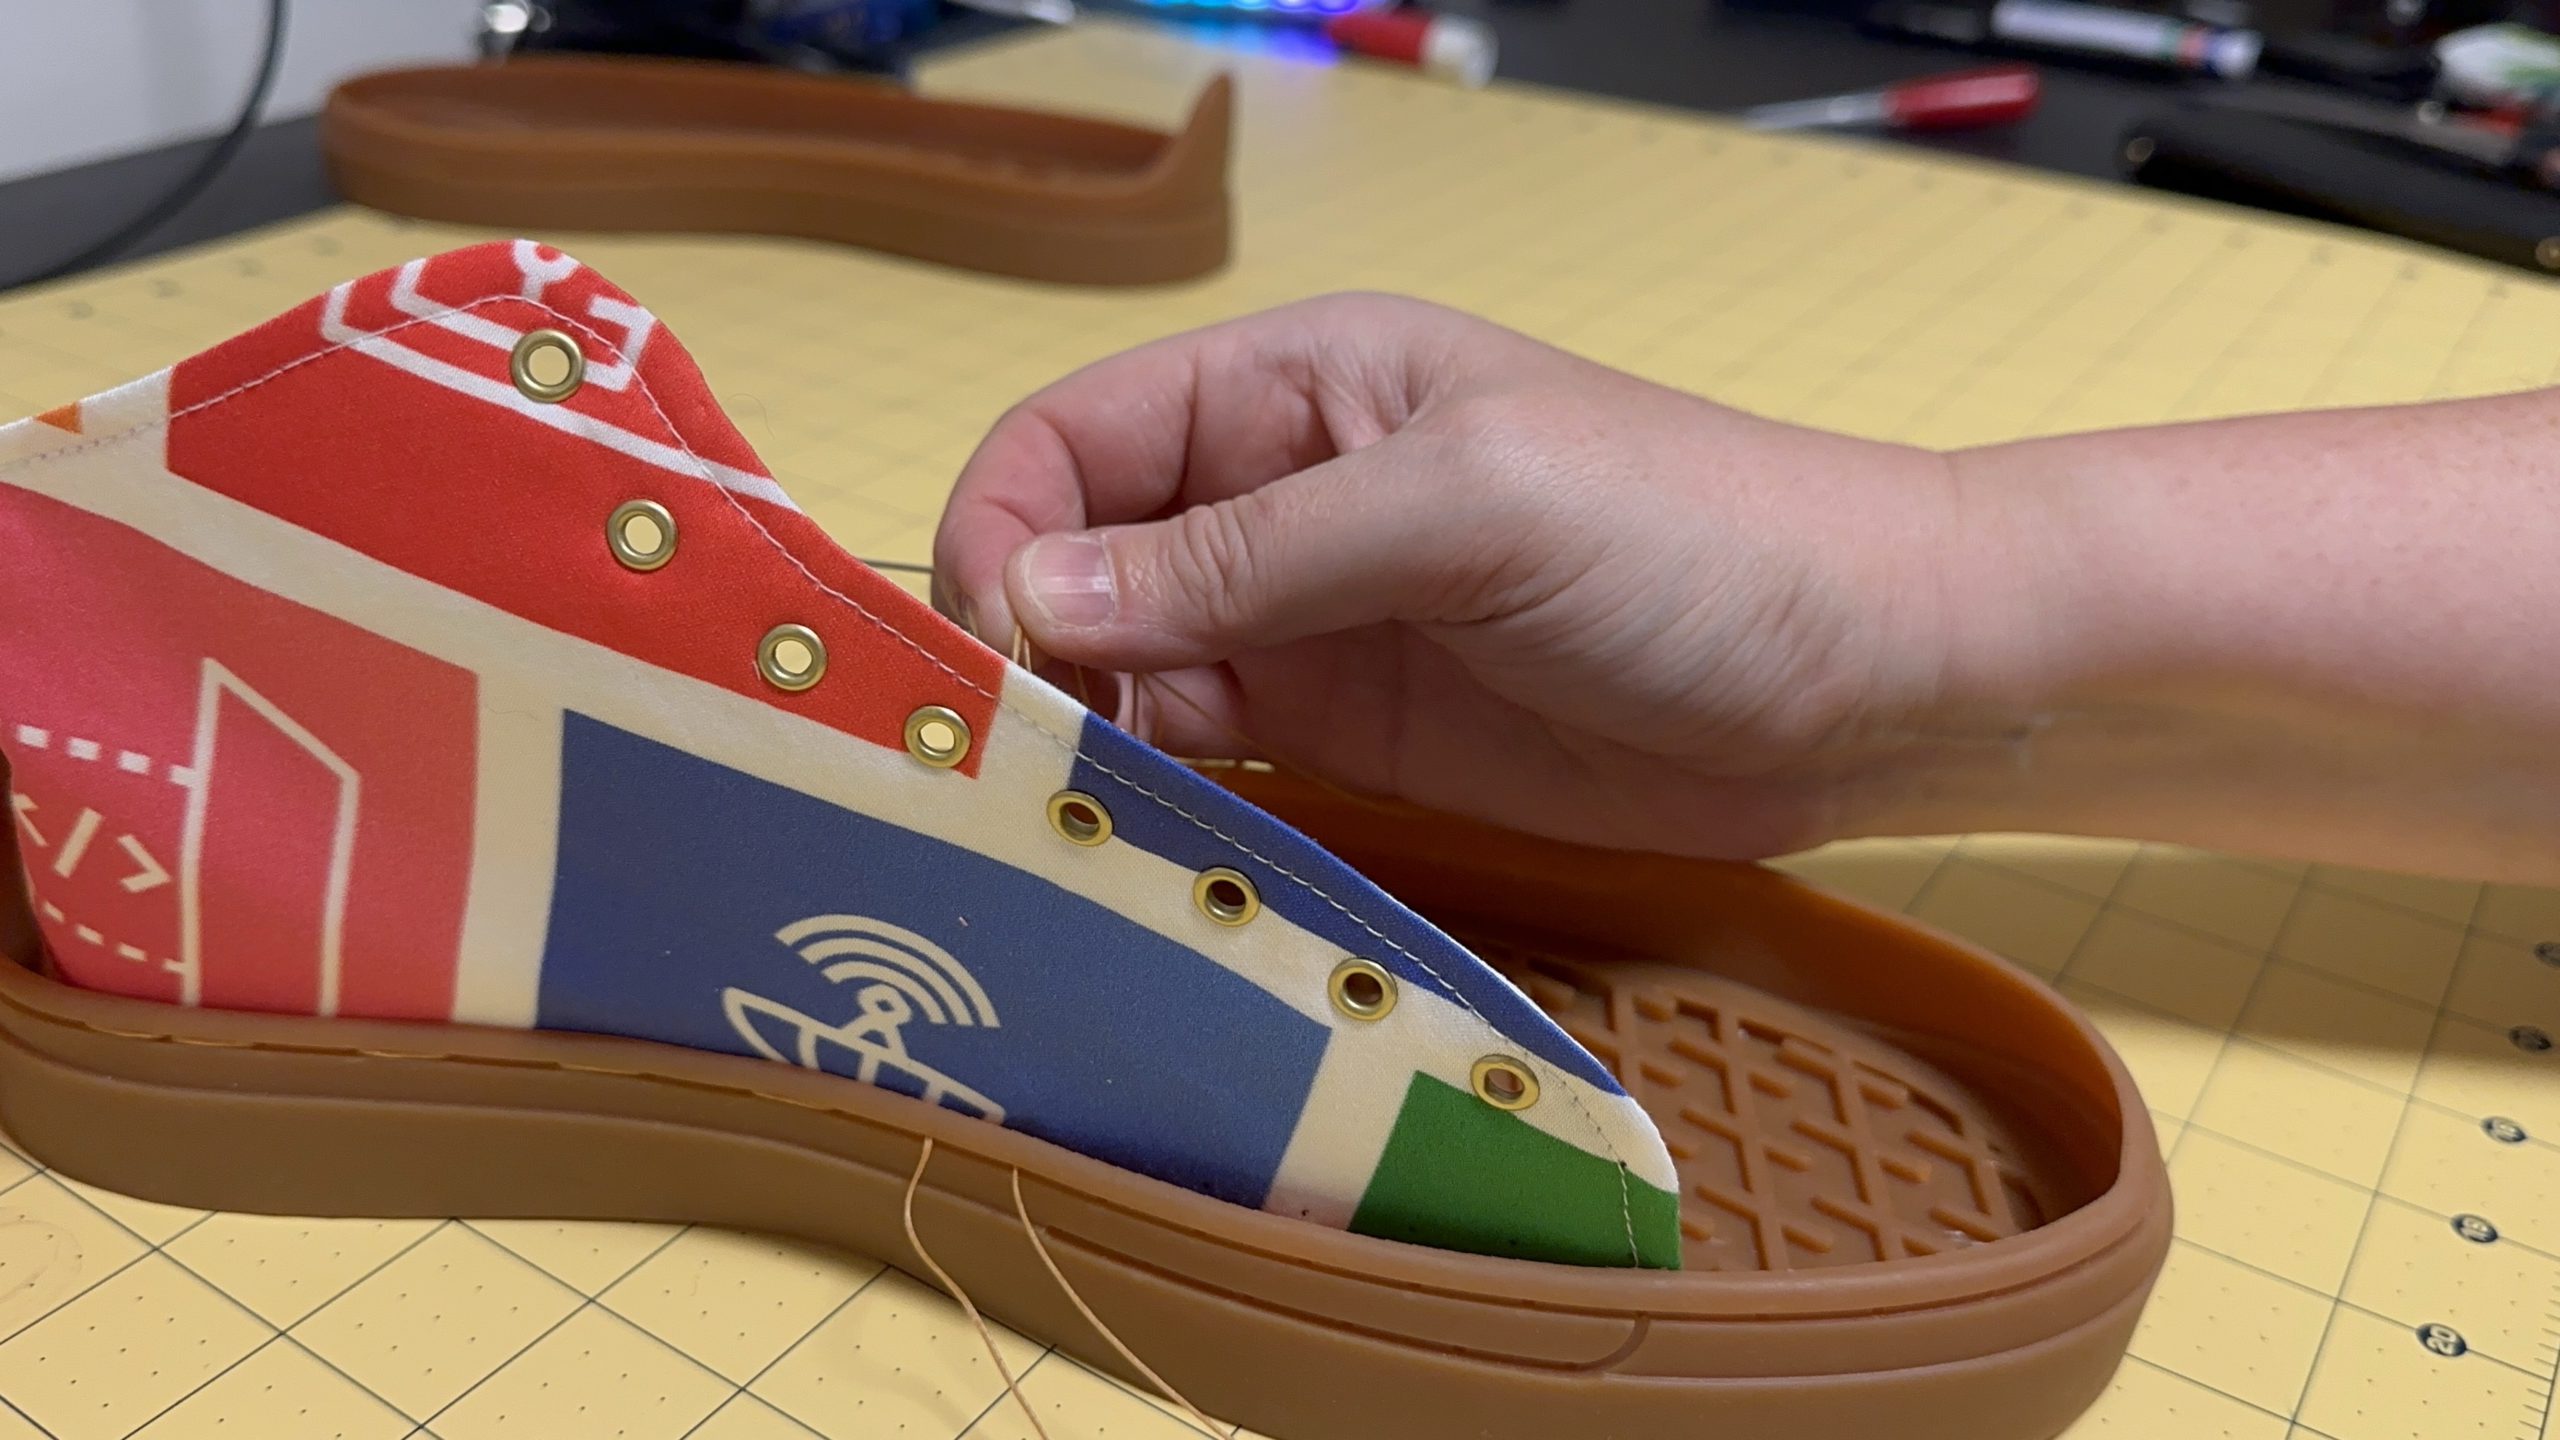
I then used the interfaced lining pieces to cut out the exterior fabric. For the tongues, I decided to use some of the leftovers from my v1 dress, and I tried to line up the pieces so the AWS logo would be nicely visible on the toebox. Once I had them placed, I cut them out.
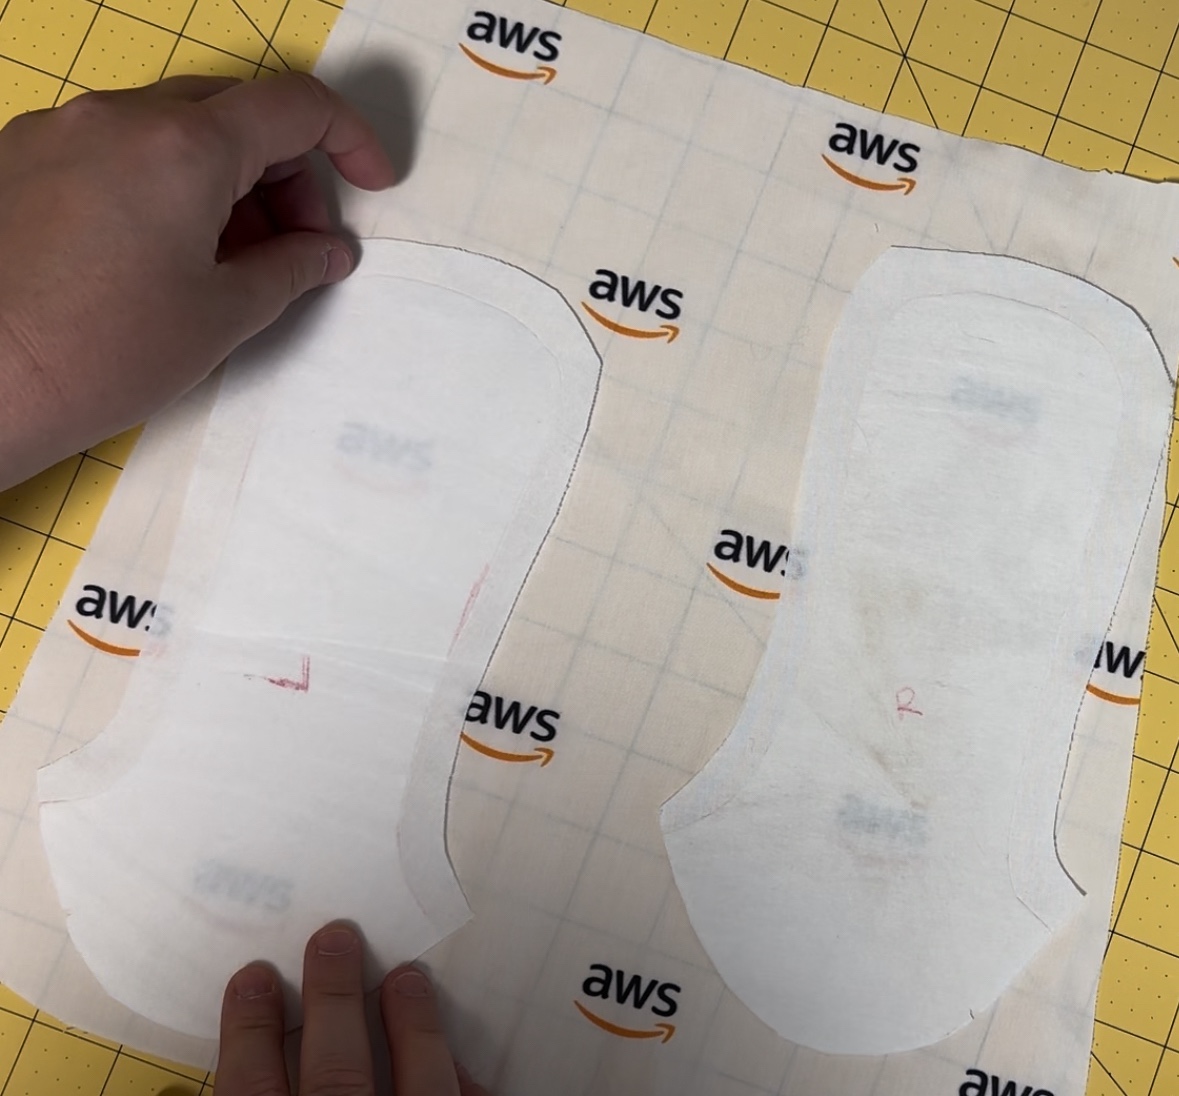
For the side pieces, I made sure to line the heels up exactly between two icons so I could ensure both shoes looked the same.
Now it’s time to sew! I sewed each piece together going just around the edge of the interfacing. (All of the bits along the bottom of the shoe are left open so you can turn them inside out afterwards.)
Then I trimmed down the lining piece seam allowance by half just to make it lie flatter when I turned it inside out.
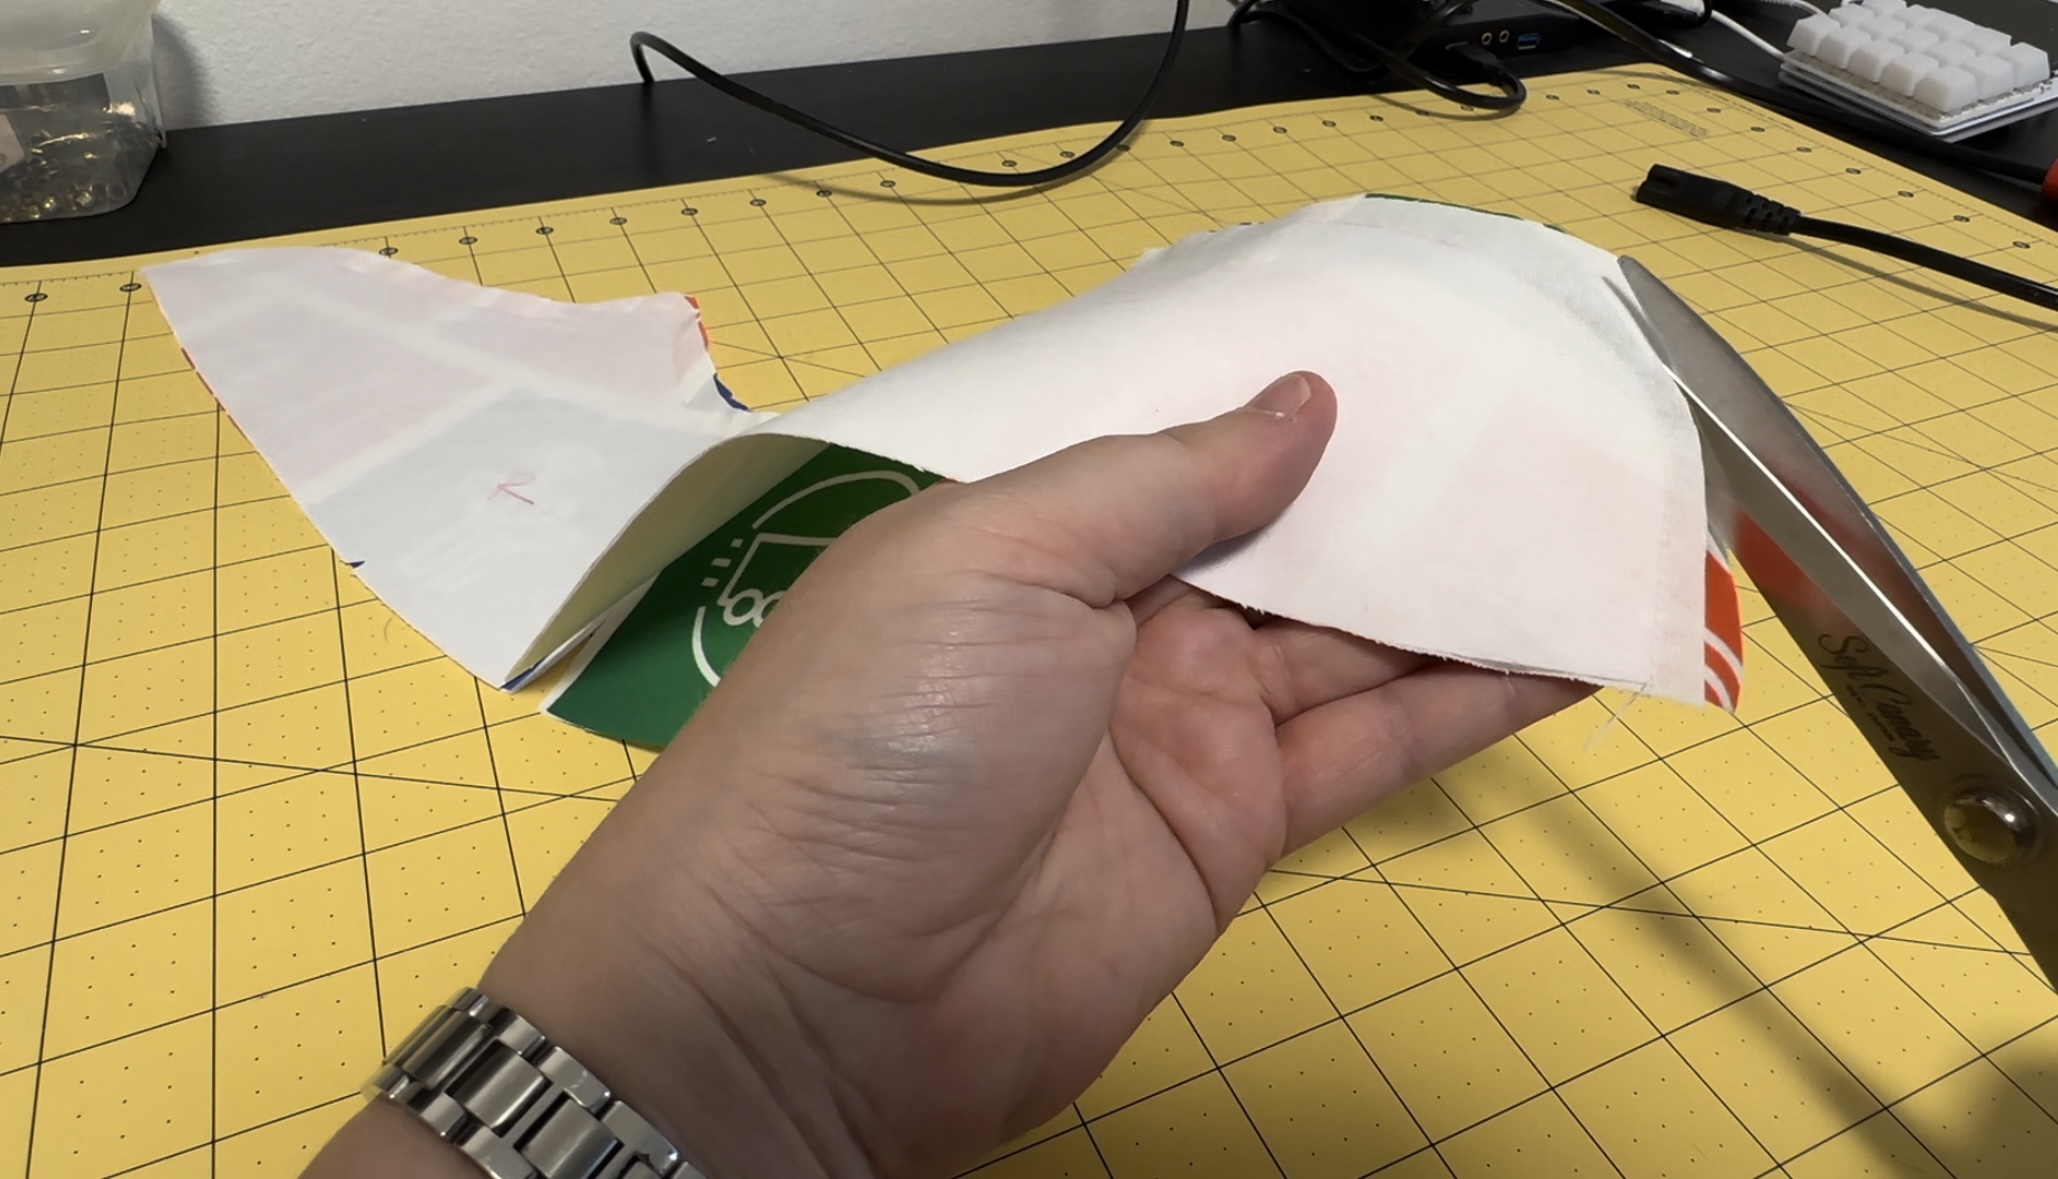
And then I turned each piece out and gave it a good press to make sure it was flat and all the corners were properly turned out.
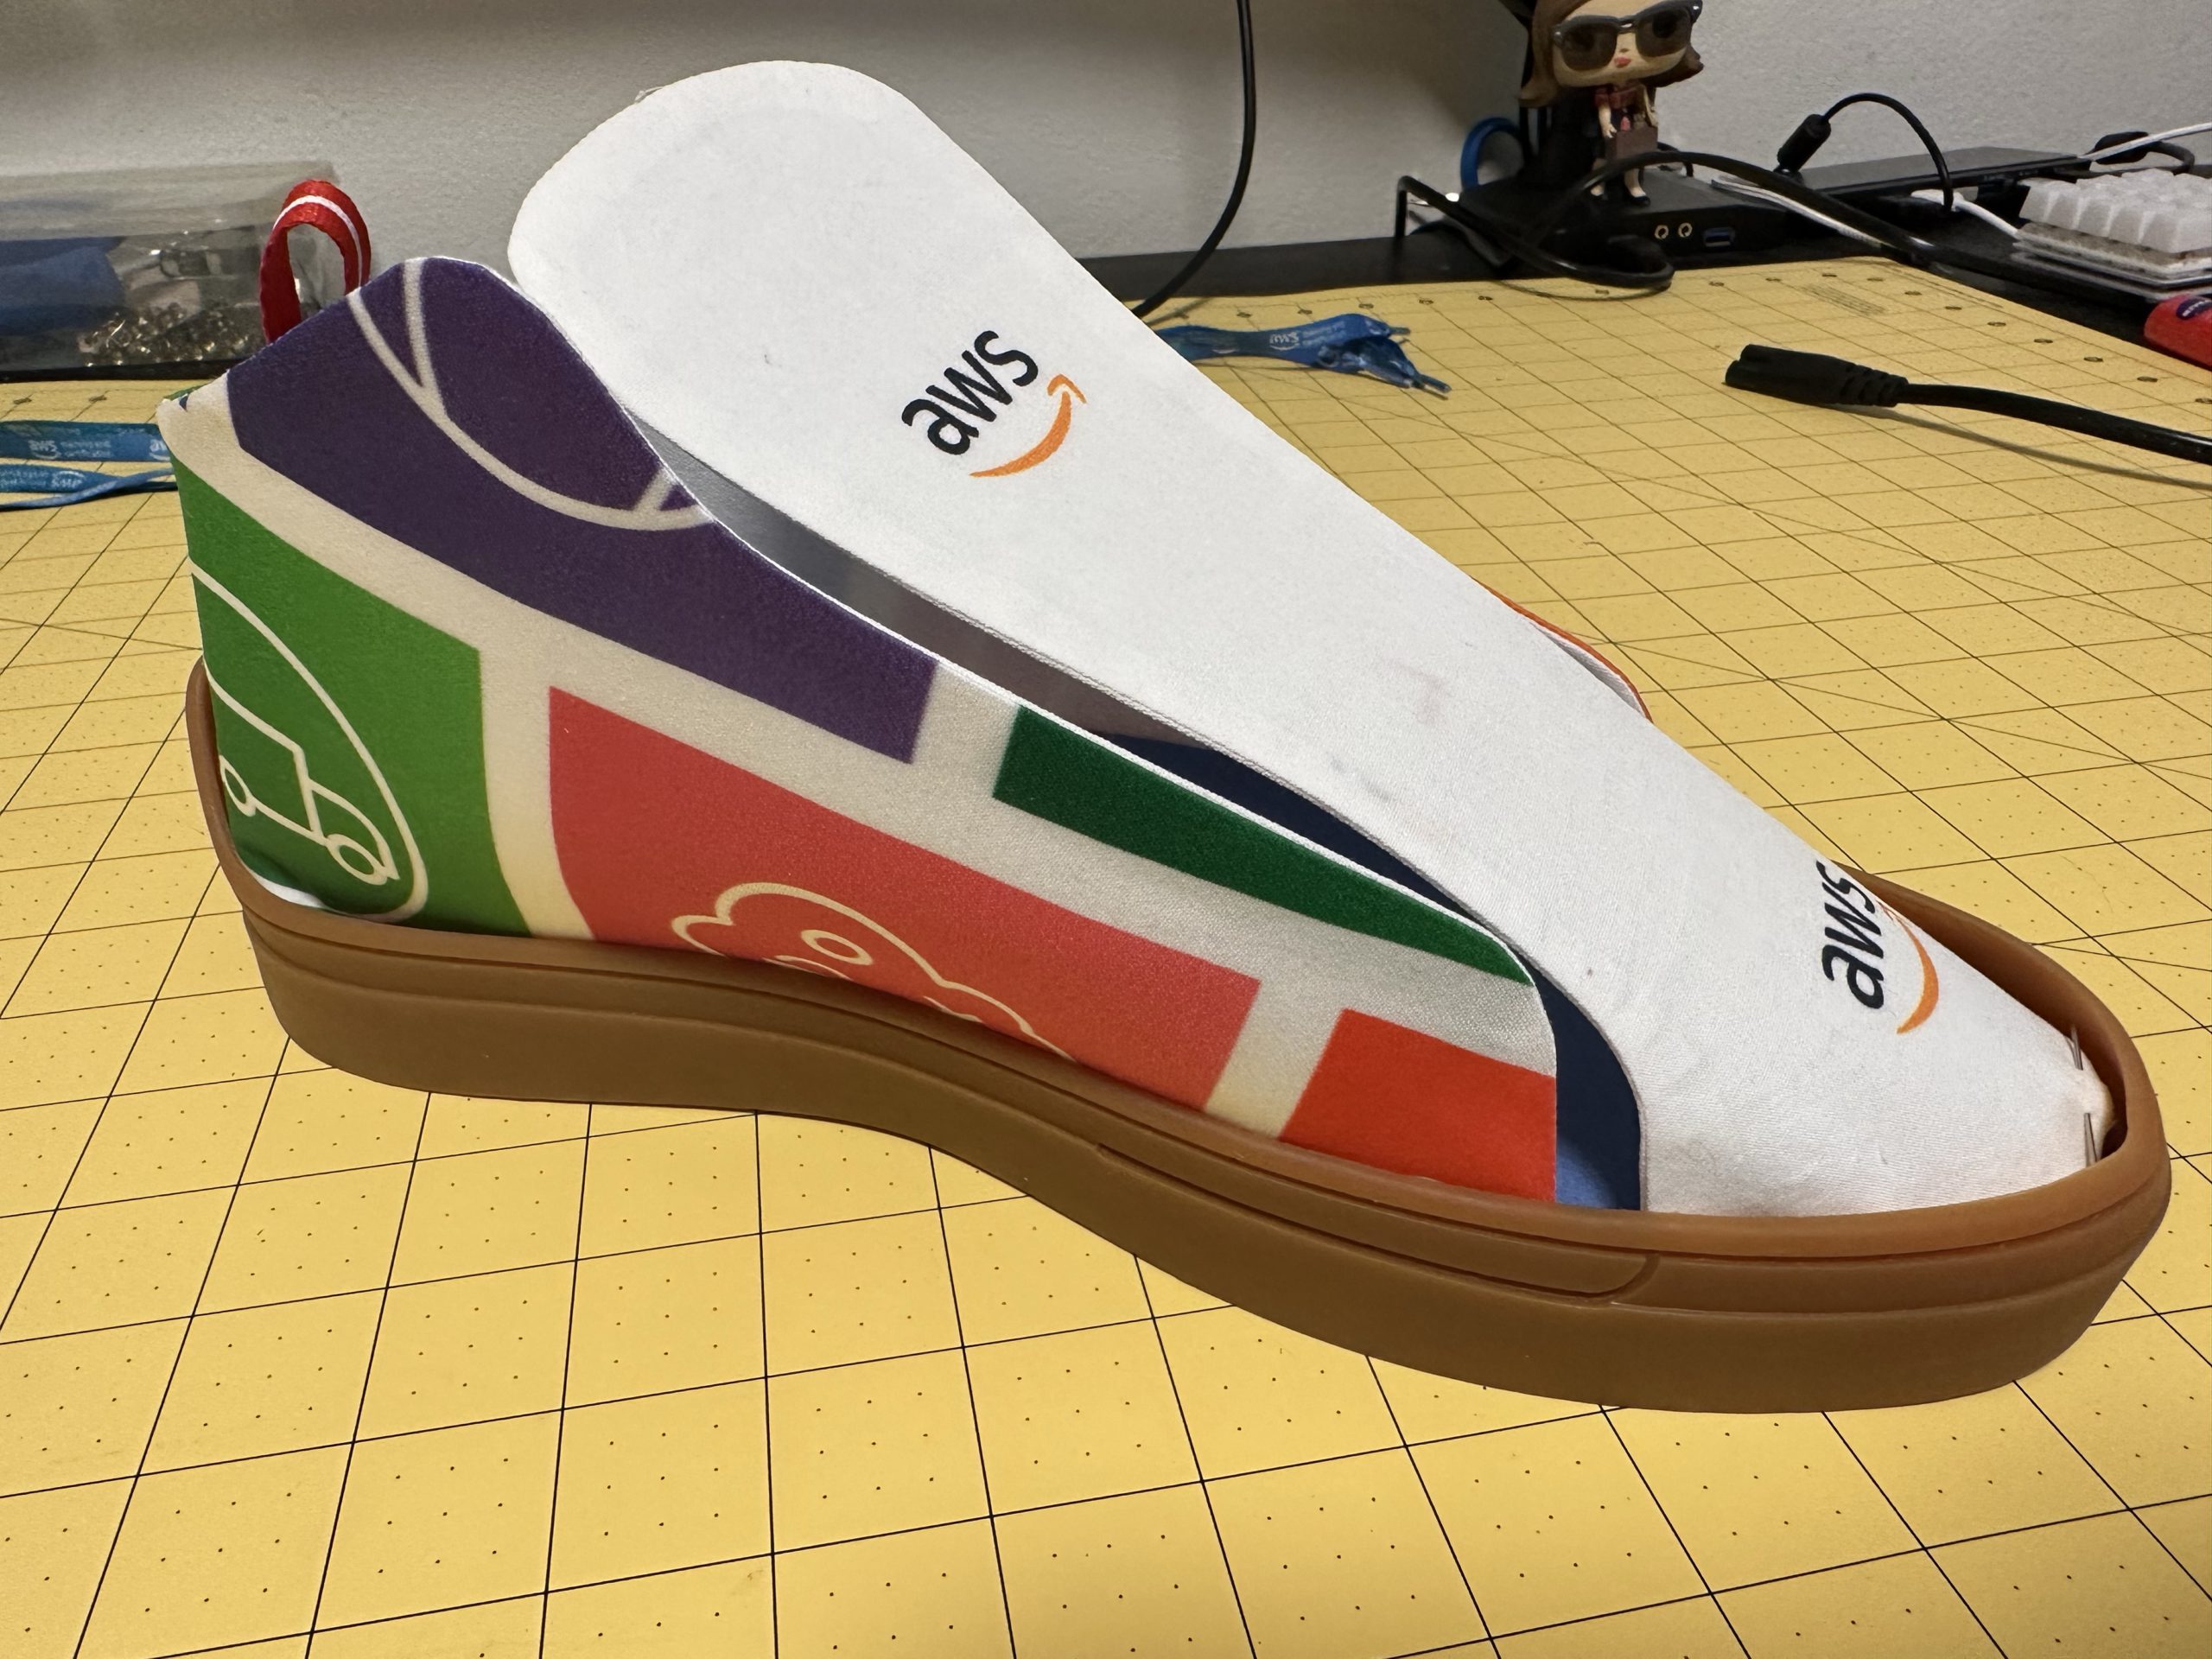
I placed the pieces on the rubber soles just to get an idea of what they were going to look like. Hey, this is pretty good!
I decided to some topstitching around each piece. This means I sewed a decorative line 1/4″ from the edge around the tongue and each side piece. (Again, I left the bottom edges unfinished.)
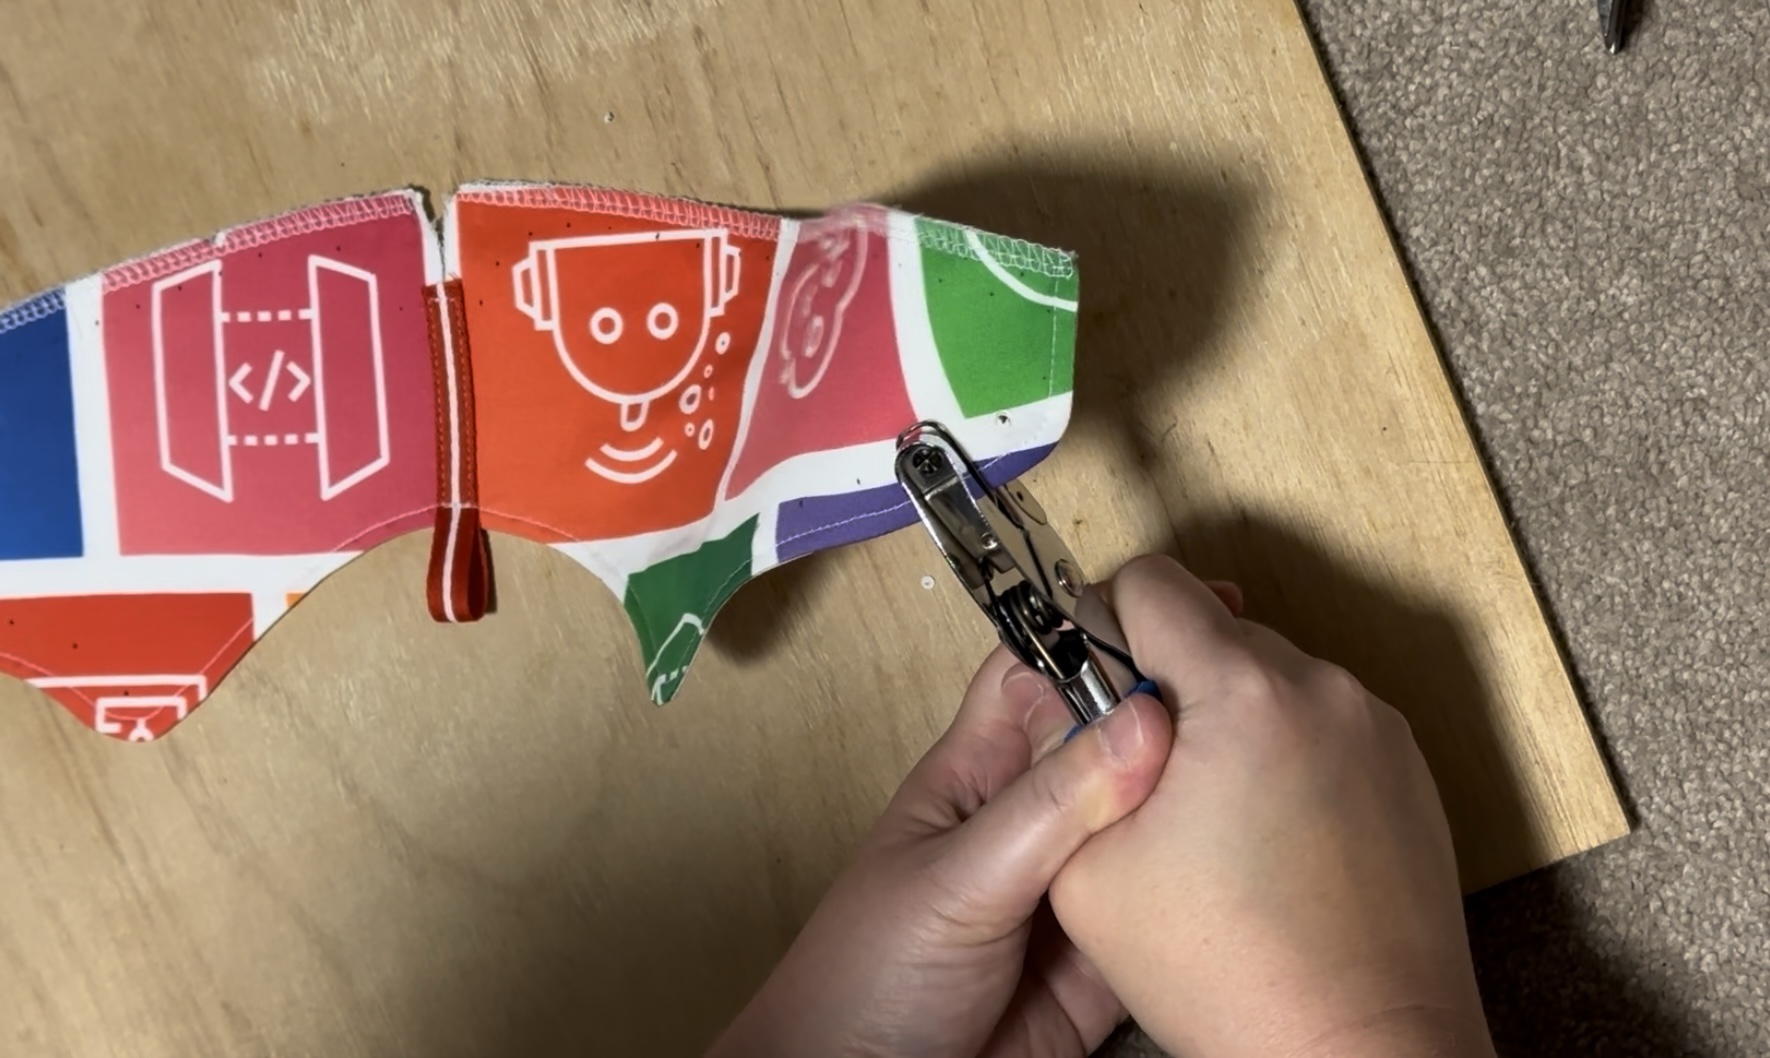
For the side panels, I discovered I had some red ribbon that would work perfectly for the loop at the heel (to help you pull them on). I cut out appropriate length, doubled it over, and sewed it down as I was doing the topstitching. (You can see it in the photo below.) Then I used the overlocker to close off the bottom of each piece. Later I went back and sewed down the edges of the ribbon to make sure it was extra secure.

The pattern has a LOT of little holes marked on the sides that need to be transferred to the fabric pieces. I started by using an awl (a very pointy tool) to poke holes in the paper pieces, using some cardboard to protect my worktop.
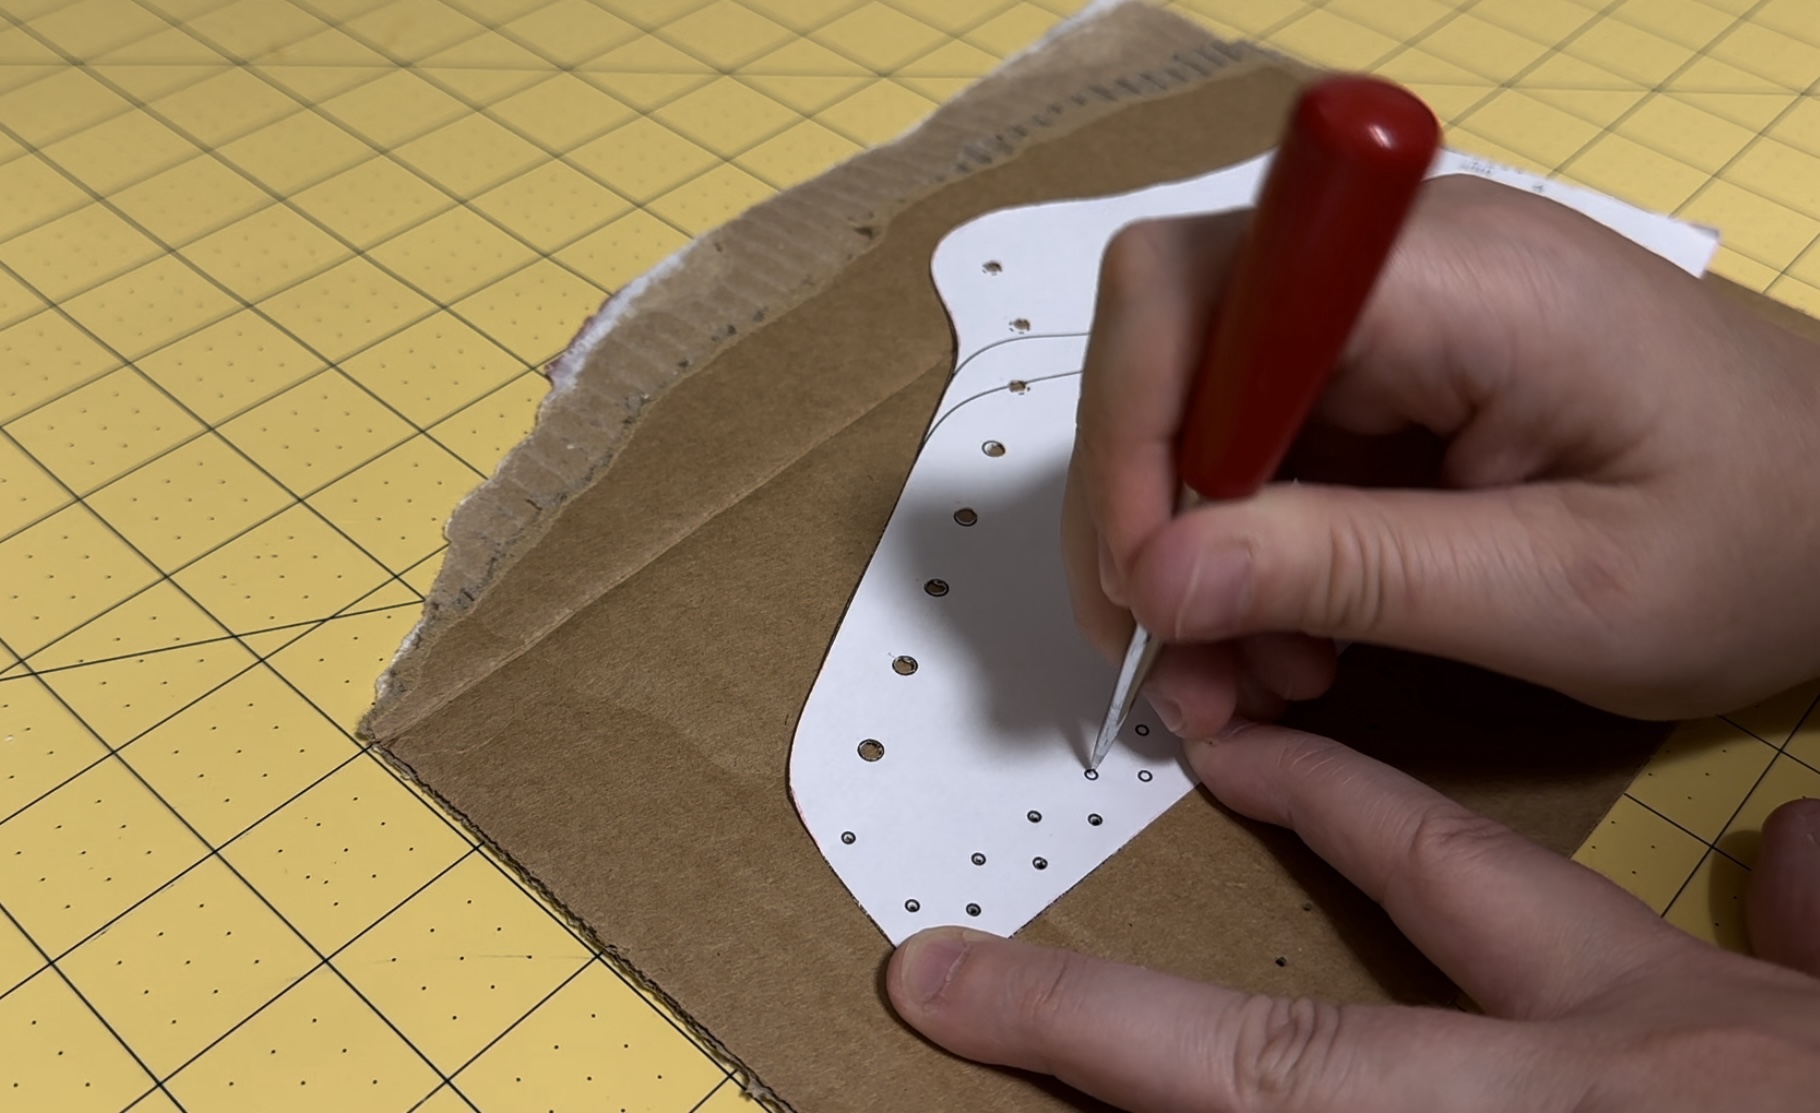
Then I placed the paper piece on the fabric panel and used a pen to make the placement of the holes.
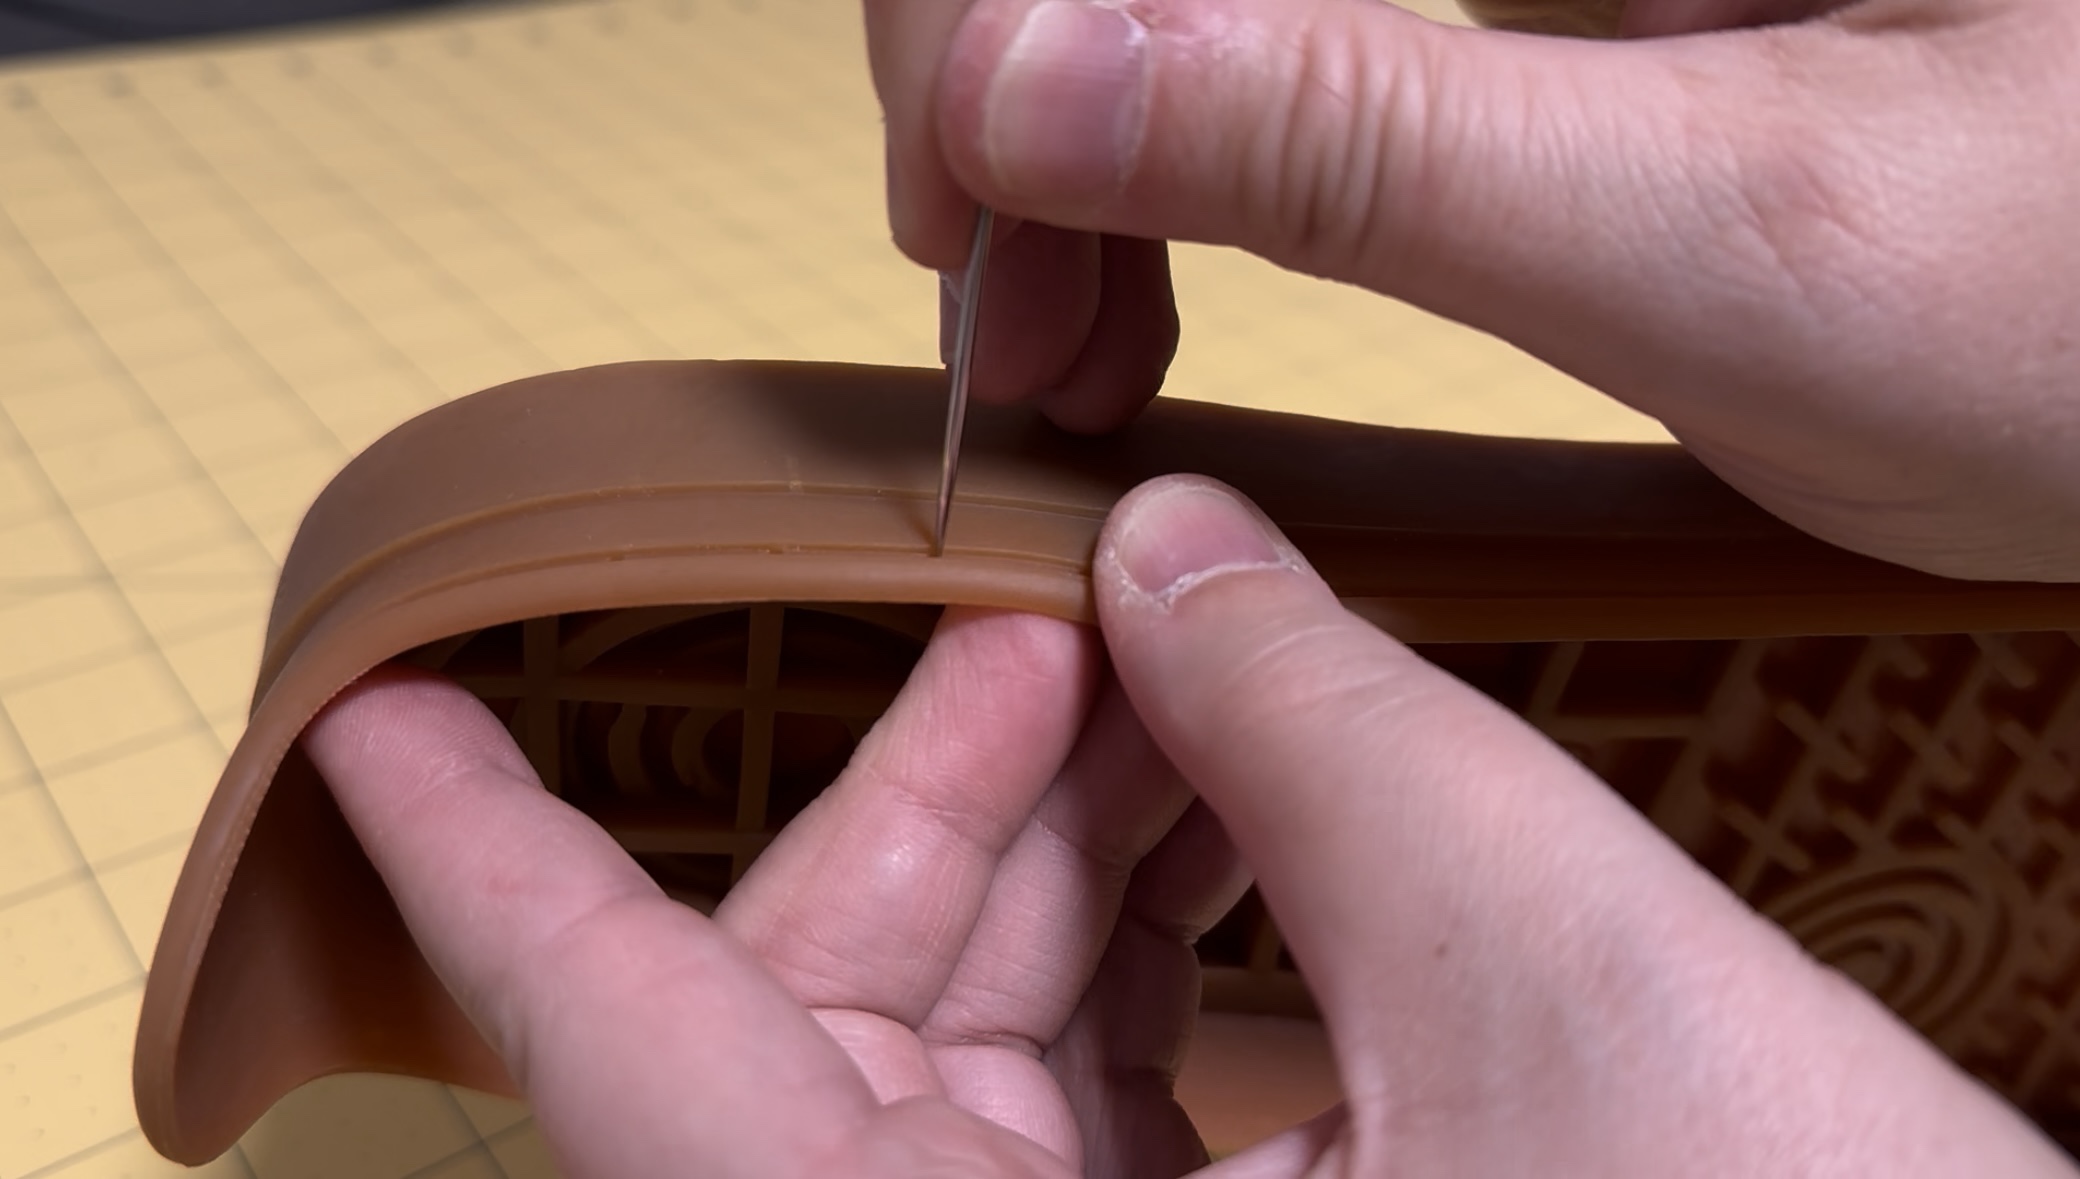
For the laces, I didn’t have the recommended tool for cutting the holes and setting the eyelets. Instead I used a regular paper holepunch to make the holes, which thankfully were the right size. It actually worked pretty well! Occasionally it had trouble completely cutting out the hole, but I was able to use the awl and some scissors to fix it up.
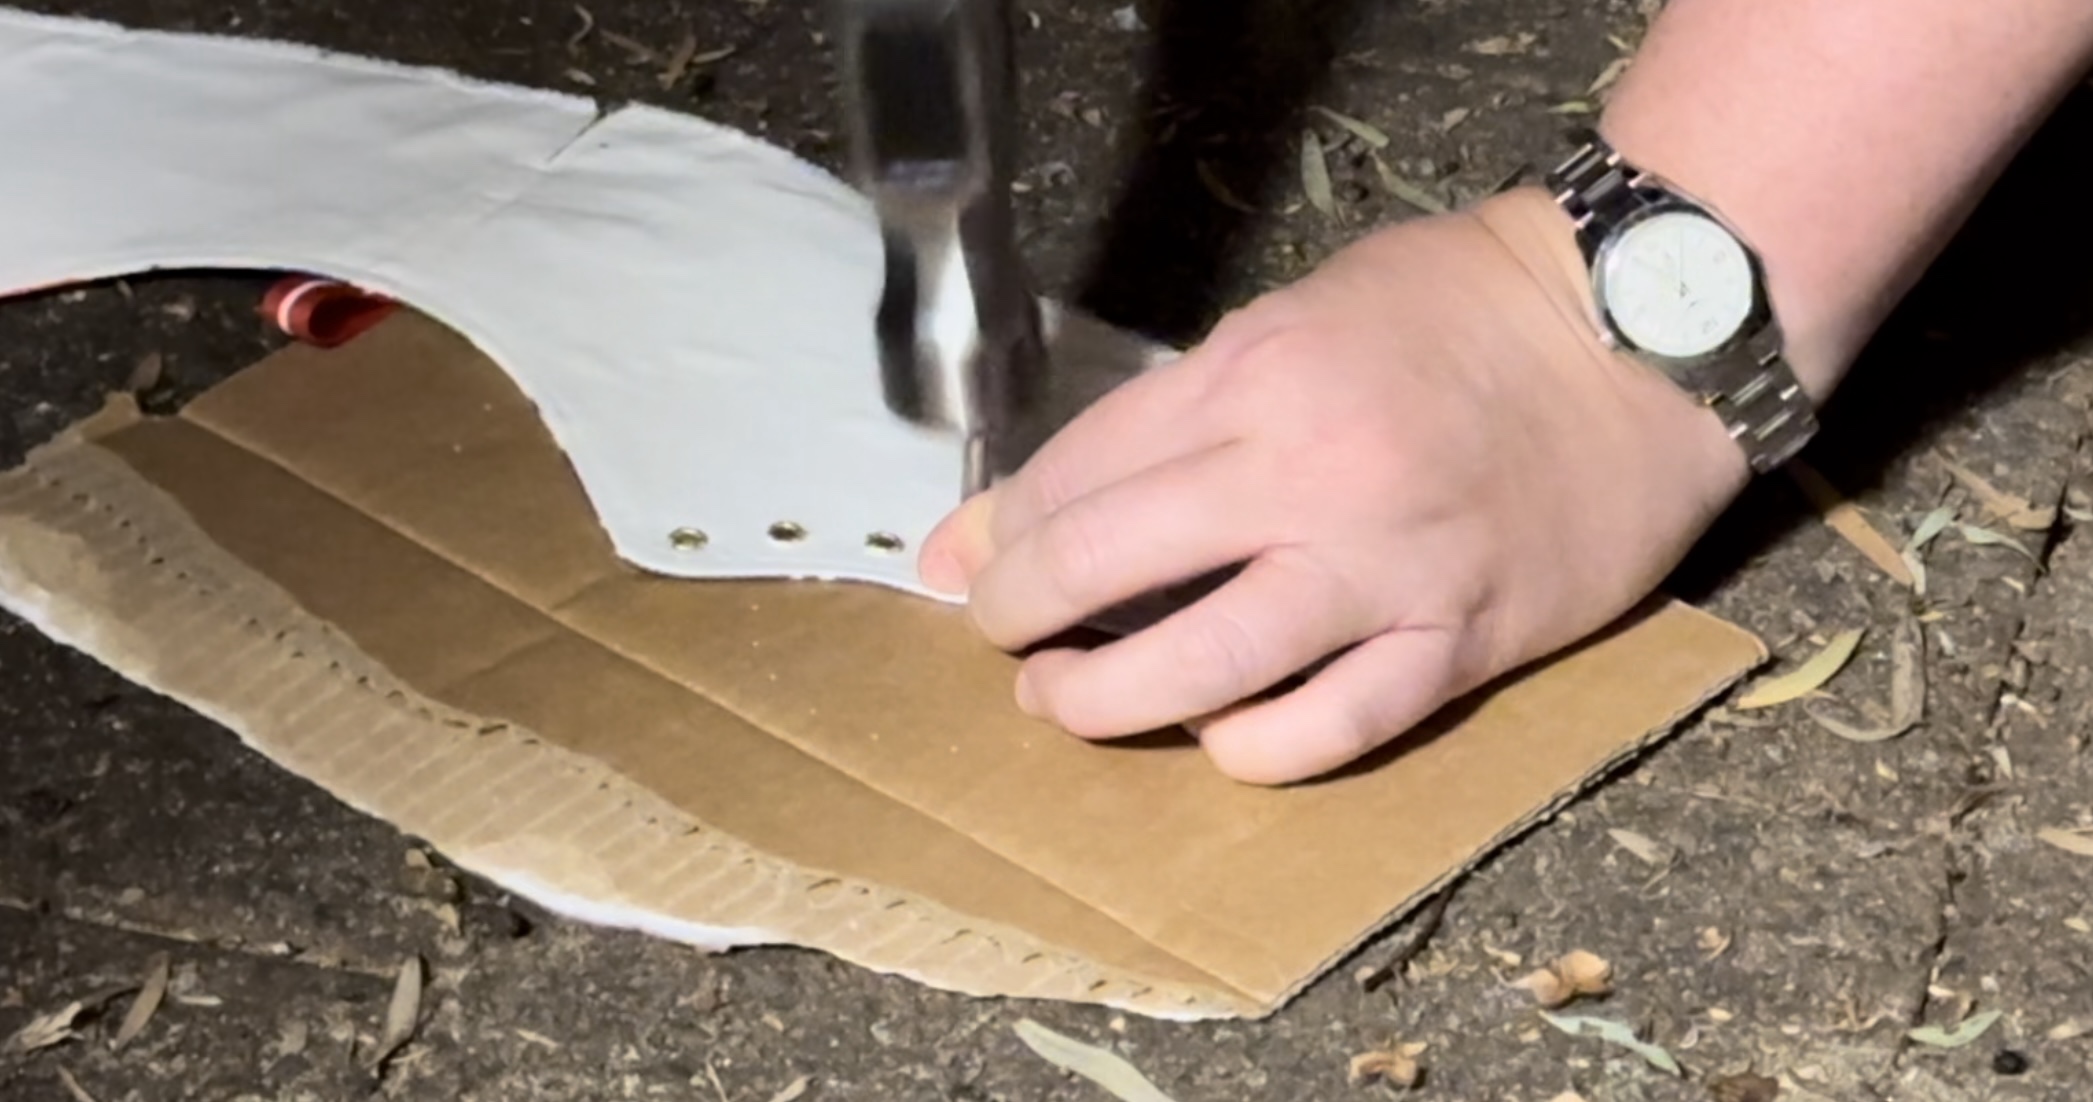
To set the eyelets, if you don’t have the tool you can use a hammer. I’ve done this in the past and had a couple of the little hammer tools in my craft box. I tried it in the house on a piece of plywood, but I needed something a bit firmer. I ended up doing it outside on the pavement, with a bit of cardboard to keep the fabric from getting dirty. I only mangled one of the eyelets, which necessitated using needle-nosed pliers to peel back the little bits and remove it to try again. So do your best not to screw any of them up!
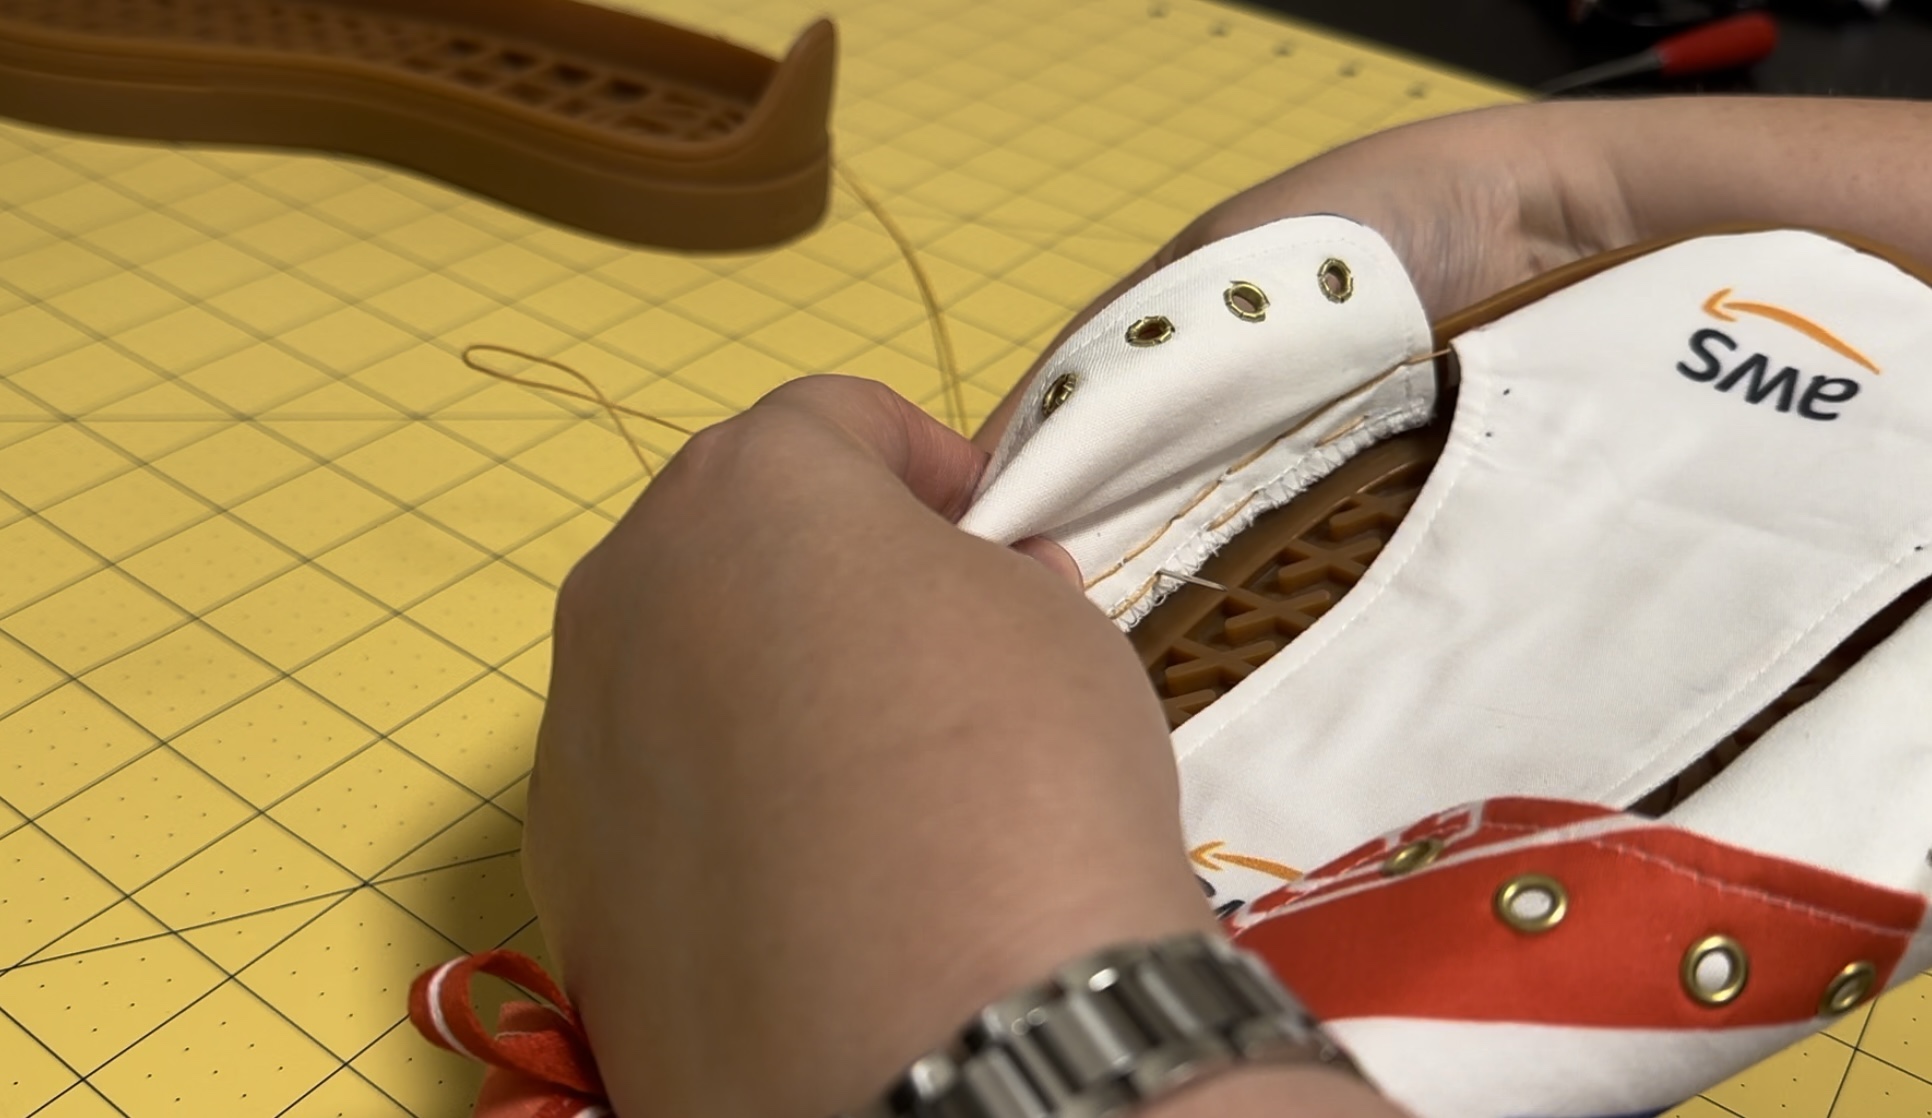
With that, all of the pieces were complete and ready to be sewn onto the soles!
The rubber soles have holes marked around the edges, but you need to use a thick, sharp needle to pierce through and open them up. Note: sewing through rubber is really, really tiring on your hands! I had to take frequent breaks.
Now it’s time to sew the pieces to the sole. The SneakerKit comes with heavy waxed thread and a long sharp needle to help you out. I had to watch the video many times to make sure I was doing it correctly. (There’s a very specific order you’re meant to sew the holes in.) As you work your way around, you sew on the tongue as well.
Again, this is murder on your hands. I found that even with pre-poking the holes, they were hard to find in the rubber and for every stitch I had to dig around to find it.
When you finish the stitching, have to use a lighter to melt the threads on the inside. Then you simply put in the insole, lace them up, and you’re done! (Well, except there’s a whole other shoe to assemble. 😩)
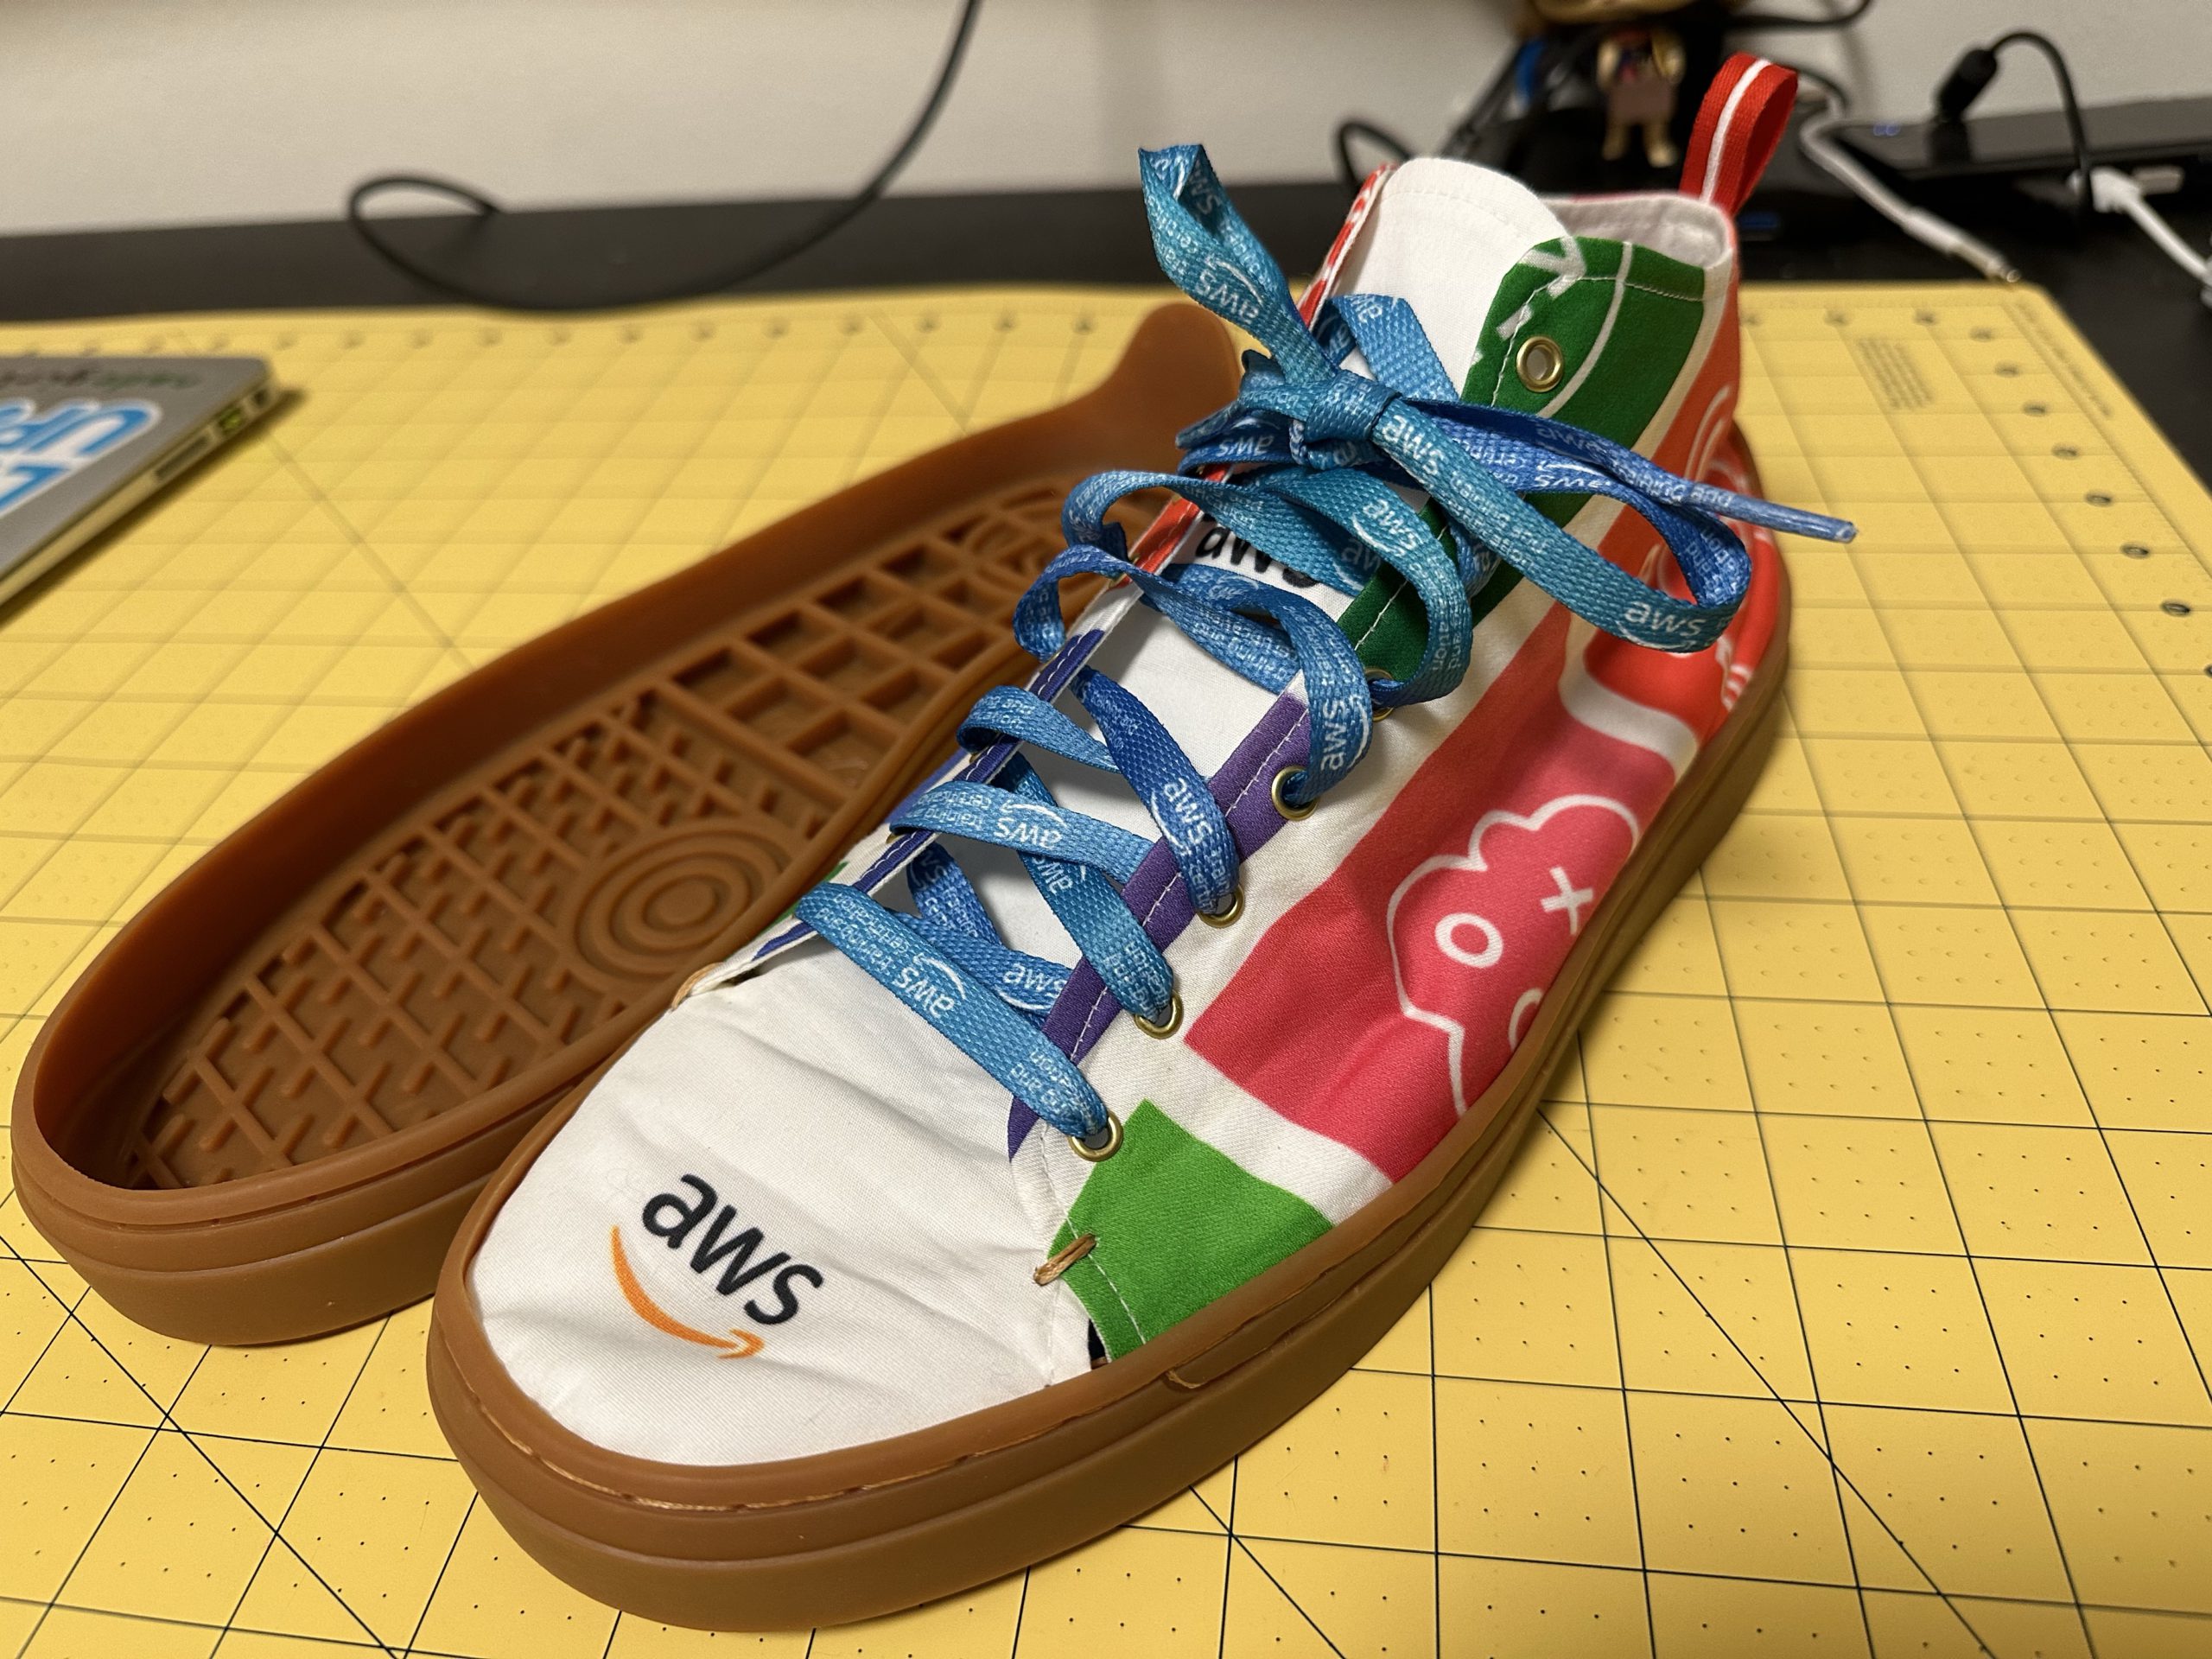
I managed to find some AWS Training & Certification laces in my swag bag, which went perfectly. I also bought a can of Scotchguard and gave them a good spray to help repel stains. They’re pretty comfortable, but I’m not sure yet how long they’ll last. If I were doing it again, I’d try to get even stiffer interfacing, as this is still pretty soft. I figure if/when they fall apart, I’ll pull the tops off and try something else!
But guess what? I still had some fabric left over, and with less than week left until AWS re:Invent, I decided to make a shirt.
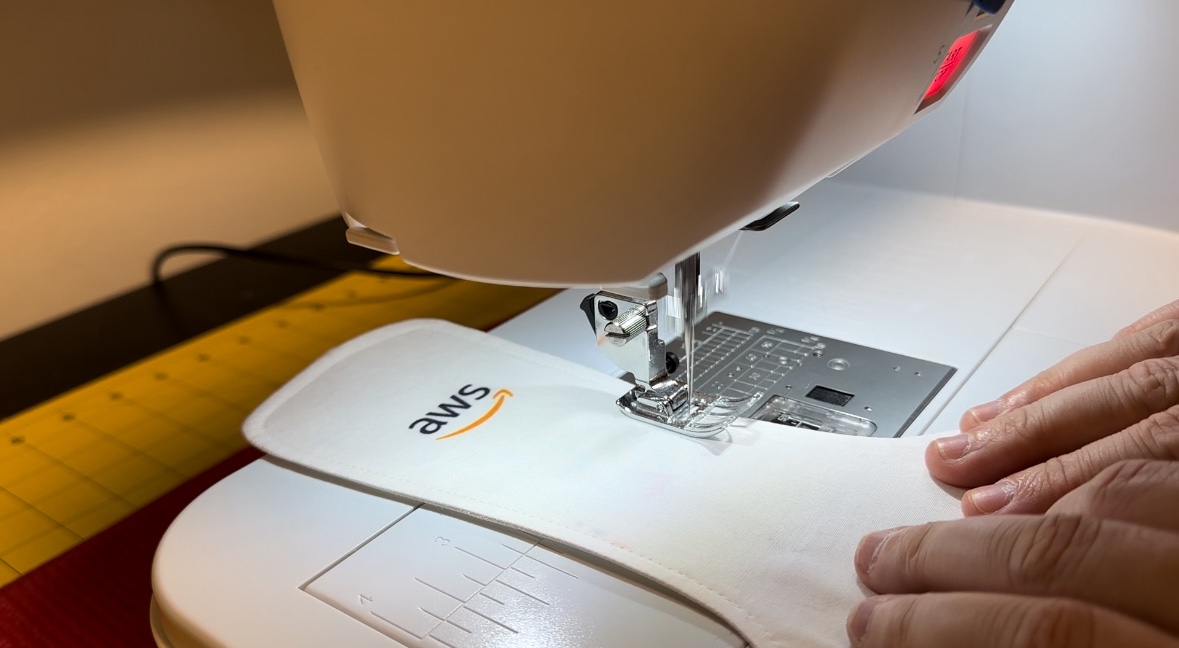
I had to piece a few bits together, but I just managed to eke out a Tessuti “Arkie” shirt. Again, I used white cotton for the facing and for the underside of the collar. No French seams on this one as I was flying to finish it in time!
My AWS capsule wardrobe should hopefully be enough for the near future. 😜 Let me know if I’ve inspired you!
 As you may have picked up on
 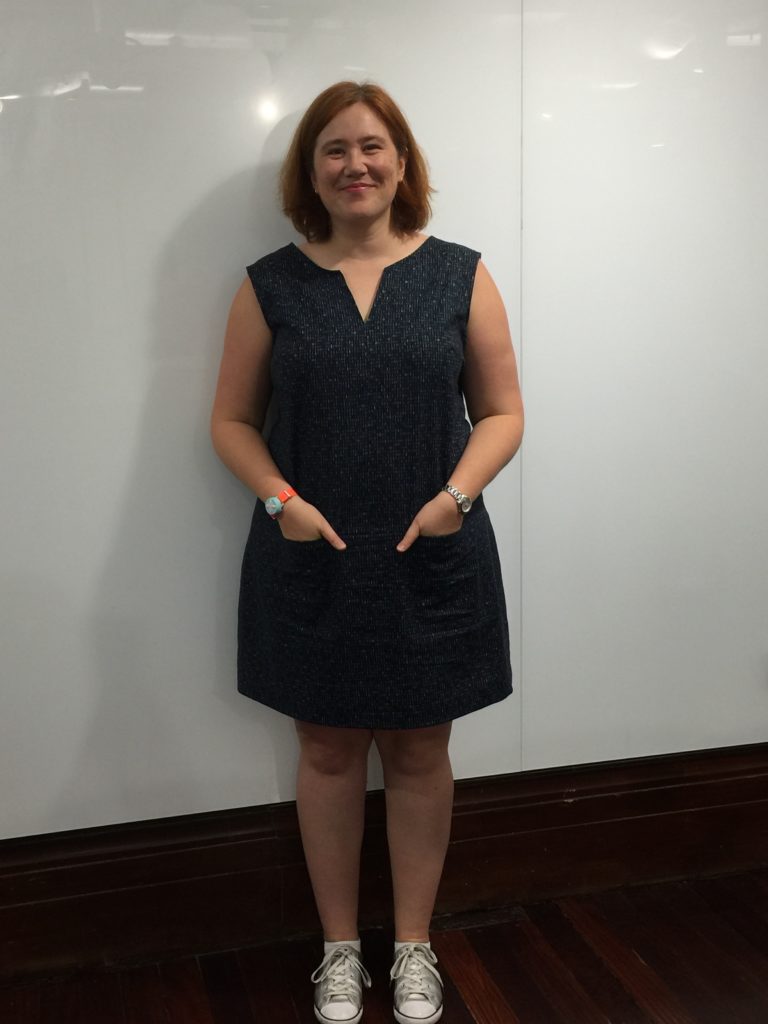 I made a new dress last weekend! This is a sleeveless
 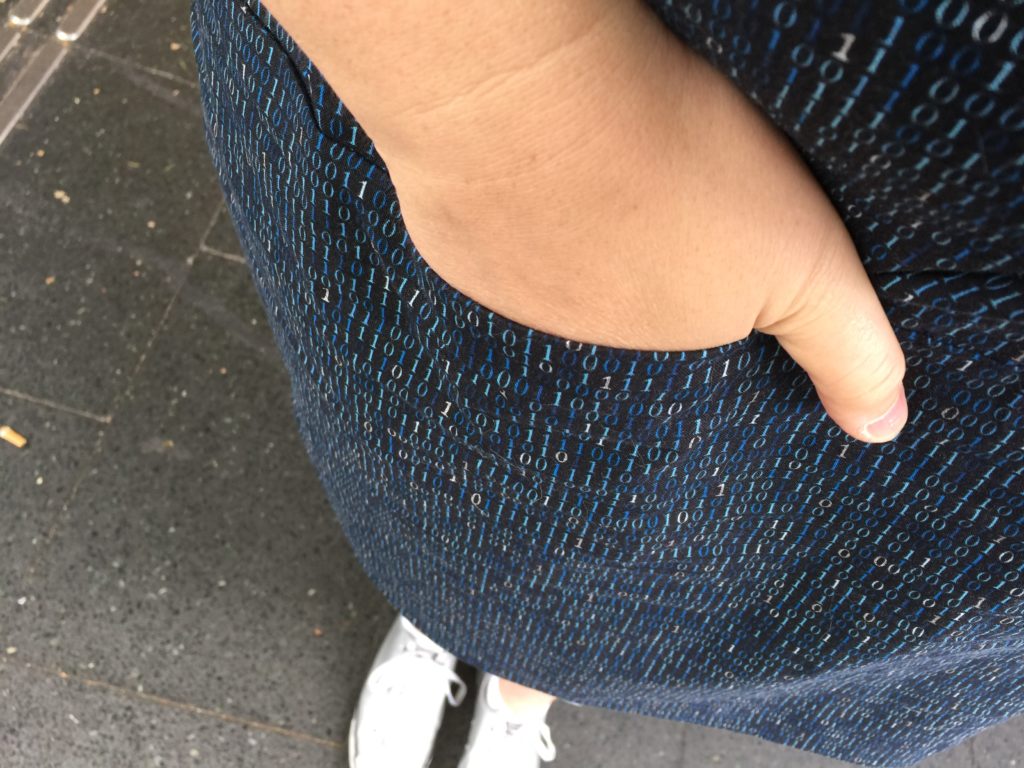 Sewing notes: Based on my measurements, I cut a straight 18 (the largest size) on this pattern. It’s roomy, but given the style of the dress and the crispness of the cotton, that’s what I was aiming for. It’s very comfortable. There are bust darts on the front and diamond-shaped darts on the back that keep it from being a completely shapeless sack. The